6
THE DISPLAY SHOWS THE SELECTED
TEMPERATURE.
AFTER 5 SECONDS FROM THE REQUIRED
TEMPERATURE SETTING THE DISPLAY WILL
SHOW THE ROOM TEMPERATURE AGAIN.
Verify that the unit is connected to the
main power.
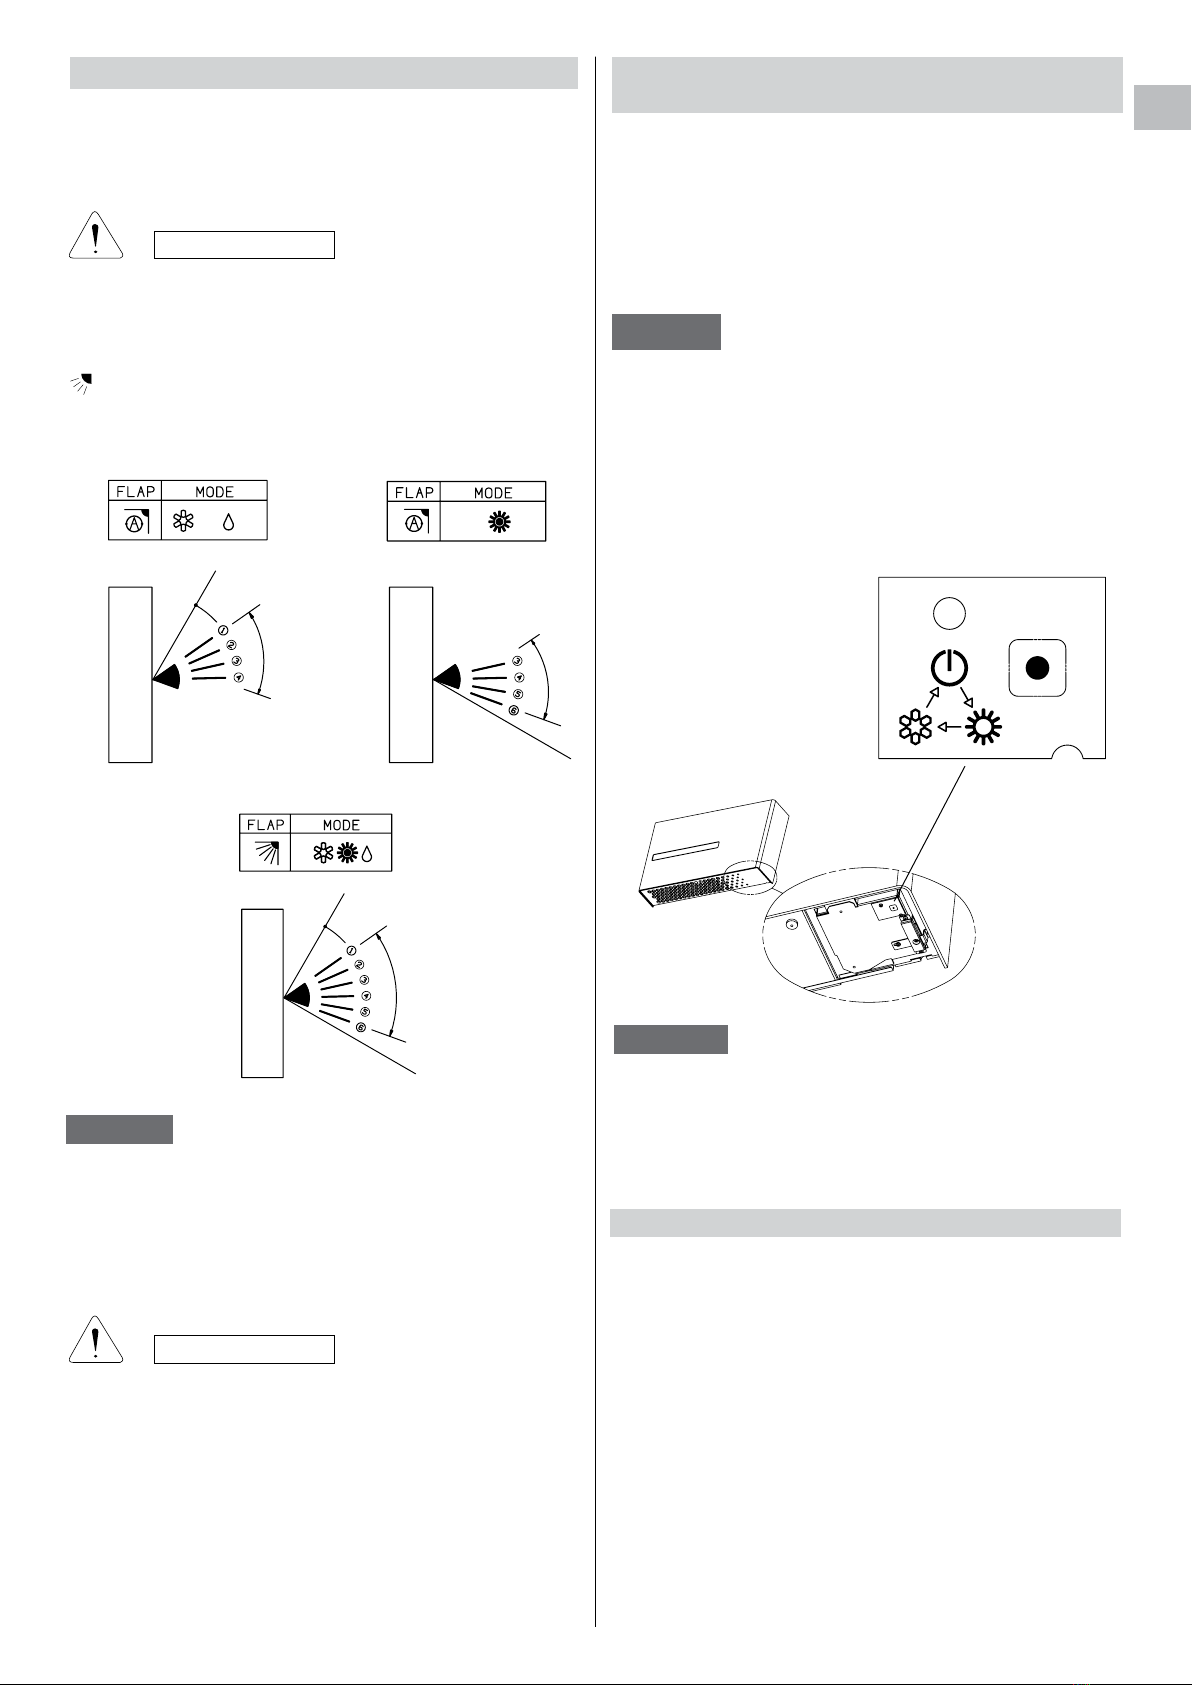
1.Set the selector to COOL (symbol
on the display).
2.Press the +/- buttons (temperature
selection) to set the desired temperature
(the temperature range is between 32 °C
max. and 10 °C min.).
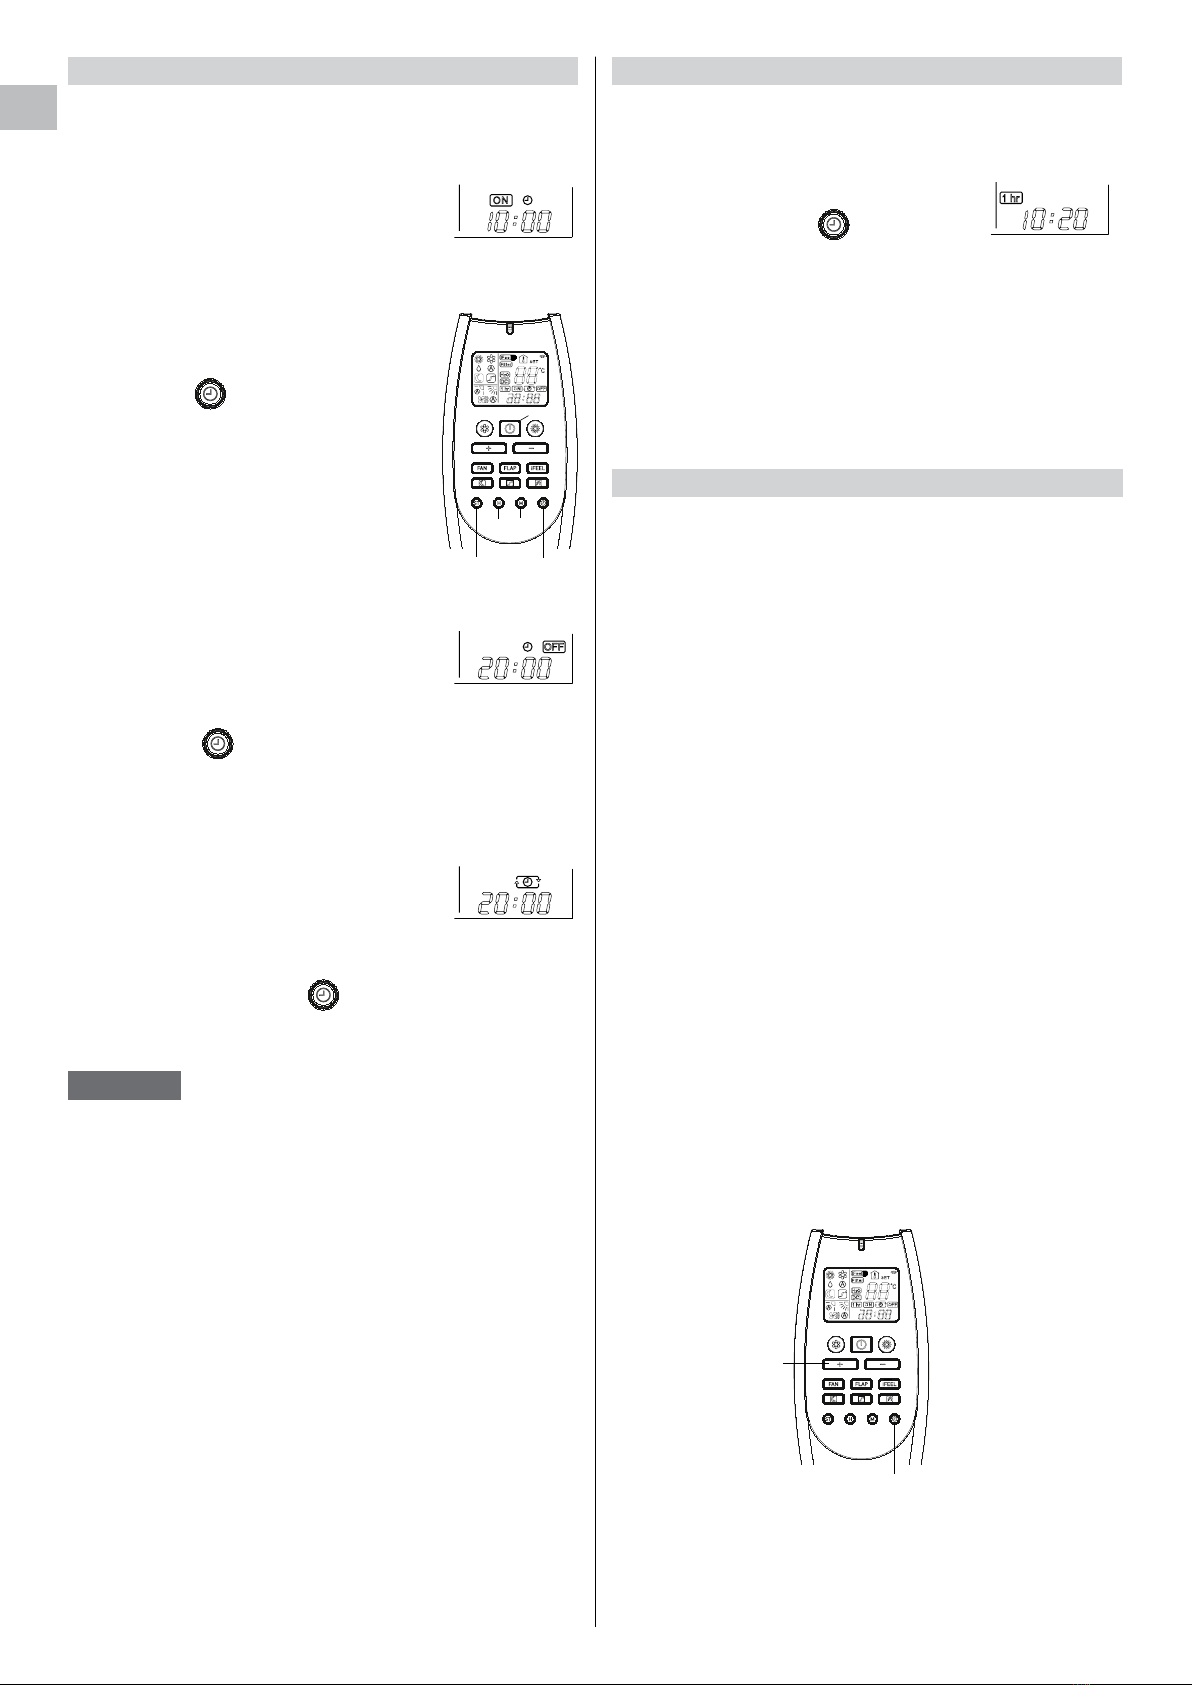
HOW TO SET THE PRESENT TIME
HEATING
1. Press the button ST three times.
The time indication alone flashes.
2. Press the H button until the present time hour is
displayed. Press the M button until the present time
minutes are displayed. The display will automatically
stop flashing.
1.Set the selector to HEAT (fixed or flashing symbol
on the display.
2.Press the +/- buttons (temperature selection) to set the
desired temperature (the temperature range is between 32
°C max. and 10 °C min.).
THE DISPLAY SHOWS THE
SELECTED TEMPERATURE.
AFTER 5 SECONDS FROM THE
REQUIRED TEMPERATURE SETTING
THE DISPLAY WILL SHOW THE ROOM
TEMPERATURE AGAIN.
3.Press the FAN button to select the fan speed.
For several minutes after the start of heating operation, the
indoor fan will stop until the indoor heat exchanger coil has
warmed up sufficiently. This is because the COLD DRAFT
PREVENTION SYSTEM is operating. During this period,
the STANDBY lamp remains lit.
NOTE
DEFROSTING OF OUTDOOR UNIT HEAT
EXCHANGER
When the outdoor temperature is low, frost or ice may
appear on the heat exchanger coil, reducing the heating
performance. When this happens, a protection function
for the heat exchanger defrosting is activated. During this
function operation, the fan of the indoor unit stops. Heating
operation restarts after several minutes. (This interval
will vary slightly depending on the room and outdoor
temperature).
COOLING
THE DISPLAY SHOWS THE
SELECTED TEMPERATURE.
AFTER 5 SECONDS FROM THE
REQUIRED TEMPERATURE SETTING
THE DISPLAY WILL SHOW THE ROOM
TEMPERATURE AGAIN.
3.Press the FAN button to select the fan speed.
NOTE
C
1
3
22
1
AUTOMATIC OPERATION
1.Set the or selector to AUTO (symbol on
the display.
2.Press the
+/- buttons (temperature selection)
to set the
desired temperature (the temperature range is between
32 °C max. and 10 °C min.).
When this setting is selected, the air conditioner calculates
the difference between the thermostat setting and the
room temperature and automatically switches to the
COOL or HEAT mode as appropriate.
3.Press the FAN selector button to the setting you want.
THE DISPLAY SHOWS THE
SELECTED TEMPERATURE.
AFTER 5 SECONDS FROM THE
REQUIRED TEMPERATURE SETTING
THE DISPLAY WILL SHOW THE ROOM
TEMPERATURE AGAIN.
ONON ON
D 1 H D 1 H
MIN. MAX.
A
B
C
C
B
A
27
26
25
24
23
22
21
20
19
Example of operation diagram in the (Auto) mode
with the set room temperature at 23°C.
NOTE
The air conditioner changes the operation mode (from cool
to heat or vice versa, if one of the following conditions
occurs:
- ZONE A: changes if the difference between the room
temperature and the temperature set on the remote
control unit is at least 3°C.
- ZONE B: changes if the difference between the room
temperature and the temperature set on the remote
control unit is at least 1°C, one hour after the compressor
stop.
- ZONE C: never changes if the difference between the
room temperature and the temperature set on the remote
control unit is no more than 1°C.
1.Set the button to DRY. The icon is displayed.
2.Press the
+/- buttons (temperature selection)
to set the
desired temperature (the temperature range is between
32 °C max. and 10 °C min.).
DEHUMIDIFYING (DRY)
EN