Ariesys ARL998 Assembly instructions

ARL998 User Reference Manual

2
Specifications
Model No
ARL998
ARL998-B
CPU
Intel Core i5-9500E, 3.00GHz
Option: Intel i7-9700E, 2.60GHz
Intel Core i5-9500TE, 2.20 GHz
Option: Intel i7-9700TE, 1.80GHz
Chipset
Intel® 9th/8th Gen. Core™ processors with Intel® Q370 PCH
Slot
2x PCIe (x8) expansion slots
Option: 2PCI expansion slots
Option: 1x PCIe (x16) expansion slot
Display
17.3” LCD display, 1920x 1080
Anti-reflection tempered strengthen glass
VGA
HD graphics integrated into the processor
Memory
2x 8GB DDR4
HDD
1x SSD 240GB 2.5", support 1x 2.5”removable SATA
Interfaces
2x DB9 for COM1, COM2, DVI-D, HDMI, DP connector,
6x USB 3.0 connector
2x Gbit LAN RJ-45, RCA Jack 3x1 for HD audio
LAN
IntelR I219LM GbE LAN
Intel® I210AT / I211AT GbE LAN
Audio
Intel® Q370 PCH-H built-in HD audio controller
With Realtek Codec ALC888S-VD2-GR
Speaker
Built-in amplified 2x 3W speakers
KB/MS
Industrial keyboard with touchpad
Keyboard layout: CH, FR, GR, KR, RU, SP, UK, US
Power Supply
400W, 100~240 VAC,
Auto switch
2x 95W Li-ION battery Packs (Hot-
Swappable), 100W AC Adapter, up to 4
hours battery life
Construction
Rugged Aluminum Construction with shock absorbing rubber corners
Dimension
428.6x 110.8x 367.5 mm (Wx Hx D)
Weight
6.8 kgs
Carrying Case
Padded carrying case with wheels
Environmental Factors
Operating
Non-Operating
Temperature
0°C~50°C
-20°C~60°C
Relative Humidity
10%~90%
10%~95%
Approval
CE, FCC, RoHS
Options
Power Supply
ARL998: 400W, 100~240 VAC, Auto switch
ARL998-B: 2x 95W Li-ION battery Packs (Hot-Swappable)
Processor
●
Intel Core i7-9700E, 2.60 GHz Processors
Intel Core i7-9700TE, 1.80 GHz Processors

3
ARL998 / ARL998-B
Model
Accessory Kit
Qty
ARL998
1
ARL998 Portable Computer system
1
2
Carrying Case with wheels
1
3
Driver CD
1
4
User’s Manual
1
5
Power Cord
1
6
Anti-Static Bag
1
7
Screw Pack (stabilizer)
1
8
Stabilizer Supports Pack
1
9
Standard Accessory Kits
Carrying Case with Wheels

4
ARL998/ ARL998-B features:
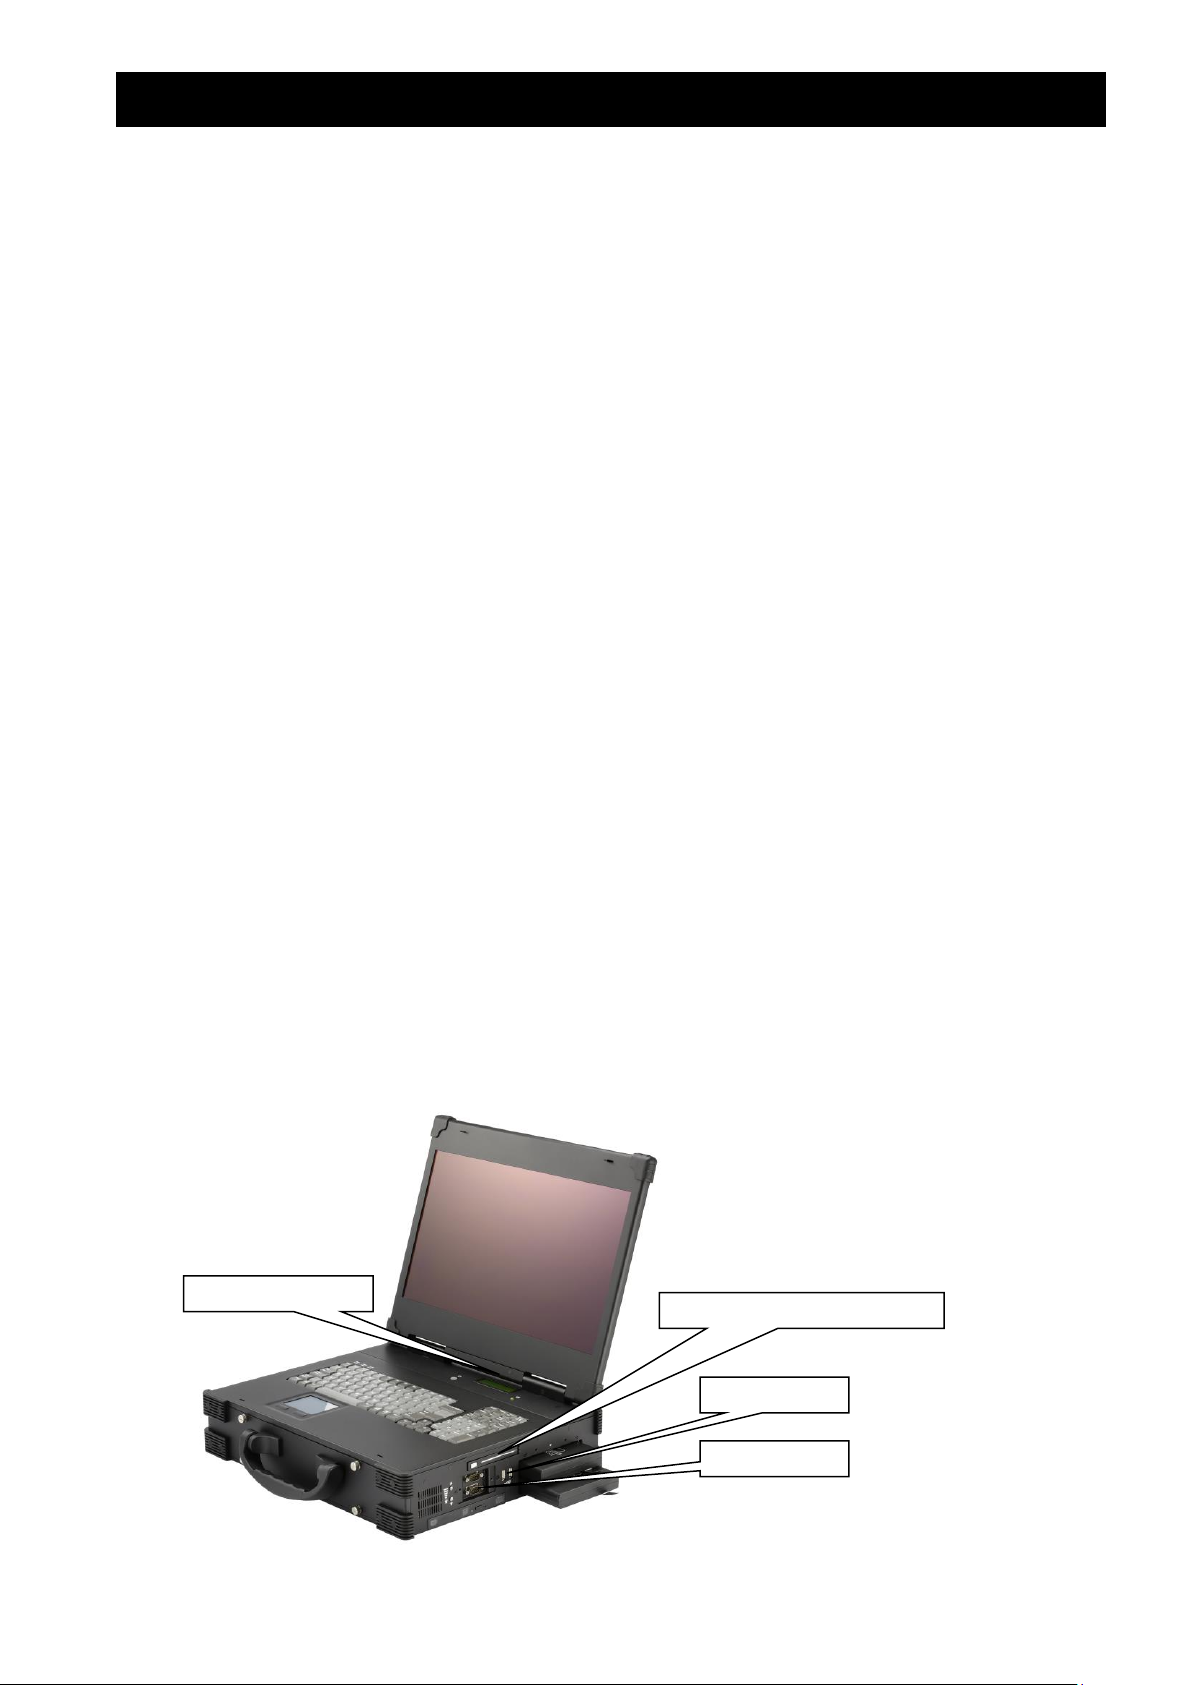
●All-in-one design rugged laptop
● Rugged Aluminum Construction with shock absorbing rubber corners
● Compact Size Lightweight Design
●Built-in 17.3" LCD display, 1920x 1080 resolution with anti-reflection tempered glass
●Intel® 9th/8th Gen. Core™ i5 /i7 processors with Intel® Q370 PCH
●Mini-ITX MB, Intel Core i5-9500E or i7-9700E (ARL998) Processors
Intel Core i5-9500TE or i7-9700TE (ARL998-B) Processors
●2 PCIe (x8) expansion slots
Option: 2x PCI expansion slots
Option: 1x PCIe (x16) expansion slot
●Industrial Keyboard multi-language with touchpad
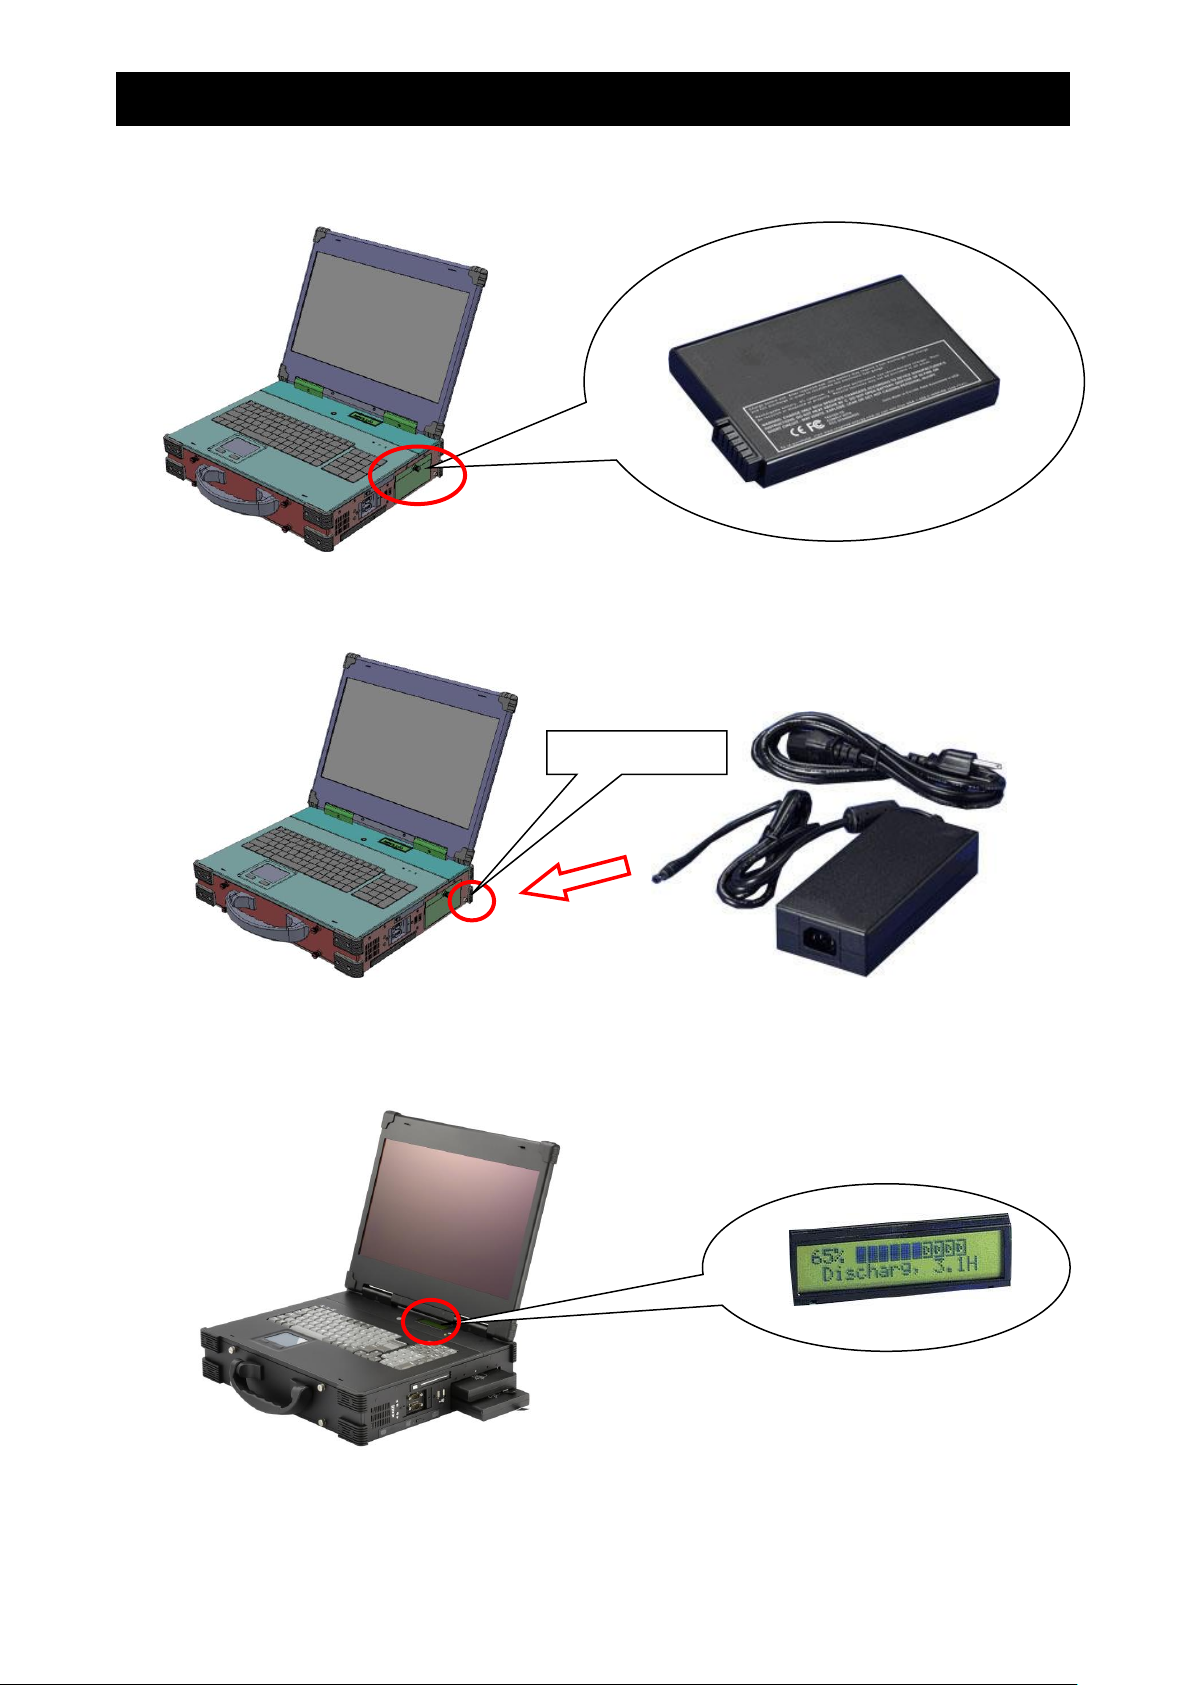
●400W PSU or 2x 95W Li-ion battery packs, up to 4 hours battery life
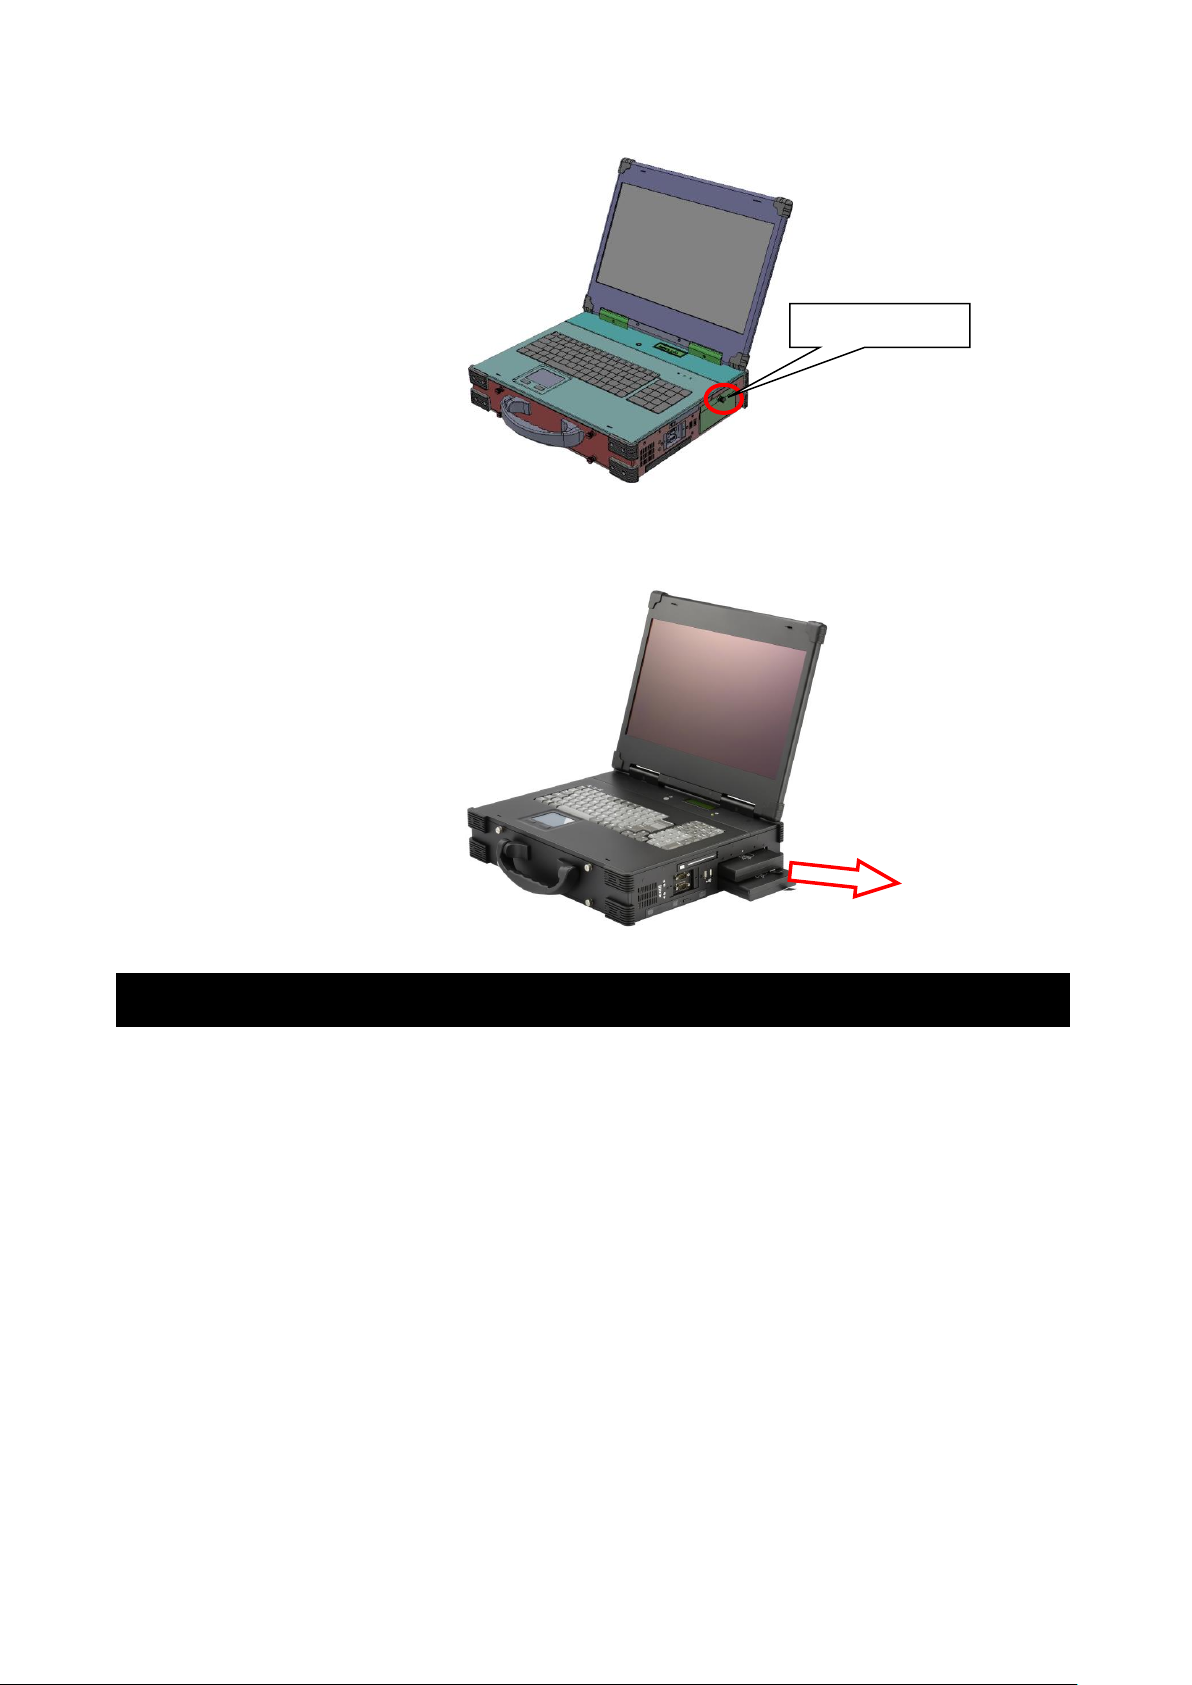
● Built-in 240GB SSD, support 1x 2.5”removable SATA
●Dual Gigabit Ethernet Support
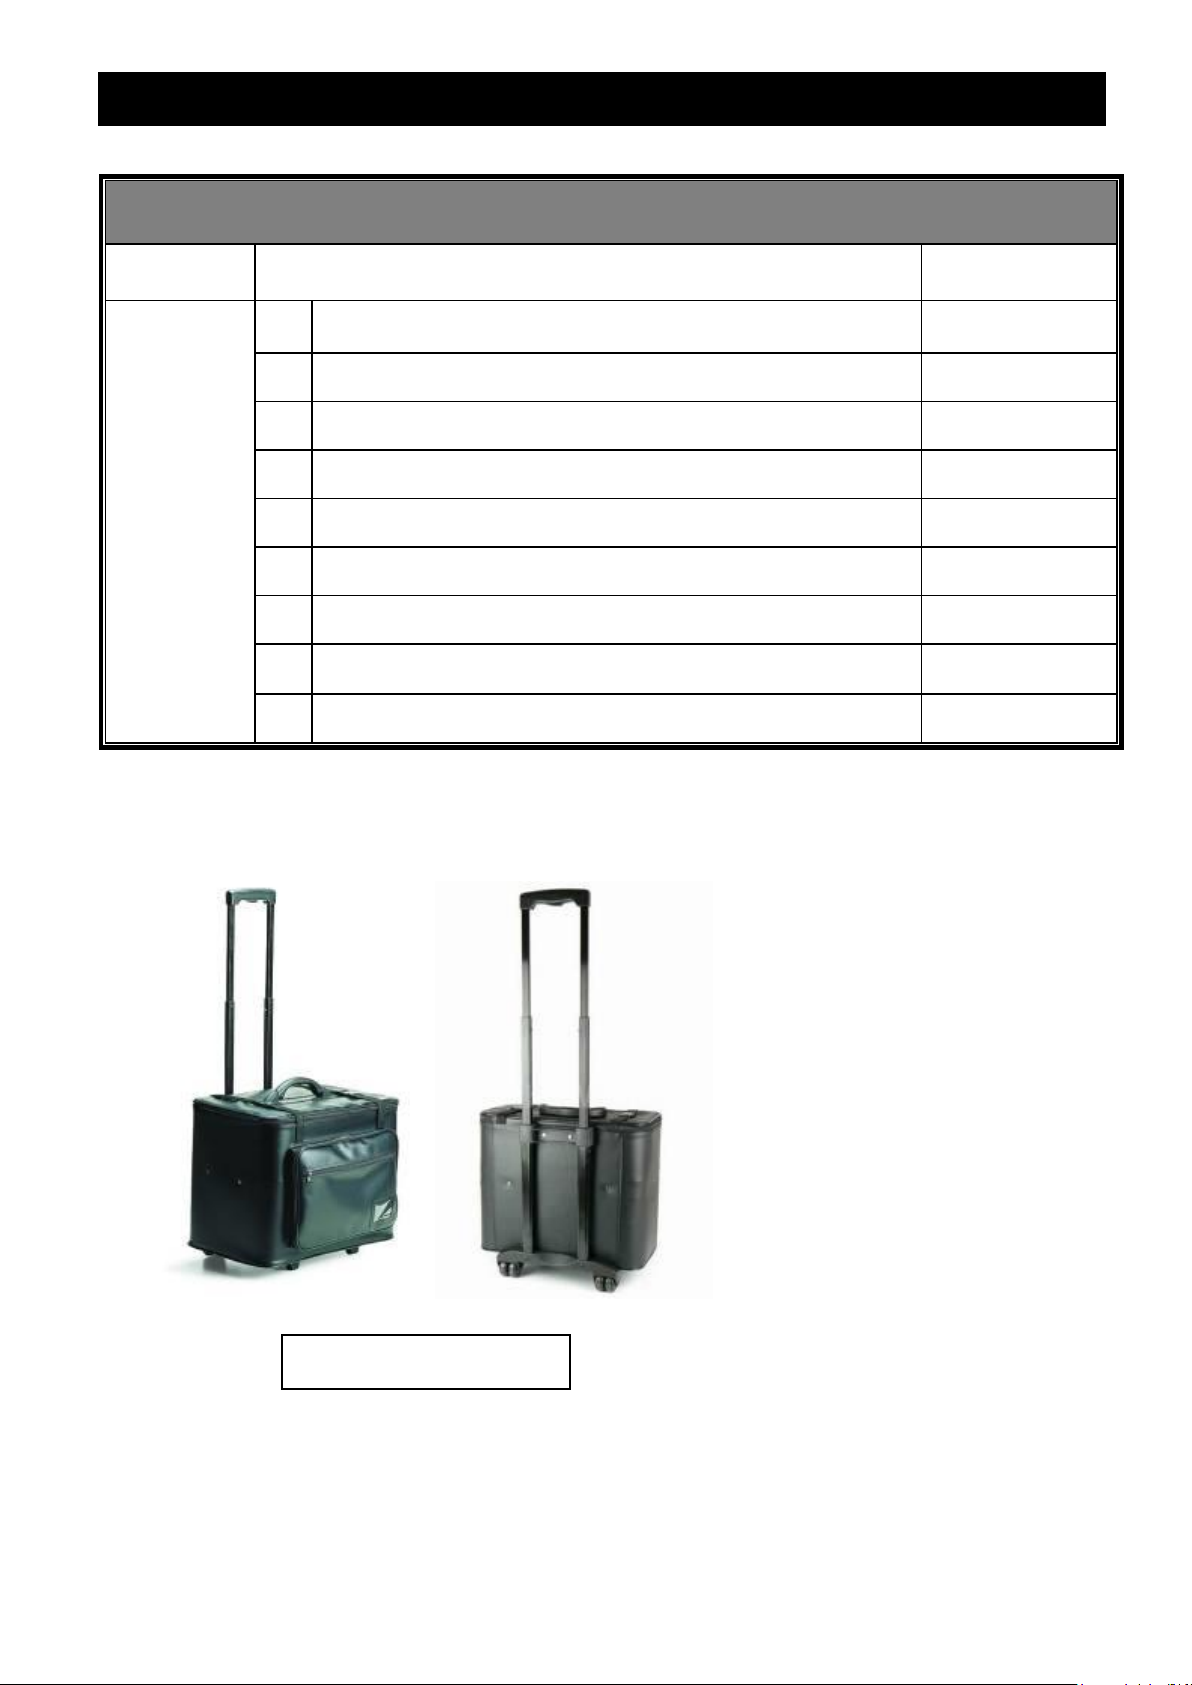
● Carrying case to manage portable PC with ease
The ARL998-B is a laptop-style multi-slot battery computing system with rugged aluminum chassis
construction and corner bumper protection. It features the Intel 9th Generation Core i7 or i5 processors with
ultra fast DDR4 memory. The unit offers 1PCI-E (x16) and 1PCI-E (x1) or 2 PCI full-length expansion slots
for latest high speed acquisition boards. Internal storage starts at 240G SSD, and offers a removable 2.5”
drive space. Everything is combining in a portable package with a 17.3”, 1920x 1080 resolution LCD with
anti-reflection tempered glass and foldable multi-languages keyboard and touchpad. Interfacing with the unit
takes place further with the built-in dual Gigabit Ethernet, 6x USB 3.0, Serial ports and output feature DVI,
DisplayPort and HDMI.
Dual high capacity Li-ion hot-swappable battery totaling 190WHr makes the ARL998-B ideal for critical
application. It also can operate with 100W AC adapter for AC operation and recharging, and the LCD panel
for battery capacity shows battery array fuel gauge, power, current, charge/ discharge state, time to fully
charged and time to empty.
Applications: Military, Industrial automation, Digital TV test & analysis, Mobile Computing,
Outdoor Computers, video conferencing, E-learning, Speech Technologies,
Portable Workstation, Telemedicine, Multimedia, Mission Critical Computing
1.0 Introduction
1x 2.5”removable SATA
2x RS232
2x USB 2.0
Power on/off

5
Be sure power cable is not connected to the system before proceeding
1. Unscrew the 4 thumb screws to remove the cover.
2. Install user’s add-in cards.
A: 1PCI-E (x16), 1PCI-E (x1) full-length expansion slot
B: 2 PCI full-length expansion slots
2.0 Internal Hardware Access
Unscrew
UnscrewUnscrew
Unscrew

6
1. Battery Pack
The lithium ion battery pack is on the right side of the computer.
2. AC Operation / Battery Charging
Insert the adapter cord into the Power DC jack for recharging
3. LCD panel for battery capacity
The LCD display shows battery array fuel gauge, power, current, charge/ discharge
state, time to fully charged, time to empty.
3.0 Battery Pack (ARL998-B)
Power DC jack

7
4. Replacing the battery
4.1 Release the thumb screw of the battery cover
4.2 Pull out the battery connector from the slot
You can use the built-in DVD-RW to load operating system and additional applications
software into the system. Available medium from USB or download can also be possible.
DOS Boot up: DOS boot up requires you to have a version of the DOS installed on hard
disk drive or floppy. Depending on the execution sequence you have set in the batch file,
you will usually get a DOS prompt after loading.
Window Boot up: Windows boot up requires you to have Windows installed in the hard disk
drive. During Windows boot up, you will see a sequence of access to your hard disk drive
which will eventually take you into a graphical user interface environment.
Other O/S description: Many other operating systems are available in the market, such as
Linux, Windows, Solaris and DOS. These operating systems will behave differently and you
should react accordingly.
4.0 Software Installation
Thumb screw

8
1. Installation problem:
1. Normally problem with a fail start up is due to installation problem.
2. Double check all the peripheral cards or items you have added to the ARL.
3. Are all the items seated properly?
4. Are all the cables connected back to its original or correct position?
5. Are the items you have added compatible?
6. Before you check for these, turn the computer off and unplug the power cord.
7. Check for 1 thru 5 and then re-power up the computer.
8. Remove all items that were added and re-try system power up.
9. If the system starts now, try inserting 1 new item in at a time and try powering up.
10. Repeat this step until you get the desired result.
2. BIOS Beep Code:
The BIOS beep code indicates error in system initialization. The BIOS of the system board
will associate with video and memory error. Please check your video card is properly
seated and your memory is installed properly.
3. System Fails to power up:
1. Check you power connection first.
2. Check the main power switch is in the ON positions (I) *If cold switch is available.
3. Press the power button located on the machine.
4. No display (LCD):
1. Check all the proper power up procedure has been taken.
2. Hook up an external LCD to the VGA port, to check if video is present.
3. If video is present on external LCD, check the internal LCD cable connection.
4. Or check your VGA setting to make sure LCD video is enabled.
5. If there is no video on external, check your system to make sure everything is seated
properly.
6. If everything is seated properly and still no video, call us for further assistance.
5. External LCD no display:
1. Check to see if you have internal LCD video.
2. Check if your LCD is functioning properly.
3. Check your VGA setting to make sure external video is enabled.
6. Keyboard fails:
1. Make sure the keyboard plug is inserted completely into the portable.
2. Make sure you do not have another keyboard connected to the side I/O PS/2 port.
7. TOUCHPAD fails:
1. Make sure the keyboard plug is inserted completely into the portable.
2. If you have an external PS/2 mouse hook up on the side I/O PS/2 port, the touch pad
will not function simultaneously.
3. If your operating system requires and does not load the mouse driver automatically,
make sure you have the proper mouse driver loaded.
5.0 Troubleshooting
This manual suits for next models
1
Table of contents
Other Ariesys Industrial PC manuals

Ariesys
Ariesys ARP998 Assembly instructions

Ariesys
Ariesys ARP 692 Assembly instructions

Ariesys
Ariesys ARP673 Assembly instructions

Ariesys
Ariesys ARP 693 Assembly instructions

Ariesys
Ariesys ARX 605 Assembly instructions

Ariesys
Ariesys ARP893 Assembly instructions

Ariesys
Ariesys ARP 643 Assembly instructions
Popular Industrial PC manuals by other brands

Siemens
Siemens SIMOTION P320-4 E Commissioning and hardware installation manual

GIGAIPC
GIGAIPC QBiX Series quick start guide

Arista
Arista MicroBox-7824B-E01 user manual

DFI
DFI EC310 Series user manual

7starlake
7starlake ROC235A user manual

Smitec
Smitec FLXMOD MST S4 Series Installation, use and maintenance manual