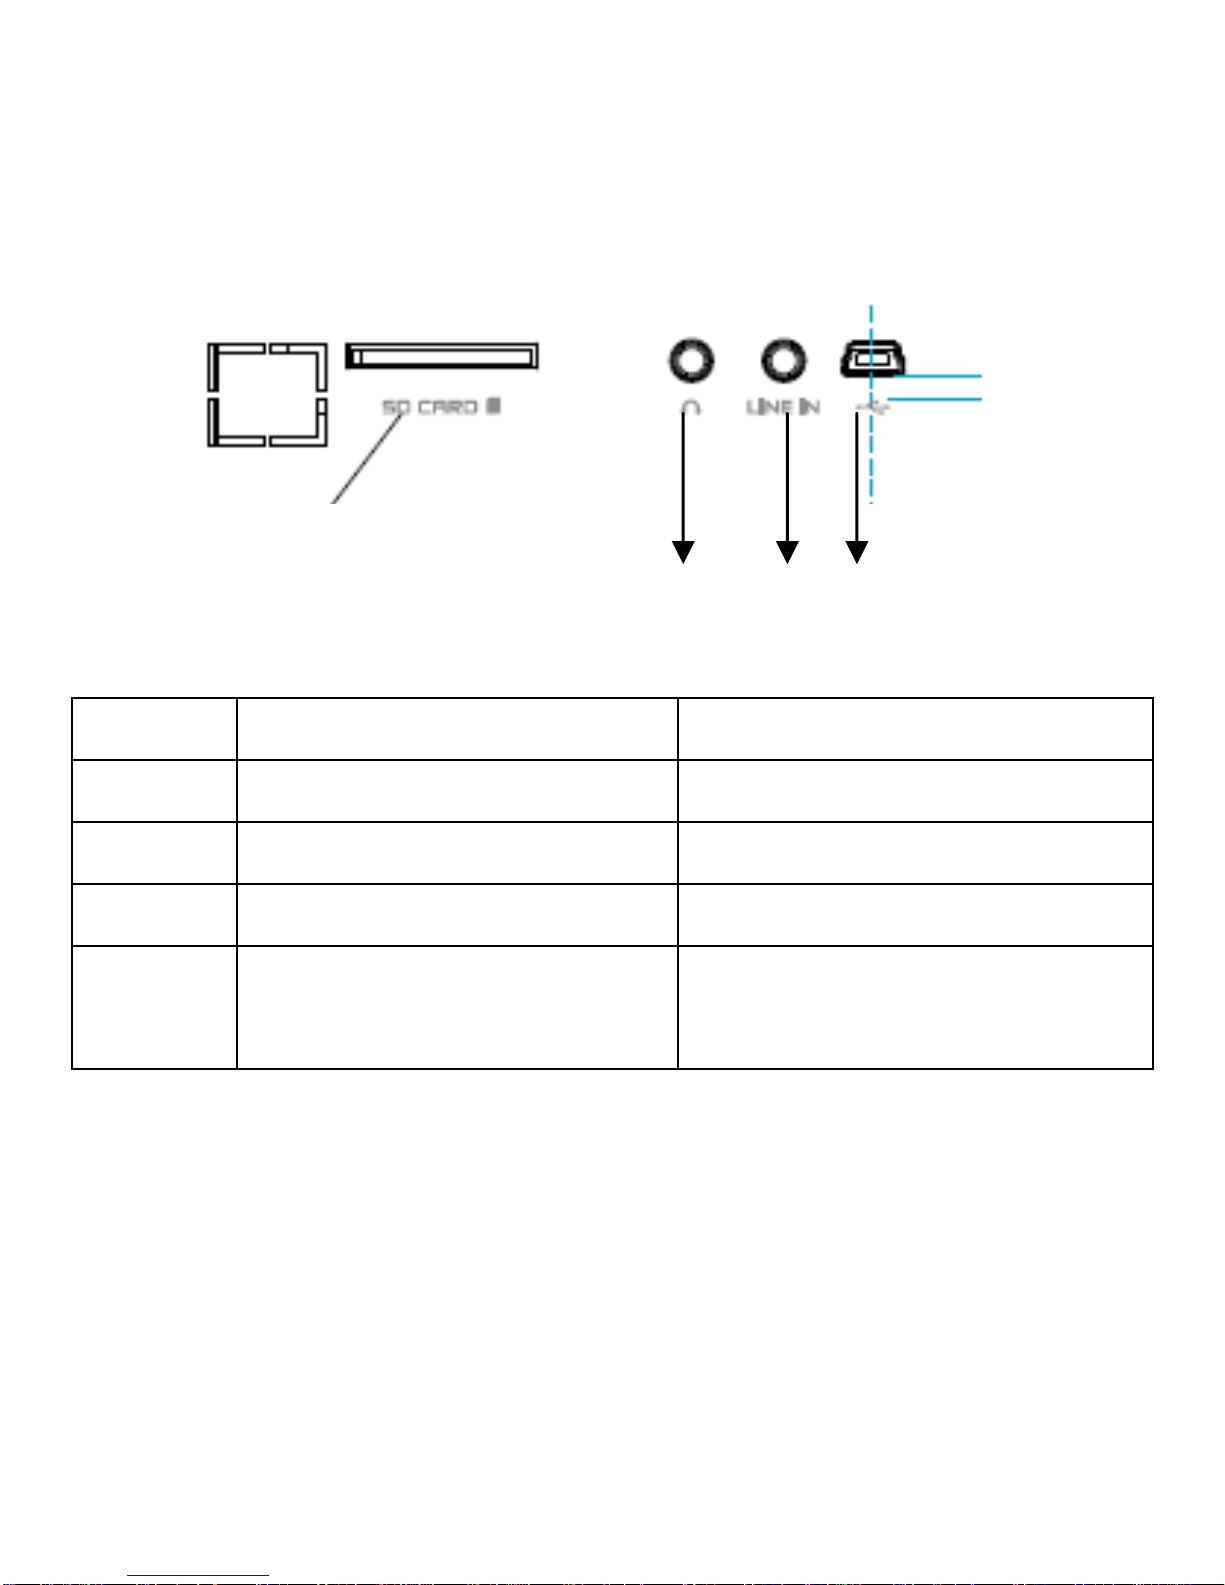
9
18 PLAY/PAUSE Press to play/ pause the current playback
19 STOP Press to stop playback
20 VOL + Press to increase the volume
21 VOL- Press to decrease the volume
22 Color buttons (red/blue/yellow/green)buttons, no function
Notice:
zRemote control operation range: Within 4m from front panel, angel<30
zWhen using the remote control, please point the remote control
towards the remote receiver.
zMake sure the signal from the remote control to the receiver on the
player is not blocked by solid objects.
zRemote control definition will be changed along with FW upgrade.
zAfter update FW, please notice the extra explain list.
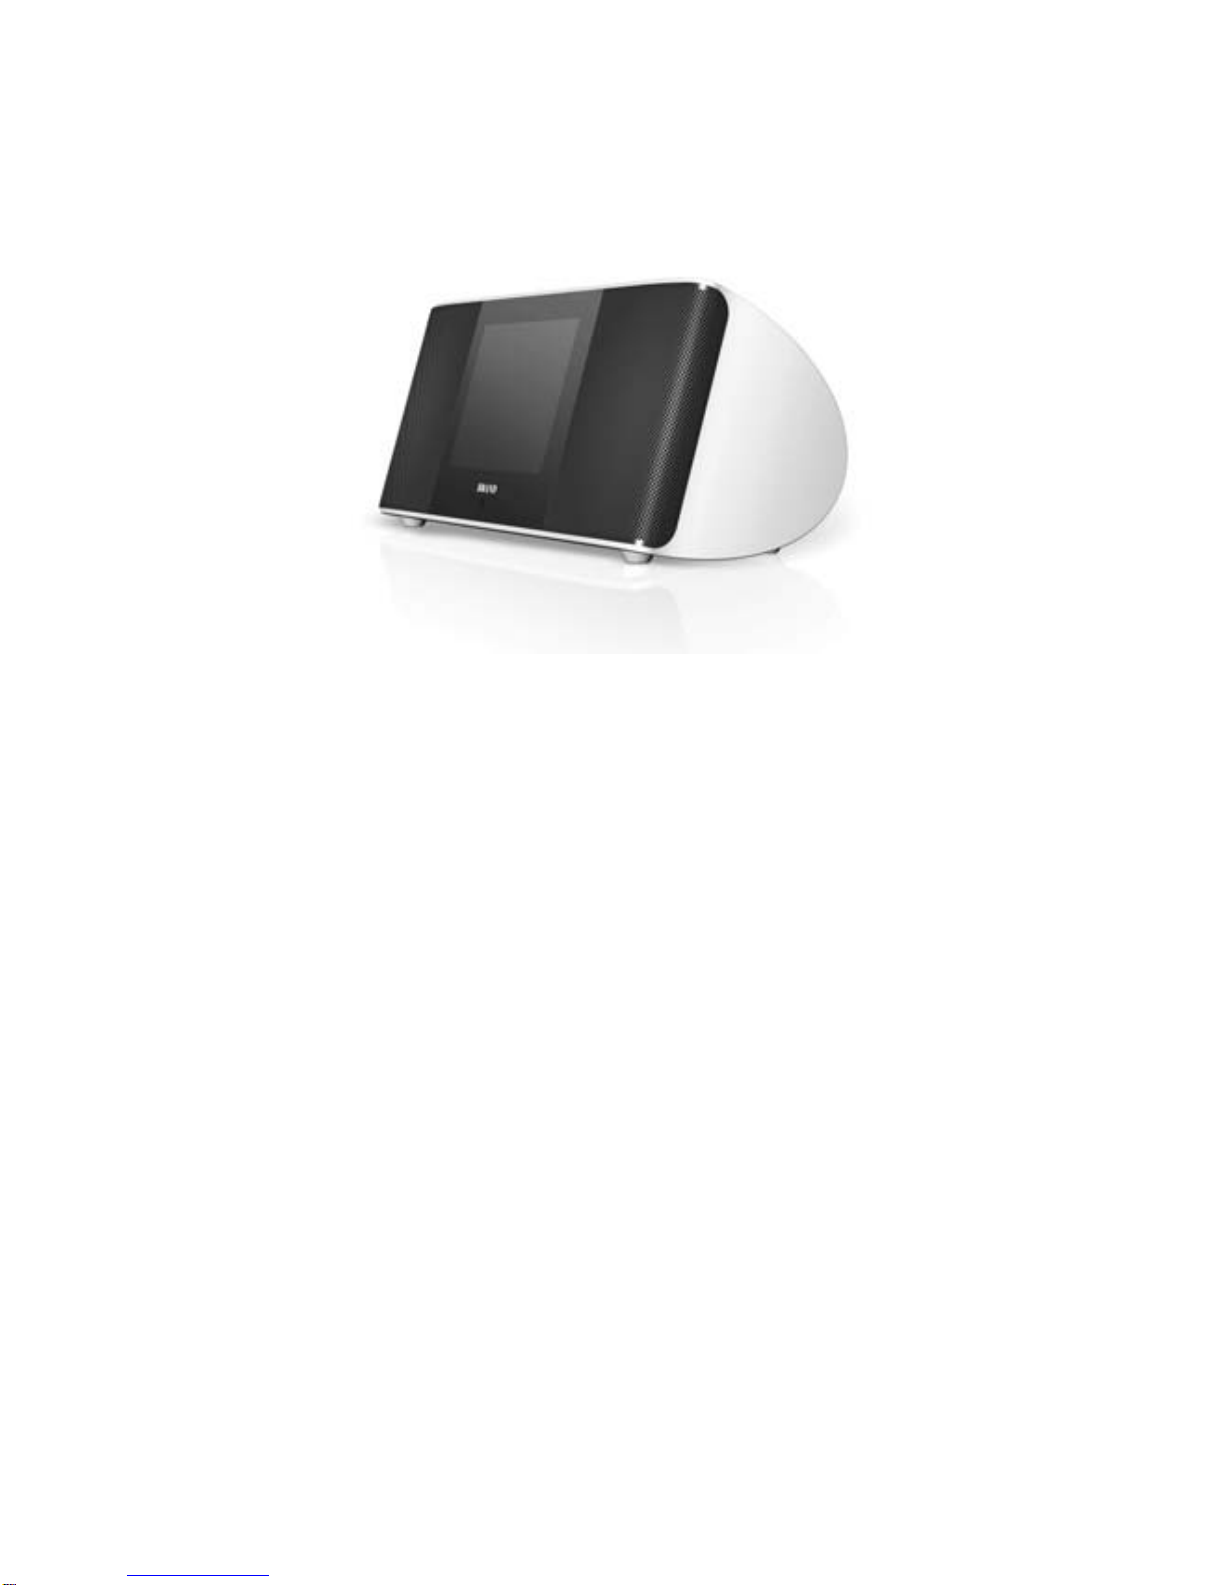
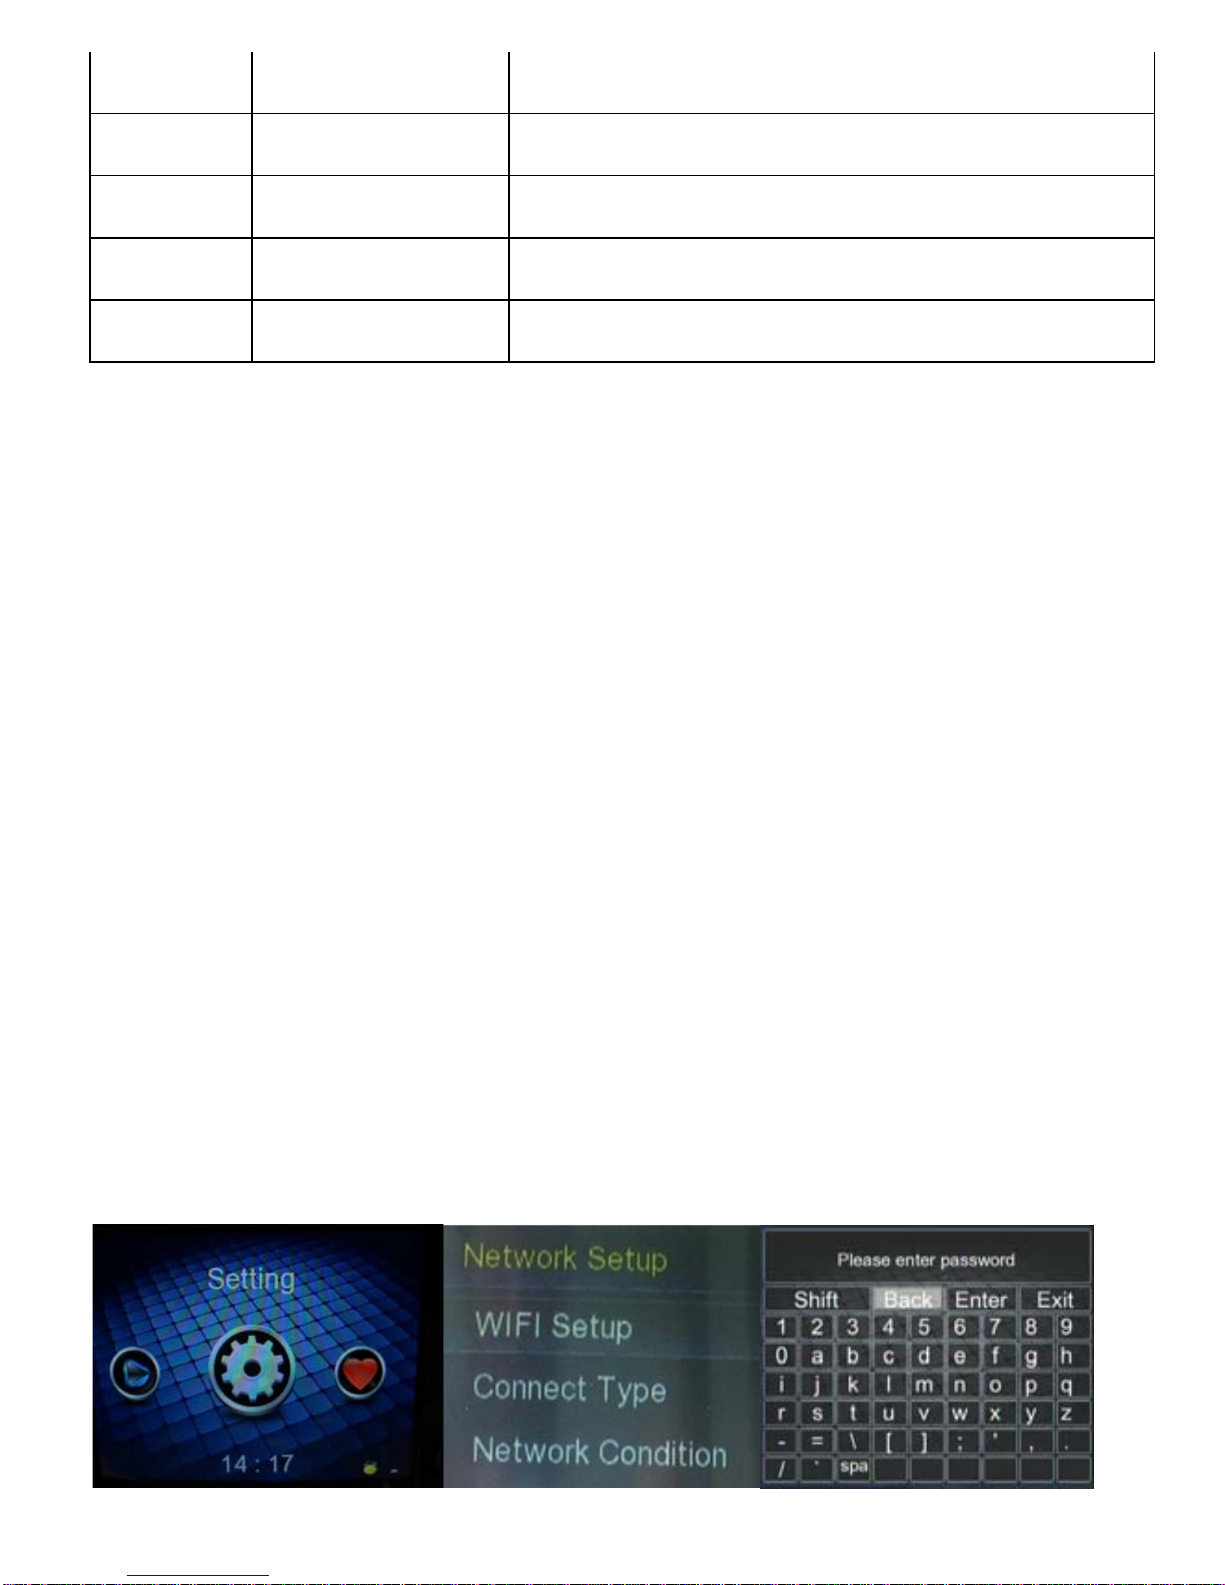
3. Wireless Network Connection
The WiFi- equipped device offers a variety of functions, such as Internet TV,
Internet Radio, Shoutcast,
Podcast etc. You need to set up and establish a wireless Internet connection.
You need a wireless router with valid and active account to access the
Internet.