manuals.online logo
Brands
  1. Home
  2. •
  3. Brands
  4. •
  5. Artopex
  6. •
  7. Indoor Furnishing
  8. •
  9. Artopex Genius User manual

Artopex Genius User manual

Genius
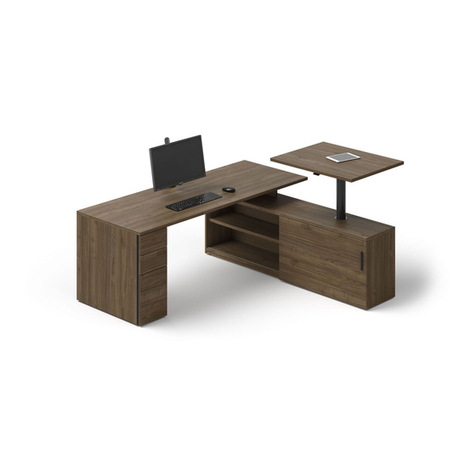
Table à surface fixe et pivotante / Fix and flip top Table
guide d’installation
installation guide
en vigueur le 10 juillet 2023
effective July 10th 2023
Table à surface fixe
Fixed Top Table
Genius guide d’installation
installation guide
1
LW673A-B-REV.07-2023 / artopex.com - T 1 800 378 0189
Composantes à visser sous la surface fixe (vis-à-vis les pré-perçages):
- Pattes
- Écran modestie
- Canalisation ouverte (courte)
- Canalisation ouverte et fermée (pleine largeur)
Components to be screwed under the fixed work surface (in pre-drilled holes):
- Legs
- Modesty panel
- Open cable tray (narrow)
- Open & closed cable trays (full length)
Pattes
(contemporaines ou tubulaires)
Legs
(contemporary or tubular)
Écran modestie
(laminé ou métal)
Modesty Panel
(laminate or metal)
Canalisation ouverte
(courte)
Open Cable Tray
(narrow)
Canalisation ouverte ou fermée
(pleine largeur)
Open or Door Cable Tray
(full length)
Position ( )
Table à surface fixe
Fixed Top Table
Genius guide d’installation
installation guide
2
LW673A-B-REV.07-2023 / artopex.com - T 1 800 378 0189
Écran modestie /
Modesty Panel
1Vissez les 2 supports à l’écran modestie
(Vis-à-vis les pré-perçages sur l’écran).
Screw the 2 brackets to the modesty panel
(using the pre-drilled holes on the modety panel).
Écran modestie en laminé
Laminate Modesty Panel
Écran modestie en métal
Metal Modesty Panel
2Visser l’écran modestie sous la surface
(Vis-à-vis les pré-perçages sous la surface).
Screw the modesty panel under the surface
(using the pre-drilled holes under the surface).
1Pour plus de facilité, vissez d’abord le faisceau électrique
à l’intérieur de la canalisation.
For easier installation, first screw the harness inside
the cable tray.
2Visser la canalisation sous la surface
(Vis-à-vis les pré-perçages sous la surface).
Screw the cable tray under the surface
(using the pre-drilled holes under the surface).
Canalisation pleine largeur /
Full Length Cable Tray
3Pour les portes pivotantes en laminé de 60’’ et 72’’ de long,
vissez le support central (aimanté) vis-à-vis les pré-perçages.
For the laminate doors 60'' and 72'' long, screw the central
support (magnet) in the pre-drilled holes.
Position ( )
Écrou de blocage /
Lock nut
8-32 (3x)
Vis /
Screw
8-32 x 3/8
"
(3x)
Faisceau
Harness
1¼"
Support central
Central support
Table à surface pivotante
Flip Top Table
Genius guide d’installation
installation guide
3
LW673A-B-REV.07-2023 / artopex.com - T 1 800 378 0189
1Installez vis-à-vis les pré-perçages :
- Les mécanismes (8 vis chaque)
- La manette (4 vis)
*Attention à l’orientation des mécanismes
sous la surface.
Install over pre-drilled holes:
- Mechanism units (8 screws each)
- Lever (4 screws)
*Attention: make sure mechanism units
are correctly oriented under the surface.
2Vissez les pattes sur les mécanismes.
*Avant de visser les pattes, vérifiez si vous avez un écran
modestie ou une canalisation à installer puisque ces
pièces sont fixées en utilisant les vis des pattes (voir ci-bas).
Screw legs on mechanism units.
*Before screwing the legs, check if you have a modesty
panel or a cable tray to install because these parts must
be installed using the leg screws (see below).
Installation d’un écran modestie :
- Vissez les supports pour l’écran modestie
dans les mêmes trous que ceux utilisés pour
les pattes (position extérieure avant).
- Vissez ensuite l’écran modestie aux supports.
Installation of a modesty panel:
- Screw the modesty panel brackets in the same holes
as the ones used for the legs (front exterior position).
- Then, screw the modesty panel to these brackets.
Installation d’une canalisation :
- Vissez la canalisation dans les mêmes trous
que ceux utilisés pour les pattes (positions intérieures).
Installation of a cable tray:
- Screw the cable tray in the same holes
as the ones used for the legs (interior positions).
1¼"
Table à surface pivotante
Flip Top Table
Genius guide d’installation
installation guide
4
LW673A-B-REV.07-2023 / artopex.com - T 1 800 378 0189
3Installer un amortisseur autocollant (transparent)
sur chaque mécanisme, tel qu’illsutré.
Install provided bumper sticker (clear)
on each mechanism as shown on drawing.
Vis d’ajustement
Adjustment screws
Amortisseurs autocollants
Bumper stickers
4Pour ajuster la surface à niveau, utilisez les vis d’ajustement.
To adjust the level surface, use the adjustment screws.

Other Artopex Indoor Furnishing manuals

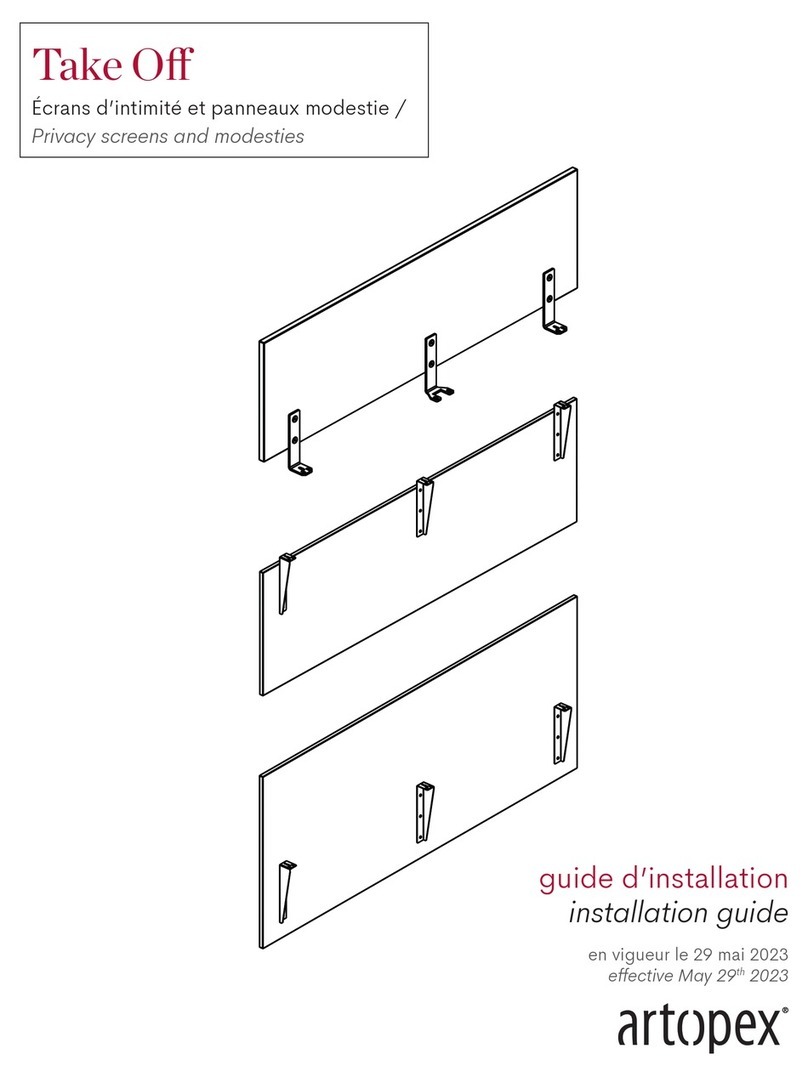
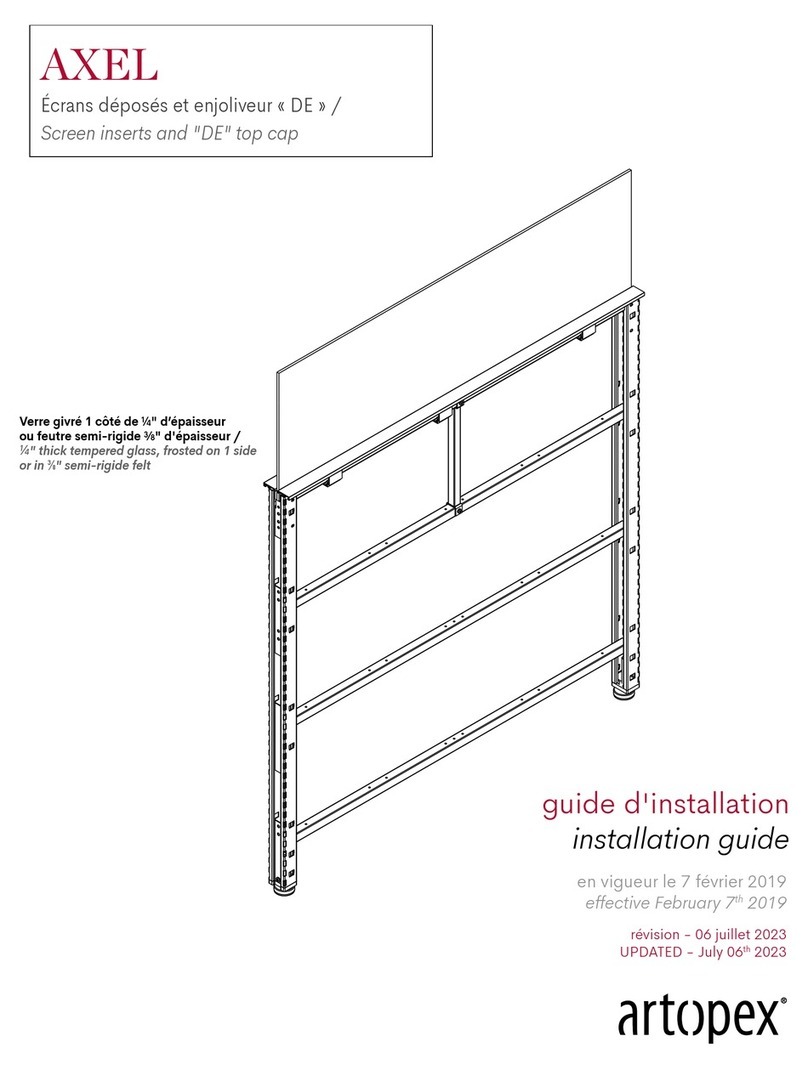
Artopex AXEL User manual

Artopex

Artopex AXEL User manual

Artopex e-Motion User manual

Artopex

Artopex e-Motion User manual

Artopex Take Off User manual

Artopex

Artopex Take Off User manual

Artopex NANO User manual

Artopex

Artopex NANO User manual

Artopex downtown User manual

Artopex

Artopex downtown User manual

Artopex Take Off User manual

Artopex

Artopex Take Off User manual

Artopex conference User manual

Artopex

Artopex conference User manual

Popular Indoor Furnishing manuals by other brands

JWA ANGLER 70517 Assembly instruction

JWA

JWA ANGLER 70517 Assembly instruction

Broyhill BS20282S quick start guide

Broyhill

Broyhill BS20282S quick start guide

Costway HW71614WH manual

Costway

Costway HW71614WH manual

Blanco 500-340 Specification sheet

Blanco

Blanco 500-340 Specification sheet

Charlies CRG948 manual

Charlies

Charlies CRG948 manual

BROSA Caledonia Rattan Bookcase with Storage Assembly guide

BROSA

BROSA Caledonia Rattan Bookcase with Storage Assembly guide

LDI SAFCO 4986 Assembly instructions

LDI

LDI SAFCO 4986 Assembly instructions

BUT 4894223215763 Assembly instructions

BUT

BUT 4894223215763 Assembly instructions

Next 418025 Assembly instructions

Next

Next 418025 Assembly instructions

Lyon OBELISK User instructions

Lyon

Lyon OBELISK User instructions

Furinno 2-15019 Assembly instruction

Furinno

Furinno 2-15019 Assembly instruction

Modus Furniture AUTUMN 8FJ866 Assembly instructions

Modus Furniture

Modus Furniture AUTUMN 8FJ866 Assembly instructions

Alice's Garden SPASURWKDRD quick start guide

Alice's Garden

Alice's Garden SPASURWKDRD quick start guide

Safavieh Furniture WIK6510 Assembly instructions

Safavieh Furniture

Safavieh Furniture WIK6510 Assembly instructions

ROOMS TO GO HMIS D8586-11 Assembly instructions

ROOMS TO GO

ROOMS TO GO HMIS D8586-11 Assembly instructions

DIVERSIFIED WOODCRAFTS FORWARD VISION II 2944K Assembly instructions

DIVERSIFIED WOODCRAFTS

DIVERSIFIED WOODCRAFTS FORWARD VISION II 2944K Assembly instructions

Gami G36-HANGUN Assembly instructions

Gami

Gami G36-HANGUN Assembly instructions

FourStarGroup 11223726 quick start guide

FourStarGroup

FourStarGroup 11223726 quick start guide

manuals.online logo
manuals.online logoBrands
  • About & Mission
  • Contact us
  • Privacy Policy
  • Terms and Conditions

Copyright 2025 Manuals.Online. All Rights Reserved.