Ashton AK110 User manual

USER MANUAL
AK110
AK110.indd 2 29/2/08 10:47:47 AM

CONTENTS:
INTRODUCTION 1
PACK CONTENTS 1
SPECIFICATIONS 1
SETTING UP:
POWER SUPPLY, USING HEADPHONES, MUSIC STAND 2
SUSTAIN INPUT, USB CONNECTION 3
TOP/REAR/LCD PANEL DESCRIPTION 4 - 5
BASIC OPERATION: VOLUME & DEMO 6
VOICES AND EFFECTS:
SELECTING A VOICE, DUAL VOICE FUNCTION 7
SUSTAIN, TOUCH, METRONOME, PIANO 8
STYLE CONTROL:
SELECT/START A STYLE, A.B.C MODE, SYNC START, STOPPING A STYLE 9
SYNC START, STOPPING A STYLE 9
OTHER OPERATIONS: INTRO/START, MAIN/FILL, END, TEMPO 10
CHORDS: CHORD RECOGNITION 11
CHORDS: A QUICK BASIC GUIDE, READING CHORD NAMES 12
MEMORY 13
ONE TOUCH SETTING 13
RECORD:
START RECORDING, STOP RECORDING, PLAYBACK THE RECORDING 14
FUNCTION MENU:
TRANSPOSE, OCTAVE, BEAT 15
SPLIT POINT, MIDI CHANNEL, ACCOMP VOLUME, BANK SELECT 16
SONG 17
LESSON MODE: 17
LESSON 1, LESSON 2, LESSON 3, GRADE FUNCTION 18
CHORD DICTIONARY 19
MIDI FUNCTION 20
APPENDIX: VOICE LIST 21
APPENDIX: STYLE LIST 22
APPENDIX: SONG LIST 23
APPENDIX: DEMO LIST 24
APPENDIX: CHORD LIST 24
SAFETY INFORMATION 25
AK110.indd 3 29/2/08 10:47:49 AM

PACK CONTENTS:
1 x AK110 keyboard unit
1 x Ashton “Learn To Play” DVD
SPECIFICATIONS:
61 keys with touch response
157 voices
100 styles
100 songs
2 demo songs
Polyphony: 32-note (max)
Accompaniment
Controls: start/stop, sync, intro/ending, main/fill, A.B.C.
Overall controls: dual, touch, sustain, function, one touch setting
Other controls: record & playback
Connectors: 12V DC, sustain, headphones, USB
Lesson function & DVD
Chord dictionary function
Dimensions: 97.5cm x 35cm x 13.5cm
Optional adaptor: DC12V1A+
•
•
•
•
•
•
•
•
•
•
•
•
•
•
•
INTRODUCTION:
Ashton is designed in Australia by a team of industry experts that have years of experience
in the development, design and production of musical instruments and equipment. Ashton’s
range of products are a result of years of development and careful testing. Every Ashton
product is designed with value in mind and features the highest quality materials available.
We highly recommend that you read and understand the information in this manual before
beginning use.
Enjoy,
The Ashton Team
- Page 1 -
AK110.indd 4 29/2/08 10:47:50 AM

SETTING UP: POWER SUPPLY
USING AN ADAPTOR:
Connect the adaptor to the DC IN jack located on the
rear panel of the unit and plug into power outlet. Do not
use adaptors other than what is specified. The technical
specifications for the power adaptor on the Ashton
AK110 is DC12V1A+.
USING BATTERIES:
1. Open the battery compartment cover on the underside
of the unit.
2. Insert 8 x alkaline “D” sized, R 20, SUM-1 or equivalent
batteries. Read the polarity instructions (negative and
positive guide). Close the battery compartment.
- Page 2 -
SETTING UP: USING HEADPHONES
Alternative to using the internal speakers or an
amplifier, you may choose to play using headphones.
To do this, simply connect a pair of headphones to
the ¼” stereo phones jack located on the back panel
of the unit.
SETTING UP: INSERTING MUSIC STAND
To set up the music stand, locate the tabs on the
bottom of the music stand and slot them into the slots
located at the top end of the AK110 keyboard.
AK110.indd 5 29/2/08 10:47:53 AM

SETTING UP: SUSTAIN INPUT
An optional footswitch can be plugged into the SUSTAIN
input jack for sustain control. The sustain pedal acts as a
damper pedal (like on a piano). Press for sustain, release
for normal sound. Attach the sustain as shown in the
diagram on the left.
SETTING UP: USB CONNECTION
Connect a PC or other USB host device that
supports USB audio via the USB input. When you
have installed the keyboard on the external device,
choose USB audio device in the device menu of the
keyboard to transfer midi data.
- Page 3 -
AK110.indd 6 29/2/08 10:47:55 AM

DESCRIPTION: TOP PANEL
1. POWER ON/OFF
2. TEMPO +/-
3. MASTER VOLUME
4. LEFT HAND LESSON MODE
5. RIGHT HAND LESSON MODE/
CHORD DICTIONARY
6. LESSON
7. FUNCTION
8. DEMO
9. STYLE
10. VOICE
11. SONG
STYLE MODE :: SONG MODE
12. START/STOP ::
13. SYNC ::
- Page 4 -
14. INTRO/ENDING ::
15. MAIN/FILL ::
16. A.B.C.
17. STORE
18. PANEL MEMORY (M1-M4)
19. ONE TOUCH SETTING
20. METRONOME
21. PIANO
22. DUAL
23. TOUCH
24. SUSTAIN
25. RECORD
26. NUMBERIC KEYPAD
27. LCD DISPLAY
AK110.indd 7 29/2/08 10:48:02 AM

DESCRIPTION: REAR PANEL
1. USB CONNECTION
2. SUSTAIN INPUT
3. PHONES JACK
4. POWER DC IN
DESCRIPTION: LCD DISPLAY
1. LESSON 1 FLAG INDICATOR
2. LESSON 2 FLAG INDICATOR
3. LESSON 3 FLAG INDICATOR
4. A.B.C. FLAG INDICATOR
5. RIGHT FLAG INDICATOR
6. LEFT FLAG INDICATOR
7. DUAL FLAG INDICATOR
8. TOUCH FLAG INDICATOR
9. CHORD INDICATOR
10. VOICE/STYLE/DEMO/SONG IND.
- Page 5 -
11. TEMPO/COUNT INDICATOR
12. BEAT INDICATOR
13. METRONOME ON/OFF INDICATOR
14. VOLUME LEVEL INDICATOR
15. BASS CLEF NOTE INDICATOR
16. TREBLE CLEF NOTE INDICATOR
17. 61 KEY KEYBOARD NOTATION INDICATOR
18. NORMAL/VARIATION
19. ONE TOUCH SETTING FLAG INDICATOR
20. MEMORY (M1 - M4) FLAG INDICATOR
AK110.indd 8 29/2/08 10:48:06 AM
- Page 6 -
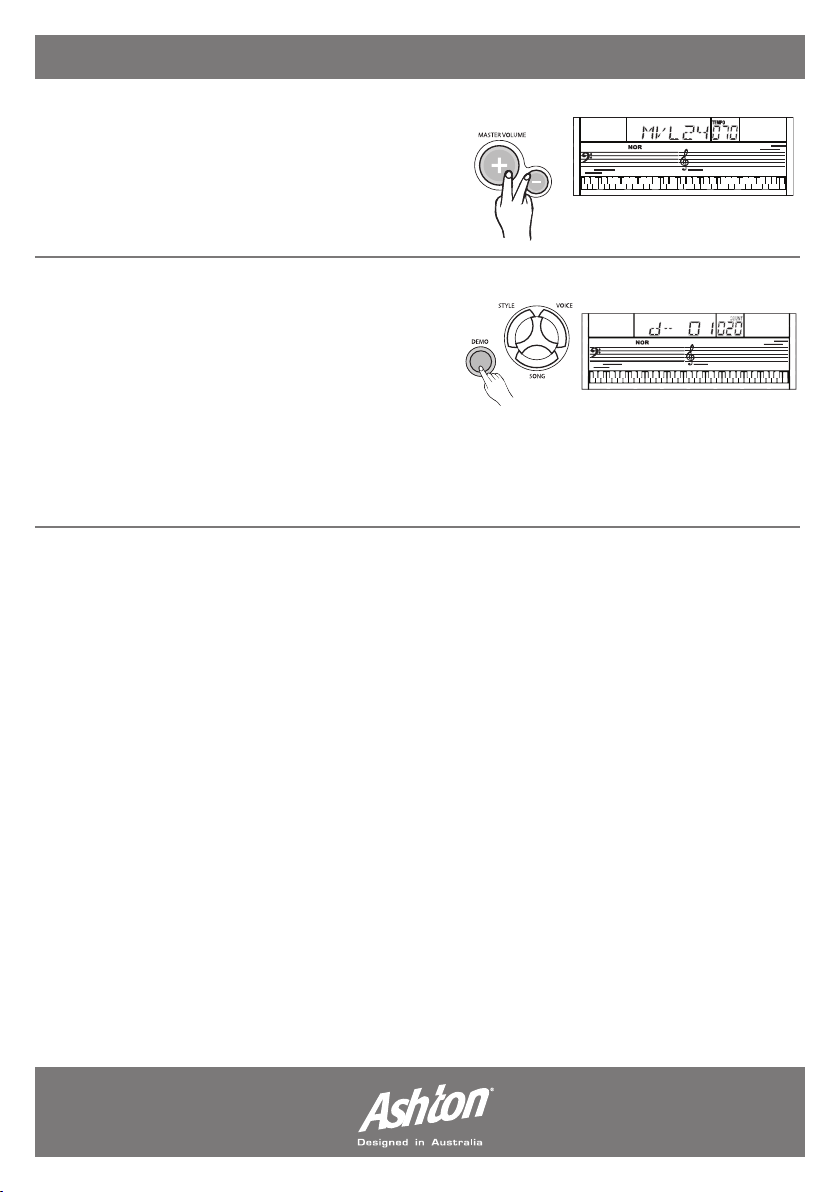
BASIC OPERATION
MASTER VOLUME:
The keyboard volume can be adjusted from the
values of 0 to 31 via the (MASTER VOLUME +/-)
button. The LCD screen will read MVL24, 24
being the example volume setting,
DEMO:
The AK110 keyboard includes 2 classic demo
songs. Press (DEMO) to enter the demo mode.
Select a demo song with the (+/YES), (-/NO) or
number (1 & 2) buttons. Press (START/STOP)
or (DEMO) to exit the demo mode.
Note: all function keys excluding the ones needed to control the demo mode are disabled
when the demo mode is engaged.
AK110.indd 9 29/2/08 10:48:14 AM

- Page 7 -
VOICES AND EFFECTS:
The following pages contain detailed sets of instructions on how to set up voices and effects
on your AK110 keyboard. There are 157 voices in total (see appendix).
SELECTING A VOICE:
Press the (VOICE) button to enter the
voice mode. The default voice is Voice 1
(01) - this will be displayed on the LCD
screen.
Press the (+/YES) and (-/NO) buttons
to choose the desired voice from the
library. If you know the exact number of
your desired voice - you may want to use
the number pad to select it.
DUAL VOICE FUNCTION
(PLAYING 2 VOICES AT ONCE):
The AK110 has the option of playing 2
voices simultaneously. You can also get
creative and make multiple combinations.
To set the dual voice press the (DUAL)
button whilst a voice is selected. The
“DUAL” and “VOICE 2” signals will appear
on the LCD screen to indicate you are in
dual mode. In dual mode you are selecting
the second voice you wish to play - the
first is the voice you are set on before you
press the (DUAL) button. Pressing the
(DUAL) button again will take you out of
dual mode.
VOICE
STYLE
SONG
NO YES
4
7
2
5
8
0
3
6
9
1
AK110.indd 10 29/2/08 10:48:24 AM
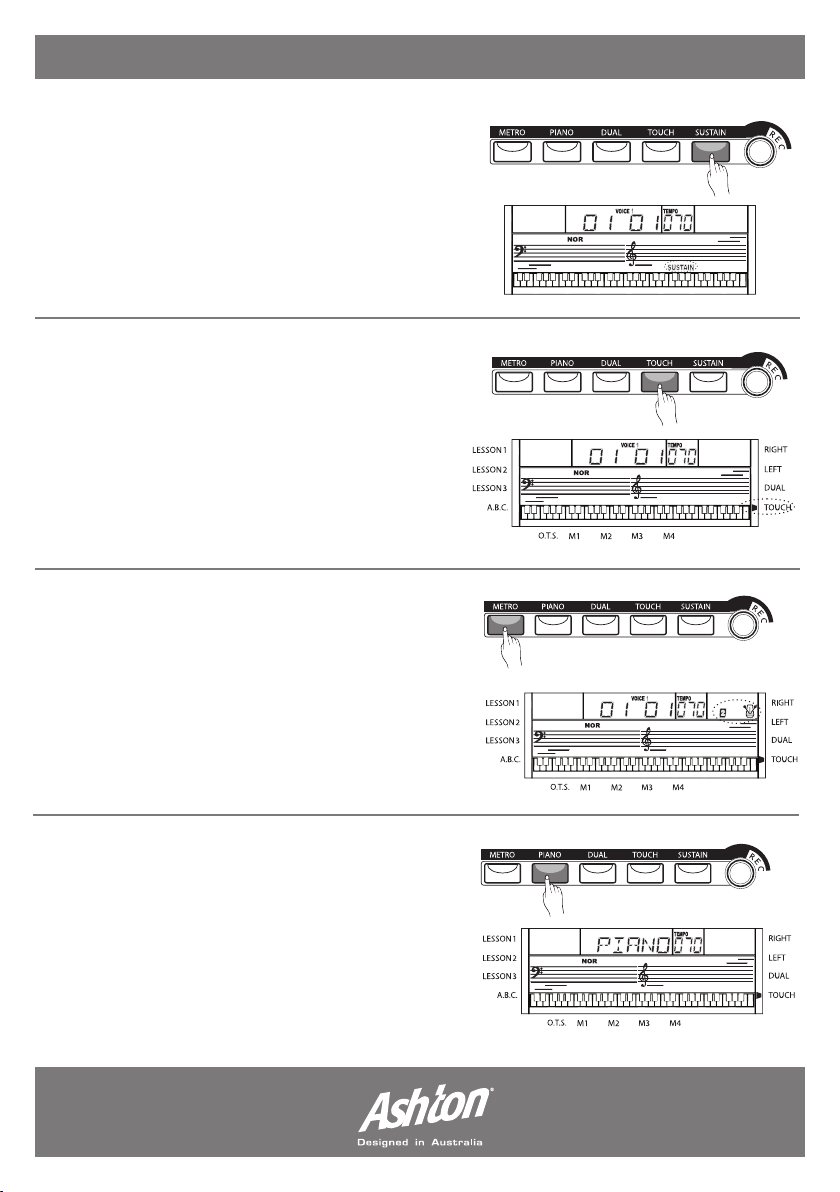
VOICES AND EFFECTS:
SUSTAIN:
This function allows you to set a voice with a sustain
effect. Press the (SUSTAIN) button to activate the
desired effect. “SUSTAIN” will be displayed on the
LCD screen. To turn the sustain effect off, simply
press the (SUSTAIN) button again. Note: the
sustain pedal has a stronger sustain effect and works
separately from the in-built sustain function.
TOUCH:
The touch function engages touch response on
the keyboard. This will allow for greater diversity
when playing. To turn the touch function on, press
the (TOUCH) button. To determine whether this
function is enabled - simply refer to the right hand
side of the LCD screen - a small flag will appear
next to the “touch” text to indicate the function
is enabled.
METRONOME:
Press the (METRO) button to engage or disengage
the metronome function. A metronome illustration
will appear on the LCD screen to indicate it is on.
The metronome can not be used in SONG/CHORD
DICT modes. When recording the metronome will
sound but will not be recorded.
PIANO:
Press the (PIANO) button to enter to the piano
mode. The LCD displays “PIANO”, and the voice
changes to piano immediately. If any of the
(FUNCTION)/(DEMO)/(VOICE)/(SONG)/(STYLE)
buttons are pressed to recall memory, the piano
mode will quit automatically.
- Page 8 -
AK110.indd 11 29/2/08 10:48:40 AM
Table of contents
Other Ashton Musical Instrument manuals


