manuals.online logo
Brands
  1. Home
  2. •
  3. Brands
  4. •
  5. ASI
  6. •
  7. Dryer
  8. •
  9. ASI 0165 Guide

ASI 0165 Guide

8-21/32" (220)
7-7/8" (200)
¯5/16" (8) 4 PLACES,
MOUNTING HOLES
FOR PLASTIC EXPANSION
DRY WALL ANCHORS
OR PILOT HOLES
AS REQUIRED
SEE INSTALLATION
NOTE 5 PAGE 2
OUTLINE 0165 COVER
1-3/8"
(34.5 )
3-31/32" (101)
4-1/2"
(114.3)
3-55/64"
(98)
4-1/64"
(102)
1-31/32"
(50)
2-3/16"
(55.5) 2-1/2"
(63.5)
9/32"
(7)
DRYER MOUNTING TEMPLATE Model No.: 0165
OUTLINE CHASSIS PLATE
ALT KO 3
ALT KO 2
¯7/8" (22) K.O. FOR
SUPPLY CABLE PREFERRED LOCATION
SEE INSTALLATION NOTE 4 PAGE 2
4 PLACES ALT KO 1
05072041-1
31/32"
(24.5)
8-13/16"
(224)
1-7/16"
(36.5)
13/64"
(5.3)
REF
4-1/4"
(108)
25/64"
(10)
11-7/32"
(285)
REF
Rev A 22 Aug 07
8-21/32" (220)
8-13/16"(224)
Schematic
Circuit Diagram
05072041-2
7-7/8" (200)
SEE NOTE 6
IMPORTANT
USE TEMPLATE
05072041-1
N/L2
L1
Thermal Switch 25A
on Heater element
P/N A0013
Motor With Thermal Switch
2A P/N A0004
CIRCUIT BOARD
12345
SENSOR
1 2 3
123
G
0165/0185/0195 100-240VAC
0184 277VAC The ground wire must be connected
to the dryer's backplate.
Service by qualified electrician ONLY.
Supply line 75 C requirement.
Do not daisy chain the ground wire.
Connect to 20A branch circuit ONLY.
100-240VAC-P/N A0009
277VAC-P/N A0038
0165 P/N A0036
0184/0185/0195 P/N A0019
(G/Y)
(Blue)
(Brown)
(Black)
(White)
(Blue)
Heater Assembly
Nichrome element P/N A0016
Transistor power switch
40A P/N A0024
NOTE
P/N A0037
N/
L2
L1
Rev B 30 Aug 07
Installation
1. Make sure power supply breaker is switched off. Installation must be carried out in accordance
with the current edition of the local wiring regulations code having jurisdiction. Installation should
be performed only by a qualified electrician.
2. Place template against wall at desired height (see mounting height recommendations) and mark
locations of 4 mounting holes and wire service entry at knockout (KO) location.
Note: For two or more dryers, dryers should be no closer than 24 inches (610 mm) on center.
3. Remove and retain 2 cover screws and cover.
4. For in-wall (concealed) power supply - Provide supply wire to KO location according to local code
and attach securely to chassis at KO with appropriate strain relief connector (not supplied).
5. Attach dryer to wall. For wood wall/studs use ¯1/4 inch (6 mm) screws at length that will ensure
1 inch (25 mm) min. stud penetration. For masonry walls use expansion bolts or anchors for ¯1/4 inch
(6 mm) screws to ensure penetration 1/4 inch (6 mm) deeper than anchor. Shim if necessary to
ensure base plate is flat against wall.
6. Connect supply and ground wires to terminal block where indicated or connect supply wires to terminal
block where indicated and connect ground wire to base plate with ground screw (Connections: A.
Connect the live wire (colored Brown or Black) to the terminal block marked "L1". B. Connect the
neutral wire (colored White or Grey) or connect the second live wire (colored Red or Orange) to the
terminal block marked "N/L2". C. Connect the ground wire (colored green or green and yellow or bare
conductor) to the terminal block marked " " or to the green screw marked " "). Colors of live and
neutral wires depend on voltage of supply service and requirements of Building and Electrical Code
having jurisdiction.
7. Replace cover. Do not over-tighten screws.
8. Switch on circuit breaker and test unit operation.
9. Complete and mail registration reply postcard.
Recommended mounting heights - from bottom edge of dryer above finished floor (AFF)
Men
Women
Children 4-7 years
Children 8-10 years
Children 11-13 years
Children 14-16 years
Handicaped
50" (1270 mm)
47" (1194 mm)
35" (889 mm)
39" (991 mm)
43" (1092 mm)
47" (1194 mm)
40" (1016 mm)
Reference ADAAG
Reach LIMIT (unrestricted)
All Approaches 48" (1219 mm)
AFF (maximum)
- IMPORTANT - READ COMPLETELY BEFORE
STARTING INSTALLATION PROCEDURE

Other ASI Dryer manuals

ASI 20200 User manual

ASI

ASI 20200 User manual

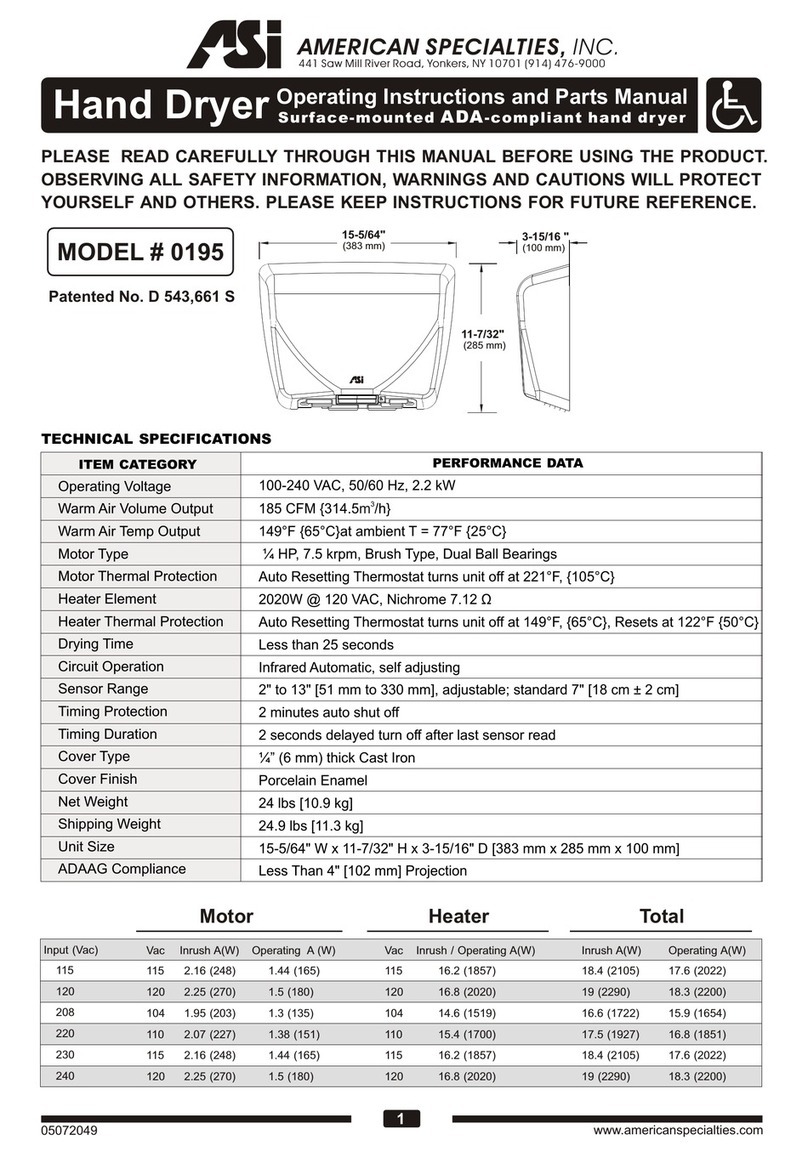
ASI 0195 User manual

ASI

ASI 0195 User manual

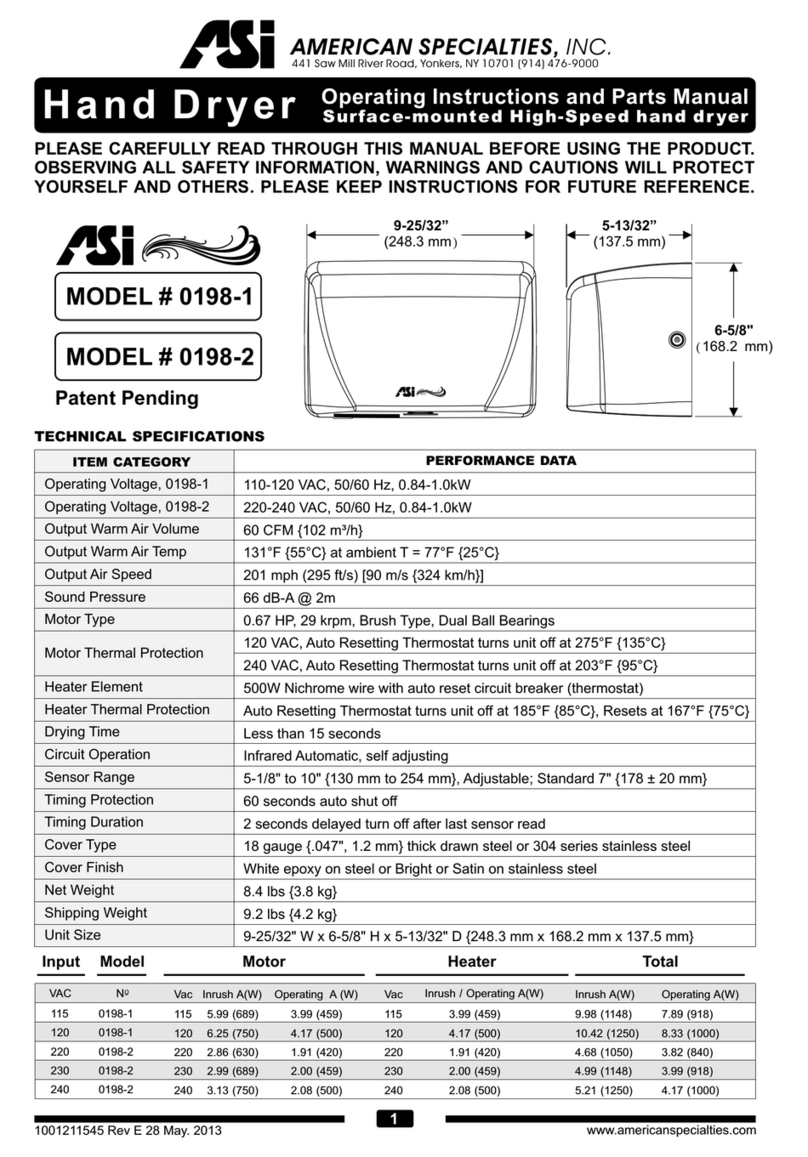
ASI 0141 User manual

ASI

ASI 0141 User manual

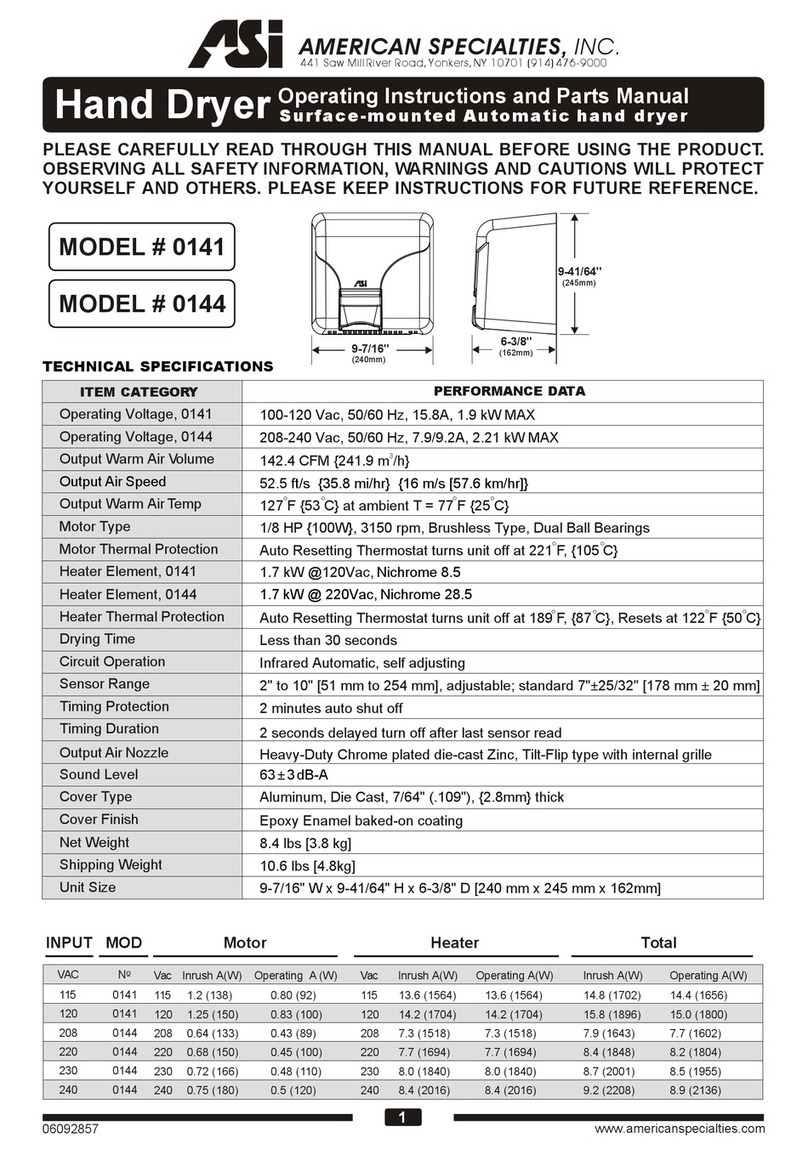
ASI 0198-1 User manual

ASI

ASI 0198-1 User manual

ASI 0199-1 User manual

ASI

ASI 0199-1 User manual

ASI 0198-1 Service manual

ASI

ASI 0198-1 Service manual

ASI 0198-1 Service manual

ASI

ASI 0198-1 Service manual

ASI TURBO Swift 0192-1-93 User manual

ASI

ASI TURBO Swift 0192-1-93 User manual

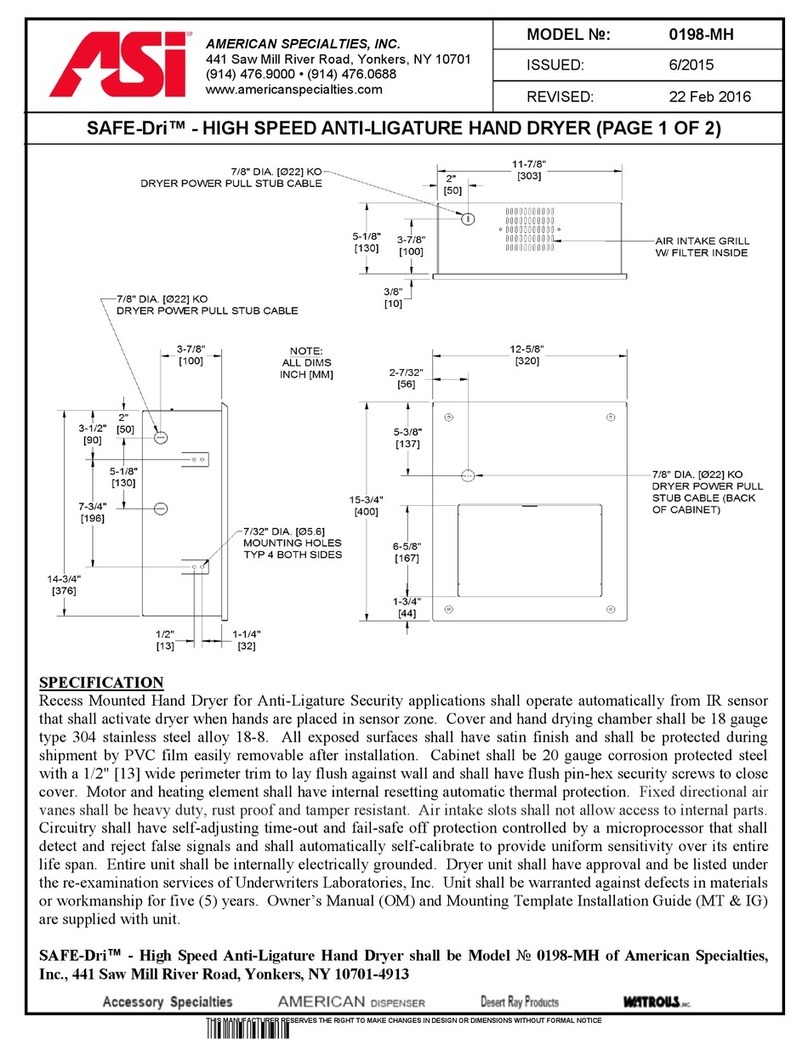
ASI SAFE-Dri 0198-MH User manual

ASI

ASI SAFE-Dri 0198-MH User manual

Popular Dryer manuals by other brands

CDA CI921 Manual for installation, use and maintenance

CDA

CDA CI921 Manual for installation, use and maintenance

Podab ProLine TS 63 E Service manual and spare parts list

Podab

Podab ProLine TS 63 E Service manual and spare parts list

Kenmore 27 IN. (69 CM) installation instructions

Kenmore

Kenmore 27 IN. (69 CM) installation instructions

Whirlpool 3LWED4915 Use and care guide

Whirlpool

Whirlpool 3LWED4915 Use and care guide

Samsung FlexDry DVG60M9900 user manual

Samsung

Samsung FlexDry DVG60M9900 user manual

ZANKER Thermat K-ES 9001 Operation instructions

ZANKER

ZANKER Thermat K-ES 9001 Operation instructions

Haier GDE480BW user manual

Haier

Haier GDE480BW user manual

Siemens iQ800 Installation and operating instructions

Siemens

Siemens iQ800 Installation and operating instructions

White Knight eco 86A Instructions for use

White Knight

White Knight eco 86A Instructions for use

Hotpoint TVF ET 7B Instruction booklet

Hotpoint

Hotpoint TVF ET 7B Instruction booklet

Kruger SECOMAT 2002 operating instructions

Kruger

Kruger SECOMAT 2002 operating instructions

Amana NGD7300WW instructions

Amana

Amana NGD7300WW instructions

SPL Supreme dri bubble manual

SPL

SPL Supreme dri bubble manual

Whirlpool GEQ8821KQ0 Use and care guide

Whirlpool

Whirlpool GEQ8821KQ0 Use and care guide

Elba EBD 882H VT user manual

Elba

Elba EBD 882H VT user manual

GE GFDN100EL Dimensions and installation information

GE

GE GFDN100EL Dimensions and installation information

Frigidaire FER641FS - 27" Electric Dryer owner's guide

Frigidaire

Frigidaire FER641FS - 27" Electric Dryer owner's guide

GE Spacemaker DSXH43EVWW Dimensions and installation information

GE

GE Spacemaker DSXH43EVWW Dimensions and installation information

manuals.online logo
manuals.online logoBrands
  • About & Mission
  • Contact us
  • Privacy Policy
  • Terms and Conditions

Copyright 2025 Manuals.Online. All Rights Reserved.