manuals.online logo
Brands
  1. Home
  2. •
  3. Brands
  4. •
  5. Asko
  6. •
  7. Oven
  8. •
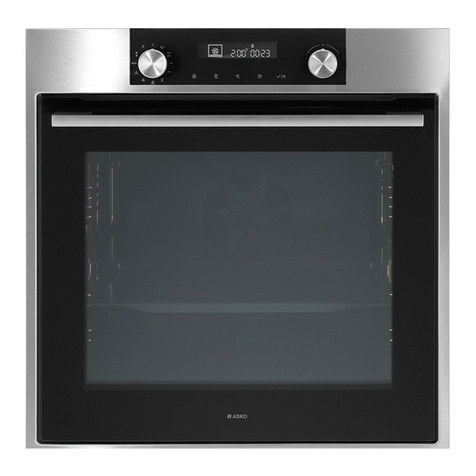
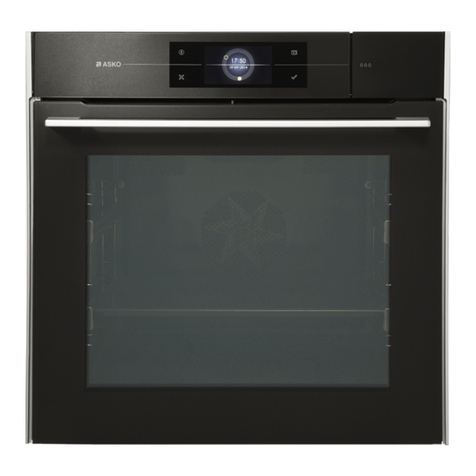
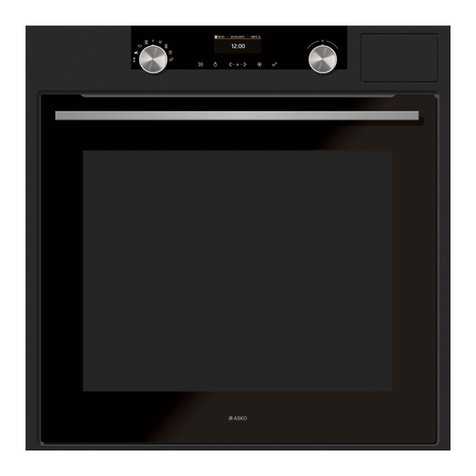
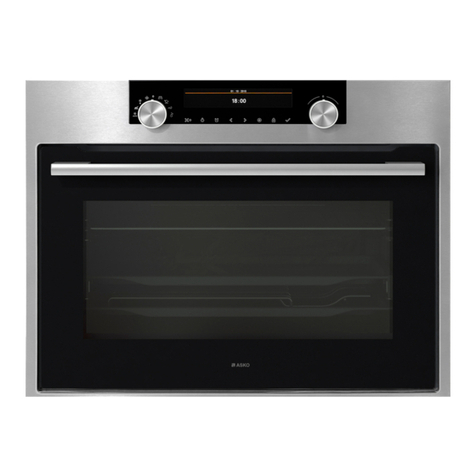
  9. Asko OP8637A1 User manual

Asko OP8637A1 User manual

This manual suits for next models

4

Other Asko Oven manuals

Asko OP8637S User manual

Asko

Asko OP8637S User manual

Asko OCSM8478GG User manual

Asko

Asko OCSM8478GG User manual

Asko OT8464A User manual

Asko

Asko OT8464A User manual

Asko OP8664A1 User manual

Asko

Asko OP8664A1 User manual

Asko OCM8487A1 User manual

Asko

Asko OCM8487A1 User manual

Asko OP8687B User manual

Asko

Asko OP8687B User manual

Asko BO4CM4S3-42 User manual

Asko

Asko BO4CM4S3-42 User manual

Asko OT8637A User manual

Asko

Asko OT8637A User manual

Asko OP8631S User manual

Asko

Asko OP8631S User manual

Asko OT86331BG User manual

Asko

Asko OT86331BG User manual

Asko OCSM8487 Series User manual

Asko

Asko OCSM8487 Series User manual

Asko OCM8464A User manual

Asko

Asko OCM8464A User manual

Asko OP8487A User manual

Asko

Asko OP8487A User manual

Asko OCM8483S User manual

Asko

Asko OCM8483S User manual

Asko OP8664A User manual

Asko

Asko OP8664A User manual

Asko OP8621S User manual

Asko

Asko OP8621S User manual

Asko BO6SA2T1-42 User manual

Asko

Asko BO6SA2T1-42 User manual

Asko OCS8637B User manual

Asko

Asko OCS8637B User manual

Asko OP8487S User manual

Asko

Asko OP8487S User manual

Asko OCM84331BG User manual

Asko

Asko OCM84331BG User manual

Asko OCS8637S User manual

Asko

Asko OCS8637S User manual

Asko OP8693S User manual

Asko

Asko OP8693S User manual

Asko OCM8437S User manual

Asko

Asko OCM8437S User manual

Asko OT8601S User manual

Asko

Asko OT8601S User manual

Popular Oven manuals by other brands

Brandt FC 222 user manual

Brandt

Brandt FC 222 user manual

aumate TOA20M04N-1E instruction manual

aumate

aumate TOA20M04N-1E instruction manual

Maytag CWE4100AC - 24" Single Electric Wall Oven Dimension Guide

Maytag

Maytag CWE4100AC - 24" Single Electric Wall Oven Dimension Guide

Kernau KBO 1076 S PT B instruction manual

Kernau

Kernau KBO 1076 S PT B instruction manual

Bosch HB 37 N Series User manual and installation instructions

Bosch

Bosch HB 37 N Series User manual and installation instructions

Electrolux EOD5420AA user manual

Electrolux

Electrolux EOD5420AA user manual

Mx Onda MX-HC2183 instruction manual

Mx Onda

Mx Onda MX-HC2183 instruction manual

Daewoo F6EV19SM2 Service manual

Daewoo

Daewoo F6EV19SM2 Service manual

Blodgett MT3870 Specifications

Blodgett

Blodgett MT3870 Specifications

GE ZET2F owner's manual

GE

GE ZET2F owner's manual

GE JK3000DF3WW owner's manual

GE

GE JK3000DF3WW owner's manual

eka EKF 523 NT Operating and instruction manual

eka

eka EKF 523 NT Operating and instruction manual

AEG Electrolux E3191-5 user manual

AEG Electrolux

AEG Electrolux E3191-5 user manual

Pratica Rocket Express quick start guide

Pratica

Pratica Rocket Express quick start guide

Viking Professional VGSO260T user guide

Viking

Viking Professional VGSO260T user guide

FM RX203 instruction manual

FM

FM RX203 instruction manual

Bosch HBN331 9B Series instruction manual

Bosch

Bosch HBN331 9B Series instruction manual

NEFF B95M42N0MK Instructions for use

NEFF

NEFF B95M42N0MK Instructions for use

manuals.online logo
manuals.online logoBrands
  • About & Mission
  • Contact us
  • Privacy Policy
  • Terms and Conditions

Copyright 2025 Manuals.Online. All Rights Reserved.

Instructions for use
OVEN
OP8637A / BO6PY4I3-42
OP8637S / BO6PY4I3-42
OP8637A1 / BO6PY4I3-42
OP8637B / BO6PY4I3-42
862798_en_naslovnica_drug_papir.indd 1862798_en_naslovnica_drug_papir.indd 1 29. 09. 2022 12:15:5829. 09. 2022 12:15:58
EN 2
EN User manual EN 3 - EN 31
Pictograms used
Important information
Tip
862798_en_naslovnica_drug_papir.indd 2862798_en_naslovnica_drug_papir.indd 2 29. 09. 2022 12:16:2129. 09. 2022 12:16:21
EN 3
CONTENTS
Your oven
Introduction 4
Description 5
Guide rails/Telescopic guide rails 5
Accessories 6
Door 7
Cooling fan 7
Control panel 8
First use
Before using the appliance for the first time 9
Use
Switching on and settings 10
Oven settings 13
Choosing the settings 17
Selecting additional functions 19
Starting the cooking process 21
Switching off the oven 21
Operation
Culisensor 22
Maintenance
Cleaning the oven 24
Removing and cleaning the guide rails. 24
Removal and installation of the oven door 25
Removing the oven window 26
The Cleaning function (pyrolysis) 27
Replacing the oven lamp 28
Malfunctions
General 29
Environmental aspects
Disposal of the appliance and packaging 31
862798_en_naslovnica_drug_papir.indd EN3862798_en_naslovnica_drug_papir.indd EN3 29. 09. 2022 12:16:2229. 09. 2022 12:16:22
EN 4
YOUR OVEN
Introduction
Congratulations on the purchase of this ASKO oven. This product is designed to offer optimum
user-friendliness. The oven has a wide range of settings enabling you to select the correct
cooking method every time.
This manual shows how you can best use this oven.
In addition to information about operating the oven, you will also find background information
that may be useful when using the appliance.
Please read the separate safety instructions carefully before
using the appliance!
Read this manual before using the appliance and keep it in a safe place for future use.
Installation instructions are supplied separately.
862798_en_naslovnica_drug_papir.indd EN4862798_en_naslovnica_drug_papir.indd EN4 29. 09. 2022 12:16:2229. 09. 2022 12:16:22
EN 5
YOUR OVEN
Description
1. Control panel
2. Rack levels
3. Oven door
4. Handle
Guide rails/Telescopic guide rails
• The oven has four or five guide rails (Level 1 to 4/5), depending on the model. Level 1 is
mainly used in combination with bottom heat. The two upper levels are mainly used for the
grill function.
• Place the oven rack, baking tray or steam dish in the gap between the guide rail sliders.
• A number of shelf levels can have fully-retractable telescopic guide rails, depending on the
model.
▷Pull the telescopic guide rails out of the oven cavity completely and place the oven rack
/ baking tray / steam dish on them. Then slide the oven rack / baking tray / steam dish
on the telescopic guide rails, back into the oven cavity.
▷Only close the oven door when the telescopic guide rails have been returned completely
back into the oven cavity.
862798_en_naslovnica_drug_papir.indd EN5862798_en_naslovnica_drug_papir.indd EN5 29. 09. 2022 12:16:2229. 09. 2022 12:16:22
EN 6
Accessories
Your appliance is accompanied by a range of accessories, depending on the model. Only use
original accessories; they are specially suited toyour appliance. Be sure that all the accessories
that are being used are able to withstand the temperature settings of the chosen oven function.
Note: not all accessories are suitable/available for every appliance (itmay also differ by country).
When purchasing, always provide the exact identification number of your appliance. Please see
the sales brochures or check online for more details about optional accessories.
Accessories that can be supplied with your appliance (depending on the model)
Enamelled baking tray; to be used for pastries and cakes.
• Do not use the enamelled baking tray for microwave functions!
• Suitable for pyrolysis cleaning.
Oven rack; mainly used for grilling. A steam dish or pan with food
can also be placed on the oven rack.
• The oven rack is equipped with a safety peg. Lift the rack slightly
at the front to slide it out of the oven.
• Do not use the oven rack for microwave functions!
Deep enamelled baking tray; to be used for roasting meat and
baking moist pastry. It can also be used as a drip tray. Place
the deep baking tray into the first level for use as a drip tray
duringgrilling.
• Do not use the deep enamelled baking tray for microwave
functions!
• Suitable for pyrolysis cleaning.
Glass baking tray; for microwave and oven use.
• NOT suitable for pyrolysis cleaning.
Culisensor; can be used to measure the core temperature of the
dish. When the desired temperature is reached, the cooking process
will be stopped automatically.
YOUR OVEN
862798_en_naslovnica_drug_papir.indd EN6862798_en_naslovnica_drug_papir.indd EN6 29. 09. 2022 12:16:2329. 09. 2022 12:16:23
EN 7
YOUR OVEN
Door
• The door switches interrupt the operation of the oven when the door is openegd during use.
The oven continues operating when the door is closed.
• This oven has a ‘Soft close door system’. When closing the oven door, this system dampens
the movement, from a certain angle, and silently closes the oven door.
Cooling fan
• The appliance is equipped with a cooling fan that cools the casing and control panel.
862798_en_naslovnica_drug_papir.indd EN7862798_en_naslovnica_drug_papir.indd EN7 29. 09. 2022 12:16:2429. 09. 2022 12:16:24
EN 8
YOUR OVEN
Control panel
1. Off
2. Quick preheat
3. Top heat + bottom heat
4. Small grill
5. Large grill
6. Grill with fan
7. Hot air + bottom heat
8. Hot air
9. Bottom heat with fan
10. ECO cooking
11. Defrosting
12. Pyrolysis
13. Display (cooking information and timer)
14. Selection dial
15. Child lock
16. Oven lamp
17. Temperature
18. Timer
19. Start/Stop
Note:
For the best touch response, touch the buttons with the main part of your fingertip. Every
time you press a button during use, a short signal will sound.
10 1112 1413
15 16 17 18 19
862798_en_naslovnica_drug_papir.indd EN8862798_en_naslovnica_drug_papir.indd EN8 29. 09. 2022 12:16:2429. 09. 2022 12:16:24
EN 9
Before using the appliance for the first time
• Upon receiving the appliance, remove all parts, including any transport equipment, from the
oven.
Clean all accessories and utensils with warm water and regular detergent. Do not use any
abrasive cleaners.
• When the oven heats up for the first time, the characteristic smell of a new appliance will be
emitted. Ventilate the room thoroughly during the first use.
FIRST USE
862798_en_naslovnica_drug_papir.indd EN9862798_en_naslovnica_drug_papir.indd EN9 29. 09. 2022 12:16:2529. 09. 2022 12:16:25
EN 10
USE
Switching on and settings
After connecting your appliance or after an extended power outage, 12:00 will flash on the display
and the symbol will light up.
Set the time of day.
SETTING THE CLOCK
Rotate the SETTINGS KNOB (-/+) and first set the minutes; then, the cursor will switch to hours.
After three seconds, the settings will be saved.
Turning the knob farther to the right or to the left will change the settings more quickly.
Confirm by pressing START/ STOP. If nothing is pressed within the next three seconds, the setting
will be stored automatically.
The oven will also work if the clock is not set. However, timer functions are not available
in this case (see chapter: SETTING THE TIMER FUNCTIONS).
After a few minutes of idling, the appliance will switch to standby mode.
CHANGING THE CLOCK SETTING
Clock settings may be changed when no timer function is activated.
Press the key to set the current time. Confirm by pressing START/ STOP.
862798_en_naslovnica_drug_papir.indd EN10862798_en_naslovnica_drug_papir.indd EN10 29. 09. 2022 12:16:2529. 09. 2022 12:16:25