RPA01 - Product Manual
U-0618-0086.doc – Issue: 04 complete, approved
Page 8 of 20
2.2 Making an Announcement
• If using with a SAP01 fitted with a Radio Microphone Receiver, then in order to be able to
make an announcement from the Radio Microphone the key-switch located on the SAP01
internal panel should the selected to RADIO MIC position using the associated KABA key.
• If using with a SAP02 fitted with a Radio Microphone Receiver, then in order to be able to
make an announcement from the Radio Microphone the Radio Microphone needs to be
enabled through the RADIO MIC – ON/OFF button on the SAP02 front panel. When the
Radio Microphone is enabled the RADIO MIC – SELECTED LED on the front panel is
illuminated.
!
!
A fully charged battery should last up to 7 hours of continuous talk time, which translates to
several days of normal operational use. However it is recommended that the RPA01
transmitter is returned to its charging bay on a daily basis to completely eliminate the risk of
the batteries running flat when the unit is in service.
The battery must be charged in-situ using the RCS01 Charging Station, which can be
separately ordered. Please, refer to the RCS01 Charging Station Product Manual for further
details [Table 1, page 18].
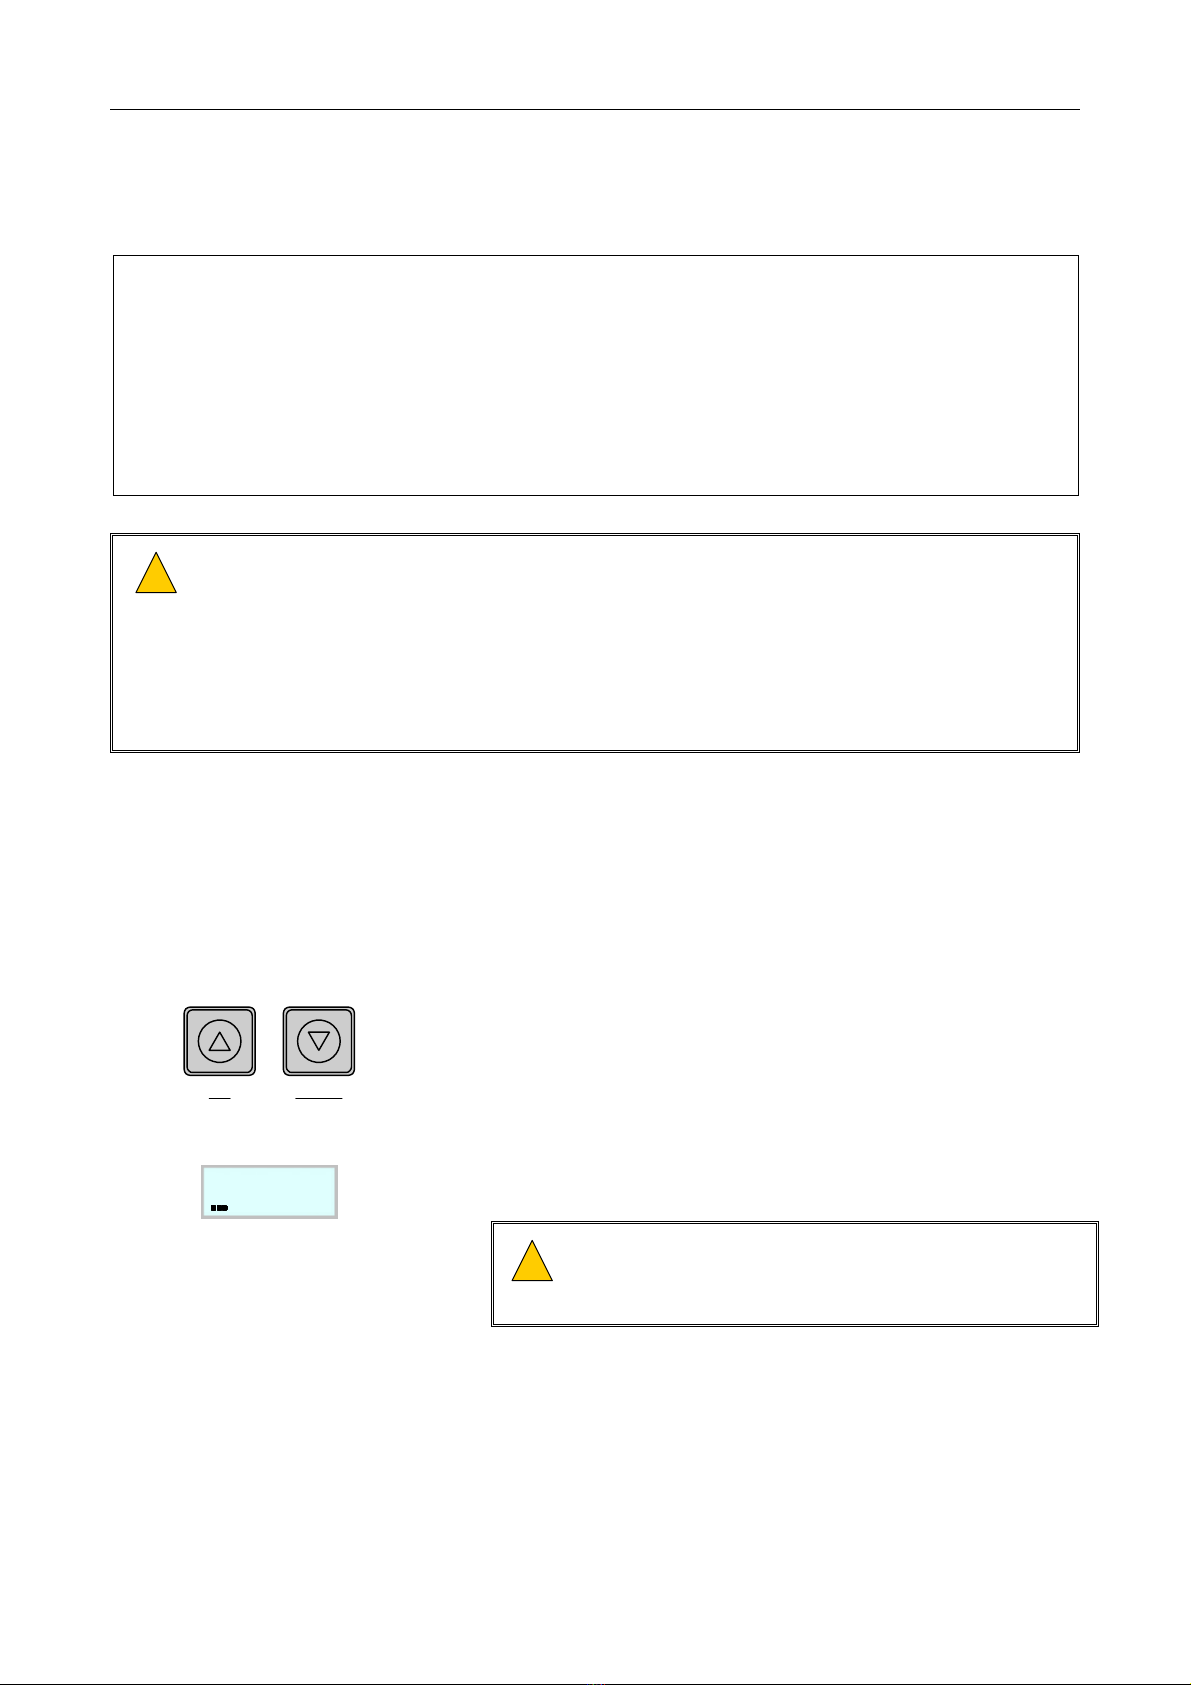
CHANNEL
DOWNUP
LCD DISPLAY
CH.7
1. If necessary, select the channel on which the Radio Microphone
transmits, by pressing the channel UP/DOWN buttons.
Pressing either channel button momentarily powers the unit up,
and holds power on for a few seconds; the unit then shows the
currently selected channel number on the LCD display.
Subsequent presses of the Channel Up and Down buttons then
increment or decrement the channel. Note that the microphone
does not broadcast during this time, to allow the user to view and
change channel without making an announcement. Once the
channel has been selected pressing PTT will enable transmission
on the selected channel.
!
!
If no battery level icon is displayed on the left bottom
corner of the display, then the battery needs to be
recharged.