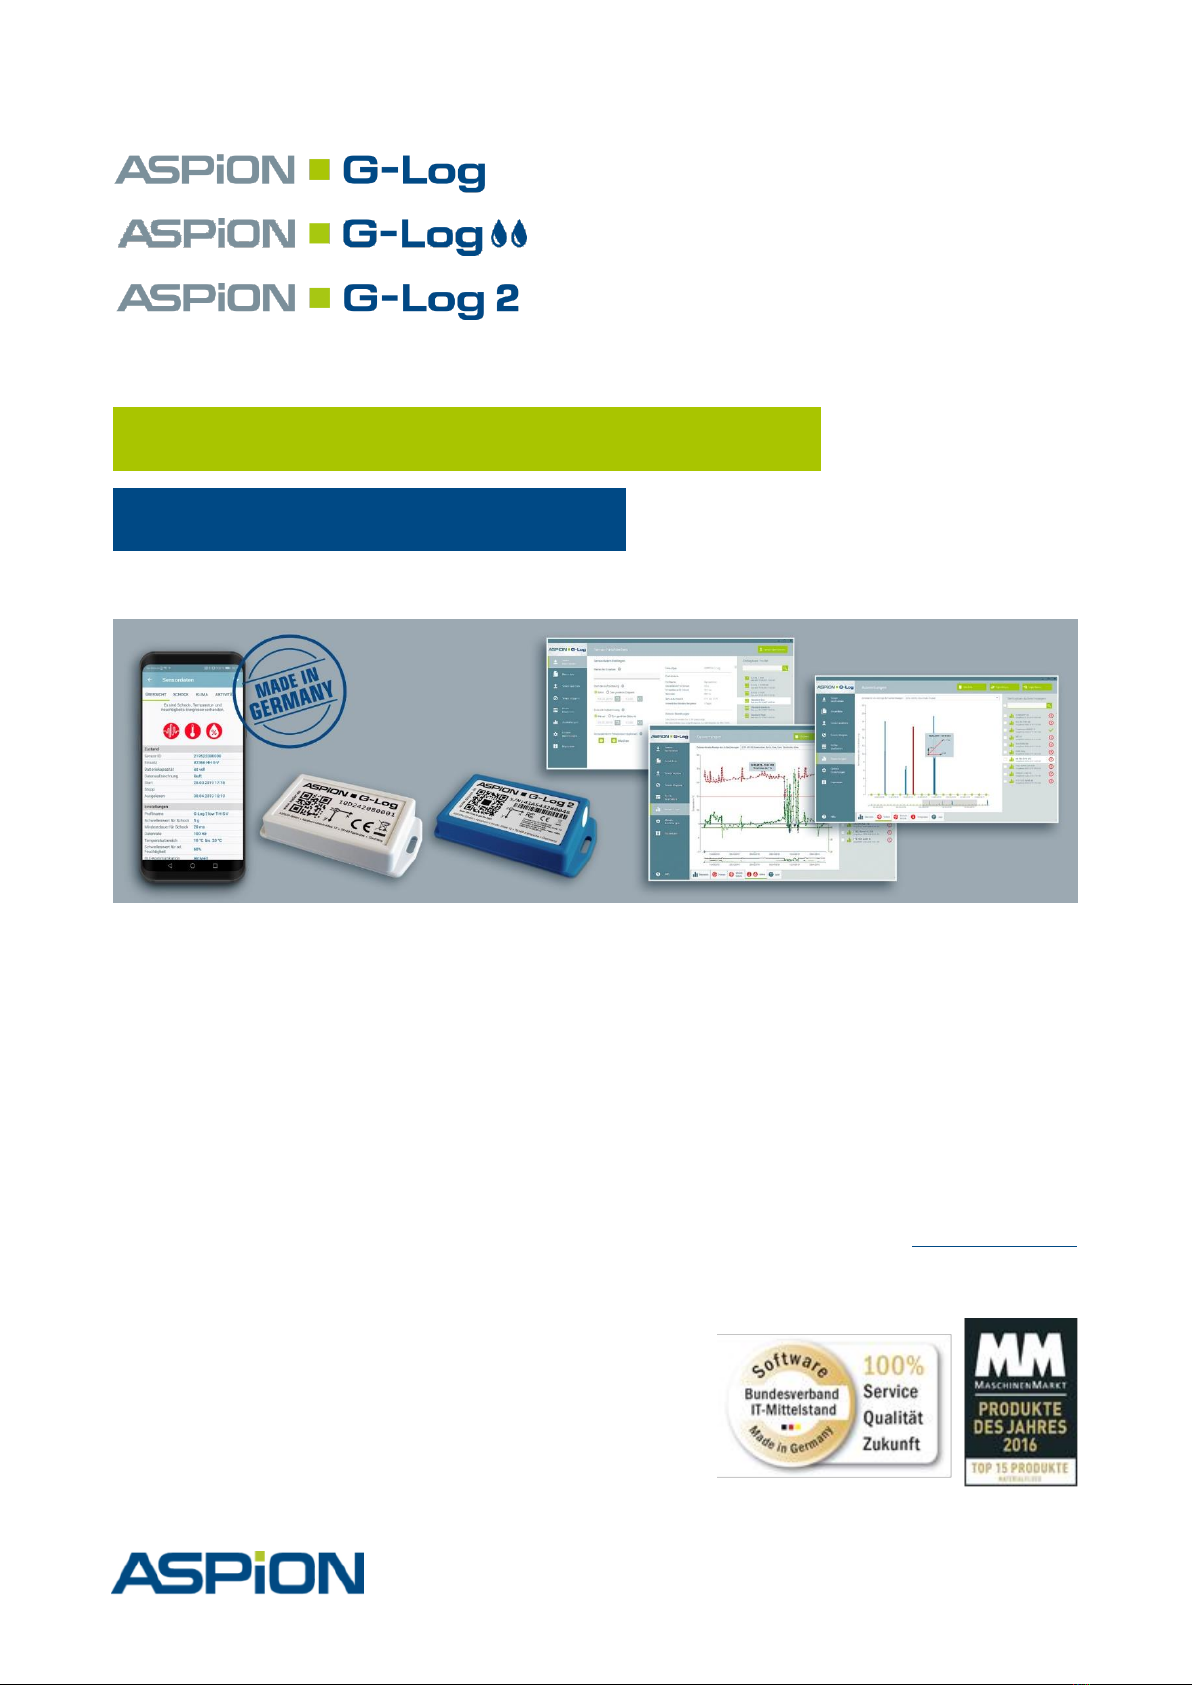
Contents / General description
User manual –Version 3.2/11-19 Copyright © ASPION GmbH Page 2
Contents
Contents ...................................................................................................................................2
ASPION G-Log shock sensors....................................................................................................5
0. General description................................................................................................................................... 5
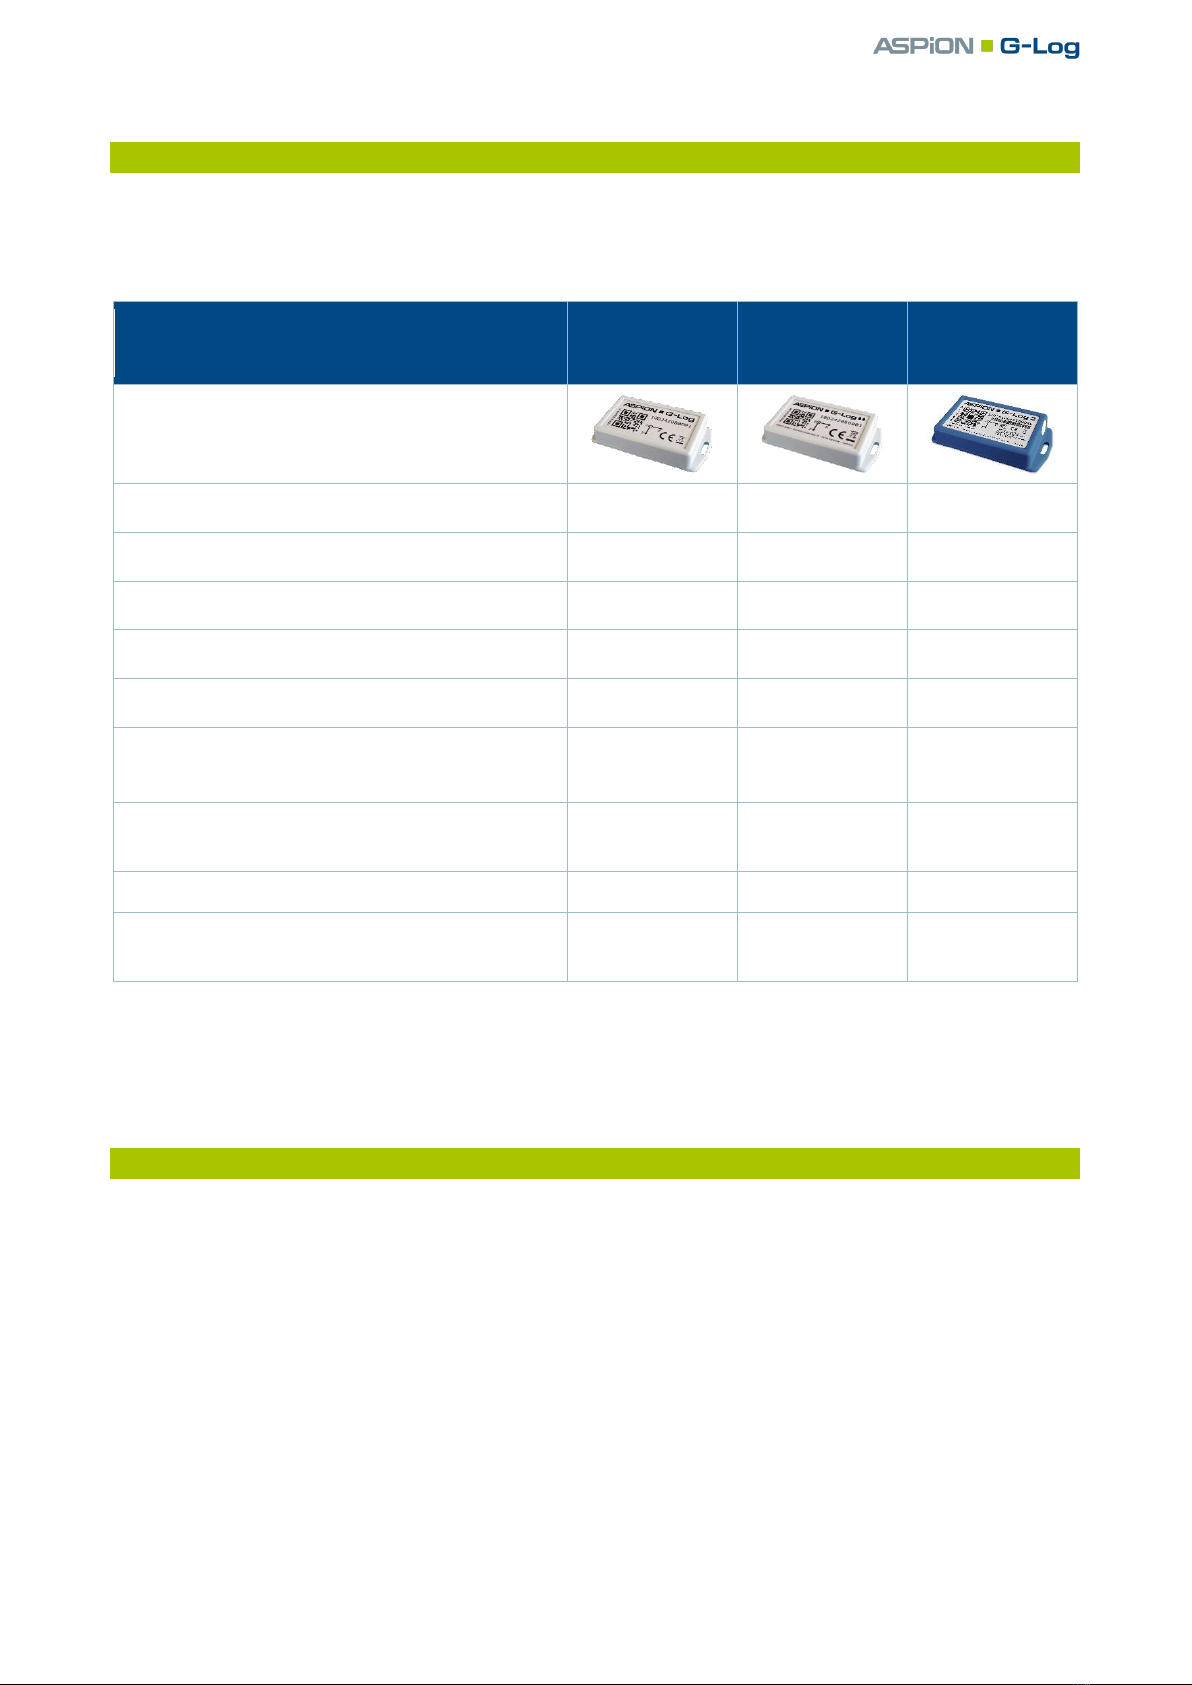
1. Variants ..................................................................................................................................................... 6
2. Export information.................................................................................................................................... 6
3. Technical specifications............................................................................................................................. 7
3.1 ASPION G-Log and ASPION G-Log Waterproof ................................................................................. 7
3.2 ASPION G-Log 2................................................................................................................................. 8
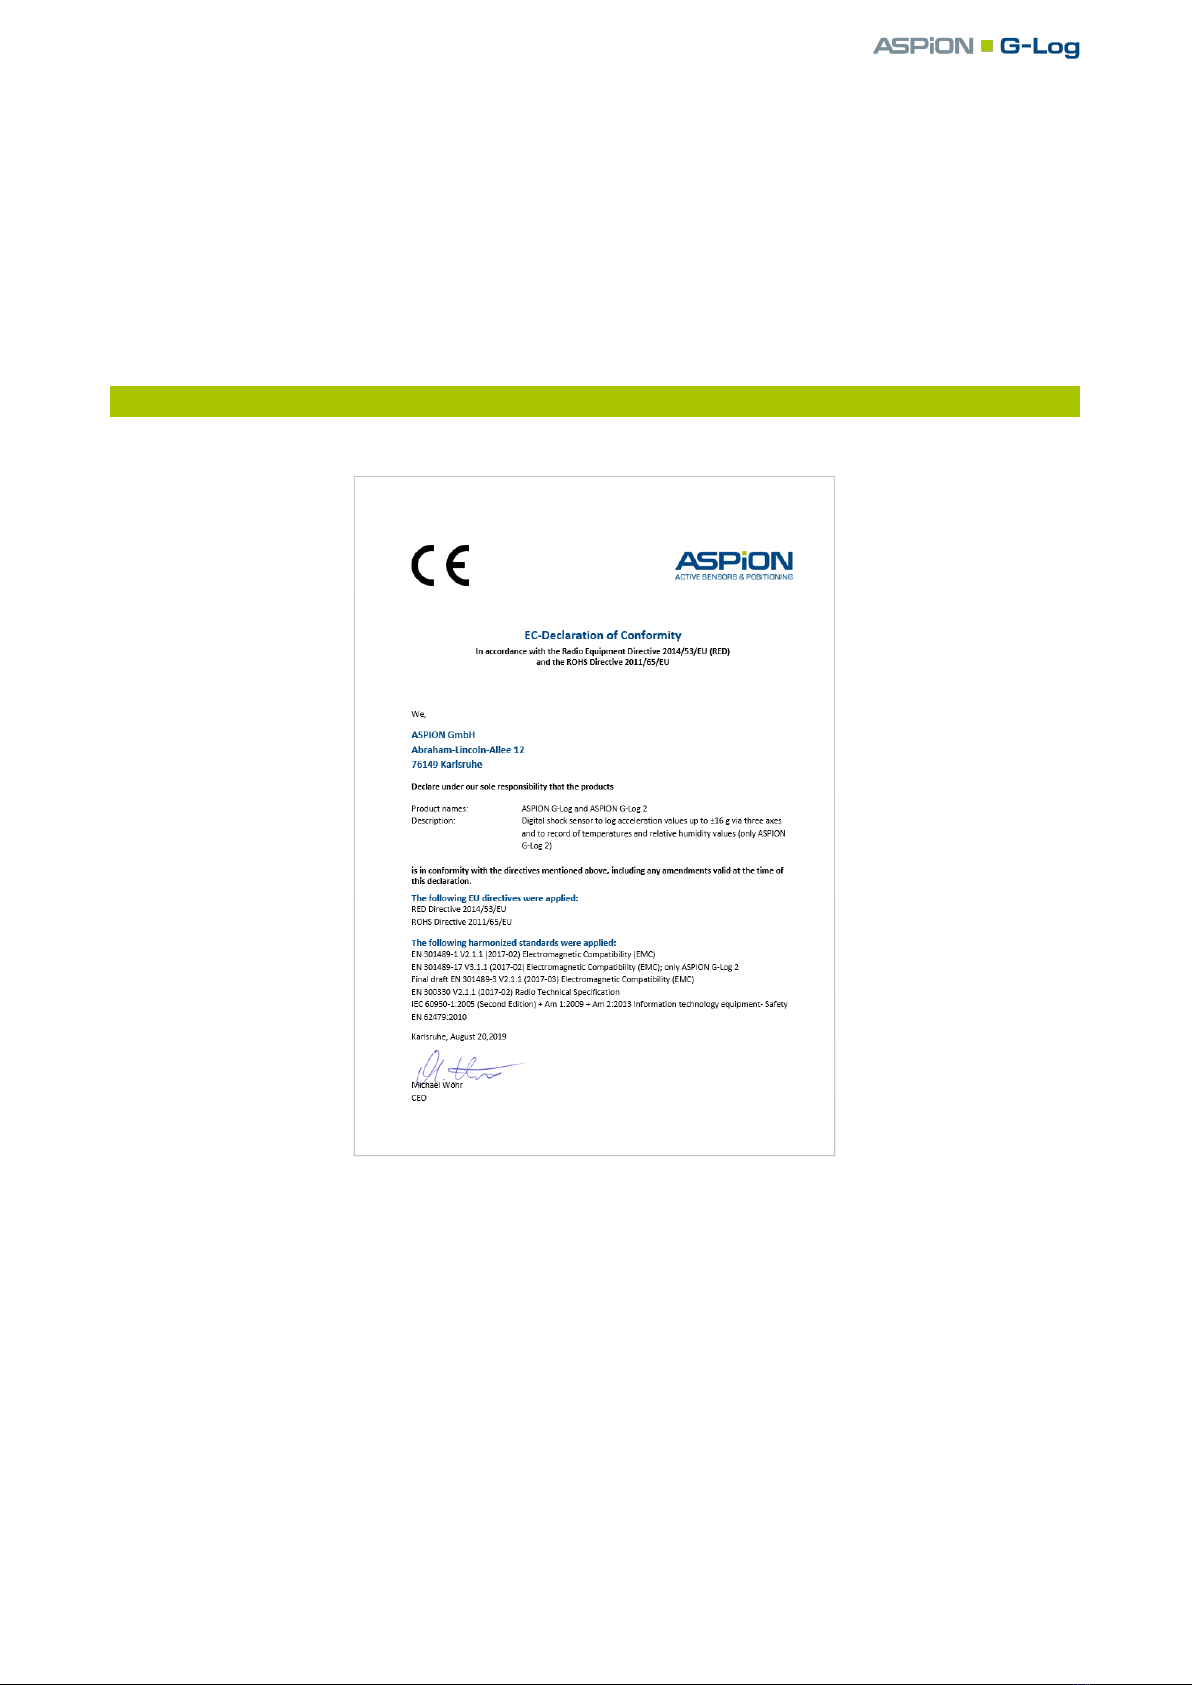
4. Conformity declarations............................................................................................................................ 9
5. Mounting................................................................................................................................................. 11
5.1 Mounting orientation...................................................................................................................... 11
5.2 Housing dimensions and mounting template................................................................................. 11
6. Battery replacement for ASPION G-Log 2 ............................................................................................... 12
7. Disposal ................................................................................................................................................... 13
8. Card reader (NFC).................................................................................................................................... 13
9. Security notes.......................................................................................................................................... 13
ASPION G-Log Manager –PC software ..................................................................................14
1. System requirements .............................................................................................................................. 14
2. Installation............................................................................................................................................... 14
2.1 Getting ready for installation: .NET framework and card reader................................................... 14
2.2 Installing the ASPION G-Log Manager PC software ........................................................................ 14
2.3 Installing updates............................................................................................................................ 15
2.4 Deinstalling the software................................................................................................................ 15
2.5 Information about product version ................................................................................................ 15
3. Before getting started ............................................................................................................................. 16
3.1 General overview of the user interface .......................................................................................... 16
3.2 Important: Setting the sensor types ............................................................................................... 16
4. Operating the sensor............................................................................................................................... 18
4.1 Defining the settings ....................................................................................................................... 18
4.2 Transferring data to sensor............................................................................................................. 20
5. Usage list ................................................................................................................................................. 21