manuals.online logo
Brands
  1. Home
  2. •
  3. Brands
  4. •
  5. Assmann
  6. •
  7. Indoor Furnishing
  8. •
  9. Assmann TriASS ST16 User manual

Assmann TriASS ST16 User manual

TriASS Schreibtischsystem
Montageanleitung
TriASSSchreibtische
DasAssmann Prinzip. GuteArbeit.
TriASS DeskingSystem
AssemblyInstructions
TriASSDesks
TheAssmann principle. Designedtoworkwell.
Schreibtisch, TypST16
Tischaufbau
1.Traverse(1x)
2.Seitenteil (2x)
3.S-Verbinderoben
4.S-Verbinderunten
5.Sichtblende
6.Laserfenster
7.Vorgabepunkte
1
2 2
3
4
5
TraverseundSeitenteile
(Laserfenster,s.6)mit
S-Verbinderobenanden
Vorgabepunkten(7)ver-
binden.
66
7
2
Workstation, TypeST16
Construction
1. beam(1x)
2. sideframe(2x)
3. upperS-joint
4. lowerS-joint
5. blind
6. opening
7. fixingpoint
Beamand sideframe
(opening, see 6) tobe
connectedtothefixing
point (7).
TriASSSchreibtische
DasAssmann Prinzip: GuteArbeit
Schreibtisch, TypST16
Tischaufbau
1.Sichtfenstereinsetzen.
2.S-VerbinderuntenmitTra-
verseundSeitenteilenver-
binden, mit 4Schrauben
M6x45mm verschrauben
(Inbusschlüssel5mm).
3.DieTischplatteaufdemGe-
stell positionierenundauf
jederSeitemit je5Spax-
schrauben5x25mm auf
demTischgestell ver-
schrauben.*
1 2
3
3
*BeiVollkernplattenerfolgt dieVerschrau-
bung mit SchraubenM6x14 mm.
(Inbusschlüssel5mm)
Incaseoffixing anHPL-topontheframe
M6x14 screwsaremandatory.
3
Workstation, TypeST16
Construction
1. Insert blind.
2. Connect thelower S-joint with
thebeamand thesideframeby
using screwsM6x45
(allenkey5mm).
3. Fixthetop ontheframewith
5woodscrewsM5x25 mm
on each side.
TriASS Tischgestelle
System-Verkettung
1.S-Verbinderuntenund
Sichtblendeentfernen.
2.DenVerkettungstischin
denoberenS-Verbinder
einsetzen,dannmit dem
unterenS-Verbinderver-
schrauben.
1
2
2
4
TriASSDesks
TheAssmann principle. Designedtoworkwell.
Workstation Frame
SystemAssembly
1. RemovelowerS-jointand blind.
2. Placetheextension workstation
intotheupper S-joint, thenbolt
thelower S-joint firmly.
TriASSSchreibtische
DasAssmann Prinzip: GuteArbeit
TriASS Tischgestelle
Montagedes Drucker-Halters(GEA)
1.S-Verbinderuntenund
Sichtblendeentfernen,
danndenGEAeinsetzen.
2.DenunterenS-Verbinder
mit 4SchraubenM6x45mm
verschrauben.
1 2
5
Workstation Frame
MountingthePrinterTable(GEA)
1. RemovethelowerS-jointand blind
forinsertingtheGEA.
2. Fixthelower S-joint with4screws
M6x45.
TriASS Tischgestelle
Montagedes PC-Halters(CPA)
1.AusdemS-Verbinderdie
beidenSchraubenaußen
M6x45mm entfernen.Nun
denCPAmit Schrauben
M6x50mm verschrauben
(Montage außen).
2.EsbestehtauchdieMög-
lichkeit,CPAundGEAan
eine Tischseitezumontieren.
DazumussderCPAnach
innengedrehtwerden.
1
2
6
TriASSDesks
TheAssmann principle. Designedtoworkwell.
Workstation Frame
MountingthePC-Holder(CPA)
1. Removetheouter 2screwsM6x45
fromtheS-joint. ThenfixtheCPA to
theframebyusing M6x50 screws
(CPA outwardsoriented).
2. Itispossibletomount theCPA and
theGEA onthesamedeskside.
TheCPA istobefittedwithinward
orientaton then.
TriASSSchreibtische
DasAssmann Prinzip: GuteArbeit
TriASS Tischgestelle
Montagedes Kabelkanal-Halters
1.Kabelkanal-Halter
(zweiteilig)
2.Kabelkanalaufhängung
werkzeuglosdurchZu-
sammenschiebenaufder
Traverseverbinden.
3.Rastnasemuss nach
obenzeigen.
1 2
3
7
Workstation Frame
FittingtheCableTrayHolder
1. Cabletrayholder (twoparts)
2. Connect and fixthecabletray
bysliding together bothparts
on thebeam(no toolnecessary).
3. Support point mustshowupwards.
TriASS Tischgestelle
Montagedes Kabelkanals
Montageschritte1bis3:
Kabelkanalaufhängungent-
sprechendderKabelkanal-
längeaufderTraverse
positionieren.
KabelkanalindieRastnasen
einhängen.
DurchAnheben
derKabelkanalvorderseite
rastetderKabelkanalinder
Aufhängungein.
1 2 3
8
TriASSDesks
TheAssmann principle. Designedtoworkwell.
Workstation Frame
InstallingtheCableTray
Steps1to3:
Placethecabletrayholdersaccording
tothelengthof thecabletray.
Hang thecabletrayontotheholders.
Bylifting thefront sideof thecabletray
itsnapsintothesupports.
TriASSSchreibtische
DasAssmann Prinzip: GuteArbeit
TriASS Tischgestelle
DieAbklappfunktion des Kabelkanals
Montageschritte1bis3:
DurchAnhebenderKabel-
kanalrückseite(ca.5mm)
wirdderKabelkanalentriegelt
undkannzurVorderseiteab-
geklappt werden
123
9
Workstation Frame
OpeningtheCableTray
Steps1to3:
Pushtherearsideof thecabletray
upwards(approx. 5mm) togetitin
theunlockedposition. Cabletraycan
befoldeddownforwardsnow.
TriASSSchreibtische
DasAssmann Prinzip: GuteArbeit
TriASS Tischgestelle
MontagederKnieraumblenden-Halter
Montageschritte1bis3:
Den Knieraumblenden-Halter
mittels2SchraubenM6mit
demPlattenträgerverbinden.
1 2 3
10
Workstation Frame
FittingtheModestyPanelFixing
Steps1to3:
Connect themodestypanelfixing to
thesupport holder for thetop by
using 2screwsM6.
TriASSSchreibtische
DasAssmann Prinzip: GuteArbeit
TriASS Tischgestelle
MontagederKnieraumblenden
DiegebohrteKnieraumblende
indieHalterungeinhängen
unddenDruckstift leicht bis
zumAnschlagdrehen
12 3
11
Workstation Frame
AssemblingtheModestyPanel
1 2 3
DieKnieraumblendeausrichten
unddieSchraubenmuttersowie
Unterlegscheibemit einem10er
Maulschlüsselfestanziehen
DerAbstandzwischenSchreib-
tischbeinund Knieraumblende
beträgt ca.28mm
HingethemodestyPanel
intothe brachetandturn
thepressurepintothe
stopposition
1 2 3
Alignthemodestypaneland
thescrew-nut andwashewitha
10erjawwrench
Thedistancebetweenlegand
modestypanelneedstobe
28 mm
BeiFragenzurMontage des
TriASSSchreibtischsystems
wendenSiesichan:
ASSMANN BÜROMÖBEL
GMBH+CO.KG
Heinrich-Assmann-Straße11
49324Melle
Fon05422-706-0
Fax05422-706-282
wwww.assmann.de
TriASSSchreibtische
DasAssmann Prinzip: GuteArbeit
0707hn
Incaseof anyqueriesregardingthe
assemblyof theTriASS desking system
please takeadvantageoftheabove
mentionedaddress.

Other Assmann Indoor Furnishing manuals
Assmann PONTIS HYPA User manual

Assmann

Assmann PONTIS HYPA User manual

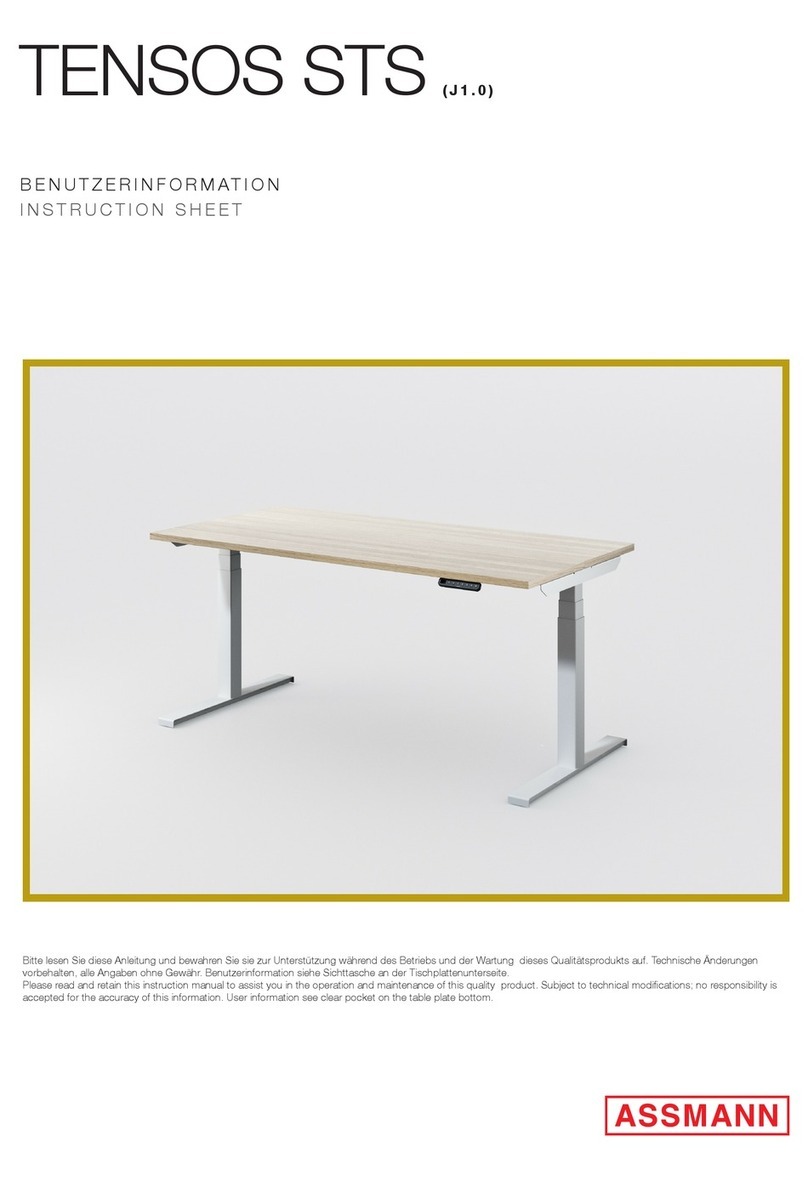
Assmann TENSOS STS (J1.0) User manual

Assmann

Assmann TENSOS STS (J1.0) User manual

Assmann MONTEVO HOME User manual

Assmann

Assmann MONTEVO HOME User manual

Assmann PLAZA STS User manual

Assmann

Assmann PLAZA STS User manual
Assmann HOME Retaro User manual

Assmann

Assmann HOME Retaro User manual

Assmann Canvaro STS User manual

Assmann

Assmann Canvaro STS User manual

Assmann Canvaro STS C1 (b) User manual

Assmann

Assmann Canvaro STS C1 (b) User manual

Assmann EASY STS User manual

Assmann

Assmann EASY STS User manual

Popular Indoor Furnishing manuals by other brands

Safco 3960 Assembly instructions

Safco

Safco 3960 Assembly instructions

Alvin DC778-34 Assembly instructions

Alvin

Alvin DC778-34 Assembly instructions

Forte JULIETTA JLTS84S Assembling Instruction

Forte

Forte JULIETTA JLTS84S Assembling Instruction

Steelcase Migration SE Height-Adjustable Desk and... user guide

Steelcase

Steelcase Migration SE Height-Adjustable Desk and... user guide

Graco 04540-451 Assembly instructions

Graco

Graco 04540-451 Assembly instructions

Madeli Euro-16 Specication & installation guide

Madeli

Madeli Euro-16 Specication & installation guide

Home Decorators Collection D14724-28W Use and care guide

Home Decorators Collection

Home Decorators Collection D14724-28W Use and care guide

modway EEI-5875 Assembly instructions

modway

modway EEI-5875 Assembly instructions

Elements DMT3006CS Assembly instructions

Elements

Elements DMT3006CS Assembly instructions

Leggett & Platt style series owner's manual

Leggett & Platt

Leggett & Platt style series owner's manual

USP DURAMAX 68030 Assembly instructions

USP

USP DURAMAX 68030 Assembly instructions

DHP Modern Tribeca 4050147 manual

DHP

DHP Modern Tribeca 4050147 manual

aspenhome ICB-1636-BCH Assembly instructions

aspenhome

aspenhome ICB-1636-BCH Assembly instructions

Loll Designs ALFRESCO SQUARE TABLE Assembly instructions

Loll Designs

Loll Designs ALFRESCO SQUARE TABLE Assembly instructions

Grand River SW-B12 Assembly instructions

Grand River

Grand River SW-B12 Assembly instructions

Royale S15306 user manual

Royale

Royale S15306 user manual

AMQ TIZU installation guide

AMQ

AMQ TIZU installation guide

Forte KZMT221L Assembling Instruction

Forte

Forte KZMT221L Assembling Instruction

manuals.online logo
manuals.online logoBrands
  • About & Mission
  • Contact us
  • Privacy Policy
  • Terms and Conditions

Copyright 2025 Manuals.Online. All Rights Reserved.