9
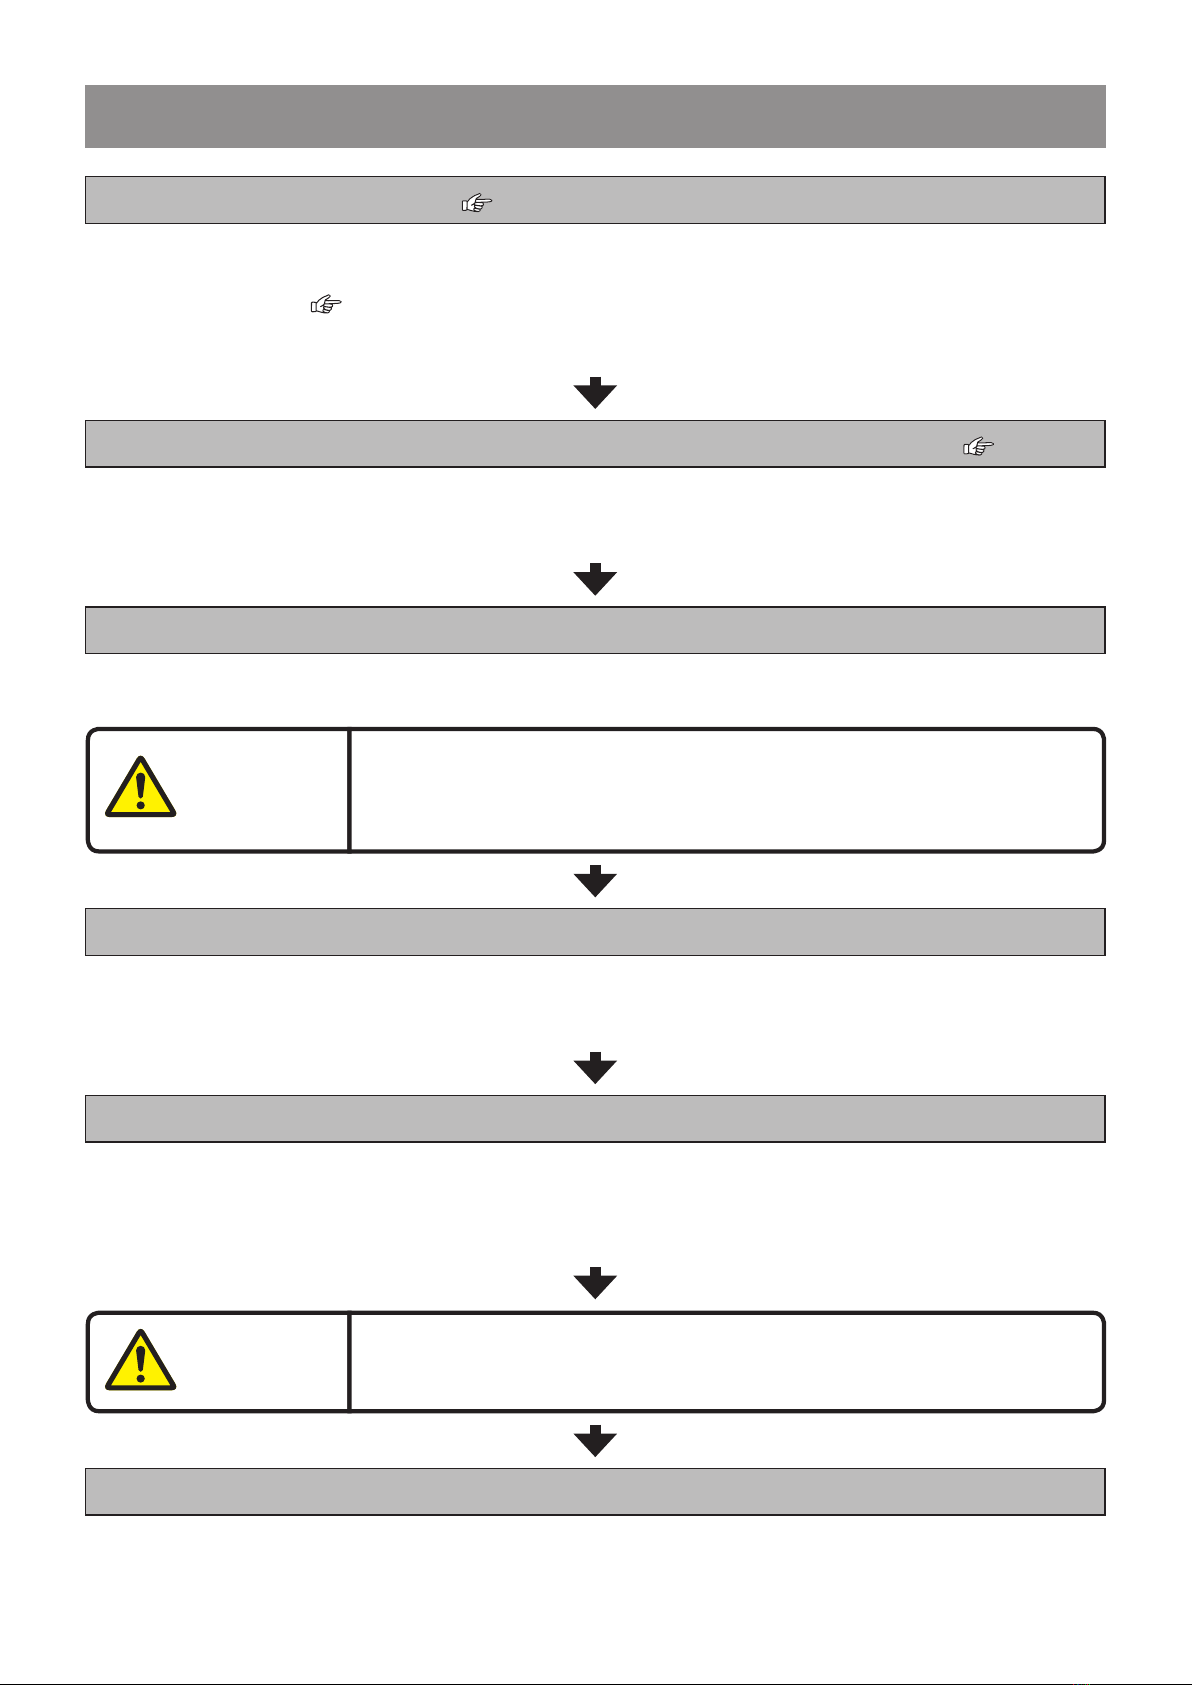
6. How to Operate the KA-750
1) Turn the power switch “On.” (See page 6)
• “Astra KA-750” will be displayed on the operation screen, followed by the Settings Menu.
• Pressing and holding down the Start button while the lights are ashing will put the unit in the
“Reset” mode. ( See page 19)
• The Arm and the pin might move a little after powering on, to test the operation. Please leave
your hands and face away from the unit.
2) Use the Start/Stop button to choose the settings for the type of item to be peeled.
(See page 18)
• The unit will display the Standby mode screen (for selecting peeling thickness & spin speed.)
• If “Arm position wrong – correct” is displayed, return the arm to the correct starting position, and
press the Start button again.
3) Afx the item to be peeled (fruit or vegetable) to the holding prong.
• Align the center (core) of the item with the tip of the holding prong.
• Afx the item so that it touches the slider.
Do not press the Start button when no item is affixed to the
holding prong. Otherwise contact will occur between the peeler
blade and the prong, damaging both of these parts.
4) Press the Start button.
• Peeling will start. When an item is being peeled, the green lamp flashes and counter will be
shown on the screen.
• If the Start button is pressed during peeling, operation will stop.
5) Remove the item from the holding prong.
• When peeling is nished, arm will move back to the starting position, and green lamp will light.
• Pull down the ejector lever in order to extract the peeled item.
• Pull up the ejector lever, and extract the peeled item.
* For some items (e.g. mangoes), pull the item directly without using the ejector.
When extracting a peeled item, pull it up straight without twist-
ing. Otherwise, the holding prong will become twisted.
6) Return to (3) for continuous peeling.