Astronics OMNIBUS II NI PXIe User manual

Astronics Ballard Technology/National Instruments
LV-222-511-442 Manual
Get Pricing & Availability at
ApexWaves.com
Call Today: 1-800-915-6216
Email: [email protected]
https://www.apexwaves.com/modular-systems/national-instruments/pxi-avionics-multiprotocol-interface-modules/LV-222-511-442


COPYRIGHT NOTICE
Copyright
2018 by Ballard Technology, Inc.—hereafter referred to as Ballard. Ballard’s
permission to copy and distribute this manual is for the purchaser's private use only and is
conditioned upon the purchaser's use and application with the OmniBus II hardware that was
shipped with this manual. This notice allows no commercial resale or outside distribution rights.
This material remains the property of Ballard. All other rights reserved by Ballard.
SAFETY WARNING
Ballard products are not intended, warranted, or certified for any particular use or application or for
use in any application where failure of the products could lead directly to death, personal injury, or
damage to property. Customers, licensees, and/or users are responsible for establishing and
assuring suitability and proper use of Ballard products for their particular use or application.
INTERFERENCE
This equipment generates, uses, and can radiate radio frequency energy and if not installed and
used in accordance with the user manual, may cause interference to radio communications.
Operation of this equipment in a residential area is likely to cause interference in which case the
user at their own expense will be responsible for taking whatever measures may be required to
correct the interference.
TRADEMARKS
PCIe is a registered trademark of PCI-SIG. PXI is a trademark of PXI Systems Alliance.
CompactPCI is a registered trademark of the PCI Industrial Computation Manufacturers Group.
Molex LFH is a trademark of Molex Inc. Windows is a registered trademark of Microsoft
Corporation. Ballard Technology, OmniBus, BTIDriver and CoPilot are registered trademarks of
Ballard Technology, Inc. All other product names or trademarks are property of their respective
owners.

PRODUCT CERTIFICATION
RESPONSIBLE PARTY
Astronics Ballard Technology, Inc.
11400 Airport Road, Suite 201
Everett, WA 98204, USA
Web: www.astronics.com
PRODUCTS
OmniBus II PXIe versions LV-222-xxx-xxx (NI P/N 784xxx-xx) (where x is any numeric character
or blank).
FCC
This device complies with Part 15 of the FCC Rules. Operation is subject to the following two
conditions:
1) This device may not cause harmful interference, and
2) This device must accept any interference received, including interference that may cause
undesired operation.
CE
This device complies with the European Union Directives and standards for electromagnetic
compatibility (EMC) and product safety.
RoHS
This device complies with the European Union Restriction of Hazardous Substances directive.

OmniBus II NI PXIe User Manual i
TABLE OF CONTENTS
1. INTRODUCTION .........................................................................................1-1
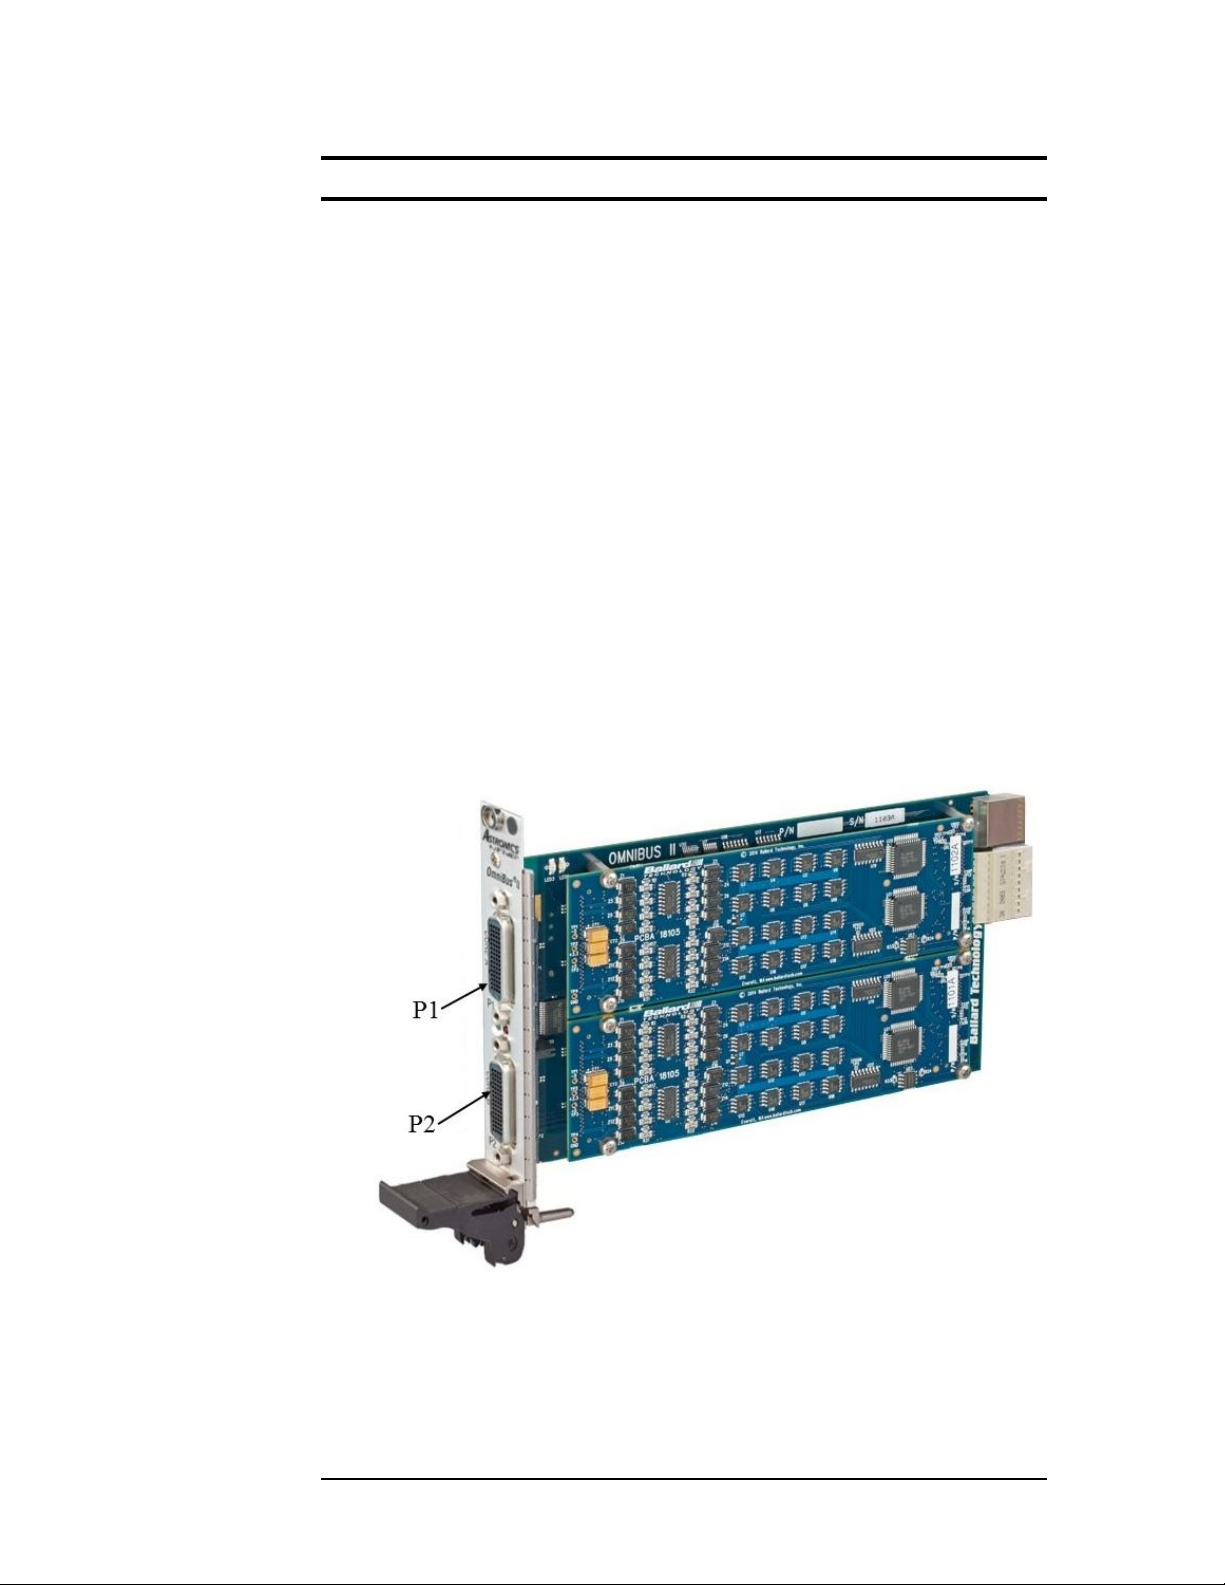
1.1 OmniBus II Overview ........................................................................................1-1
1.2 OmniBus II Configurations................................................................................ 1-3
1.3 Avionics Databus Protocols...............................................................................1-4
1.4 Other Documentation......................................................................................... 1-5
1.5 Support and Service ...........................................................................................1-5
1.6 Updates...............................................................................................................1-5
1.7 Mean Time Between Failure..............................................................................1-5
2. INSTALLATION........................................................................................... 2-1
2.1 Step 1: Insert the Card into the System .............................................................. 2-1
2.2 Step 2: Install the Driver Software.....................................................................2-2
2.3 Step 3: Set the Card Number and Test the Installation....................................... 2-2
2.4 Step 4: Connect to Databus(s) I/O......................................................................2-3
3. OPERATION................................................................................................3-1
3.1 CoPilot................................................................................................................ 3-1
3.2 User-Developed Software ..................................................................................3-2
4. OMNIBUS II FEATURES ............................................................................ 4-1
4.1 PCI Express Bus.................................................................................................4-1
4.1.1 PXIe Form Factor................................................................................ 4-1
4.2 Built-in Test ....................................................................................................... 4-1
4.2.1 Power-on Built-in Test (PBIT)............................................................. 4-1
4.2.2 Initiated Built-in Test (IBIT) ............................................................... 4-1
4.2.3 Continuous Built-in Test (CBIT).......................................................... 4-2
4.3 System Time Synchronization............................................................................4-2
4.3.1 Core Timer.......................................................................................... 4-3
4.3.2 IRIG.................................................................................................... 4-5
4.3.3 PPS..................................................................................................... 4-6
4.3.4 10MHz................................................................................................ 4-7
4.4 Core Discretes....................................................................................................4-7
4.5 1553 Avionics Discretes.....................................................................................4-9
4.5.1 Shunt Inputs........................................................................................ 4-9
4.5.2 Shunt Input Considerations.................................................................4-10
4.5.3 Shunt Outputs.....................................................................................4-10
4.5.4 Shunt Output Considerations ..............................................................4-10
4.5.5 Shunt Discrete Input/Output Usage.....................................................4-12
5. OMNIBUS II PXIE SPECIFIC FEATURES................................................. 5-1
5.1 Clock Switch (CLK SEL)...................................................................................5-1

TABLE OF CONTENTS
ii OmniBus II NI PXIe User Manual
5.2 PXIe Trigger Access...........................................................................................5-1
5.3 Protocol Sync and Trigger Support.....................................................................5-3
5.4 PXIe Status .........................................................................................................5-4
5.5 Chassis Slot Glyph..............................................................................................5-5
6. MODULE CONFIGURATIONS ...................................................................6-1
6.1 OmniBus II PXIe Boards....................................................................................6-1
6.2 MIL-STD-1553 Modules....................................................................................6-1
6.2.1 Software-Selectable Bus Termination .................................................. 6-2
6.2.2 Configurable RT Response Time ......................................................... 6-2
6.2.3 Variable Transmit Amplitude............................................................... 6-2
6.2.4 Zero-Crossing Distortion..................................................................... 6-3
6.3 ARINC 429 Modules..........................................................................................6-4
6.3.1 Parametric Waveform.......................................................................... 6-4
6.3.2 Configurable Frequency....................................................................... 6-5
6.3.3 Output State ........................................................................................ 6-5
6.4 Part Number Cross Reference.............................................................................6-6
7. CONNECTOR PINOUTS.............................................................................7-1
7.1 Interface Connector.............................................................................................7-1
7.2 General Pinout ....................................................................................................7-2
7.3 Module-Specific Wiring .....................................................................................7-3
7.3.1 MIL-STD-1553 ................................................................................... 7-3
7.3.2 ARINC 429 ......................................................................................... 7-4
7.4 Standard Cables ..................................................................................................7-5
7.4.1 PN 16036 Cable Assembly: LFH to Two 25-pin D-subs....................... 7-5
7.4.2 MIL-STD-1553 Cable Assemblies ....................................................... 7-6
APPENDIX A: COUPLING AND TERMINATION......................................... A-1
A.1 Bus Termination ................................................................................................A-1
A.2 Transformer versus Direct Coupling..................................................................A-1
APPENDIX B: SPECIFICATIONS................................................................. B-1
B.1 General...............................................................................................................B-1
B.2 Interfaces (Model Dependent) ...........................................................................B-1
B.3 Environmental/Physical.....................................................................................B-3
APPENDIX C: ERRATA SHEET................................................................... C-1
APPENDIX D: REVISION HISTORY............................................................. D-1

OmniBus II NI PXIe User Manual iii
LIST OF FIGURES
Figure 1.1—OmniBus II PXIe Card.........................................................................1-1
Figure 1.2—The Two-Core Architecture of OmniBus II PXIe Card .......................1-2
Figure 2.1—PXIe Compatible Chassis Glyphs ........................................................2-1
Figure 3.1—Sample CoPilot Screen.........................................................................3-1
Figure 4.1—Built-in Test and System Monitor Architecture ...................................4-2
Figure 4.2—OmniBus II Discrete Shunt Input Circuit.............................................4-9
Figure 4.3—OmniBus II Discrete Shunt Output Circuit ........................................4-10
Figure 5.1—PXIe Onboard Clock Switch................................................................5-1
Figure 5.2—PXIe Chassis Slot Glyphs.....................................................................5-5
Figure A.1—Transformer Coupling to a Dual-Redundant Databus........................A-2
Figure A.2—Direct Connection to a Dual-Redundant Databus...............................A-3
Figure B.1—Dimensions of OmniBus II PXIe Card............................................... B-3

TABLE OF CONTENTS
iv OmniBus II NI PXIe User Manual
LIST OF TABLES
Table 4.1—I/O Combinations for System Synchronization .....................................4-3
Table 4.2— Pinout Supported by BTICard_IRIG ....................................................4-3
Table 4.3—Input and Output IRIG Formats.............................................................4-5
Table 4.4—Electrical Characteristics of the AM IRIG Signals................................4-5
Table 4.5—Electrical Characteristics of the PCM IRIG Signals..............................4-6
Table 4.6—IRIG Pinout............................................................................................4-6
Table 4.7—Electrical Characteristics of the PPS Signal...........................................4-6
Table 4.8—PPS Pinout .............................................................................................4-7
Table 4.9—10 MHz Input/Output Characteristics....................................................4-7
Table 4.10—10 MHz Pinout.....................................................................................4-7
Table 4.11—Hardware Versus Software Designation of Core Discretes.................4-8
Table 4.12—1553 Discrete I/O Designations.........................................................4-12
Table 5.1—PXIe Trigger Signals..............................................................................5-2
Table 5.2—PXIe Trigger to Protocol Trigger Mapping ...........................................5-3
Table 5.3—PXIe Trigger to Protocol Sync Mapping ...............................................5-3
Table 5.4—Transitional Protocol Trigger Parameters..............................................5-4
Table 5.5—PXIe Status Parameters..........................................................................5-4
Table 6.1—OmniBus II PXIe Host Part Numbering ................................................6-1
Table 6.2—MIL-STD-1553 Module Part Numbering..............................................6-1
Table 6.3—MIL-STD-1553 Level Function Definition ...........................................6-2
Table 6.4—MIL-STD-1553 ParamAmplitudeConfig Configval..............................6-3
Table 6.5—MIL-STD-1553 ParamAmplitudeConfig Output Drive.........................6-3
Table 6.6—ARINC 429 Module New Applications Part Numbering ......................6-4
Table 6.7—ARINC 429 Parametric Waveform Characteristics...............................6-5
Table 7.1—General Pin Designations.......................................................................7-2
Table 7.2—Pinouts for MIL-STD-1553 Modules.....................................................7-3
Table 7.3—Pinouts for ARINC 429 modules...........................................................7-4
Table 7.4—Wiring Chart for 16036 Cable Assembly (See next page for “*” note).7-5
Table 7.5—MIL-STD-1553 Cable Assembly Configurations..................................7-6
Table 7.6—Twinax Wiring on MIL-STD-1553 Cable Assemblies..........................7-6
Table 7.7—D-sub Connector Pinout for Cable Assemblies 16037 and 16039.........7-7

OmniBus II NI PXIe User Manual 1-1
1. INTRODUCTION
This manual is the user guide for PXI™ Express (PXIe) models of Astronics
Ballard Technology®’s (Ballard) OmniBus®II family of products. Throughout this
manual any reference to the PXIe card applies to the OmniBus II PXIe card, and
references to OmniBus and OmniBus II apply generically to all the products in the
designated family. This guide gives the background for the OmniBus II PXIe card,
discusses special features, describes the installation process, and references
programming alternatives.
1.1 OmniBus II Overview
OmniBus II (OB2) is a family of products that enable computer systems to
communicate with avionics databuses for the purpose of testing, simulation, and/or
operation. Each OB2 unit can support more than one protocol and a large number
of channels. They are available as an interface card for popular computer standards
(PCIe, cPCIe/PXIe, etc.) and as a stand-alone bridge to other communications
protocols (USB, Ethernet, etc.). All common avionics databus protocols are
supported, including MIL-STD-1553, ARINC 429, and Discrete I/O. Other
protocols (such as ARINC 575, ARINC 573, ARINC 453, etc.) are also supported.
Upon request, custom protocols can be implemented.
Figure 1.1—OmniBus II PXIe Card
The high-density modular design of the OB2 family provides flexibility that
enables the user to select from many protocol, platform, and channel count com-
binations. Each OB2 product can have at least two modules, and each module has

INTRODUCTION
1-2 OmniBus II NI PXIe User Manual
its own circuitry to handle the channels and protocols associated with it. The high
channel count and mixed protocol capabilities can be fully utilized without the risk
of overloading the host computer’s processor. IRIG and special timing circuits
allows channels, boards, and computers to be synchronized in time to each other
and to external devices.
OmniBus II is a newer, enhanced generation of the original OmniBus architecture.
Though there are similarities, the components of the two generations are not
interchangeable. Figure 1.2 illustrates the modular architecture of the OB2 PXIe
board.
Figure 1.2—The Two-Core Architecture of OmniBus II PXIe Card
SDRAM
PCIe
Connector
1:2 PCIe Switch
Protocol
Module
B
Core A
FPGA Core B
FPGA
Flash
SDRAM
Flash
Protocol
Module
A
P1 P2
Avionics
Databuses Avionics
Databuses
1 Lane PCIe

INTRODUCTION
OmniBus II NI PXIe User Manual 1-3
The OB2 PXIe product has been certified by National Instruments as "Compatible
with LabVIEW." Included with all OB2 models prefixed with "LV-" is the
LabVIEW Avionics Instrument Driver - the best way to operate the OB2 PXIe
product with LabVIEW Software.
Figure 1.4—Compatible with LabVIEW Logo
Another way to operate OB2 products is with CoPilot®, Ballard’s databus analyzer
and simulation software. Alternately, software developers can write their own
software applications using the included BTIDriver™ API (Application Program
Interface).
1.2 OmniBus II Configurations
The OmniBus II family includes products with many different host platform,
protocol, and channel count combinations. A given OB2 part number is produced
in the factory by mounting protocol-specific modules on the required host platform
and loading module specific firmware on the FPGAs.
Note: The OB2 is not user-configurable. You cannot swap one module type
for another one with a different part number. You can exchange a module
only with an identical module. You can upgrade the OB2 with additional
channels or protocols, but you must do this at the factory.
The assembly part number characterizes the configuration of the OB2. Groups of
characters separated by hyphens designate the assembly part number. The first
group of characters in the assembly part number is the part number of the main
board (e.g. 222 for a two-module PXIe card), the second group is the part number
of the module in the Core A position, and the third group is the part number of the
module in the Core B position. You can find a more detailed description of the
individual part numbers in Chapter 6

INTRODUCTION
1-4 OmniBus II NI PXIe User Manual
We have printed the complete assembly part number on the main OB2 board. If
the modules are visible, each group of numbers in the assembly configuration that
represent modules should match the part numbers printed on the corresponding
modules. The configuration of an installed OB2 product may be determined by
running the test program described in Section 4
For future reference, we encourage you to record the assembly part number and
serial number of your OB2 product in the space provided below:
OB2 modules are available for many different protocols, including MIL-STD-
1553 and ARINC 429/575.
1.3 Avionics Databus Protocols
Avionics databuses interconnect various electronic equipment (navigation, con-
trols, displays, sensors, etc.) on an aircraft. There are a number of military and
commercial avionics databus standards. The OB2 family of products support the
most common protocols, which are briefly described below:
•MIL-STD-1553 is the protocol for military aircraft and other military and commercial
applications. It is a digital, command-response, time-division multiplexing databus
protocol.
•ARINC 429, one of the most prevalent ARINC (Aeronautical Radio INCorporated)
standards, defines the transfer of digital data between commercial avionics systems. It
uses broadcast bus topology and a label identification method for data words. ARINC
575 is the specification for a Digital Air Data System (DADS). ARINC 575 includes
a databus protocol almost identical to ARINC 429.
•Discrete I/Os provide interface capabilities for standard avionics discretes and provide
general-purpose digital I/Os for sensing, controlling, and testing a variety of DC
circuits
These and other standards are not limited to use in aircraft. They are used in
many other military and industrial applications such as surface and space vehi-
cles, process control, nuclear research, and oil exploration.
Assembly PN: LV-________ - ________ - ________
(Board PN) (Core A PN) (Core B PN)

INTRODUCTION
OmniBus II NI PXIe User Manual 1-5
1.4 Other Documentation
Besides this manual, Ballard provides other documentation to facilitate operation
of the OB2 interface. These include protocol manuals, information on the software
distribution disk, and CoPilot documentation.
Separate BTIDriver API programming manuals are available for each avionics
protocol. These manuals provide information on the specific protocol and include
basic and advanced programming instructions for users who intend to write their
own software. They also contain a comprehensive reference for each function.
The software distribution disk accompanying the OB2 has example programs,
drivers, and driverinstallation instructions for various operating systems (OS), and
other information, files, and resources.
1.5 Support and Service
National Instruments provides support for these products. They have the most
familiarity and experience with the LabVIEW platform and will be able to support
LabVIEW applications most effectively.
To get support, visit:
Phone: +1.866.275.6964
www.ni.com/contact-us
Please browse through the locations to find the support office closest to your
location, and follow the link to open a support ticket.
1.6 Updates
Software updates for the LabVIEW instrument driver are available on the National
Instruments website. Visit the Avionics Interface landing page at
http://sine.ni.com/nips/cds/view/p/lang/en/nid/207798 and browse to your product
to find updated software as well as the latest documentation.
1.7 Mean Time Between Failure
Product PN Analyzed Published MTBFs
PXIe 222-442-442 PXIe (all configurations): 2.8+ million hours
(Calculated, Telcordia SR-332 Issue 3, Ground
Benign, 25°C, 60% CL)

INTRODUCTION
1-6 OmniBus II NI PXIe User Manual
This page intentionally blank.

OmniBus II NI PXIe User Manual 2-1
2. INSTALLATION
This chapter explains the procedures for installing an OmniBus II PXIe card. There
are four steps to the installation:
Step 1: Insert the Card into the System.
Step 2: Install the Driver Software.
Step 3: Set the Card Number and Test the Installation.
Step 4: Connect to Databus(s) I/O.
After the installation steps are completed, the PXIe card is ready to communicate
on the databus(es).
2.1 Step 1: Insert the Card into the System
In an ESD safe environment, do the following:
For a PXIe System:
•Shut down the system.
•On the card, select the required clock by sliding the onboard switch
left or right.
•With the injector handle in the down position, insert the card into an
empty chassis slot marked with one of the following PXIe Chassis
Glyphs:
* replaced with chassis slot number
Figure 2.1—PXIe Compatible Chassis Glyphs
WARNING
Static Discharge
As with most electronic devices, static discharge may damage or degrade
components on a circuit card. When handling a circuit card, the user
should be grounded (e.g. through a wrist strap). Each circuit card is
shipped in an anti-static bag, and should be stored in a similar container
when not installed in the system.

INSTALLATION
2-2 OmniBus II NI PXIe User Manual
•While simultaneously pressing the bottom of the handle against
thehorizontal rail of the subrack, move the injector handle up to lock
the card in place.
•Secure the card with the screw located at the top of the front panel.
•Restart the system.
•If the system fails to boot, check if the clock select or chassis slot
type is incorrectly configured. For more information, refer to
Chapter 5.
2.2 Step 2: Install the Driver Software
Drivers allow programmatic control of the PXIe card(s) from a host computer.
The driver is available for download on the product page at NI.com. The 32-bit
installation package only supports 32-bit Windows and 32-bit LabVIEW
installations. The 64-bit installation package only supports LabVIEW installations
on 64-bit Windows. Both packages include LabVIEW RT support.
To install the driver software:
•Download the appropriate installation package for your system.
•Select RUN or double click the installer after the download is complete.
•The Installer will install the hardware driver, LabVIEW Instrument
Driver files, Examples, the Graphical Configuration Editor
(BTIXMLEdit) and Help files.
•If LabVIEW is installed, the Instrument Driver VI files will be compiled
for the latest supported version of LabVIEW automatically.
If you encounter problems or have installation questions, please reboot the
controller prior to contacting Support (see Section 1.5).
2.3 Step 3: Set the Card Number and Test the Installation
You must set a card number on the controlling computer for software to uniquely
identify each PXIe card.
Since you can concurrently connect many Ballard BTIDriver-compliant hardware
devices (e.g., OmniBus II PXIe cards) to the same computer, software running on
a given computer uses a unique card number to designate the hardware device
accessed. If you have only one BTIDriver-compliant device connected to the
computer, we recommend that you set it to card number zero because the example
programs included with the driver software assume a card number of zero. After
the card number has been set, you can then test the PXIe card.
In Windows, you can use the BTITST32.EXE/ BTITST64.EXE test program to
assign and manage card numbers and to test the PXIe card (and other BTIDriver-
compliant devices). The test program discovers all connected BTIDriver-
compliant devices and displays important information about each device such as
card number, configuration, serial number, and assembly part number. Running
the test sequence verifies both the device hardware and the interface between the

INSTALLATION
OmniBus II NI PXIe User Manual 2-3
device and the computer. If the program does not detect any faults, it displays a
passed test message.
This program is installed automatically with the Avionics Instrument Driver
library. It can be found at the start menu: Astronics Ballard Technology >
LabVIEW Instrument Driver > BTITST32
Note: You can use the Windows test program at any time to determine or
reassign the card number.
If you need further assistance, contact Customer Support (see Section 1.5).
2.4 Step 4: Connect to Databus(s) I/O
Connect the databuses to the PXIe card according to the pin assignment tables in
Chapter 7. Follow the coupling and termination guidelines discussed in Appendix
A: Coupling and Termination.
Connection of the ground pin(s) to the end system(s) is necessary for proper
operation of ARINC 429 and the Discrete I/O, and is recommended for MIL-STD-
1553. There is no need to terminate unused signals, and do not connect the reserved
pin(s).

INSTALLATION
2-4 OmniBus II NI PXIe User Manual
.
This page intentionally blank.

OmniBus II NI PXIe User Manual 3-1
3. OPERATION
Software is used to control OmniBus II products and to manipulate data. Using the
Avionics Instrument Driver or Ballard’s BTIDriver API library, it is easy to
operate the PXIe card and to utilize its powerful interface.
3.1 CoPilot
A PC with CoPilot and Ballard’s OB2 PXIe card makes a powerful, low-cost databus
analyzer/simulator. CoPilot interfaces directly with OB2 products, eliminating the
need to write custom software. CoPilot greatly simplifies such tasks as defining and
scheduling bus messages and capturing and analyzing data. CoPilot is a Windows®-
based program that features a user-friendly GUI (Graphical User Interface) and
many timesaving features.
For example, you can automatically detect bus messages, post them in the hardware
tree, and associate them with the appropriate attributes from the database of
equipment, message, and engineering unit specifications.
Figure 3.1—Sample CoPilot Screen
CoPilot users can quickly configure, run, and display the activity of multiple
databuses in a unified view. You can observe data and change it in engineering
units while the bus is running. The Strip View graphically illustrates the history of
the selected data values. You can also enter data and view it as virtual instruments
(knobs, dials, gauges, etc.). The user creates this data or the user automatically
Table of contents