BHM
01/14/14
NTV-DOC154
Agreement: End user agrees to use this product in compliance with all State and Federal laws. NAV-TV Corp. would not be held liable for
misuse of its product. If you do not agree, please discontinue use immediately and return product to place of purchase. This product is
intended for off-road use and passenger entertainment only.
3 | P a g e
6. Connect the provided SMB to RCA Adapter to the green port on the
back of the Sprinter’s factory radio (if there is already a plug at the
green port, disconnect it and use the
provided SMB cable instead).
7. After installing and running the reverse
camera to the dash opening (connect
power to an ACC source, NOT reverse!),
connect the camera’s signal lead to the
RCA side of the SMB to RCA Adapter.
Note: ACC power in Mercedes can often be found at the cigarette lighter.
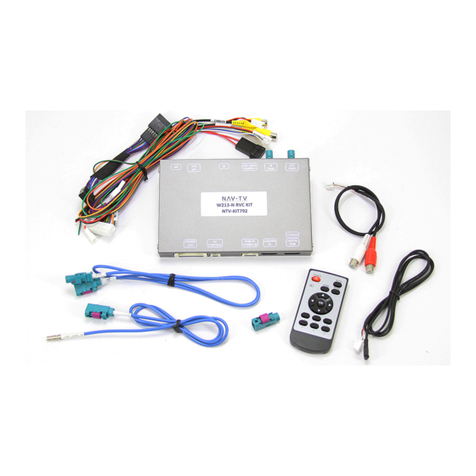
8. Connect the male end of the provided 44-pin Plug & Play T-Harness back to the radio
and leave the module outside of the dash, or accessible.
9. Proceed to Programming (page 3).
10. Once programming is complete, start the vehicle and
place it into reverse. The reverse camera’s image
should appear on the screen automatically.
11. Optional: If forced camera is desired, connect one side
of a toggle switch (not included) to ACC, and the other
side to INPUT 3 (pink). Activating this switch will force
the rear camera in any gear (reverse camera must be powered with ACC and not a
reverse wire!)
1. Begin by installing this kit (page 2, steps 1-9).
2. From the 18-pin Molex connector, find the Blue wire labeled Input 2.
3. Cut the metal connector off of the blue wire and strip the end back.
4. Connect this wire temporarily to 12v (+). When programming is complete, you must
remove this wire from power! You can jam the stripped end of this wire into the yellow
wire pin location on the 8-pin connector (CAN-XG Adapter) for convenience.
5. Turn the vehicle’s ignition ON (not ACC or running, but ON).
6. Wait at least 1 minute for the radio to fully boot and settle.
7. With Input 2 connected to 12v (+), toggle the high-beam head lamp lever and
‘DIAGNOSIS’ will appear on the screen. Refer to the chart below during programming.
8. Once the radio has been programmed, it will shut down (not reboot, but turn off).
9. After a few seconds, press the power button on the radio to bring the radio back up.
10. Remove Input 2 from 12v (+). Insulate the wire end.
11. Continue with installation: step 10.

