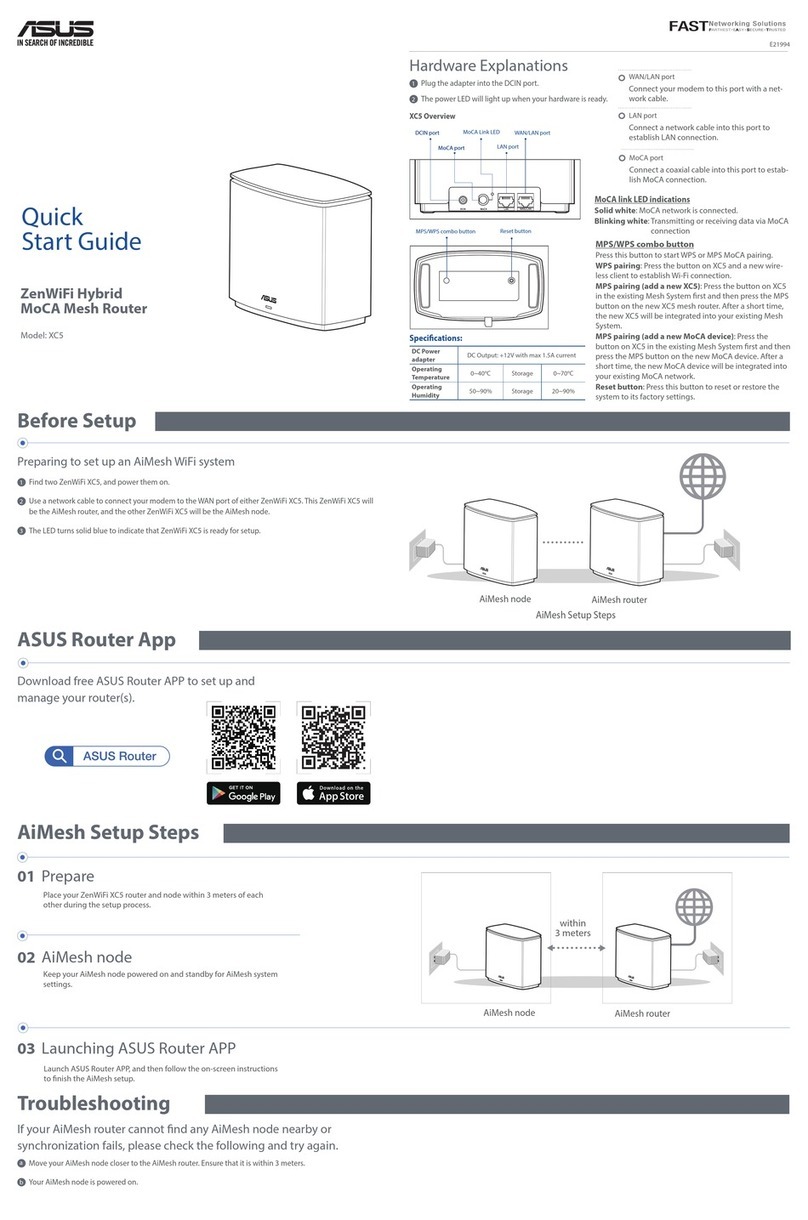
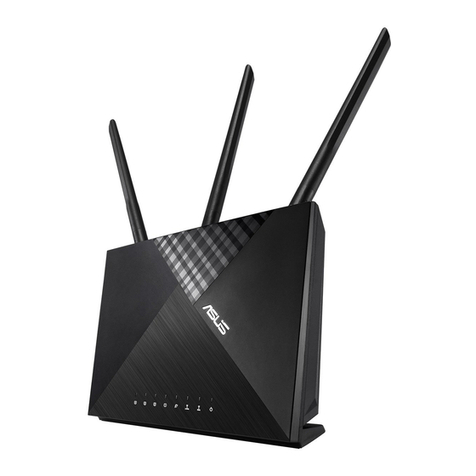
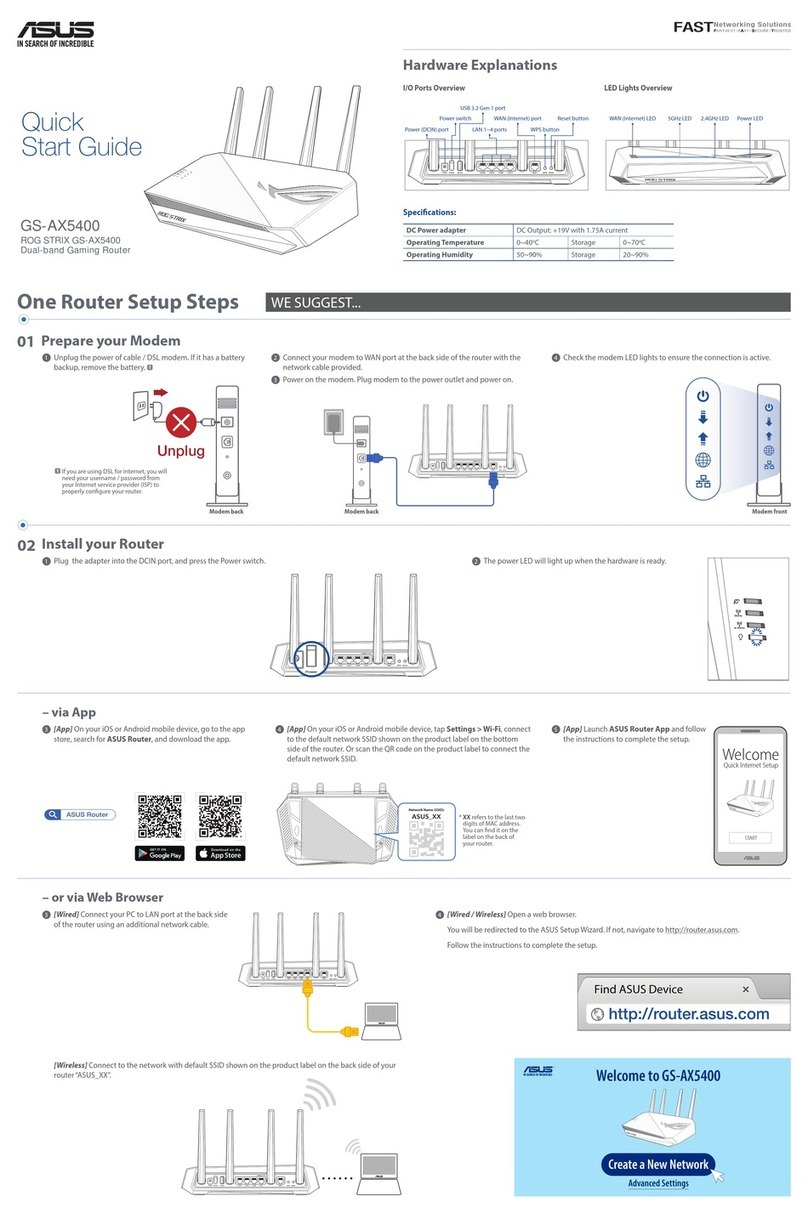
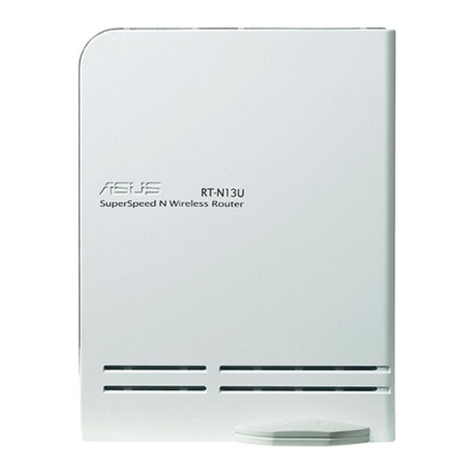
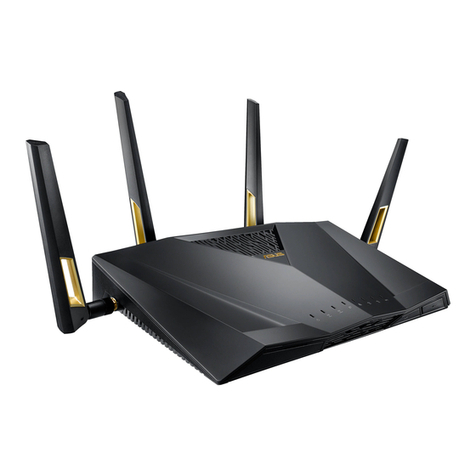
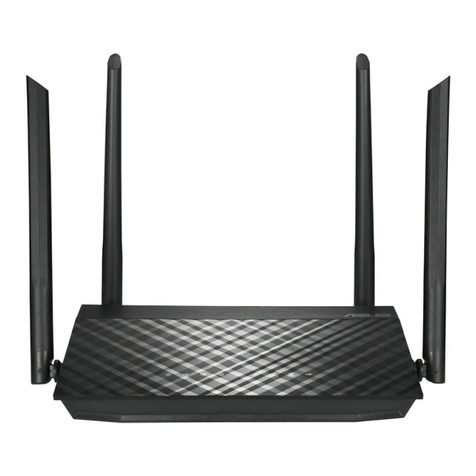
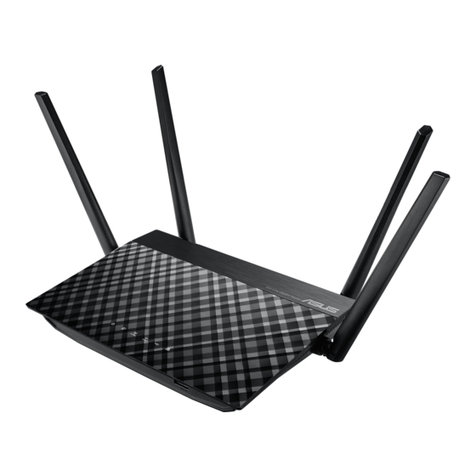
Asus RT-AC68P User manual

Quick Start Guide
RT-AC68P Dual Band
3x3 Wireless-AC 1900 Gigabit Router
NA9437/ First Edition/ June 2014
8P
®

Table of contents
English.............................................................................................3
T-Chinese........................................................................................18
French..............................................................................................33
Português.......................................................................................48
Spanish............................................................................................63
NOTE / <
注意
> / <REMARQUE> / <NOTA>/<NOTA>
t 'PSNPSFEFUBJMTSFGFSUPUIFVTFSNBOVBMJODMVEFEJOUIF
support CD.
t 更多資訊,請參考驅動程式與公用程式光碟中的使用手冊。
t 1PVSQMVTEFEÏUBJMTDPOTVMUF[MFNBOVFMEFMhVUJMJTBUFVS
contenu dans le CD de support.
t 1BSBNBJTEFUBMIFTDPOTVMUFPNBOVBMEPVUJMJ[BEPS
incluído no CD de suporte.
t 1BSBPCUFOFSNÈTEFUBMMFTDPOTVMUFFMNBOVBMEFMVTVBSJP
incluido en el CD de soporte.

3
English
Package contents
RT-AC68P AC adapter
Network cable (RJ-45) Quick Start Guide
Support CD (User Manual)
A quick look at your RT-AC68P
1) LAN 1~4 LED 6) Power LED 11) USB 3.0/2.0 ports
2) WAN (Internet) LED 7) WPS button 12) WAN port
3) USB 3.0/2.0 LED 8) Wi-Fi On/O button 13) LED On/O button
4) 2.4GHz LED 9) Power switch 14) LAN ports
5) 5GHz LED 10) Power (DC-IN) port 15) Reset button
NOTE: If any of the items is damaged or missing, contact your retailer.
8U

4
English
NOTES:
t USB External HDD/Flash disk:
t5IFXJSFMFTTSPVUFSXPSLTXJUINPTU64#)%%T'MBTIEJTLTVQUP
2TB and supports read-write access for FAT16, FAT32, EXT2, EXT3,
and NTFS.
t5PTBGFMZSFNPWFUIF64#EJTLMBVODIUIFXFC(6*
(http://192.168.1.1), then in the Network Map page's upper right
corner, click the USB icon and click Eject USB 3.0 / USB 2.0.
t*ODPSSFDUSFNPWBMPGUIF64#EJTLNBZDBVTFEBUBDPSSVQUJPO
t'PSUIFMJTUPGöMFTZTUFNBOEIBSEEJTLQBSUJUJPOTUIBUUIFXJSFMFTT
SPVUFSTVQQPSUTWJTJU
http://event.asus.com/networks/disksupport
t 'PSUIFMJTUPGQSJOUFSTUIBUUIFXJSFMFTTSPVUFSTVQQPSUTWJTJU
http://event.asus.com/networks/printersupport

5
Installing your router
IMPORTANT: Before installing the router, ensure that Internet connec-
UJPOJTBWBJMBCMF
1. Position your wireless router.
For the optimal wireless transmission between the wireless router and connect-
FEXJSFMFTTEFWJDFTFOTVSFUIBUZPV
t 1MBDFUIFXJSFMFTTSPVUFSJOBDFOUSBMJ[FEBSFBGPSBNBYJNVNXJSFMFTTDPWFSBHF
GPSUIFOFUXPSLEFWJDFT
t ,FFQUIFXJSFMFTTSPVUFSBXBZGSPNNFUBMPCTUSVDUJPOTBOEBXBZGSPNEJSFDU
sunlight.
t ,FFQUIFXJSFMFTTSPVUFSBXBZGSPNHPS.)[POMZ8J'JEFWJDFT
()[DPNQVUFSQFSJQIFSBMT#MVFUPPUIEFWJDFTDPSEMFTTQIPOFTUSBOTGPSNFST
IFBWZEVUZNPUPSTøVPSFTDFOUMJHIUTNJDSPXBWFPWFOTSFGSJHFSBUPSTBOEPUIFS
JOEVTUSJBMFRVJQNFOUUPQSFWFOUTJHOBMJOUFSGFSFODFPSMPTT
t 5PFOTVSFUIFCFTUXJSFMFTTTJHOBMPSJFOUUIFUISFFEFUBDIBCMFBOUFOOBTBT
shown in the drawing below.
t "MXBZTVQEBUFUPUIFMBUFTUöSNXBSF7JTJUUIF"464XFCTJUFBU
http://www.asus.comUPHFUUIFMBUFTUöSNXBSFVQEBUFT
English

6
2. Prepare your modem.
a. Unplug the AC adapter from the power outlet and disconnect it from your
cable/ADSL modem.
b. Disconnect the network cable from your cable/ADSL modem.
c. Reboot your computer (recommended).
Modem
OFF!
WARNING! Before disconnecting the wires/cables, ensure that your
cable/ADSL modem has been turned o for at least two minutes. If your
NPEFNIBTBCBDLVQCBUUFSZSFNPWFJUBTXFMM
RT-AC68U
Computer
Wall Power Outlet
LAN
Modem
Power
WAN
3. Set up your wireless environment.
ab
c
a
b
c
d
English

7
a. Insert your wireless router’s AC adapter to the DC-IN port and plug it to a
power outlet.
b. Using another network cable, connect your modem to your wireless router’s
WAN port.
c. Insert your modem’s AC adapter to the DC-IN port and plug it to a power
outlet.
d. Using the bundled network cable, connect your computer to your wireless
router’s LAN port. Ensure that the WAN and LAN LEDs are blinking.
NOTE::PVDBOBMTPTFUVQ35"$1VTJOHBNPCJMFEFWJDFTVDIBT
smartphone or tablet PC. To do this, go to Setup your router using a
mobile device for details.
a. %JTBCMFUIFQSPYZTFSWFSJGFOBCMFE
b. Set the TCP/IP settings to automatically obtain an IP address.
c. Disable the dial-up connection, if enabled.
NOTE: For more details on disabling your computer settings, refer to
Frequently Asked Questions (FAQs).
4. Disable some settings on your computer.
English

8
To set up your router using QIS ((Quick Internet Setup):
1. Press the power button at the back of your router. Ensure that the Power,
LAN and WAN LEDs are on.
2. -BVODIZPVSXFCCSPXTFSTVDIBT*OUFSOFU&YQMPSFS'JSFGPY(PPHMF$ISPNF
or Safari.
Setting up your router using the Quick Internet Setup
Wizard
NOTE: If QIS does not launch automatically, enter http://192.168.1.1
or http://router.asus.com in the address bar and refresh the browser
again.
3. Assign your router login name and password and click Next. You will need
UIJTMPHJOOBNFBOEQBTTXPSEUPMPHJOUP35"$1UPWJFXPSDIBOHFUIF
router settings. You can take note of your router login name and password
for future use.
ASUS RT-AC68P
English

9
4. The wireless router’s Quick Internet Setup (QIS) feature automatically detects
if your ISP connection type is Dynamic IP, PPPoE, PPTP, L2TP, and Static
IP. Please obtain the necessary information about your Internet connection
UZQFGSPNZPVS*OUFSOFU4FSWJDF1SPWJEFS*41*GZPVSDPOOFDUJPOUZQFJT
%ZOBNJD*1%)$12*4XJ[BSEXJMMBVUPNBUJDBMMZEJSFDUZPVUPUIFOFYUTUFQ
NOTE: If your connection type is Static IP, choose Static IP and click
Next,FZJO*1BEESFTTTVCOFUNBTLEFGBVMUHBUFXBZBOE%/4TFSWFS
JOGPSNBUJPOQSPWJEFECZZPVS*41$MJDLNext to proceed.
Setup of router (RT-AC68U) administrator password
Login name:
Login password:
English

10
5. Assign the network name (SSID) and security key for your 2.4GHz and 5GHz
wireless connection. Click Apply when done.
6. Your Internet and wireless settings are displayed. Click Next to continue.
7. Read the wireless network connection tutorial. When done, click Finish.
NOTES:
t :PVDBOBTTJHOBOFUXPSLOBNFXJUIVQUP
32 characters.
t 8BUDIUIFTFUVQUVUPSJBMWJEFPJGOFFEFE
English

11
:PVDBOBMTPVTFZPVSNPCJMFEFWJDFTVDIBTBTNBSUQIPOFPSBUBCMFU1$UPTFU
up RT-AC68P through QIS wizard. The QIS wizard will automatically switch to
UIFNPCJMFWFSTJPOJGZPVVTFBTNBSUQIPOFPSBUBCMFU1$UPMBVODIJU
5PTFUVQZPVSSPVUFSVTJOHBNPCJMFEFWJDF
1. Turn on RT-AC68P.
2. &OBCMF8J'JGVODUJPOPGZPVSNPCJMFEFWJDF
3. Search for the SSID ASUS, which is the default SSID
of your RT-AC68P wireless network. Click this SSID
to connect and wait for the status to display Wi-Fi
connected.
4. -BVODIZPVSNPCJMFEFWJDFXFCCSPXTFS
Setting up your router using a mobile device (optional)
NOTE: If QIS does not launch automatically,
enter http://192.168.1.1 or http://router.asus.
com in the address bar and refresh the browser
BHBJO:PVDBOBMTPVTFZPVSNPCJMFEFWJDFUP
scan for the QR code here to go to RT-AC68P’s
web interface.
5. Assign your router login name and password, and
click Next. You will need this login name and pass-
XPSEUPMPHJOUP35"$1TXFCJOUFSGBDFUPWJFXPS
change router settings. Ensure that you take note of
your router login name and password for future use.
Login name:
Login password:
RT-AC68P
RT-AC68P
English

12
6. The QIS feature automatically detects if your ISP connection type is Dynamic
IP, PPPoE, PPTP, L2TP, and Static IP. Enter the necessary information that your
*OUFSOFU4FSWJDF1SPWJEFS*41IBTQSPWJEFE*GZPVSDPOOFDUJPOUZQFJT%Z-
OBNJD*1%)$12*4XJ[BSEXJMMBVUPNBUJDBMMZEJSFDUZPVUPUIFOFYUTUFQ
NOTE: If your connection type is Static IP, choose Static IP and click
Next&OUFSUIF*1BEESFTTTVCOFUNBTLEFGBVMUHBUFXBZBOE%/4TFSW-
FSJOGPSNBUJPOQSPWJEFECZZPVS*41$MJDLNext to proceed.
7. Assign the network name (SSID) and security key for your 2.4GHz and 5GHz
wireless connection. Click Apply when done.
RT-AC68P ASUS RT-AC68P
ASUS RT-AC68P
English

13
8. Your Internet and wireless settings are displayed. Click Next to continue.
9. Read the wireless network connection tutorial. When done, click Finish.
NOTES: You can assign a network name with up to 32 characters.
There are two ways for your wireless clients (notebook, tablet PC, smartphone
and so on) to connect to RT-AC68P’s wireless network.
Connect to the wireless network manually
To connect to the wireless network manually:
1. &OBCMFUIF8J'JGVODUJPOPOZPVSXJSFMFTTDMJFOUUPTDBOGPSBWBJMBCMFXJSFMFTT
networks.
2. Select the SSID or network name that you assigned to your RT-AC68P’s net-
work.
3. Enter the password and click Connect.
Connect to the wireless network through WPS
RT-AC68P has a WPS (Wi-Fi Protected Setup) button for you to connect your
wireless client to RT-AC68P’s network without entering password.
To connect to the wireless network through WPS:
1. Press the WPS button at the back of RT-AC68P. Refer to the section A quick
look at your RT-AC68P for the location of the WPS button).
2. Press the WPS button of your wireless client within two minutes or follow the
814JOTUSVDUJPOTUIBUDBNFXJUIUIFXJSFMFTTDMJFOU8IFODPOOFDUJOHWJB
WPS, the Power LED on your router blinks fast.
3. Wait until your router’s Power LED turns into a solid light indicating a suc-
cessfully connection between your router and your wireless client.
Connect to the wireless network
English

14
Your wireless router comes with the
JOUVJUJWF"464835XFCHSBQIJDBM
user interface. ASUSWRT allows you
UPFBTJMZDPOöHVSFJUTWBSJPVTGFB-
tures through a web browser such
BT*OUFSOFU&YQMPSFS'JSFGPY4BGBSJ
or Google Chrome.
Managing the router via the ASUSWRT web GUI
IMPORTANT:
t 'PSNPSFEFUBJMTPOVTJOHZPVSSPVUFShT8FC
GUI, refer to the user manual.
t "MXBZDIFDLBOEVQHSBEFöSNXBSFUPUIF
MBUFTUWFSTJPOGPSCFUUFSFYQFSJFODF
t 7JTJU"464/FUXPSLJOHWJEFPDIBOOFMGPS
UVUPSJBMWJEFPTPOGFBUVSFEGVODUJPOT
NOTE: Use the search
bar on the bottom of the
interface to get more infor-
mation from ASUS technical
support site
http://support.asus.com.
English

15
AiCloud
"464"J$MPVEBQQQSPWJEFTZPVXJUIBDDFTTUPZPVSEBUBXIFSFWFSBOEXIFO-
FWFSZPVIBWFBO*OUFSOFUDPOOFDUJPO*UBMTPBMMPXTZPVUPBDDFTTZPVS"464
8FC4UPSBHFBDDPVOUWJBUIF"J$MPVENPCJMFBQQPOZPVSJ04PS"OESPJEEFWJDF
PSWJBBXFCCSPXTFS
To install AiCloud:
1. &OTVSFUIBUZPVSSPVUFSTöSNXBSFWFSTJPOJTUIFMBUFTUPOFBOETVQQPSUT
AiCloud.
2. Download AiCloud app from Google Play or App Store.
3. *OTUBMMZPVS64#TUPSBHFEFWJDFUPZPVSSPVUFS3FGFSUPTFDUJPOA quick look
at your RT-AC68P for the location of the USB ports.
4. $POOFDUZPVSJ04PS"OESPJEEFWJDFTUPUIFSPVUFSUISPVHI8J'J5IF"J-
Cloud app will automatically guide you through the setup process.
5. :PVDBOOPXBDDFTTTUSFBNBOETIBSFUPBMMöMFTJOZPVS64#TUPSBHF4FBSDI
"464"J$MPVEGPSNPSFJOGPSNBUJPO8BUDIUVUPSJBMWJEFPTGPSTUFQCZTUFQ
guide.
Google Play App Store
English

16
Frequently Asked Questions (FAQs)
After following the steps, I still cannot access the wireless router’s web
graphics user interface (web GUI) to congure the wireless router settings.
&OTVSFUIBUZPVS1$hTQSPYZTFUUJOHTBSFEJTBCMFEBOEZPVS1$h4*1BEESFTTJT
PCUBJOFEGSPNUIF%)$1TFSWFSBVUPNBUJDBMMZGPSEFUBJMTPOEJTBCMJOHUIFQSPYZ
TFUUJOHTWJTJUUIF"4644VQQPSUTJUFBUhttp://support.asus.com. For details
POVTJOHUIF%)$1TFSWFSUPPCUBJO*1BEESFTTFTBVUPNBUJDBMMZSFGFSUPZPVS
Windows® or Mac operating system's help feature.
The client cannot establish a wireless connection with the router.
Out of Range:
t 1VUUIFSPVUFSDMPTFSUPUIFXJSFMFTTDMJFOU
t 5SZUPDIBOHFUIFDIBOOFMTFUUJOHT
Authentication:
t 6TFXJSFEDPOOFDUJPOUPDPOOFDUUPUIFSPVUFS
t $IFDLUIFXJSFMFTTTFDVSJUZTFUUJOHT
t 1SFTTUIF3FTFUCVUUPOBUUIFSFBSQBOFMGPSNPSFUIBOöWFTFDPOET
Cannot nd the router:
t 1SFTTUIF3FTFUCVUUPOBUUIFSFBSQBOFMGPSNPSFUIBOöWFTFDPOET
t $IFDLUIFTFUUJOHJOUIFXJSFMFTTBEBQUFSTVDIBT44*%BOEFODSZQUJPO
settings.
Cannot access the Internet via wireless LAN adapter.
t .PWFUIFSPVUFSDMPTFSUPUIFXJSFMFTTDMJFOU
t $IFDLXIFUIFSUIFXJSFMFTTBEBQUFSJTDPOOFDUFEUPUIFDPSSFDUXJSFMFTT
router.
t $IFDLXIFUIFSUIFXJSFMFTTDIBOOFMJOVTFDPOGPSNTUPUIFDIBOOFMTBWBJM-
able in your country/area.
t $IFDLUIFFODSZQUJPOTFUUJOHT
English

17
t $IFDLJGUIF"%4-PS$BCMFDPOOFDUJPOJTDPSSFDU
t 3FUSZVTJOHBOPUIFS&UIFSOFUDBCMF
If the ADSL “LINK” light blinks continuously or stays o, Internet access is
not possible - the Router is unable to establish a connection with the ADSL
network.
t &OTVSFUIBUBMMZPVSDBCMFTBSFBMMQSPQFSMZDPOOFDUFE
t %JTDPOOFDUUIFQPXFSDPSEGSPNUIF"%4-PSDBCMFNPEFNXBJUBGFXNJO-
utes, then reconnect the cord.
t *GUIF"%4-MJHIUDPOUJOVFTUPCMJOLPSTUBZT0''DPOUBDUZPVS"%4-TFSWJDF
QSPWJEFS
Network name or encryption keys are forgotten.
t 5SZTFUUJOHVQUIFXJSFEDPOOFDUJPOBOEDPOöHVSJOHUIFXJSFMFTTFODSZQUJPO
again.
t 1SFTTUIF3FTFUCVUUPOPGUIFXJSFMFTTSPVUFSGPSNPSFUIBOöWFTFDPOET
t 'BDUPSZEFGBVMUTFUUJOHT
User name / Password:
admin / admin IP address:
192.168.1.1 SSID:
ASUS
Where can I nd more information about the wireless router?
t 6TFS.BOVBMJOUIFTVQQPSU$%
t 0OMJOF'"2TJUF http://support.asus.com/faq
t 5FDIOJDBM4VQQPSUTJUFhttp://support.asus.com
t $VTUPNFS)PUMJOF3FGFSUPUIF4VQQPSU)PUMJOFJOUIJT2VJDL4UBSU(VJEF
English

18
繁體中文
包裝內容物
RT-AC68P 無線路由器 RJ45 網路線
電源變壓器 快速使用指南
使用手冊光碟
認識您的 RT-AC68P 無線路由器
注意:若以上列出的任何一項配件有毀損或是短缺的情形,請儘速
聯絡您的經銷商。
1) LAN 1~4 指示燈 6) 電源指示燈 11) USB 3.0/2.0 連接埠
2) WAN(網際網路)
指示燈 7) WPS 按鈕 12) WAN 連接埠
3) USB 3.0/2.0 指示燈 8) Wi-Fi 開啟 / 關閉按
鈕
13) 指示燈開啟 / 關閉
按鈕
4) 2.4GHz 指示燈 9) 電源開關 14) LAN 連接埠
5) 5GHz 指示燈 10) 電源輸入埠(DC-IN) 15) 重置按鈕
繁體中文
8U

19
繁體中文
注意:
• USB 外接硬碟 / 隨身碟:
• 此無線路由器相容大多數容量高達 2TB 的 USB 硬碟 / 隨身
碟,並支援 FAT16、FAT32、EXT2、EXT3 與 NTFS 的存取。
• 欲安全移除 USB 磁碟,請登入網頁圖形使用者介面(
http://192.168.1.1),接著在「網路地圖」頁面的右上角點選
USB 圖示並選擇 退出 USB 磁碟。
• 錯誤移除 USB 碟將會導致資料遺失。
• 請造訪 http://event.asus.com/networks/disksupport 獲得此無線路
由器所支援的檔案系統與硬碟磁區清單。
• 請造訪 http://event.asus.com/networks/printersupport 獲得此無線
路由器所支援的印表機清單。
繁體中文

20
安裝您的路由器
重要!安裝路由器之前,請確認網際網路連線可用。
1. 放置您的路由器
為獲得無線路由器與所連線的網路裝置之間的最佳無線傳送訊號,請確認以
下幾點:
• 建議將路由器放置在中心區域,以覆蓋所有無線行動裝置。
• 請勿將裝置放在靠近金屬物品與陽光直射的地方。
• 請遠離其它 802.11g 或 20MHz Wi-Fi 裝置、2.4GHz 電腦周邊裝置、 藍芽
裝置、無線室內電話、傳送器、重型發動機、日光燈、微波爐、電冰箱與
其他工業裝置,以防止訊號干擾或丟失。
• 請按照下圖所示擺放路由器上的三根可拆卸式天線以獲得最佳前後訊號覆
蓋。
• 請經常更新至最新版本韌體。您可以登入華碩官網 http://tw.asus.com 獲得
最新韌體。
繁體中文
45°
90°
45°
8P
繁體中文
Table of contents
Languages:
Other Asus Wireless Router manuals

Asus
Asus Lyra mini Instruction manual

Asus
Asus RT-AX86U User manual

Asus
Asus Lyra MAP-AC2200 User manual

Asus
Asus RT-AC1200G+ User manual

Asus
Asus WL-530G User manual

Asus
Asus ZenWiFi AX Mini User manual

Asus
Asus ZenWiFi XD6 User manual

Asus
Asus RT-AX54HP User manual

Asus
Asus ROG Rapture GT-AX6000 User manual

Asus
Asus RT-AC1200G+ User manual

Asus
Asus DSL-N16UP Series User manual

Asus
Asus 4G-N12 User manual

Asus
Asus EA-N66 User manual

Asus
Asus DSL-AC68U User manual

Asus
Asus RT-N65U User manual

Asus
Asus RP-N12 User manual

Asus
Asus AiMesh-AC1750 User manual

Asus
Asus WL-500W SuperSpeed N User manual

Asus
Asus WL-AM604g User manual

Asus
Asus RT-N12 Series User manual