IMPORTANT! For alternate setup with TA behind the router, see page 18 of the accompanying MTA-1TM Telephone Adapter Install Guide. !!
WAN/
UPLOAD
RESET
CONSOLE
PSTN
VoIP
12V 1A
ETHERNET
POWER
ETHERNET
PORT
ETHERNET
PORT
PORTS
RESET
WAN 12V –
LAN
ON ON
ON
ON
CABLE VoIP1 VoIP2
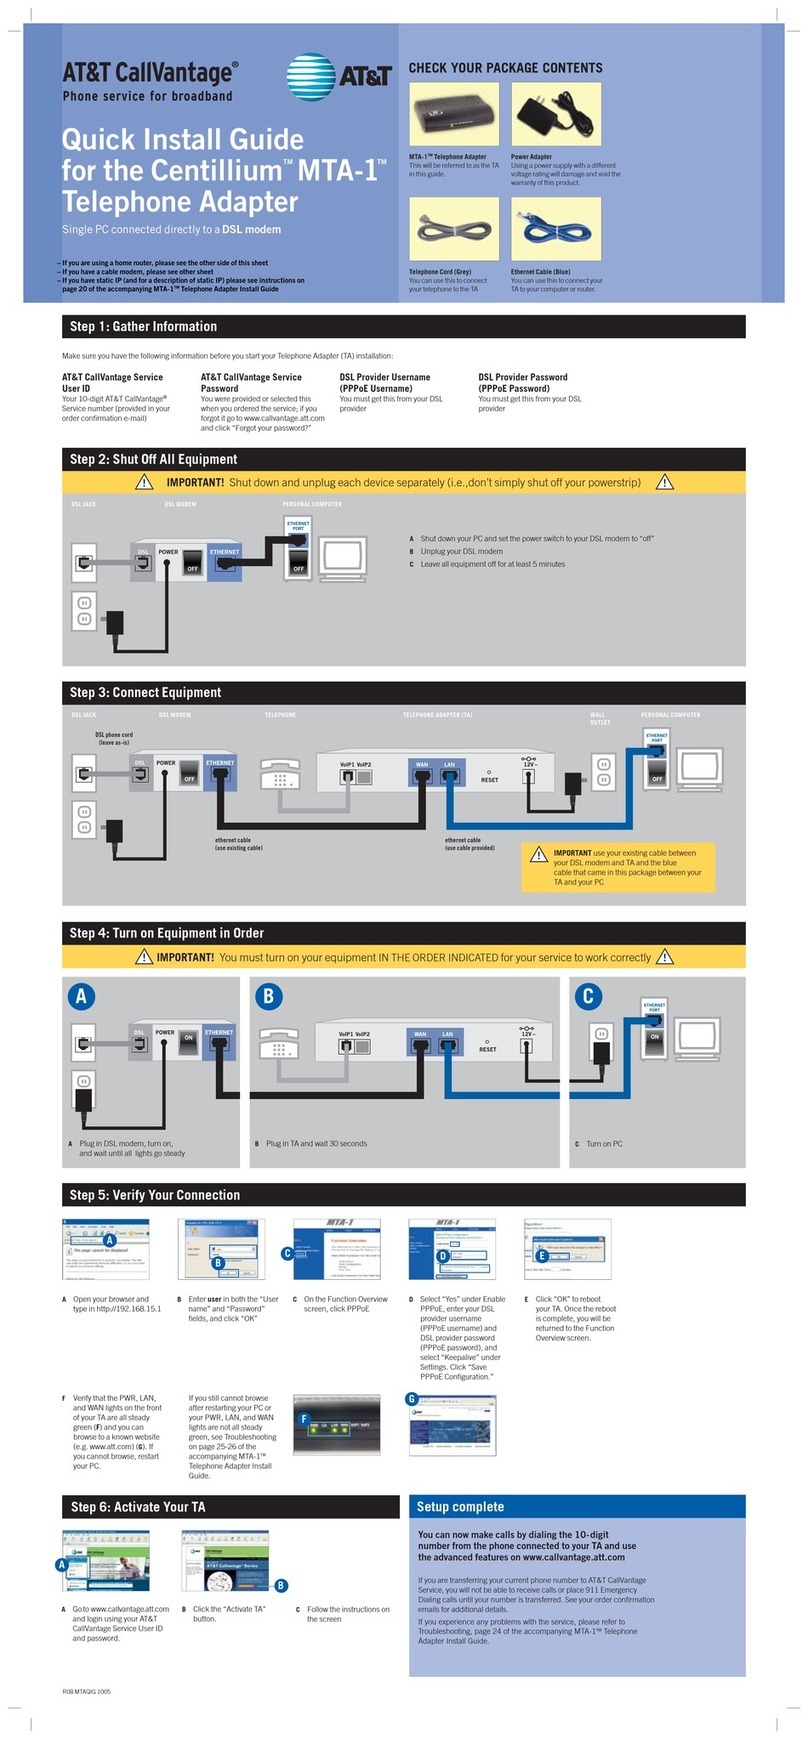
IMPORTANT! Shut down and unplug each device separately (i.e., don’t simply shut off your powerstrip) !!
OFF
WAN/
UPLOAD
RESET
CONSOLE
PSTN
VoIP
12V 1A
ETHERNET
POWER
ETHERNET
PORT
OFF
ETHERNET
PORT
OFF
PORTS
RESET
WAN 12V –
LAN
OFF
CABLE VoIP1 VoIP2
CABLE JACK CABLE MODEM PERSONAL COMPUTER(S)WALL
OUTLET
TELEPHONE TELEPHONE ADAPTER (TA)
ethernet cable
(use existing cable)
ethernet cable
(use cable provided)
HOME ROUTERWALL
OUTLET
Step 1: Gather Information
Make sure you have the following information before you start your Telephone Adapter (TA) installation:
Step 3: Connect Equipment
– If you do not have a home router, please see the other side of this sheet
– If you have a DSL modem, please see other sheet
– If you have static IP (and for a description of static IP) please see instructions
on page 20 of the accompanying MTA-1TM Telephone Adapter Install Guide
!IMPORTANT use your existing cable between your
cable modem and TA and the blue cable that came in
this package between your TA and your router
Step 2: Shut Off All Equipment
ETHERNET
PORT
ETHERNET
POWER
OFF
OFF
ETHERNET
PORT
OFF
OFF
WAN/
UPLOAD PORTS
CABLE
CABLE JACK CABLE MODEM PERSONAL COMPUTER(S)ROUTER
DTurn on PC(s)
Step 4: Turn on Equipment in Order
IMPORTANT! You must turn on your equipment IN THE ORDER INDICATED for your service to work correctly !!
®
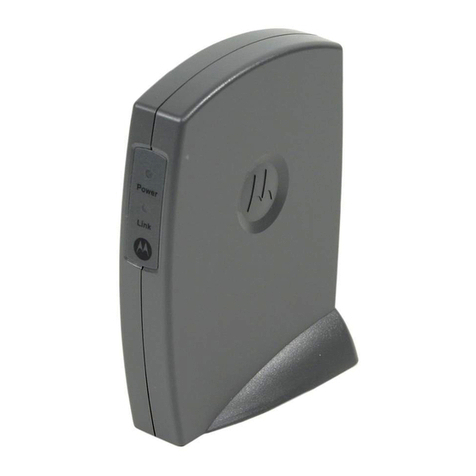
MTA-1TM Telephone Adapter
This will be referred to as the TA
in this guide.
Power Adapter
Using a power supply with a different
voltage rating will damage and void the
warranty of this product.
Telephone Cord (Grey)
You can use this to connect
your telephone to the TA.
Ethernet Cable (Blue)
You can use this to connect your
TA to your computer or router.
CHECK YOUR PACKAGE CONTENTS
AT&T CallVantage Service User ID
Your 10-digit AT&T CallVantage®Service number
(provided in your order confirmation e-mail)
AT&T CallVantage Service Password
You were provided or selected this when you
ordered the service; if you forgot it go to
www.callvantage.att.com and click “Forgot your
password?”
AShut down your PCs and set the power switch to
your home router and cable modem to “off”
BUnplug your cable modem and router
CLeave all equipment off for at least 5 minutes
A B C D
APlug in cable modem, turn on, and
wait until all lights go steady
BPlug in TA and wait 30 seconds CPlug in router, turn on,
and wait 30 seconds
You can now make calls by dialing the
10-digit number from the phone connected
to your TA and use the advanced features
on www.callvantage.att.com
Setup Complete
Step 6: Activate Your TA
Step 5: Verify Your Connection
B
If you are transferring your current phone number to AT&T CallVantage
Service, you will not be able to receive calls or place 911 Emergency
Dialing calls until your number is transferred. See your order confirmation
emails for additional details.
If you experience any problems with the service, please refer to
Troubleshooting, page 24 of the accompanying MTA-1TM Telephone
Adapter Install Guide.
co-axial cable
(leave as-is)
AVerify that the PWR, LAN,
and WAN lights on the front
of your TA are all steady
green (A) and you can
browse to a known website
(e.g. www.att.com) (B). If
you cannot browse, restart
your PC.
If you still cannot browse
after restarting your PC or
your PWR, LAN, and WAN
lights are not all steady
green, see Troubleshooting
on pages 25-26 of the
accompanying MTA-1TM
Telephone Adapter Install
Guide.
A
A
B
AGo to www.callvantage.att.com
and login using your AT&T
CallVantage Service User ID
and password.
BClick the “Activate TA”
button.
CFollow the instructions on
the screen
Cable modem with one or more PCs connected via a home router
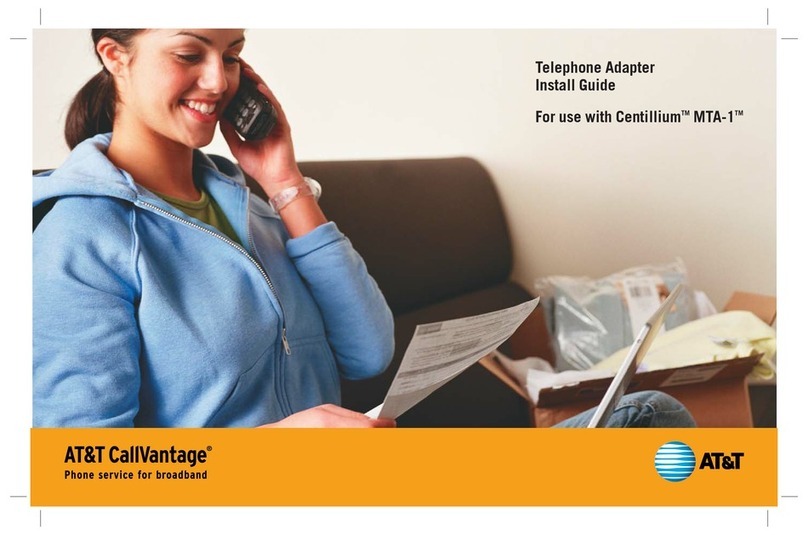
Quick Install Guide
for the CentilliumTM MTA-1TM
Telephone Adapter
