AT&T 9050 User manual

Part 2
Please read Part 1 — Important Product
Information, included in your package.
User’s Manual for
Cordless Telephone
Answering System 9050
2
9050_cover.1AT&T 8/12/98, 4:14 PM3

© 1998 Philips Consumer Communications L.P. All rights reserved.
Printed in China. 848232518 Issue 1AT&T
9050_cover.1AT&T 8/12/98, 4:14 PM2

1
CONTENTS
INSTALLATION................................. 3
Table/Desk Installation.......................... 3
Wall Installation..................................... 4
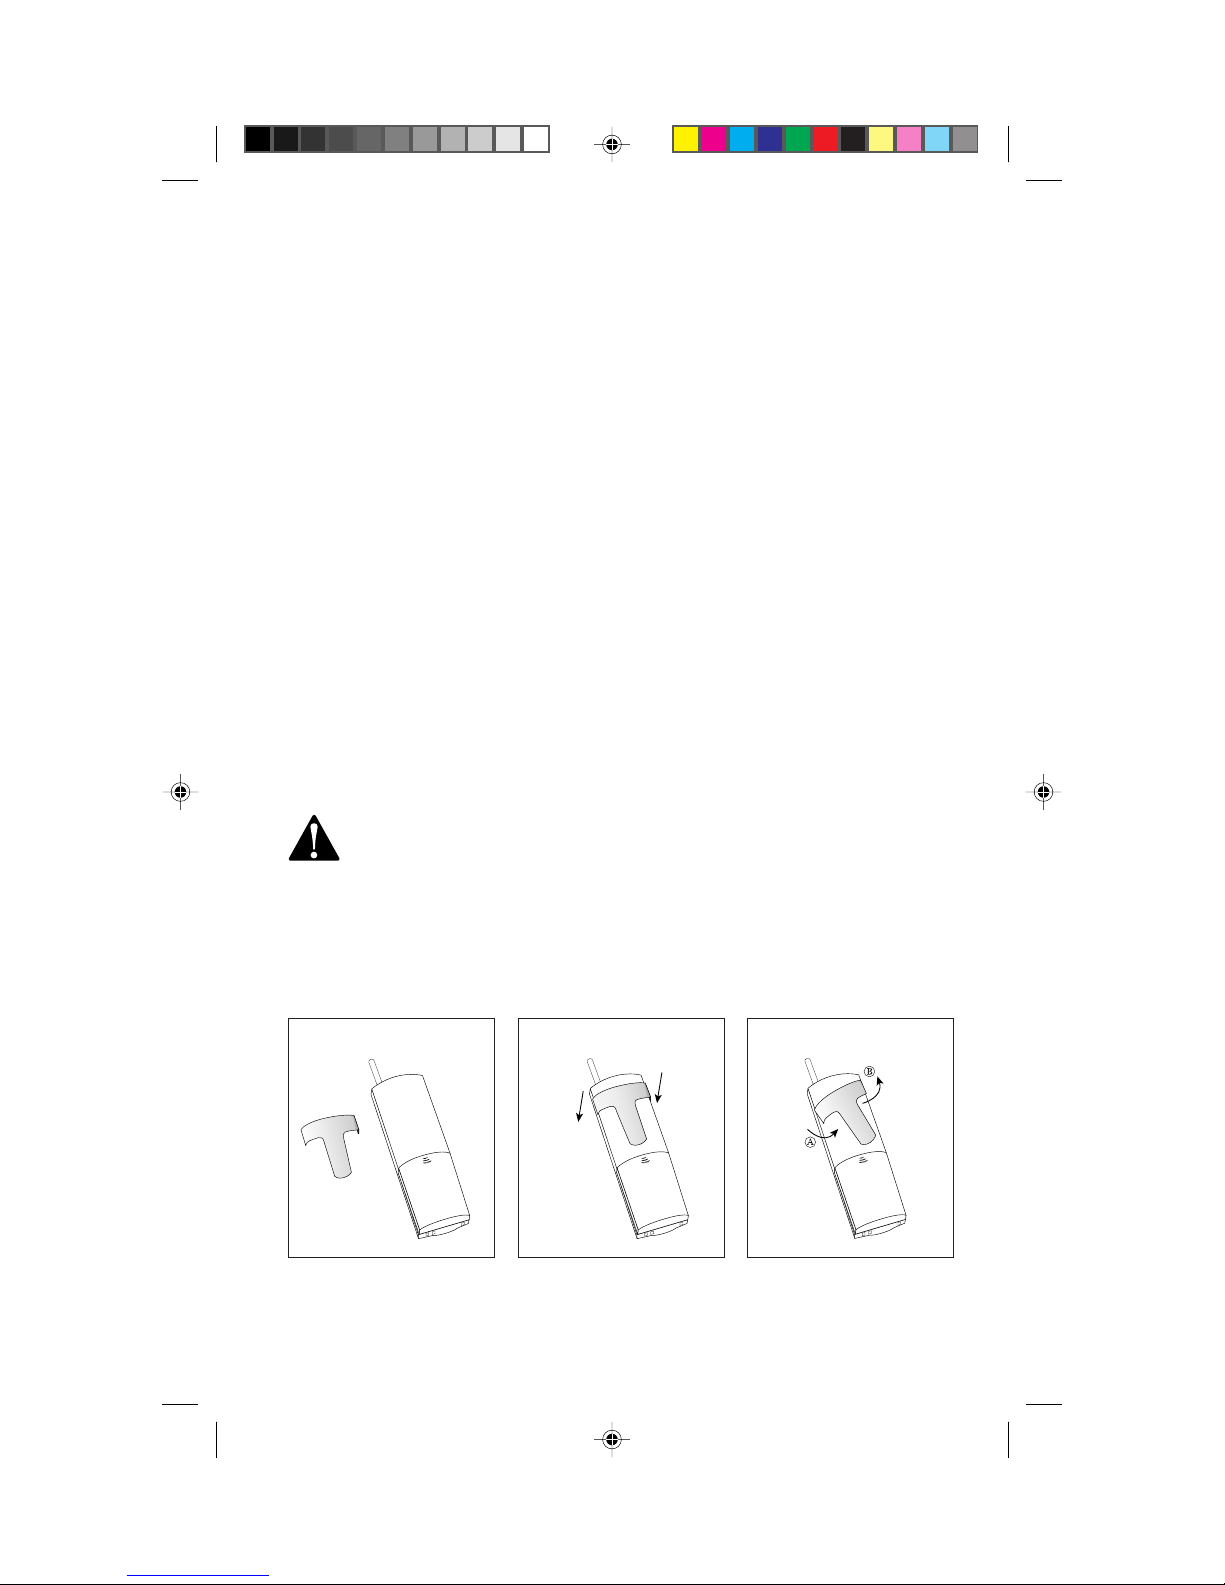
Belt Clip ................................................ 5
OPERATION..................................... 6
Making a Call......................................... 8
Answering a Call ................................... 8
Ending a Call ......................................... 8
Redial .................................................... 8
Handset Ringer Selection and
Ringer OFF ........................................ 8
Handset RingerVolume ......................... 9
TemporaryTone .................................... 9
SpecialTelephone Services ................... 9
Page/Handset Locator ........................... 9
Headset Jack........................................ 10
OPERATING RANGE ........................11
TELEPHONE MEMORY ....................12
Storing Memory Numbers...................12
Replacing Stored Memory Numbers ...12
Storing a Pause in a
Memory Number ............................. 12
Dialing Memory Numbers...................12
Memory Guard .................................... 12
ANSWERING SYSTEM SETUP ..........13
Turning the System ON/OFF............... 13
Volume ................................................ 13
Setting the Clock................................. 13
Announcement Options......................13
SelectingYourAnnouncement ............14
RecordingYourAnnouncement ..........14
Ring Select andToll Saver.................... 15
Audible MessageAlert ......................... 15
RemoteAccess Code ........................... 16
Base Ringer Setting.............................. 16
ANSWERING SYSTEM OPERATION
At the Base.................................. 17
Answering Calls................................... 18
Call Screening/Intercept .....................18
Listening toYour Messages.................. 18
Saving Messages .................................. 19
Deleting Messages ............................... 19
Recording a Memo ..............................19
ANSWERING SYSTEM OPERATION
From a Remote Touch Tone Phone..20
Connect with theAnswering System ..20
Voice Help Menu................................. 20
RemoteAccess Commands .................20
Remote ON/OFF ................................. 21
BATTERIES.................................... 22
Charging the Handset Battery Pack.....22
Charging the Spare Battery Pack.........22
Replacing the Handset Battery Pack ...23
IN CASE OF DIFFICULTY .................24
9050_book.1AT&T 8/12/98, 4:14 PM1

2
9050_book.1AT&T 8/12/98, 4:14 PM2

3
INSTALLATION
Table/Desk Installation
1 Choose a spot near an electrical outlet and a telephone jack.
Thisphonerequires a modulartelephonejackand a standardelectrical
outlet (110vAC).The outlet should not be controlled by a wall switch.
2 Install the handset battery.
(Foranillustrationof battery installation,seeBATTERIESinthis manual.)
• Remove the battery cover by pressing on the indentation and
sliding downward.
• Install the battery pack so that the metal contacts on the bottom
ofthebatteryarealigned with the charging contacts in the battery
compartment.
• Replace the battery cover by sliding it on its track up over the
battery compartment until it snaps firmly in place.
3 Set the dial mode.
If you have touch tone service, set the switch on the bottom of the
base to TONE. If you have dial pulse (rotary) service, set the switch
to PULSE. Even if you have dial pulse service, you can still use
telephone services requiring tone signals. See “Temporary Tone” in
the OPERATION section of this manual.
Telephone
Line Jack
Modular
Telephone
Jack
Standard
Electrical
Outlet
Power Cord Telephone Line Cord
9050_book.1AT&T 8/12/98, 4:14 PM3

4
4 Connect the telephone line cord.
Plug one end of the telephone line cord into the jack on the back of
the base. Plug the other end of the line cord into a modular jack. Make
sure the plugs snap firmly in place.
5 Connect the power cord.
Plug the power adapter into the jack labeled 11V DC on the back of
the base. Plug the AC adapter on the power cord into an electrical
outlet not controlled by a wall switch. The Message Window flashes
——as the set initializes.
6 Charge the handset batteries for 16 hours.
Place the handset face down in the base. The CHARGING light on the
base goes on to show the handset is in the right position to charge the
batteries.
7 Check for dial tone.
After the batteries are charged, pick up the handset and extend the
base antenna. Check for dial tone by pressing P; the PHONE light
should go on and you should hear a dial tone.
Wall Installation
INSTALLATION
1 Follow Steps 1–3 under Table/Desk Installation.
2 Turn the base unit over, and attach the wall mounting base to
the lower half of the base unit. Gently press down until it snaps
firmly into place.
9050_book.1AT&T 8/12/98, 4:14 PM4

5
INSTALLATION
3 Connect the power cord.
• Plug the power adapter into the jack labeled 11V DC on the back
of the base.
• Run the cord under the tab on the bottom of the base unit and
under the tab on the wall mounting base.
• Plug the AC adapter into an electrical outlet not controlled by a
wall switch.The MessageWindow flashes ——as the set initializes.
4 Connect the telephone line cord.
• Using the short telephone line cord supplied, insert one end of
the telephone line cord into the telephone jack on the back of the
telephone base.
• Feed the excess line cord under the tab on the bottom of the
telephone base.
• Plug the line cord into the standard wall jack.
5 Mount the telephone on the wall.
Position the telephone base so the mounting studs on the wall jack fit
into the base of the telephone. Slide the telephone down on the
mounting studs until the phone locks into place.
6 Follow Steps 6 and 7 under Table/Desk Installation.
CAUTION: UseonlytheACpoweradaptersuppliedwiththistelephone,
Power Supply for 9050. Input: AC 117V, 60Hz,12W Output:DC 11V,
500mA.
Belt Clip
If you wish,you can attach the belt clip to the cordless handset,following the
illustrations below.
To Remove
To Attach
9050_book.1AT&T 8/12/98, 4:14 PM5

6
OPERATION
Adjust speaker
volume
Latch for
Spare Battery
Compartment
Light goes on when spare battery (optional) is
placed in Spare Battery Compartment
Send paging tone to handset
Light goes on when handset is in use, or
when handset is charging in base
Directory card
Light goes on
when system is
connected to
power and
phone line
9050_book.1AT&T 8/12/98, 4:14 PM6

7
OPERATION
End a call
Redial last
number called
Access numbers in
telephone memory
Make or answer
a call
Change channel
Temporary Tone
Store numbers in
telephone memory
Light goes on
when battery
needs charging
Headset jack
Handset Volume
Control
Light goes on while
you are on a call
9050_book.1AT&T 8/12/98, 4:14 PM7

8
Making a Call
1Press and release P,and wait for dial tone.
2When you hear a dial tone,dial the number.
Answering a Call
Press P. The Plight goes on,and the call is connected.
Ending a Call
Press oon the handset.
Redial
Thelast numberdialedon thisphone(up to16digits)is storedin redialmemory
until you dial another number.
1PressP.
2When you hear a dial tone,press R.
Handset Ringer Selection and Ringer OFF
You can select from four different handset ringer styles for each line. You can
also turn off the ringer.
1Press p, #.
2Press 1, 2, 3or 4to select your ringer style. You will hear a sample
of the ringer style
— OR —
Press 5to turn the ringer off.
3Press o.
Checking Handset Ringer Selection
1Press p, #.
2Press 0. You will hear the current ringer style selection.
3Press o.
OPERATION
9050_book.1AT&T 8/12/98, 4:14 PM8

9
Handset Volume
Adjust the handset volume to high (H) or low (L) using the switch on the side
of the handset.
Temporary Tone
NOTE: If you have touch tone service, you do not need to use the Temporary
Tone feature.
If you have dial pulse (rotary) service,this feature allows you to enter codes or
tonesneededtooperateansweringmachines,oruse electronicbankingservices,
calling cards,and other special services. This feature will operate most special
services; however,some services may actually require a touch tone line. To be
sure,ask the company that provides the special service.
1Dial the call,then press *. Any buttons pressed after this send tone
signals.
2Afteryouhang up,thephone automaticallyreturns todialpulse (rotary)
dialing.
Special Telephone Services
If you subscribe to special local telephone company services like CallWaiting
or Call Forwarding, you can access them by pressing Pwhenever you
would press the switchhook on a corded phone. This is like the Flash feature
on some other phones.
Page/Handset Locator
The Page feature allows you to signal someone at the handset from the base.
You can also use this feature to help you locate the handset.
PressGonthebase.Thehandset willring fourtimesbeforeending
automatically. Press oonthehandsetor Gon thebasetocancel
the page.
OPERATION
9050_book.1AT&T 8/12/98, 4:14 PM9

10
Headset Jack
You can use this telephone hands-free when you install an optional headset
and use the belt clip provided.
1Attach the belt clip (see“Belt Clip” in the INSTALLATION section of
this manual).
2Plug the headset (purchased separately) into the jack located on
the right side of the handset. (For best results,use only an accessory
headset with 2.5 mm plug.) Do not force the connection,but make
sure the plug fits securely.
3Follow instructions under“Making a Call”or“Answering a Call.”
NOTE: The earpiece and microphone on the handset are disabled when the
headset is plugged in.
OPERATION
9050_book.1AT&T 8/12/98, 4:14 PM10

11
OPERATING RANGE
Thiscordlesstelephoneoperates atthemaximumpowerallowedbytheFederal
Communications Commission (FCC). Even so, this handset and base can
communicateoveronlya certaindistance— which can vary with thelocations
of the base and handset, the weather, and the construction of your home or
office. For best performance,keep the base antenna fully extended.
If you receive a call while you are out of range,the handset might not ring —
or if it does ring, the call might not connect when you press P. Move
closer to the base,then press Pto answer the call.
If you move out of range during a phone conversation,you will hear noise or
interference. To improve reception,move closer to the base.
If you move out of range without pressing o, your phone will be left “off
the hook.” To hang up properly, walk back into range, periodically pressing
o.
This cordless telephone has 10 channels available for maximum performance.
If you notice noise or interference while using the handset:
1Press c.
2If the interference doesn’t clear,continue to press cuntil you find
a clear channel
— OR —
Move closer to the base and press c.
9050_book.1AT&T 8/12/98, 4:14 PM11

12
TELEPHONE MEMORY
This cordless phone can store 10 telephone numbers that you can dial just by
pressing mand a number button.
Storing Memory Numbers
1Make sure the handset is off.
2Press p(the PHONE light blinks).
3Press a number key (0 to 9) to select a memory location.
4Enter the number you want to store (up to 16 digits)
— OR —
Press Rto store the last number dialed.
5Press m. You will hear a confirmation tone.
Replacing Stored Memory Numbers
You can replace a stored number by storing a new number in its place.
Storing a Pause in a Memory Number
While storing a number in memory,press and hold down the number button
that comes before the pause until you hear the second beep. This inserts a
two-second pause after that digit. If you hold the button down longer, you
will hear more beeps as additional pauses are stored.
For example,to store 9,PAUSE,555–0123 in memory location 3: Press p,
3,then hold down 9until you hear the second beep. Then press 5550
123, e.
Dialing Memory Numbers
1PressP.
2Press m.
3Pressthe number button (0–9) forthememory location ofthenumber
you’re calling.
Memory Guard
The phone numbers you store in memory are protected from loss when you
change the handset battery,or in the event of a power failure.
9050_book.1AT&T 8/12/98, 4:14 PM12

13
ANSWERING SYSTEM SETUP
Turning the System ON/OFF
Press Oto turn the answering system on or off. The ON/OFF light is on
when the system is on.
Volume
Press +to increase volume when listening to messages. Press -
to decrease volume.
Setting the Clock
You’ll need to set the clock so it can record the day and time that each message
is received.
1Press and release Uuntil you hear“Set day and time.”
2Press and release Suntil you hear the correct day of the week.
3PressCto confirmyour selection.Thesystemannounces the hour.
4Press and release Suntil you hear the correct hour.
5Press and release Cto confirm your selection. The system
announces the minutes.
6Press and release Suntil you hear the correct minutes.
7Press and release Cto confirm your selection. The system
announces the current day and time.
8Press and release Uto set up another feature
— OR —
Press and release Yto exit.
Announcement Options
Normal Announce Mode
Before using this answering system,you should record an announcement (up
to 90 seconds long) that callers will hear when the system answers a call. For
example:
“Hello.You’ve reached Meadowlark Nursery. We are unable to answer
your call at this time. Please leave a message after the tone.”
If you choose not to record an announcement, the system answers with a
prerecorded announcement: “Hello. I’m unable to answer your call right
now. Please leave your name, number and a message after the tone.”
9050_book.1AT&T 8/12/98, 4:14 PM13

14
ANSWERING SYSTEM SETUP
Announce Only Mode
You can choose whether the answering system will signal callers and record
their message (Normal Announce mode, described above) or play an
announcementforcallersand thenhangup (AnnounceOnlymode).Thesystem
lets you record up to two different announcements,one for Normal Announce
mode,and one forAnnounce Only mode.For example:
“You’ve reached the Meadowlark Nursery. We’re sorry we cannot
take your call. Please call back tomorrow between 9AM and 5 PM.”
If you choose not to record an announcement forAnnounce Only,the system
answers with the prerecorded announcement: “Hello. I’m unable to answer
your call right now. Please call again. Thank you.”
NOTE: In the Announce Only mode, callers will hear the outgoing
announcement twice.
Selecting Your Announcement
1Press and release Ufive times,until you hear“SetAnnounce Only.”
2Press and release S. The system prompts with “On” or “Off.”
Press and release Suntil you hear your choice. Select Off if you
want callers to be able to leave a message.
3Press and release Cto confirm your selection.
4Press and release Uto set up another feature
— OR —
Press and release Yto exit.
Recording Your Announcement
1Select your announcement (see above).
2Press and release Uuntil you hear“Set outgoing message.”
3Press and release M. The system prompts“Now recording.”
4Begin recording your announcement, up to 90 seconds long. The
Message Window shows the elapsed time of your announcement as
you record. Record your announcement in a quiet location, away
from any background noise.
5Pressand releaseY.The system playsbackyourannouncement.
9050_book.1AT&T 8/12/98, 4:14 PM14

15
ANSWERING SYSTEM SETUP
To return to the prerecorded announcement
1Press and release Uuntil you hear“Set outgoing message.”
2PressandreleaseY. Thesystemplaysthe currentannouncement.
3Press and release Dwhile the announcement is playing. The
system prompts“Outgoing message has been erased.”
4Press and release Uto set up another feature
— OR —
Press and release Yto exit.
Ring Select and Toll Saver
UseRingSelect to select howmanytimes the phone will ring beforethe system
answers a call. Set for 2,4 or 6 rings, or set to Toll Saver. When you set the
system toToll Saver,the system answers after 4 rings when you have no new
messages,and after 2 rings when you have new messages.
1Press and release Uuntil you hear“Set number of rings.”
2Press and release Suntil you hear your desired setting (2,4,6 or
Toll Saver).
3Press and release Cto confirm your selection. The system
announces your ring selection.
4Press and release Uto set up another feature
— OR —
Press and release Yto exit.
Audible Message Alert
If you want the base to beep once every 10 seconds to notify you that new
messages have been received, set the Message Alert to ON. (The Message
Window displays ON for on,and OF for off.)
1Press and release Uuntil you hear“Set audible message alert.”
2Press and release S. The system announces the current setting.
3Press and release Suntil the system announces your selection
(on or off).
4Press and release Cto confirm your selection. The system
announces your selection.
5Press and release Uto set up another feature
— OR —
Press and release Yto exit.
9050_book.1AT&T 8/12/98, 4:14 PM15

16
ANSWERING SYSTEM SETUP
NOTE: You may stop theAudible MessageAlert beep by pressing any button
(except G) on the base. When new messages are received, the
Audible Message Alert is activated again.
Remote Access Code
The Remote Access Code allows you to access features and functions of the
answering system from a touch tone phone.The RemoteAccess Code is preset
to19, butyoucan changeit toanytwo-digitnumber followingthestepsbelow.
1Press and release Uuntil you hear“Set security code.”
2Press and release Sto hear the current RemoteAccess Code.
3Press and release Sto increase the code by one
— OR —
PressandholdStoincreasethecodebyten. TheMessageWindow
displays the RemoteAccess Code as you change it.
4Press and release Cto confirm your selection. The system
announces your new RemoteAccess Code.
5Press and release Uto set up another feature
— OR —
Press and release Yto exit.
Base Ringer Setting
1Press and release Uuntil you hear“Set base ringer.”
2Press and release S. The Message Window briefly displays the
current setting.
3Press and release Suntil the Message Window displays your
selection — ON (on) or OF (off).
4Press and release Cto confirm your selection. The system
announces your selection.
5Press and release Uto set up another feature
— OR —
Press and release Yto exit.
NOTE: The Base Ringer Setting does not affect the handset ringer.
9050_book.1AT&T 8/12/98, 4:15 PM16

17
Message Window
displays number
of messages
ANSWERING SYSTEM OPERATION
AT THE BASE
Record a memo
Set/review
answering
system features
Use with other
buttons to
change settings
Set/review day
and time
Turn answering
system on or off
Skip to next
message
Stop/start message playback
Repeat all or part of message
Delete all or some messages
Light goes on when answering system is on
9050_book.1AT&T 8/12/98, 4:15 PM17

18
ANSWERING SYSTEM OPERATION
AT THE BASE
Answering Calls
When the system is on and you’ve selected the Normal Announce mode,the
callerhearstheannouncement,followedbya beep.Acallercanleaveamessage
up to 4 minutes long. If the message is longer than 4 minutes or shorter than
2 seconds,or if the caller is silent for more than 6 seconds,or if the system runs
out of memory,the system beeps once and hangs up.
If you’ve selected Announce Only, callers hear your announcement twice,
but cannot leave a message.
Call Screening/Intercept
Set the volume control so you can hear the caller’s message. If you decide to
take the call, press Pon the handset,or lift the handset of an extension
phone. (If you pick up the handset or an extension phone during the
announcement and the announcement does not stop right away, press *0
on the handset or extension phone,or press Yon the base.)
Listening to Your Messages
As the system plays back messages,the MessageWindow displays the number
of the message playing. After playing each message,the system announces the
day and time the message was received. After playing the last message, the
system announces“End of messages.”
Play all messages
Pressand releaseY.Thesystem announces the totalnumberof new and
old messages,then plays the new messages. If there are no new messages,the
system plays the old messages.
Repeat entire message
Press and release rafter hearing the first 2 seconds.
Back up to earlier message
Press and release runtil the MessageWindow displays the number of the
message you want.
Skip to next message
Press and release K.
Skip ahead to later message
Press and release Kuntil the MessageWindow displays the number of the
message you want.
Stop message playback
Press and release Y.
9050_book.1AT&T 8/12/98, 4:15 PM18
Table of contents
Other AT&T Cordless Telephone manuals

AT&T
AT&T HS-8210 User manual

AT&T
AT&T CL83143 User manual

AT&T
AT&T TL71108 User manual

AT&T
AT&T CL83519 User manual

AT&T
AT&T CLP99287 User manual

AT&T
AT&T CL83315 User manual

AT&T
AT&T VIDEOPHONE 2500 User manual

AT&T
AT&T E5827 User manual

AT&T
AT&T CL81101 User manual

AT&T
AT&T EL52109 - AT&T DECT 6.0 User manual