6
Bluetooth setup
To use a Bluetooth enabled cellular phone with your telephone, you must
first pair and connect your Bluetooth cellular phone with the telephone base.
All TL92220/TL92270/TL92320/TL92370/TL92420/TL92470 handsets
can be used to make or answer calls on the cell phone line.
Bluetooth wireless technology operates within a short range (up to 30 feet).
When you pair a Bluetooth cell phone or Bluetooth headset to the telephone
base, keep the device within 15 feet of the telephone base for optimal
performance.
Pairing a cell phone
Before you begin, make sure that you have cellular coverage and your
Bluetooth enabled cell phone is not connected to any other Bluetooth
device. Refer to your cell phone user's manual to learn how to search for or
add new Bluetooth devices.
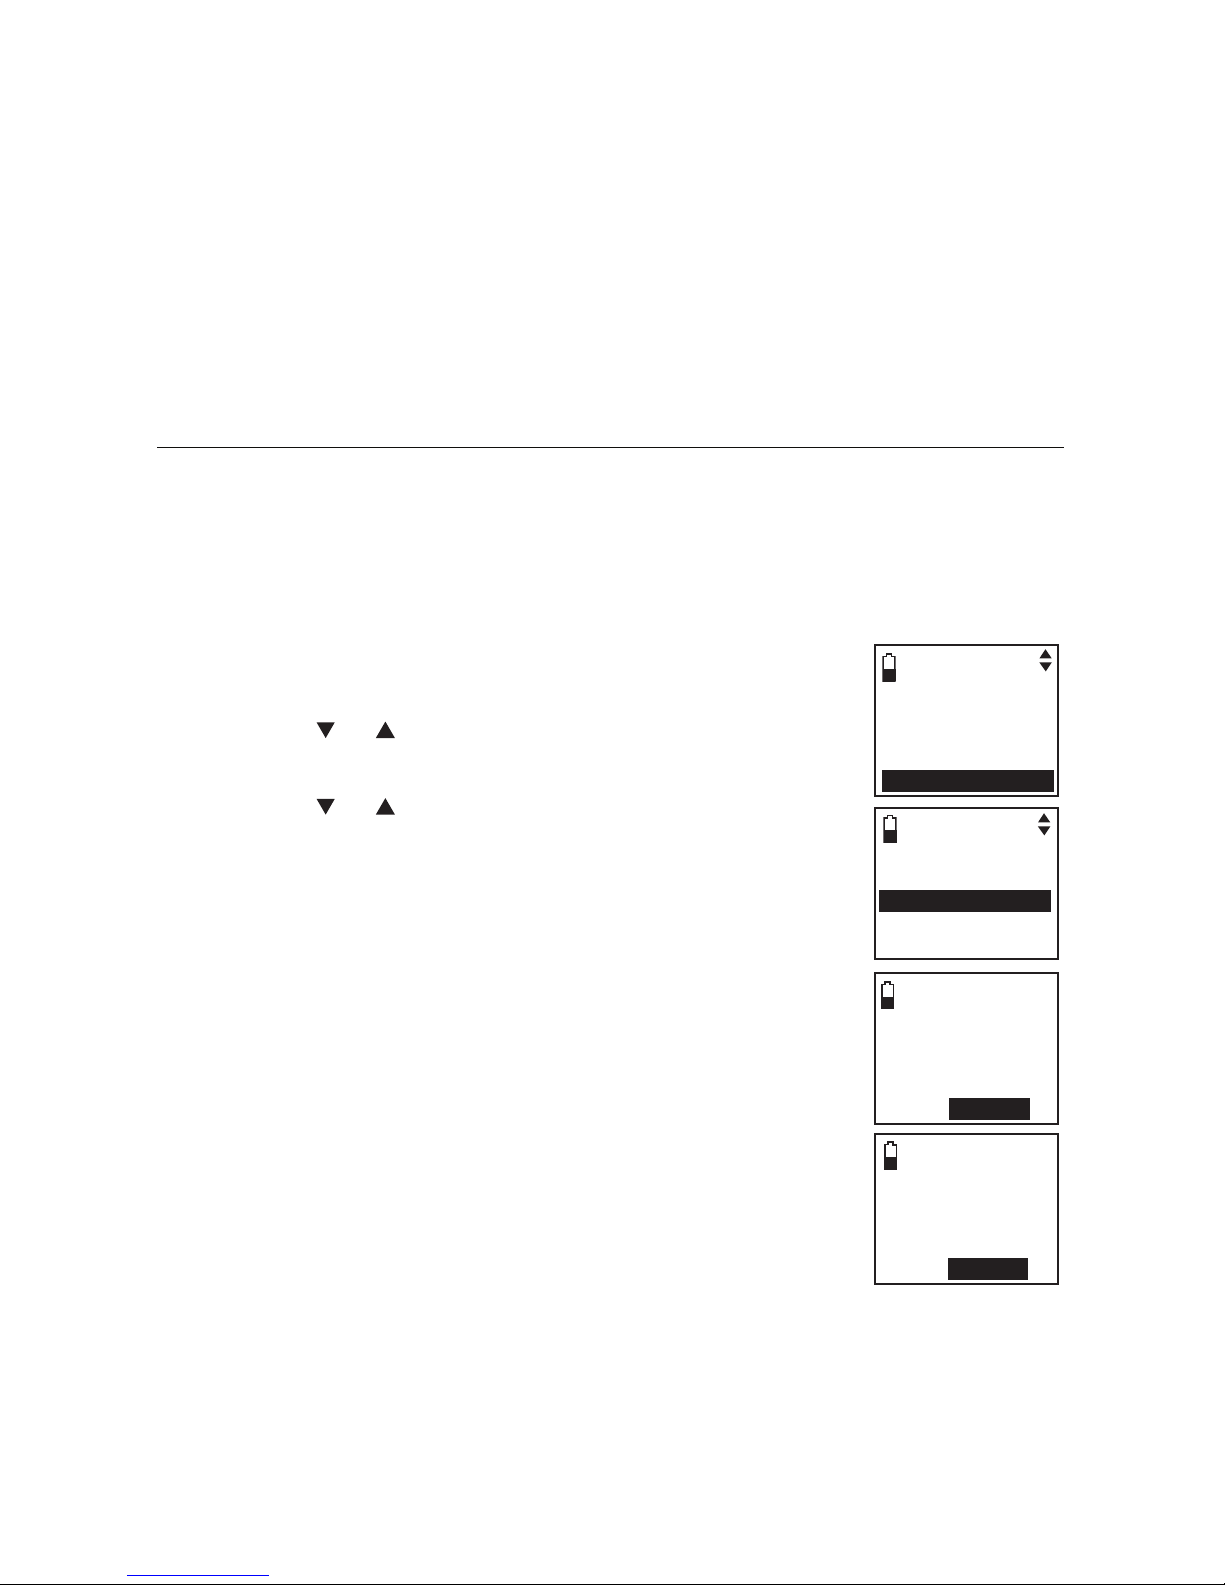
To pair and connect a cell phone:
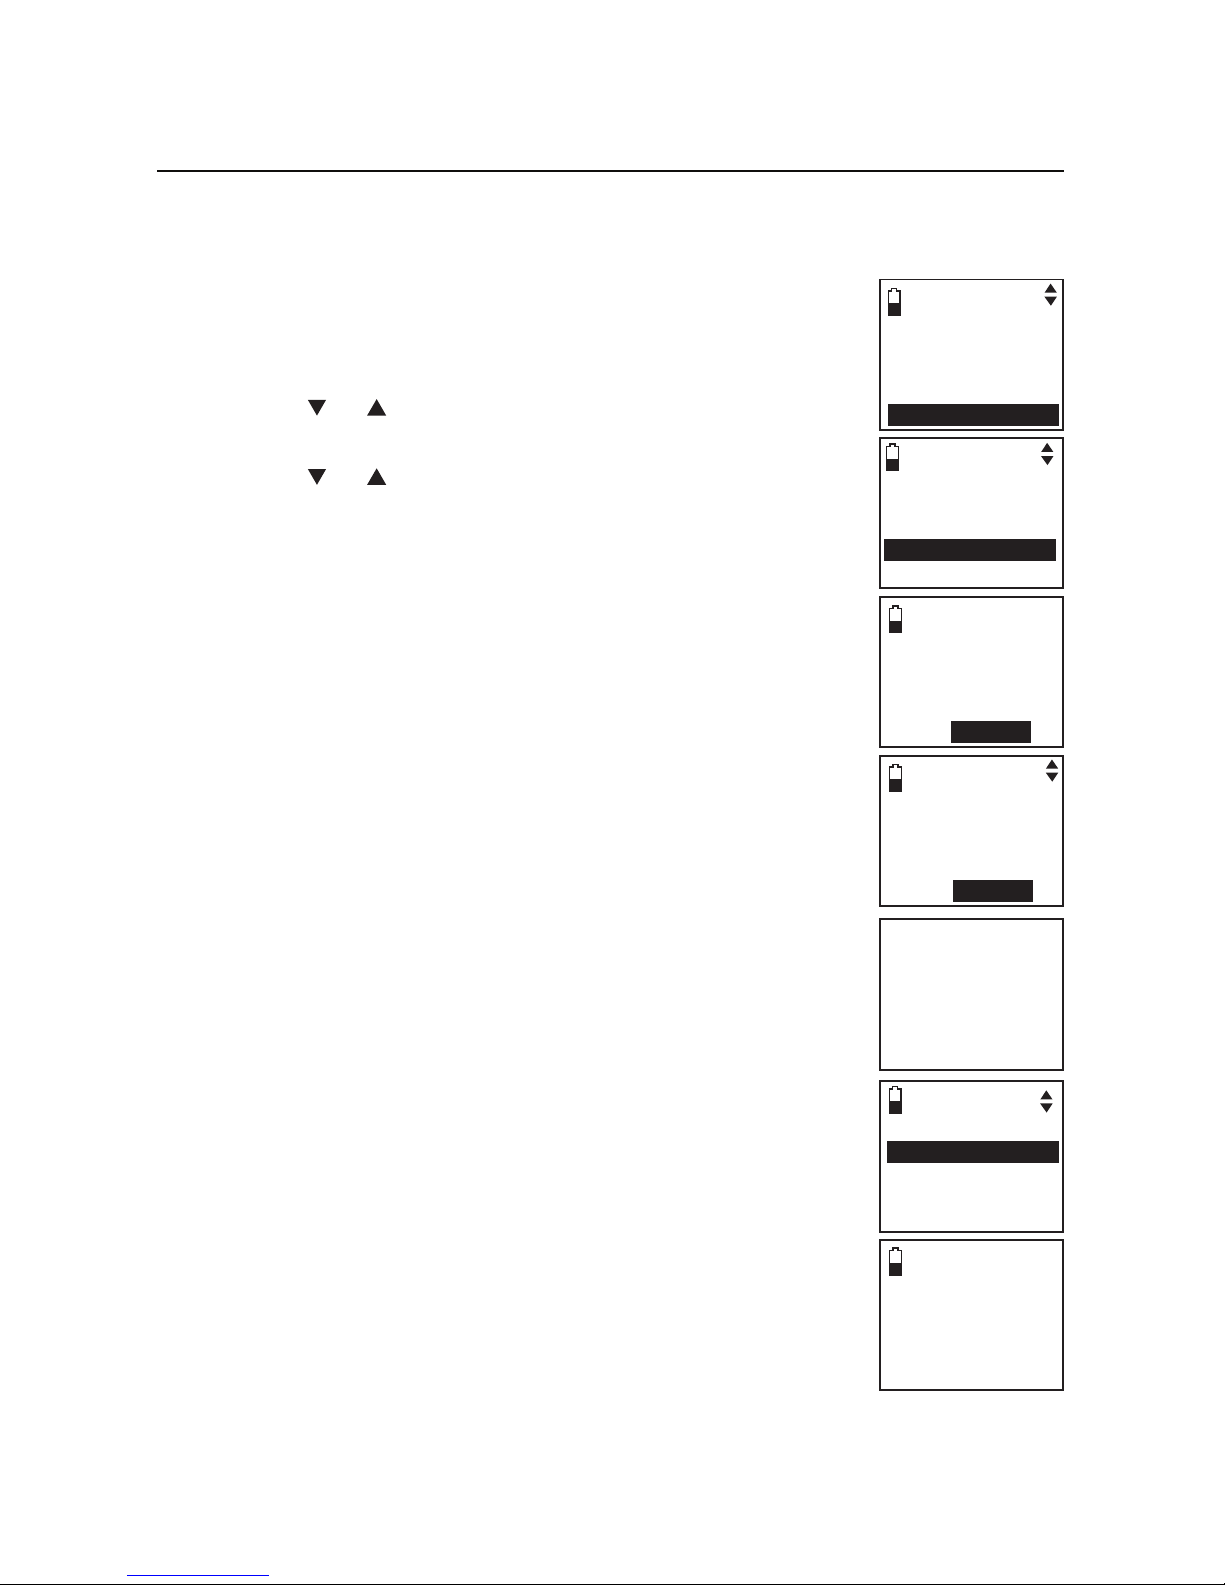
Press MENU/SELECT in idle mode to enter the
main menu.
Press CID or DIR to highlight Bluetooth, then press
MENU/SELECT.
Press CID or DIR to highlight Add cellular, then
press MENU/SELECT. The screen displays
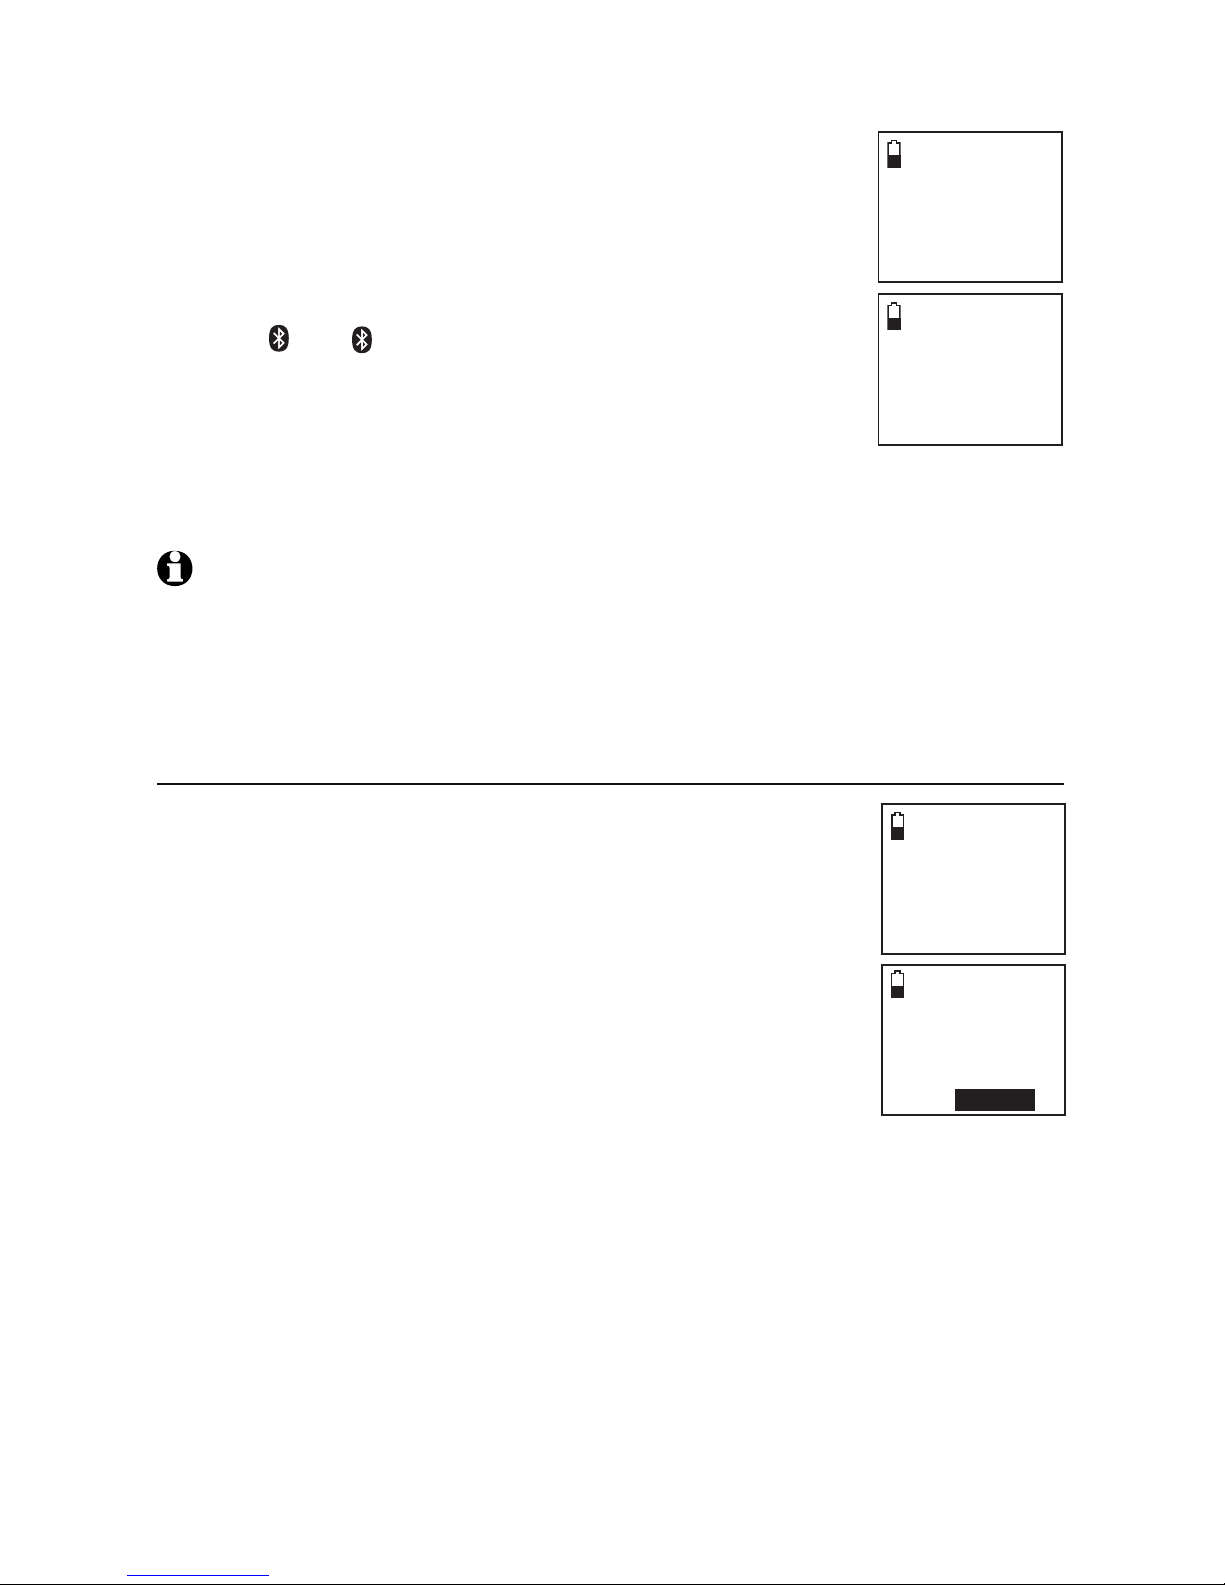
ADD CELLULAR Place cell phone next to base. Press
SELECT.
If there are already four devices on the paired
devices list, the screen displays Maximum of 4
devices can be paired and prompts you to replace
an existing paired device (page 13).
Press MENU/SELECT. The screen displays
Please set your cell phone to search for devices,
then press SELECT.
If a device is already connected to the telephone
base, the screen displays Connected device will
be temporarily disconnected. Press SELECT. Press
MENU/SELECT to temporarily disconnect the device
and continue the pairing process.
Turn on the Bluetooth feature of your cell phone and search for or add
new devices.
Press MENU/SELECT to set the telephone base to discoverable mode.
Once your cell phone finds AT&T DECT 6.0, press MENU/SELECT.
1.
2.
3.
•
4.
•
5.
6.
7.
Answering sys
Directory
Call log
Intercom
Bluetooth
ADD CELLULAR
Place cell
phone next to
base.
Press SELECT
BLUETOOTH
Download dir
Add cellular
Add headset
Active devices
Please set your
cell phone to
search for
devices, then
press SELECT