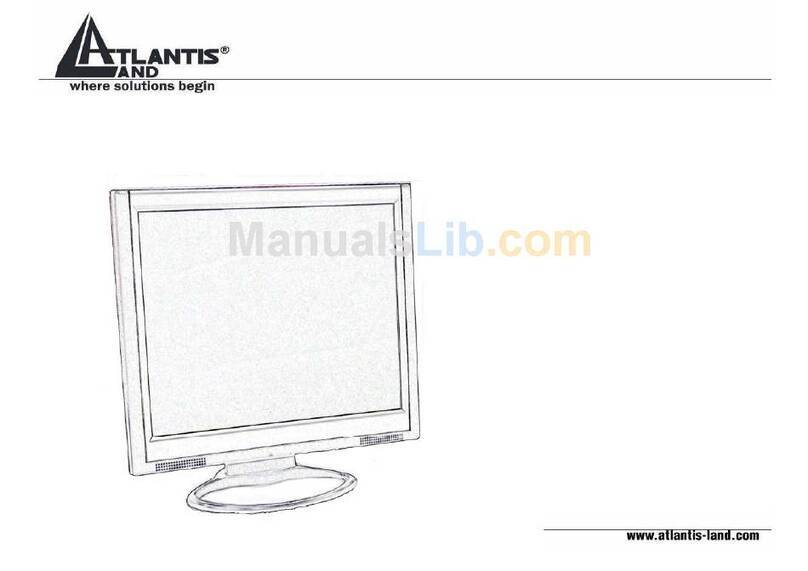
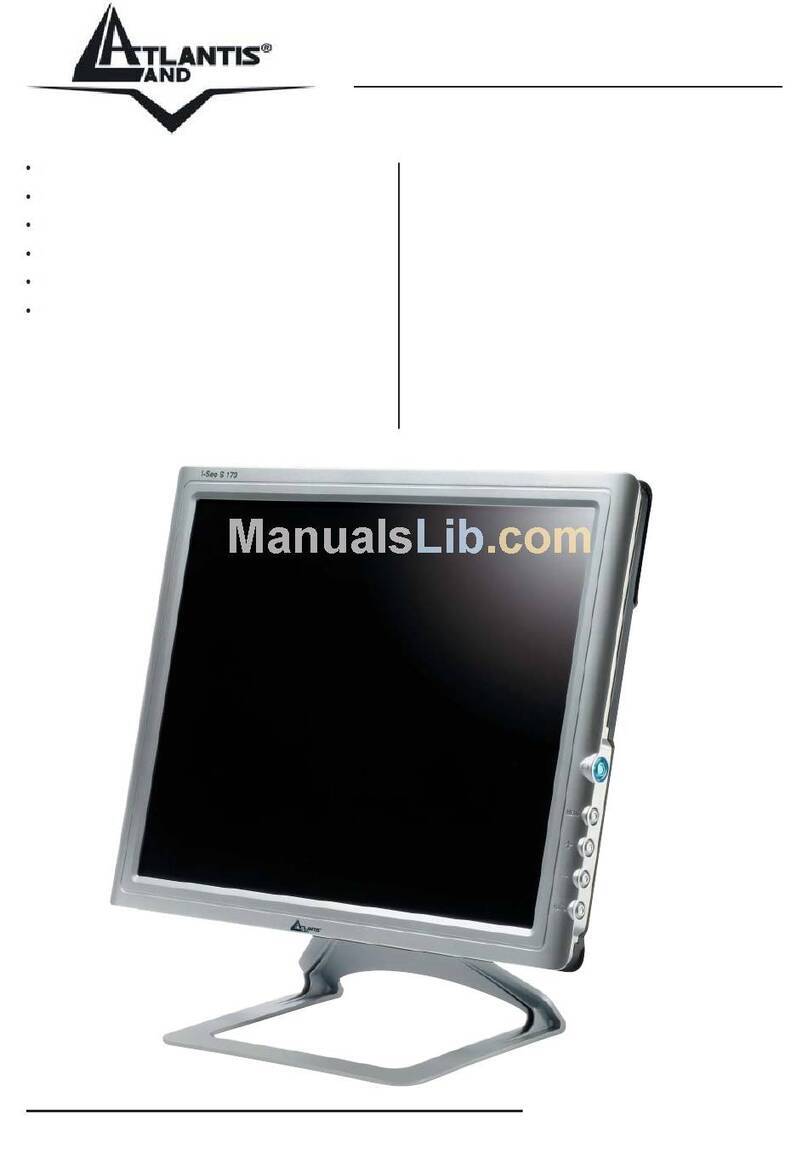
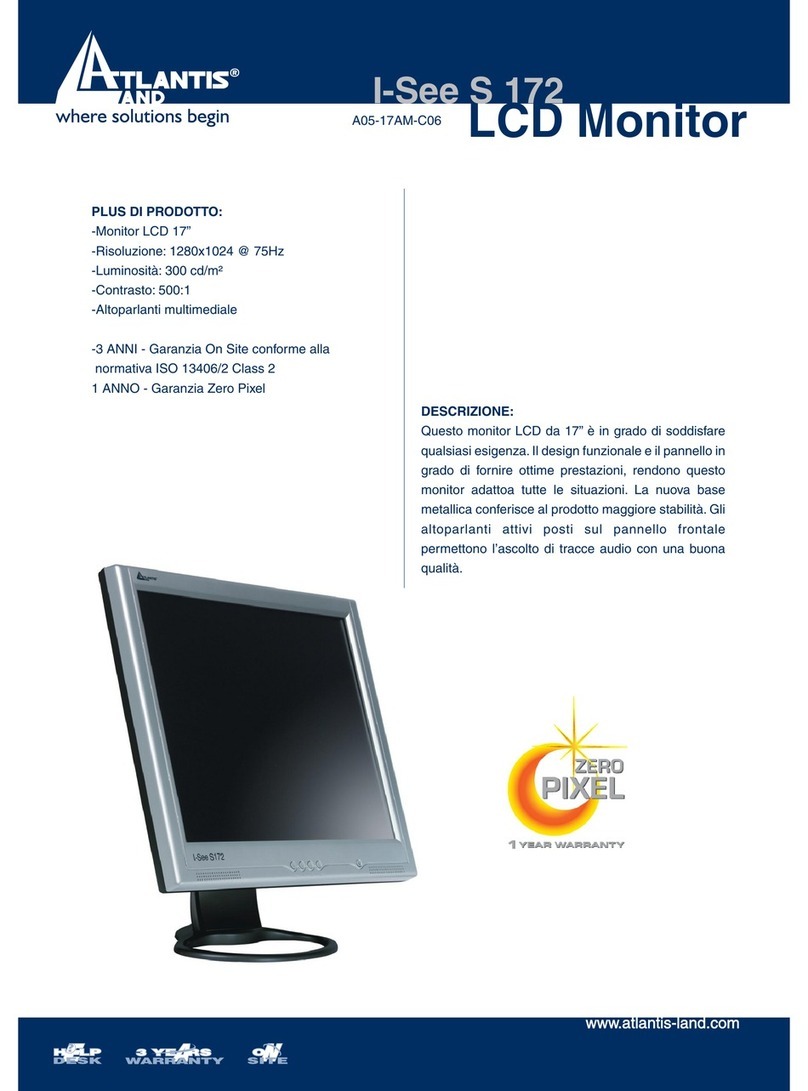
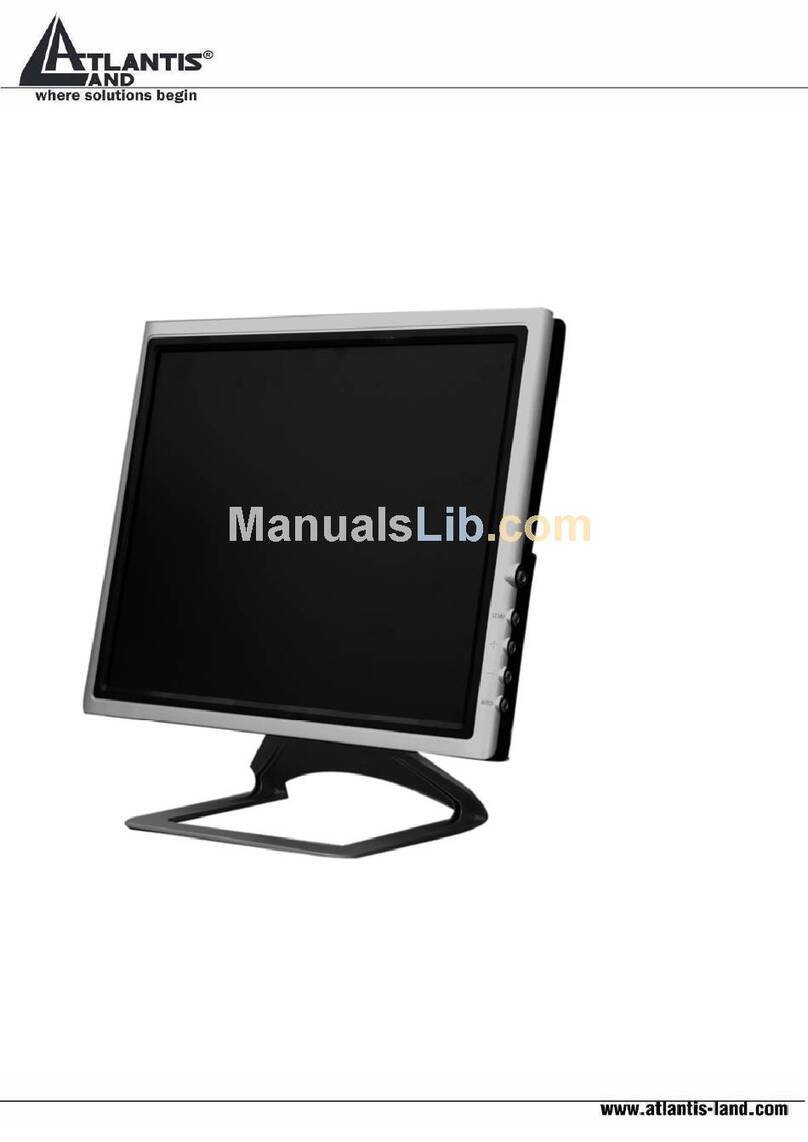
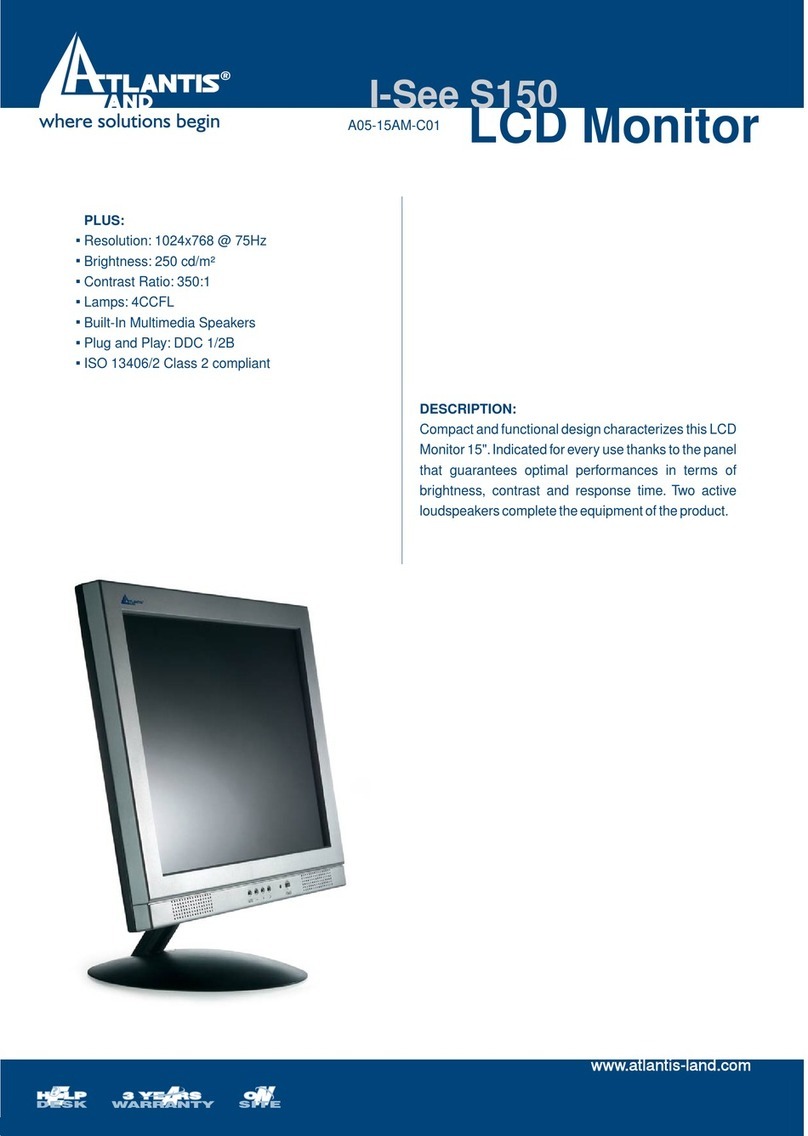
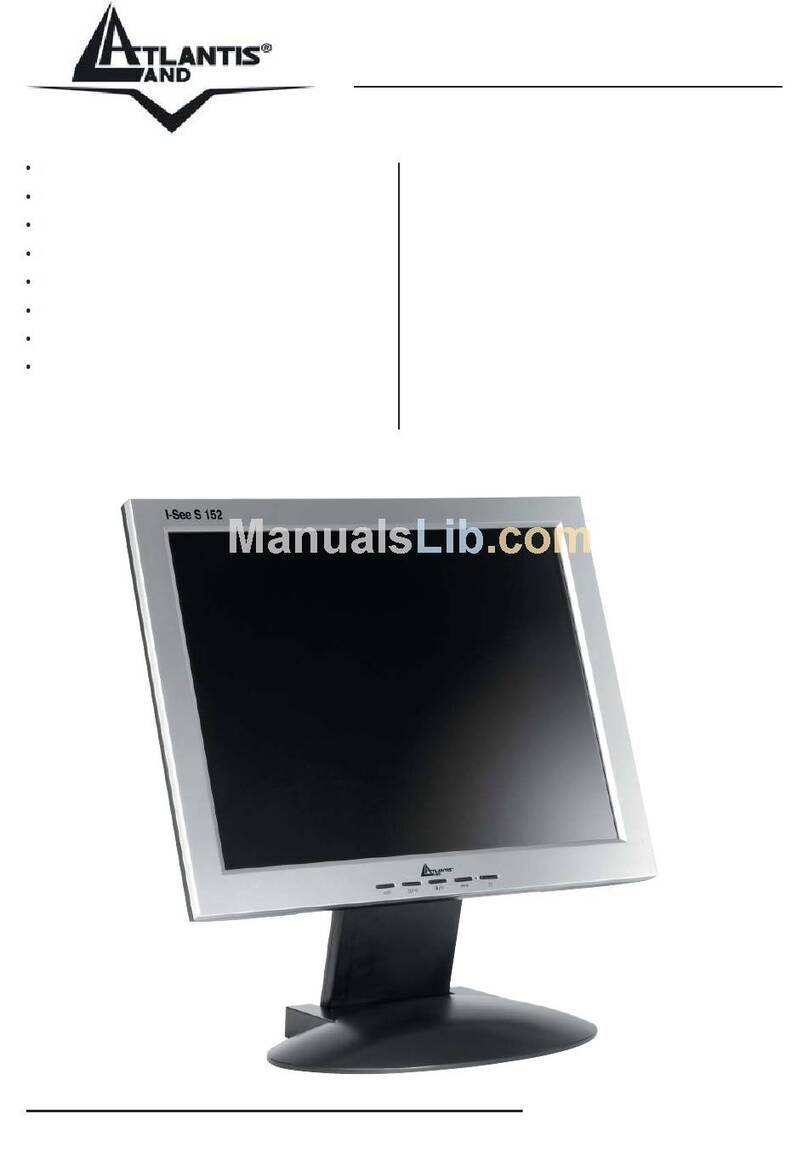
Atlantis Land LCD Monitor I-See S 150 User manual

A05-15AM-C01_MX02
I-See S 150
L C D M o n i t o r
Cod. A05-15AM-C01
User Manual
Manuale d’uso
Manuel d’utilisation

A05-15AM-C01_MX02

A05-15AM-C01_MX02 3 / 45_1
Important Safety instructions .........................................................................................6
1Introduction ............................................................................................................7
1.1 General information .......................................................................................7
2Installation..............................................................................................................8
2.1 Introduction....................................................................................................8
2.2 Operations .....................................................................................................9
2.3 Supported operating modes ........................................................................12
2.4 Plug & Play ..................................................................................................13
2.5 Power management.....................................................................................13
2.6 Volume adjust..............................................................................................13
2.7 Specification ................................................................................................14
2.8 Simple troubleshooting ................................................................................15
3Substitution Terms for Lcd Monitor with warranty................................................16
3.1 TFT Technology...........................................................................................16
3.2 ISO 13406-2 NORM ....................................................................................16
3.3 Atlantis Land Warranty term Conditions ......................................................17
Istruzioni preliminari.....................................................................................................18
1Introduzioni ..........................................................................................................19
1.1 Informazioni generali ...................................................................................19
2Installazione.........................................................................................................20
2.1 Introduzione.................................................................................................20
2.2 Modalità di funzionamento...........................................................................25
2.3 Plug & Play ..................................................................................................25
2.4 Risparmio energetico...................................................................................25
2.5 Regolazione Volume....................................................................................25
2.6 Specifiche ....................................................................................................26
2.7 Problemi vari................................................................................................27
3Termini di sostituzione monitor Lcd in garanzia...................................................28
3.1 La tecnologia TFT........................................................................................28
3.2 La normativa ISO 13406-2 ..........................................................................29
3.3 Condizioni di garanzia Atlantis Land ...........................................................30
Instructions...................................................................................................................31
1Avant de commencer...........................................................................................31
1.1 Précautions..................................................................................................31
1.2 Propreté du panneau LCD...........................................................................32
1.3 Communiqué relatif aux interférences Radio ..............................................32
1.4 Précautions pour le câble d'alimentation.....................................................33
2Introduction ..........................................................................................................33
2.1 Informations générales ................................................................................33
2.2 Déballage.....................................................................................................33
3Installation............................................................................................................34
A05-15AM-C01_MX02 4 / 45_1
3.1 Introduction..................................................................................................34
3.2 Opérations ...................................................................................................35
3.3 Modes supportés .........................................................................................38
3.4 Plug & Play ..................................................................................................39
3.5 Consommations...........................................................................................39
3.6 Réglage du volume......................................................................................39
3.7 Spécifications...............................................................................................39
3.8 Disfonctionnement.......................................................................................40
4Termes de substitution des écrans Lcd en garantie ............................................41
4.1 La technologie TFT......................................................................................42
4.2 La normative ISO 13406-2 ..........................................................................42
4.3 Conditions de garantie Atlantis Land...........................................................43

A05-15AM-C01_MX02 5 / 45_1

A05-15AM-C01_MX02 6 / 45_1
Important Safety instructions
1. Read these instructions carefully
2. Save this manual for later use
3. Unplug the monitor from the power source when you clean the monitor. Don’t
use liquid cleaners or aerosol cleaners. Use a cloth to clean it. If it doesn’t do,
please use LCD screen cleaners
4. Don’t use attachment not recommended as they may cause hazards.
5. Please grasp the plug to unplug the connector from the wall outlet. Do not pull
the power cord to unplug it.
6. Don’t place anything on the power cord or step on it
7. Do not place the monitor near water source such as bathtub, washbowl, sink,
laundry tub, swimming pool etc.
8. The slots are designed for ventilation, simultaneously to keep the machinery
workable and protect it from overheating. For the same reason, please do not
place the monitor on a bed, sofa, carpets or other similar surface. Do not place
the monitor near or over heat source or place in a built-in installation.
9. Keep 3 inches (76mm) away from the wall or other goods.
10. This monitor can only use the power source indicated on the label. If you have
questions, please consult your dealer.
11. As safety measure, this monitor is equipped with a three-wire ground style
plug. If you cannot insert the plug into outlet, contact your electrician to replace
your outlet. Do not defeat the safety purpose of the grounding-type plug.
12. Please make sure that the outlet and power cord can afford the total electricity
of the products.
13. Place the monitor in safe place where the cord will not be abused by persons
working on it.
14. Follow all the warnings and instructions illustrated on the manual.
15. Don’t overload the wall outlets and extend cords as this can result in fire or
electric shocks.
16. Do not remove or open the cover to service this monitor yourself. It may
expose you to dangerous voltage or other hazards before all servicing to
qualified service personnel.
17. Unplug this monitor from the outlet and refer servicing to qualified service
personnel under the following conditions.
•The power cord is frayed or damaged.
•The monitor has been dropped or the cabinet has been damaged
•When the monitor displays a distinct change in performance, this indicates a
need for service.
18. The power cord is the main device to disconnect the power.
19. Unplug the power cord when you do not use it for a long time.
20. Place the monitor in good ventilation and protect it from strong light,
overheating and damp environment.
21. This monitor must be stored in temperature –20°C~60°C. Otherwise, it may
cause permanent damage.

A05-15AM-C01_MX02 7 / 45_1
1 Introduction
1.1 General information
This monitor is a high-performance intelligent multi-scanning color monitor adopting
15”active matrix TFT LCD display that uses amorphous silicon TFT as a switching
devices. with very low radiation, anti-glary surface treatment and occupying small
place , It is very suitable for home and office applications.
1.1.1 Features
•Max.resolution: 1024×768 @75Hz
•Viewing angle: H: -75º/+75º, V: -70º/+70º
•Active area: 304.128 x 228.096(mm²)
•Pixel pitch:0.297mm(H)×0.297mm(V)
•Max.Contrast ratio: 350:1
•Max.Brightness: 250cd/m2
•Response time: 10/15ms
•Display color: 16.7M colors
•Input signal: analog
•Built-in speakers
•Auto color balance. when connected to different graphic adapter, the monitor can
auto calibrates the white and black reference voltage
•Four keys OSD control and intelligent menu, including 26 functions: auto adjust,
brightness/contrast adjust, H/V-position adjust, clock adjust, phase adjust,
sharpness adjust, color adjust(9300°k,7800°k,6500°k,user’s mode, W-B auto
color balance ), saturation adjust, volume adjust, OSD menu display time, OSD
menu H/V/ position and transparency, recall, language select.
•Press “AUTO” key to obtain the optimal picture
•Power saving compliant with EPA energy star
•Auto color balance. When connected to different graphic adapter, the monitor can
calibrates the white and black Reference voltage
•Compatible with VESA DPMS
•Plug & play, compatible with Window 9X &NT&2000&XP and VESA DDC1/2B.
1.1.2 Check List
Check the list before operating this monitor, please make sure that all of the following
items are included.
•LCD monitor(include Base)
•AC adapter
•Power cord,
•Signal cable
•Audio cable
•User’s manual
•Warranty certification
If any of above listed items is missing, please contact your dealer for technical support
or customer service.

A05-15AM-C01_MX02 8 / 45_1
2 Installation
Please consider the following advice before you install your monitor.
2.1 Introduction
2.1.1 Position
Place your monitor to the place where there’s less light reflects . Generally, it has a
suitable angle with the window.
2.1.2 Height
The peak of the monitor should be a little lower than your eyes when you sit down.
2.1.3 Inclination
You will feel comfortable with the sloping screen.
2.1.4 Install the monitor
Make sure that the computer and monitor’s power are both turned off,
before you install your monitor. Please follow the steps to install your LCD monitor.
a. signal cable connection.
firstly lock the base and knighthead, then Plug one end of the signal cable into
computer and lock the two bolts to ensure firmly grounding. Then plug the other into
the monitor and lock the two bolts. the back view of monitor shown as fig.1.
b. power cord connection
connect the AC adapter and AC power source with power cord. then connect the AC
adapter output to the power input of the monitor.
c. audio cable connection
Insert one end of the audio cable to the audio output of the PC audio card and the
another to the audio input of LCD monitor.

A05-15AM-C01_MX02 9 / 45_1
d. power on
Turn on both of the monitor and computer. After the monitor is power on, the LED
lights up green, If the LED become red and flashing, please check the video signal
cable fig.2 connection If LED is off, please press power on switch .
2.1.4.1 Self test pattern
If there is no horizontal or vertical sync. signals,
your monitor will display as fig.2 to indicate no
signal input. After a few seconds, the monitor
will enter into waiting and saving power mode.
the LED will be red and flashing.
Once the monitor receives the video signal, it
will return to normal mode.
2.1.5 Adjust picture
In order to obtain the best visual display, you must
adjust it, please refer to chapter 3“operation of the
monitor”.
•Hanging style
The customer may hang the monitor on the wall when
necessary. operations as following
•take down the base and the signal cable clip,
you will see two bolts in the knighthead.
screw down the two bolts and take apart the
plastic covers and screw down the bolts that
connect the knighthead and axis of the
rotation.
•clear up the signal cable, power cord and
audio cable
•hook the monitor on the wall by the four holes of the back of monitor
2.2 Operations
2.2.1 Power on/off switch
This is a slight-touch digital-control key. It is
used to turn the monitor on or off.
2.2.2 Power LED indicator
When the monitor is working, the power LED
is green. If the monitor is in saving power
mode, the power LED will be red and
flashing. If you turn off the computer, the
power led is off. When the LED is off, the
monitor is off, but
the power adapter is on. For the purpose of
security,
you should turn off adapter power when you
don’t use the monitor.
ATLANTIS LAND

A05-15AM-C01_MX02 10 / 45_1
2.2.3 OSD control keys
2.2.3.1 Autokey
This key is used to
complete auto adjusting
function.
2.2.3.2 +/- key
These two keys will
complete the left
(decrease) or right
(increase) adjustment and
choose the menu function.
The contrast and the
brightness can be set by +/-
key directly.
2.2.3.3 Enter key
Confirmation key, to display the OSD menu and complete the confirmation function
2.2.4 OSD menu
The function list of the menu:
1. auto adjustment;
2. brightness;
3. contrast;
4. H-position;
5. V-position;
6. Clock;
7. phase;
8. sharpness;
9. color adjustment;
10. saturation;
11. volume;
12. OSD menu display time;
13. OSD horizontal/
vertical/position and
transparency adjustment;
14. recall;
15. languages;
16. exit;
17. selected function name;
18. resolution;
19. H-frequency;
20. V-frequency;
21. progressive bar of
adjustment;
22. percentage of adjustment;
ATLANTIS LAND

A05-15AM-C01_MX02 11 / 45_1
2.2.5 Function table
2.2.6 Special functions
2.2.6.1 Auto Adjustment( )
When you choose this function, the monitor will enter into automatical adjustment
mode. will display on the screen. After a few seconds, the monitor will be in the best
visual display mode.
2.2.6.2 Color selection ( ):
When the function is selected , the monitor will enter into the sub-menu, there are five
functions that can be selected:
•9300°K
•7800°K
•6500°K
•USER
•W-B

A05-15AM-C01_MX02 12 / 45_1
SELECTED USER
You will enter into the user mode and you can adjust the R/G/B percentage to obtain
your satisfactory color
SELECTED W-B
It will enter into the auto color balance mode, and the monitor will automatically adjust
the white-black color benchmark to obtain optimal color balance.
R, G, BADJUSTMENT
When in “User’s mode”, the monitor will automatically enter into R/G/B adjustment
mode, push the ENTER key ,the relative options will flash, then adjust it by pressing
“+/-“ key. push ENTER again to exit.
2.2.6.3 OSD adjustment
when this item is selected, the sub-menu will pop up.
you can select the
three items to change the transparence or horizontal or
vertical position
of OSD.
2.2.7 Language( ) .
There are six languages to be selected.
•ENG.: English
•FRE.: French
•DEU.: German
•ITA.: Italian
•ESP.: Spanish
•中文: Chinese
2.2.8 Sharpness adjustment( ):
Adjust the sharpness of the picture on the screen.
Note :that the input formats with resolutions or refresh rates higher than that supported
by LCD panel are supported as recovery modes only. This is called RealRecovery .
For example, it may be necessary to shrink the image. This may introduce image
artifacts. However, the image is clear enough to allow the user to change the display
properties.
2.3 Supported operating modes
Note :that the input formats with resolutions or refresh rates higher than that supported
by LCD panel are supported as recovery modes only. This is called Real Recovery
.For example, it may be necessary to shrink the image. This may introduce image
artifacts. However, the image is clear enough to allow the user to change the display
properties.

A05-15AM-C01_MX02 13 / 45_1
Recommend mode: 1024×768@75Hz
2.4 Plug & Play
This monitor meets the standards of VESA DDC. When using video graphic with
VESA DDC1/2B, it will auto-scan video frequency, output power, function and other
parameters to windows. It will go to proper connection and resolution mode .
2.5 Power management
This monitor complies with EPA energy star requirement. And meet VESA DPMS
standards. The following is the description of the power indicator for the power saving
mode (table.1).
2.6 Volume adjust
Adjust the volume by OSD menu and software of the PC.
NO. Mode Resolution Vertical Freq (Hz) Horizontal Freq. (KHz) Pixel clock
(MHz)
1 VGA 640×480 60 31.469 25.175
2 720×480 70 31.468 28.322
3 SVGA 800×600 60.3 37.879 40
4 60 48.363 65
5 60 56.476 75
6
XGA 1024×768
70 60.023 78.75
MODE Power indicator Power consumption
On Green <40W
Stand by/suspend Red flashing <5W
Off off ≤3W (including power adapter’s consumption)

A05-15AM-C01_MX02 14 / 45_1
2.7 Specification
Monitor type TFT LCD
Surface treatment Anti-glary
Active area 304.128(H) x 228.096(V) (mm²)
Viewing angle: H
V
-75º/+75º
-70º/+70º
Max. Brightness 250cd/m2
Max. contrast ratio 350:1
Response time 10/15ms
Max resolution 1024×768@75Hz
Input resistance 75±3 Ω
H-frequency 30KHz ÷ 60KHz
V-frequency 55Hz ÷ 75Hz
Power supply for Adapter 100V/240VAC 60Hz/50Hz 1.5A
Power supply for monitor 12VDC 3.3A
Power consumption <30W
Input connector 15 pins D-Sub.
Power saving control Yes
Comply with European CE Yes
Plug & Play Yes
Environment
Operating temperature
Humidity
Storage temperature/ Humidity
5°C ÷ 40°C
20% ÷ 80%
-20°C÷ 55°C 5%÷95%
Dimension:
Unpackaging
Packaging
360×180×370 mm
430×200x420 mm
Weight
Net weight
Gross weight
3.5kg
5.5kg
Notice:this information in this documents is subjucted to change without
notification.

A05-15AM-C01_MX02 15 / 45_1
2.8 Simple troubleshooting
Symptom Solution
1. No picture & no LED
light
Check if the power cord, the monitor, and the power
plug are well connected
Check if the monitor is off.
2. No picture & LED
red flashing
Check if the PC video card and signal cable are well
connected and check if signal cable well connected
with monitor.
3. Picture blur or too
big or too small Push the “AUTO” key to make the monitor adjust
automatically.
4. Picture too dark Push the “AUTO” key to adjust the brightness and the
contrast.
5. Overheating Keep 3 inches (76mm) away from objects for
ventilation. Don’t put anything on the monitor.

A05-15AM-C01_MX02 16 / 45_1
3 Substitution Terms for Lcd Monitor
with warranty
This document indicates terms within Atlantis Land S.p.A. will substitute its Lcd
monitors which might have defective pixels. For every kind of damages different from
ones indicated in those pages, warranty conditions are written in the document
“Atlantis Land Warranty – On Site”. Here following you will have:
A brief introduction to the TFT panels built technology;
ISO 13406-2 indicated defective limits;
Atlantis Land S.p.A. substitution condition terms.
3.1 TFT Technology
The Liquid Crystal Panel of a monitor is built with a file and column matrix; their
intersection point gives you a cell named PIXEL. It is possible to control every cell
brightness just right orienting every built-in Liquid Crystal. In order to obtain different
colours, three cells groups are used and they are given of different coloured filters
(red, green and blue). The word PIXEL has now a different meaning from the original
term, since the arrival of LCD Panels; it identicates the three coloured pixel union,
each one is known as SUBPIXEL. This picture shows you what written untill now:
If we put a Memory Chip (which keeps the information until the arrival of a new one) in
every cell, we can have an Active Matrix Display. This technology offers lots of
advantages considering traditional Lcds (Passive Matrix):
Better Display Visual Angle
Superior Contrast and Brightness
Absence of monitor vibrations and monitor blur
3.2 ISO 13406-2 NORM
It is very difficult to obtain panel without imperfections and with and enormous pixel
quantities for the actual TFT building technology (Table 1). This defectiveness is
strectly connected with the TFT technology nature. In order to protect End Users, the
International Standard Organization wrote the ISO 13406-2 norm. All producers are
obliged to clearly defin maximum number of detective pixels that can appear on a
panel and their typology.

A05-15AM-C01_MX02 17 / 45_1
Table 1
Panel Inches Resolution Pixel Number
15” 1027 x 768 786,432
17” 1280 x 1024 1,310,720
19” 1600 x 1200 1,920,000
This Norm identifies five different kind of damage (Table 2). For every one of them it
indicates the maximum acceptable defectiveness, divided in quality class. It is
indicated in: number of damages for every million of pixels (Table 3).
Table 2
TYPE 1 Full Pixel continuously turned on (white point)
TYPE 2 Full Pixel continuously turned off (black point)
TYPE 3 1 or 2 subpixels continuously turned on or off, or Intermittent Spot.
CLUSTER 1 More than a Type 1 or 2 damage in a 5 pixel x 5 pixel area
CLUSTER 2 More than a Type 3 damage in a 5 pixel x 5 pixel area
Table 3
Panel Class Type 1 Type 2 Type 3 Cluster 1 Cluster 2
I0 0 0 0 0
II 2 2 5 0 2
III 5 15 50 0 5
IV 50 150 500 5 50
3.3 Atlantis Land Warranty term Conditions
Atlantis Land S.p.A. gives you better Substitution Conditions than Class 2 (Class 1
panels are used for Medical and military machines only). Table 4 indicates maximum
defectiveness limits in Subpixels (1 Pixel = 3 Subpixels) and are different for every
kind of panel.
Table 4 Panel Inches15” 17” 19”
Subpixel always
Turned On 3 4 4
Subpixel always
turned Off 3 4 8
Subpixel turned on
or off 4 5 8

A05-15AM-C01_MX02 18 / 45_1
Istruzioni preliminari
1. Leggere attentamente queste istruzioni
2. Conservare il manuale per consultazioni successive
3. Scollegare l’alimentazione quando si pulisce il monitor. Non usare liquidi o
aerosol. Usare uno straccio di stoffa, oppure un prodotto apposito per la
pulizia degli LCD.
4. Non utilizzare cavi di collegamento appropriati, potrebbero essere
pericolosi.
5. Utilizzare la spina per staccare il cavo dalla presa, non tirare direttamente il
cavo.
6. Non calpestare il cavo di alimentazione né porre qualcosa sopra.
7. Non porre il monitor vicino a fonti d’acqua come vasche, piscine o lavandini.
8. Le fessure sono progettate per la ventilazione, Per questa ragione non
coprirle durante il funzionamento e non porre il monitor vicino a fonti di
calore o racchiuderlo in spazi angusti.
9. Tenere il monitor ad almeno 8 cm. Di distanza da pareti o altri oggetti.
10. Il monitor deve utilizzare solo l’alimentatore a corredo, in caso di difficoltà
contattare il vs. fornitore.
11. Per rispetto alla sicurezza questo monitor è fornito di un cavo di
alimentazione con presa di terra. Se questa non è presente sulla vostra
presa a muro, contattate il vs. elettricista di fiducia. In oni caso non
trascurate il collegamento di terra.
12. Assicuratevi che la presa a muro possa supportare il carico richiesto.
13. Ponete il monitor in un posto sicuro, in modo che il cordone di alimentazione
non venga toccato da nessuno
14. Seguire tutte le avvertenze e le istruzioni di questo manuale.
15. Non sovraccaricare la presa a muro e non utilizzare lunghe prolunghe,
possono essere causo di incendio o di shock elettrici.
16. Non rimuovere il lato posteriore del monitor. Potreste esporvi ad alte
tensioni o ad altri rischi. Affidatevi sempre ad un servizio certificato.
17. Scollegare il monitor dall’alimentazione e rivolgersi ad un servizio
assistenza quando:
•Il cavo di alimentazione appare danneggiato.
•Il monitor appare danneggiato oppure è caduto.
•Quando il monitor non visualizza più correttamente.
18. Il cavo di alimentazione è la prevenzione più sicura per scollegare il monitor.
19. Staccare il cavo di alimentazione per periodi prolungati di non utilizzo.
20. Posizionare il monitor in area ventilata e proteggerlo da forti fonti luminose,
di calore o di umidità
21. Il monitor può essere immagazzinato a temperature comprese tra
–20°C~60°C. In casi contrari può venire danneggiato..

A05-15AM-C01_MX02 19 / 45_1
1 Introduzioni
1.1 Informazioni generali
Questo monitor è un monitor ad alte prestazioni, con funzioni di multi-frequenza,
dotato di una matrice attiva TFT LCD di 17”, che utilizza la tecnologia TFT.
Emette bassissime radiazioni, il display è trattato con superficie antiriflesso e occupa
uno spazio molto limitato. È ideale sia per la casa che per l’ufficio.
1.1.1 Prestazioni
•Risoluzione massima: 1024×768 @75Hz
•Angolo di visuale: H: -75°/+75°; V: -70°/+70°
•Area attiva: 304.128×228.096(mm2)
•Pixel pitch:0.297mm(H)×0.297mm(V)
•Contrasto: 350 :1
•Luminosità: 250cd/m2
•Tempo di risposta: 10/15ms
•Numero di colori: 16.7M colors
•Segnale di ingresso: analogico
•Altoparlanti interni
•Auto bilanciamento del colore: quando viene connesso a qualunque tipo di
scheda grafica, il monitor auto calibra i livelli di bianco e nero.
•Quattro tasti per l’OSD ed un menu intelligente con 26 funzioni: auto regolazione,
regolazione Luminosità e Contrasto, regolazione Verticale/Orizzontale (sia
come dimensione che come posizione) controllo del clock, della fase, fase e
dell’acutezza, regolazione temperatura colore (9300°k,7800°k,6500°k,personale,
W-B auto bilanciamento ), regolazione della saturazione e del volume,
regolazione del tempo di OSD, della sua posizione orizzontale e verticale e della
modalità di visualizzazione, richiamo valori, selezione lingue.
•Tasto “AUTO” per un’ottimizzazione automatica dell’immagine
•Risparmio energetico a norme EPA energy star
•Compatibile con lo standard VESA DPMS
•Plug & play, compatibile con Window 9X &NT&2000&XP e VESA DDC1/2B.
•
1.1.2 Contenuto della confezione
Prima di utilizzare il monitor controllare il contenuto della confezione:
•Monitor LCD comprensivo di base
•Adattatore per l’alimentazione
•Cavo di alimentazione
•Cavo del segnale
•Cavo segnale audio
•Manuale d’uso
•Certificato di garanzia
Se una di queste cose mancasse contattare il vs. fornitore.

A05-15AM-C01_MX02 20 / 45_1
2 Installazione
2.1 Introduzione
Fare attenzione alle indicazioni riportate per
l’installazione
2.1.1.1 Posizione
Porre il monitor in un’area dove ci sia meno
luce riflessa, non in prossimità di finestre.
2.1.1.2 Altezza
La parte superiore del monitor dovrebbe
essere leggermente più bassa dei vs. occhi,
quando siete seduti.
2.1.1.3 Inclinazione
Questa può consentire un uso più
confortevole.
2.1.1.4 Installazione del monitor
Assicurarsi che il computer ed il monitor
siano spenti, prima di procedere al collegamento, quindi procedere come indicato.
a. connessione cavo segnale
Tenendo ferma la base inserire un terminale del cavo per il segnale, nell’apposito
connettore (La posizione dei connettori è indicata in figura.)e quindi girare le due viti
per effettuare un collegamento sicuro, quindi inserire l’altro terminale nella scheda
grafica del pc.
b. connessione del cavo di alimentazione
Collegare il connettore dell’adattatore all’ingresso del monitor, quindi collegare il cavo
di alimentazione all’adattatore ed inserirlo nella presa a muro
c. connessione cavo audio
Inserire uno dei due terminali audio nel connettore del monitor e collegare l’alto al PC.
d. alimentazione
Accendere sia il PC che il monitor. Quando si accende il monitor il led sul frontale
diventa verde. Se il led diventa rosso e lampeggia, controllare la giusta connessione
del segnale del PC. Se il led rimane spento controllare l’alimentazione
•Montaggio a parete
Questo monitor può anche essere installato su una parete,
procedendo come segue:
•spostando in basso la guida del cavo del segnale, sul
montante della base è possibile individuare due viti.
Togliere I coperchi e svitare le viti. Ruotare di 180° il
montante e riavvitare le viti e porre I coperchi.
•facendo attenzione ai cavi di alimentazione del segnale
video e di quello audio
•fissare il monitor a muro tramite quattro viti
This manual suits for next models
1
Table of contents
Languages:
Other Atlantis Land Monitor manuals

Atlantis Land
Atlantis Land A05-17BM-F01 User manual

Atlantis Land
Atlantis Land I-See S170 17" LCD Monitor A05-17AM-C02 User manual

Atlantis Land
Atlantis Land A05-17AM-L03 User manual

Atlantis Land
Atlantis Land A05-15AX-C07 User manual

Atlantis Land
Atlantis Land I-See S 172 User manual

Atlantis Land
Atlantis Land I-See S150 LCD Monitor A05-15AM-C01 User manual

Atlantis Land
Atlantis Land A05-15AM-L01 User manual

Atlantis Land
Atlantis Land A05-19BM-F02 User manual

Atlantis Land
Atlantis Land I-SEE H191 User manual

Atlantis Land
Atlantis Land A05-17AM-L02 User manual