manuals.online logo
Brands
  1. Home
  2. •
  3. Brands
  4. •
  5. Atmor
  6. •
  7. Water Heater
  8. •
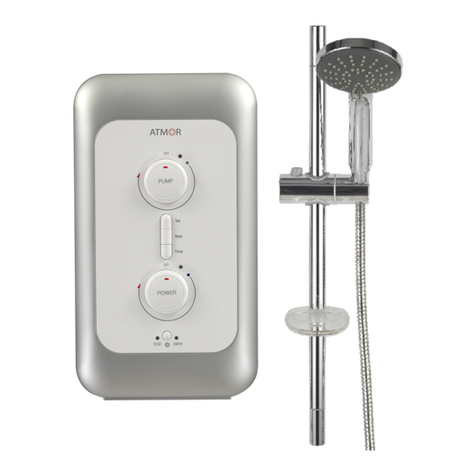
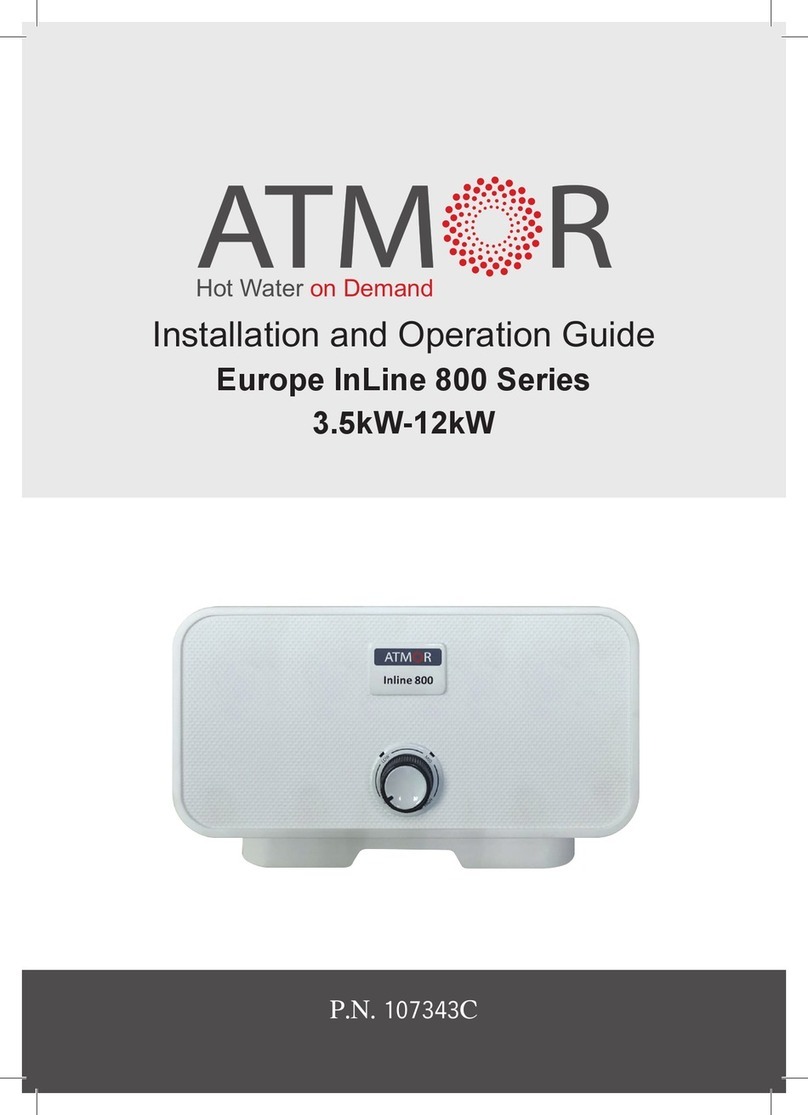
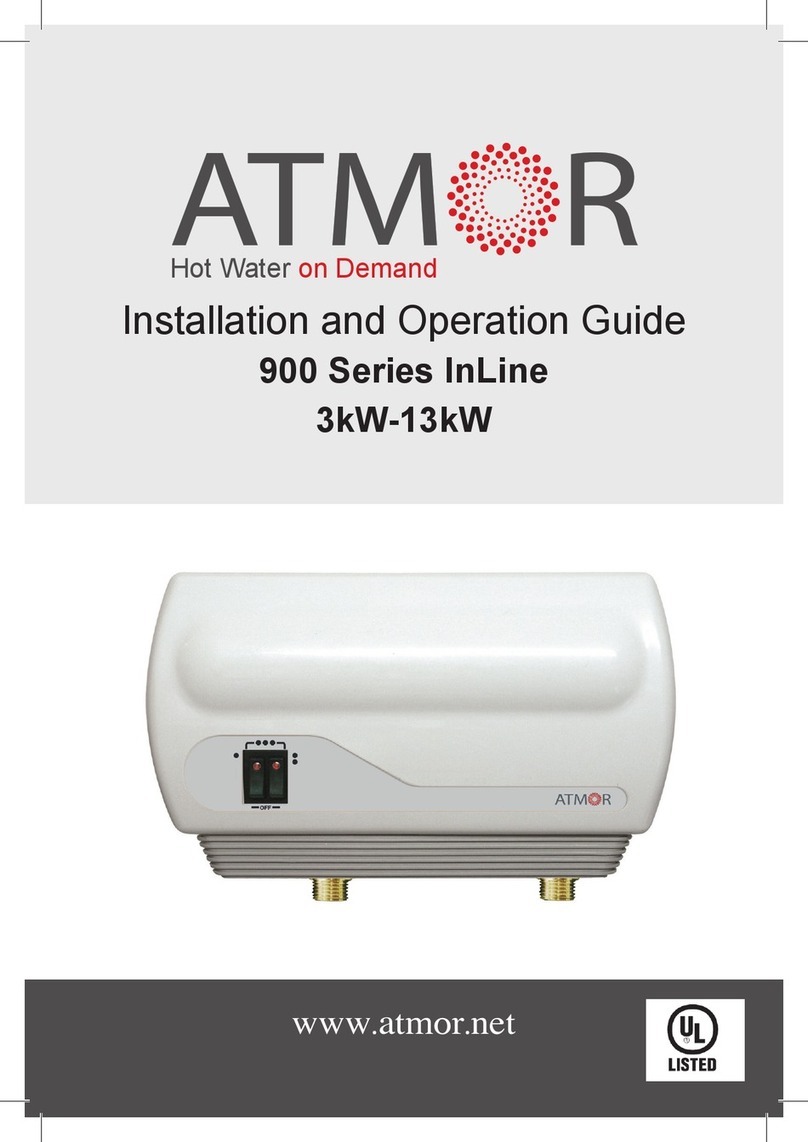
  9. Atmor InLine-3.0 User manual

Atmor InLine-3.0 User manual

Directions of Assembly and
Operation of “In-Line” Instant
Water Heater
An Inatant appliance is novel device designed to
supply hot water instantaneously upon demand
while conserving electricity, water and energy.
The In-Line is the most advanced heater in the
Instant family and as such can be installed
anywere, and serve any purpose. When the flow
switch turns on the electrical current, the heating
element heats only the amount of water
economically needed for use.
InLine - 3.0 1.0;2.0 or 3.0kW 3.0 3.3 3.6 2.5mm216amps
InLine - 3.5 1.5;2.0 or 3.5kW 3.2 3.5 3.8 2.5/4mm 220amps
InLine - 5.0 2.0;3.0 or 5.0kW 5.0 5.5 6.0 4/6mm 225amps
InLine - 5.5 2.5;3.0 or 5.5kW 5.5 6.0 6.64/6mm225-32amps
InLine - 7.0 3.0;4.0 or 7.0kW 7.0 7.7 8.3 6/10mm240amps
InLine - 8.0 4.0;4.0 or 8.0kW 7.3 8.0 8.7 6/10mm240amps
InLine - 9.5 4.5;5.0 or 9.5kW 8.7 9.5 10.310mm245amps
ModelHeat SettingkW loadingRecommended
cable size
Recommended
fuse rating
220V 230V240V
•Operating water pressure 0.3-7 BAR (5-100 psi) •Waterpressureoperated flow switch
•Standard 1/2"fl compression inlet connection •Top-left and right cable entry •Bottom-left water entry
UNIT DIMENSIONS: HEIGHT 185mm WIDTH 300mm DEPTH 110mm
Table I recommended cable & fuse
3.3 Device with an output 380V - 400V up to 12kW (three phase)
1. A separate electrical line is needed as device of this output.
2. The device must be connected to a separate multi polar circuit breaker of 3 x 20A.
3. The recommanded electrical cable for feeding the device is 5 x 4mm
2
.
4. I single - phas network, the device will be connected to a single polar circuit breaker of 60A and
cable (3 x 10mm
2
) or (3 x AWG -6).
For one phase
or 2 x 127V(2~)
are
short circuited
together
R
8
L1
L2
L3
N
E
2 3 4567
1. 3 - pole switch
2. Terminal block
3. Thermostat with reset
4. Read sensor
5. Switches with lights
6. Relay
7. Heating elements
8. Thermostat
ELECTRICAL
WATER HEATER
ELECTRICAL
WATER HEATER
INCORRECT INSTALLATIONCORRECT INSTALLATION
INSTANT WATER HEATER
.
H
I
D
D
E
N
I
N
S
T
A
L
L
A
T
I
O
N
Directions of Assembly and
Operation of “In-Line” Instant
Water Heater
An Inatant appliance is novel device designed to
supply hot water instantaneously upon demand
while conserving electricity, water and energy.
The In-Line is the most advanced heater in the
Instant family and as such can be installed
anywere, and serve any purpose. When the flow
switch turns on the electrical current, the heating
element heats only the amount of water
economically needed for use.
P.N. 166015B?
Installation Instructions
This water heater must be installed by a licensed electrician, as required by law.
1. Open the four screws located on top and bottom of the device and remove the cover from base.
2. Fix the base horizontally against a wall or side of cabinet, so that the water entry and exit
connectors are on the down/bottom side of the unit. Use 4 mounting screws.
3. Use of the pre-installed water filter on the incoming water line is required to protect the
heater.
4. Connect the incoming water line on the bottom left side and the outgoing water line to the bottom
right side. Please check that there is no water leakage from the unit.
5. Connect and lock the electric lines to each corresponding connector. It is required that this device
be properly grounded. The 3.5kW unit may be plugged in, providing that the outlet is properly
grounded.
6. Turn on the unit and check that it is operating as required.
7. Reconnect the cover to the base with 4 screws.
8. It is required that a Ground Fault Circuit Interrupter/Earth Leakage Circuit Breaker be incorporated
in the circuit.
9. Make sure that there is pressure release valve in your water system. Units up to 10.5kW
include a pressure unloading valve/PRD.
10. It is required to install the included flow control restrictor at the sink or shower.
11. Without supervision the use of the appliance by young children or infirm person is forbidden.
Playing with the unit by young children is forbidden.
Operation Instructions
1. Your new Instant Water Heater is flow activated. Simply place one or both switches in the ON
position and turn on the hot water tap. You’ll need to allow at least 1.2 liters per minute, or 1.3
quarts per minute to flow through the unit in order to activate the Instant Heating System.
2. Be sure to every so often clean the spray head of sediment to assure a smooth water flow.
3. Be sure to every so often clean the incoming water filter too.
4. The maximum operating water pressure is 8 atmospheres or 115 PSI. This is well above the usual
3 atmospheres or 4 PSI most municipal water systems provide.
5. Be sure to install your Instant Water Heater in a heated location. It cannot be installed where
temperatures drop below freezing.
6. There are two ways to adjust the hot water temperature. One is by adjusting the flow, the other is
by changing the electrical settings on the unit. The slower the flow, the more time the unit has to
heat the water, resulting in higher water temperatures. Adding more rings to the water flow restrictor
will limit the flow and increase the output water temperature. You may choose the low, medium
or high settings on the heater, as required to achieve the water temperature desired.
Setting /OFF: No heating, Lamp will not light. Setting 1: Low heating, lamp 1 will light.
Setting 2: Medium heating, lamp 2 will light. Setting 3: Maximum heating, both lamps will light.
For 22 V - 24 V 3.5kW unit only positions & 1 are available.
3. INSTALLATION
3.1 Device below a sink with 220V - 240V up to 3.5kW output
A. No separate electrical line is needed for the 3.5 watt unit.
B. The device must be connected to a properly grounded 16 amp circuit.
C. The recommended electrical cable for feeding the device is 3 x 1.5mm
2
/AWG Central Line
L
E
NR
1 2 3 4 5 6
7
1. Terminal block 5. Switch - Off
2. Thermal cut-out (Option) 1- Low
3. Relay 6. Heating element
4. Light 7. Read sensor
3.2 Device below a sink with 220V - 240V up to 10.5kW output
1. A separate electrical line is needed as device of this output, see table I for recommended cable
and fuse. For 2 phase 5 x 4 mm
2
Device with an output 110V / 4kW
a. A separate electrical line is required.
b. The device must be connected to a separate 4 Amp circuit breaker.
c. The recommended electrical cable for feeding the device is (3 x 6. mm
2
) or (3 x AWG - 8)
L
PE
NR
1 2 3 4 5
678
L1
L2
L3
PE
NR
1 2 3 4 5
678
1. Terminal block 5. Low heating element
2. Thermal cut-out 5. High heating element
3. Relay 7. Light
4. Switch - Off 8. Read sensor
1- Low
2- Medium
3- High
UP TO 10.5 kW - TWO PHASE
recommended 3 x 25A fuse
& cable feeding 5 x 4. mm
2
UP TO 10.5 kW - ONE PHASE
Fig.2
ELECTRICAL
WATER HEATER
Under Sink
Cable
Hot Water
Cold Water
Fig.1
This manual suits for next models

6

Other Atmor Water Heater manuals

Atmor INLINE 900 User manual

Atmor

Atmor INLINE 900 User manual

Atmor AT900-04 User manual

Atmor

Atmor AT900-04 User manual

Atmor 100 Series Operating instructions

Atmor

Atmor 100 Series Operating instructions

Atmor ThermoPro Series User manual

Atmor

Atmor ThermoPro Series User manual

Atmor Europe InLine 800 Series Operating instructions

Atmor

Atmor Europe InLine 800 Series Operating instructions

Atmor Enjoy Operating instructions

Atmor

Atmor Enjoy Operating instructions

Atmor AT900-04 Operating instructions

Atmor

Atmor AT900-04 Operating instructions

Atmor Super 900 User manual

Atmor

Atmor Super 900 User manual

Atmor HOTAP Operating instructions

Atmor

Atmor HOTAP Operating instructions

Atmor New User manual

Atmor

Atmor New User manual

Atmor Platinum User manual

Atmor

Atmor Platinum User manual

Atmor Thermo Pro2 Series User manual

Atmor

Atmor Thermo Pro2 Series User manual

Atmor InLine 800 Series Operating instructions

Atmor

Atmor InLine 800 Series Operating instructions

Atmor Blue Wave User manual

Atmor

Atmor Blue Wave User manual

Popular Water Heater manuals by other brands

HTP SB Series Installation start-up maintenance parts

HTP

HTP SB Series Installation start-up maintenance parts

Amtrol Extrol LBC SERIES Installation and operation instructions

Amtrol

Amtrol Extrol LBC SERIES Installation and operation instructions

Navien NPE-180A installation manual

Navien

Navien NPE-180A installation manual

A.O. Smith BTH 300 Quick installation tips

A.O. Smith

A.O. Smith BTH 300 Quick installation tips

Ariston FAST EVO X ONT User instructions

Ariston

Ariston FAST EVO X ONT User instructions

STIEBEL ELTRON Accelera 300 Operating and installation

STIEBEL ELTRON

STIEBEL ELTRON Accelera 300 Operating and installation

Webasto Thermo Top C installation instructions

Webasto

Webasto Thermo Top C installation instructions

Heatrae Sadia Aquatap installation guide

Heatrae Sadia

Heatrae Sadia Aquatap installation guide

Nibe PCU-R 80 Installation and maintenance instructions

Nibe

Nibe PCU-R 80 Installation and maintenance instructions

Webasto Thermo Top E Installation documentation

Webasto

Webasto Thermo Top E Installation documentation

SEI Industries BATT Series Operation manual

SEI Industries

SEI Industries BATT Series Operation manual

Columbia MCB-50J Installation, operation & maintenance manual

Columbia

Columbia MCB-50J Installation, operation & maintenance manual

Rheem TM012 Service instructions

Rheem

Rheem TM012 Service instructions

Riello START AQUA 28/60 BI installer and user manual

Riello

Riello START AQUA 28/60 BI installer and user manual

DeDietrich Kaliko TWH 200E user guide

DeDietrich

DeDietrich Kaliko TWH 200E user guide

Metro Therm 60 manual

Metro Therm

Metro Therm 60 manual

Panasonic PAW-TA20C1E5C Technical handbook

Panasonic

Panasonic PAW-TA20C1E5C Technical handbook

Riello C13 Series manual

Riello

Riello C13 Series manual

manuals.online logo
manuals.online logoBrands
  • About & Mission
  • Contact us
  • Privacy Policy
  • Terms and Conditions

Copyright 2025 Manuals.Online. All Rights Reserved.