manuals.online logo
Brands
  1. Home
  2. •
  3. Brands
  4. •
  5. Atoll Electronique
  6. •
  7. Media Converter
  8. •
  9. Atoll Electronique DAC200 User manual

Atoll Electronique DAC200 User manual

ATOLL ELECTRONIQUE
OWNER’S MANUAL ~ CONVERTER DAC200
ATOLL ELECTRONIQUEPage 5Page 4
1) XLR output (Right).
2) Analog output (Right).
3) Analog output (Left).
4) XLR output (Left).
5) Digital output (coaxial).
6) Digital output (optical).
7) Digital input 3 (optical).
8) Digital input 2 (optical).
9) Digital input 1 (optical).
10) Digital input 3 (coaxial).
11) Digital input 2 (coaxial).
12) Digital input 1 (coaxial).
13) AES input.
14) USB input (type B).
15) Power plug.
16) Switch ON/OFF.
CONNECTING REMOTE CONTROL
DETAIL OF FUNCTIONS
Reminder: Do not make any connections when your device is turned on.
17) Sources selection keys.
18) Filters setup keys (see details beside): selection is made with keys (17).
19) Headphones output (jack 3,5mm) (linking the headphones shut down the
Output signals).
NB : When you connect a headphones, regardless of the bypass mode, you’ll
switch to volume management mode (BYPASS OFF) in order to manage the
volume level of the headphones.
20) Display: selected source shows on the left and frequency sampling on the
right. When no signal is detected display shows UNLOCK.
21) Volume control keys & +(when BYPASS OFF) from 0 to 80
22) ON/stand-by key.
The remote control is equipped with 2 Lithium CR2025 batteries. This remote control
is also able to drive all others ATOLL’s products: CD players; Tuner; Integrated or
Preamplifier. (See those manuals for details).
23) Volume keys +& (*).
24) Standby/ON key.
25) Source selection keys +& .
1 2 3 4 5 7 106 8 11 139 12 14 1615
17 18
19
20 21 22
23
24
25
(*) Volume control is possible only with BYPASS OFF. When changing the volume, level
shows shortly on display, then the display shows the sampling frequency.
BLUETOOTH®
FILTERS SETUP
Your appliance allows the reception of audio signals sent since any devices having a
Bluetooth transmitter (Smartphone, tab, computer…).
First time association:
• Activate the Bluetooth® connectivity of your emitter device.
• Select the Bluetooth® (BT) input of DAC200: unlock symbol BT appears.
• Select your appliance on the list of possible receiver (named IN200).
• Once the connection is made, the lock symbol BT appears.
The whole audio signals of your device source will then be transmitted towards your
IN200. Your emitter device will remain associated until you unlock the DAC200 with
your Smartphone or switch off your amplifier.
Association of another emitter:
• To connect another emitter, you’ll need to disconnect the first emitter. The quality
of reception of the signal depends on the power of the Bluetooth emitter and
the distance between the 2 devices.
Avoid being more than 5 meters of your DAC200 for a correct reception without any
risks of signal cuts.
While pressing key (18) you can choose different kind of digital filters which you can select
with keys (17):
• Standard: fast roll-off, minimum phase filter
• Fast lin: fast roll-off, linear phase filter
• Slow min: soft roll-off, minimum phase filter
• Slow lin: soft roll-off, linear phase filter
• Apodizing: fast roll-off by apodizing and linear phase filter
• Hybrid: fast roll-off and minimum phase filter
ATOLL ELECTRONIQUE
OWNER’S MANUAL ~ CONVERTER DAC200
ATOLL ELECTRONIQUEPage 3Page 6
CAUTIONS
• Do not make any connections when your device is powered on.
• Put your device in a dry and well ventilated place, far from a source of heat.
• Do not put something on your converter.
• Do not make any plug-in when the converter is on.
• Avoid any short-cut.
• Respect polarity +& and switch left & right.
ADVISES
• To optimize the performance of your device, you should switch it on at least
half an hour before any listening, the time for the power stage to reach its ideal
working temperature.
• Your device will give you optimal listening quality after this time-lapse.
• Between two uses, it is, therefore, preferable to let the device in the standby
position so that it remains at its optimum temperature.
• At night or when you leave your home, it is best to use the main switch to turn
off the device.
• To optimize the sound quality of your system, we recommend that you choose
good-quality connection cords. Do not hesitate to ask your specialist dealer for
advice.
• To avoid any parasite sounds coming from some softwares, we recommend
you to unplugged the USB dongle from your computer when not using it.
E.C. marking certified the conformity with low tension directive 73/23/CEE, directive
CEM 89/336/CEE and national transpositions.
E.C. MARKING
The guarantee is two years long from date of purchase. We recommend you to ask
your dealer to fill the guarantee and to conserve it. The guarantee is only available
for appliance which have been use correctly.
GUARANTEE
Your appliance is equipped with a High-Res. asynchronous USB Input (B type). It will
be possible to use it only when you’ll have downloaded the appropriate driver on your
computer. This driver can be freely downloaded on our website at the page:
You will find attached an explanatory guide on how to install
this driver.
This driver is not required for Macintosh computers.
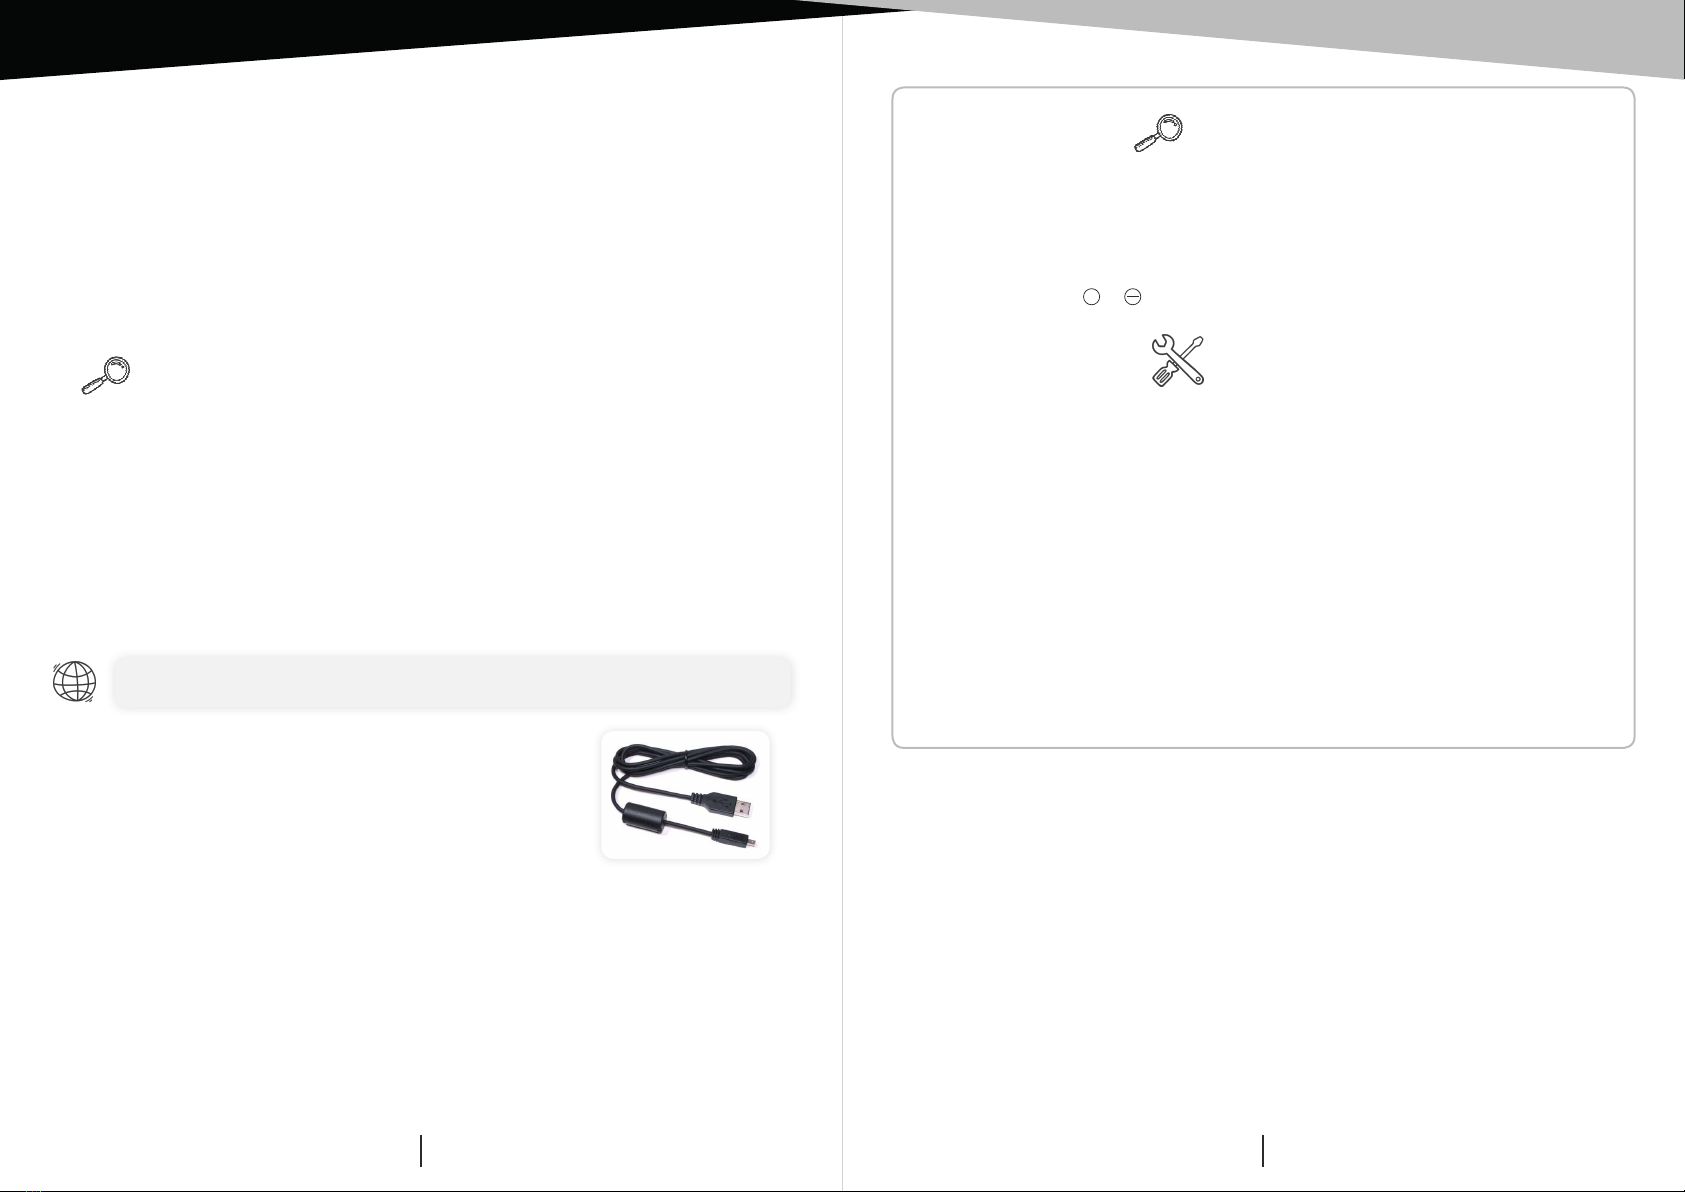
To avoid any troubles in the transfer of High Resolution files
(DSD & 24 bits/192 kHz), it is recommended to use a USB
interconnect with ferrite.
USB INPUT
http://www.atoll-electronique.com/fr/produits/convertisseur-dac/convertisseur-dac200/
ACCEPTED FORMATS
• Accepted format on optical and coaxial Inputs: 16-24 bits (32 kHz, 44,1 kHz,
48 kHz, 88,2 kHz, 96 kHz, 176,4 kHz and 192 kHz).
• Accepted format on USB Input:
– DSD: DSD64 & DSD128.
– PCM : 16-24 bits (32 kHz, 44,1 kHz, 48 kHz, 88,2 kHz, 96 kHz,
176,4 kHz, 192 kHz, 352,8 kHz et 384 kHz).
This DAC can be used as:
• Single converter as a source linked to a linear or XLR input of an integrated or
preamp which will setup the volume control. In that case you’ll need to fix the output
level of the DAC200 and put it on BYPASS position.
• Both converter and preamp directly linked to a power amplifier: volume control is
then made by the DAC200. In this configuration, you need to place configuration as
BYPASS OFF.
Put the DAC200 on stand-by then press together keys (21) about 3 seconds.
Position ON/OFF changes on every press of the knob.
• Display BYPASS means that the volume control is not activated.
• Display BYPASS OFF means that the volume control is activated.
BYPASS MODE
Note : BYPASS mode is recommended when you’re using an integrated. If you are using
the DAC200 as a preamp, check if the amplifier is able to support a maximum input level
of 5 Vrms.
ATOLL ELECTRONIQUE
OWNER’S MANUAL ~ CONVERTER DAC200
ATOLL ELECTRONIQUEPage 7Page 2
You have just bought a Digital/Analog converter DAC200 Signature,
with exceptional audiophile performances. We really thank you for your
confidence in our products. To get the best part of this product, please read
carefully this manual.
YOU WILL FIND
ENCLOSED
– A converter DAC200 Signature.
– A powerlead.
– An RCA wire.
– This manual with the certificate of guarantee.
ATOLL ELECTRONIQUE®
is a French Company that designs, manufactures, and
commercializes all its products.
ATOLL ELECTRONIQUE
OWNER’S MANUAL ~ CONVERTER
Page 8
ELECTRONIQUE
OWNER’S MANUAL
DIGITAL/ANALOG
CONVERTER
DAC200 SIGNATURE
GUARANTEE ~DAC200 Signature
To present to your dealer with the invoice when returning back the appliance:
ATOLL ELECTRONIQUE®
Bd des Merisiers
50370 BRECEY
FRANCE
Date of purchase:
Place of purchase:
Buyer signature:
Dealer Stamp
TECHNICAL DATA
(Data subject to change)
Frequency response:
THD at 1 kHz (0 dBF):
Signa/noise ratio:
Dynamic:
Maximum Output level line:
Maximum Output level XLR:
Dimensions (mm):
Weight:
20 Hz - 20 kHz (± 0,1 dB)
<0,001%
129 dB
133 dB
2,5 Vrms
2,5 Vrms
440×280×60
5,0 Kg

Other Atoll Electronique Media Converter manuals

Atoll Electronique DAC100SE User manual

Atoll Electronique

Atoll Electronique DAC100SE User manual

Atoll Electronique DAC300 User manual

Atoll Electronique

Atoll Electronique DAC300 User manual

Popular Media Converter manuals by other brands

ADF Web HD67704-IP-B2 user manual

ADF Web

ADF Web HD67704-IP-B2 user manual

Puls Dimension C Series manual

Puls

Puls Dimension C Series manual

Parker 590 series product manual

Parker

Parker 590 series product manual

Faroudja VP401 Installation & operation instructions

Faroudja

Faroudja VP401 Installation & operation instructions

Patton electronics 2094 user manual

Patton electronics

Patton electronics 2094 user manual

AVGear AVG-DAC user manual

AVGear

AVGear AVG-DAC user manual

Danfoss iC7 Series installation guide

Danfoss

Danfoss iC7 Series installation guide

Advance acoustic WTX-MicroStream manual

Advance acoustic

Advance acoustic WTX-MicroStream manual

Conrad Electronic 197257 operating instructions

Conrad Electronic

Conrad Electronic 197257 operating instructions

AJA R44E Installation and operation guide

AJA

AJA R44E Installation and operation guide

Phoenix Contact PSM-ME-RS232 Installation notes for electricians

Phoenix Contact

Phoenix Contact PSM-ME-RS232 Installation notes for electricians

Audio Note DAC2.1x Signature Owner's Information

Audio Note

Audio Note DAC2.1x Signature Owner's Information

MyTek 8X192 ADDA user manual

MyTek

MyTek 8X192 ADDA user manual

Snell & Wilcox ARC130S Operator's manual

Snell & Wilcox

Snell & Wilcox ARC130S Operator's manual

Taiden TMX-HDSDI2HDMI user manual

Taiden

Taiden TMX-HDSDI2HDMI user manual

StarTech.com VGA2NTSC installation manual

StarTech.com

StarTech.com VGA2NTSC installation manual

tbs electronics TBS2600V1 user guide

tbs electronics

tbs electronics TBS2600V1 user guide

OT Systems FT110CB Series Installation and operation manual

OT Systems

OT Systems FT110CB Series Installation and operation manual

manuals.online logo
manuals.online logoBrands
  • About & Mission
  • Contact us
  • Privacy Policy
  • Terms and Conditions

Copyright 2025 Manuals.Online. All Rights Reserved.