Chapter 1. Servicing a network antenna 1-1
Chapter 1. Servicing a network antenna
Important ATTENTION: Please read carefully the safety instructions
before you perform the procedures described in this
manual.
ATTENTION : Merci de lire attentivement les consignes de
sécurité avant d'effectuer les procédures décrites dans ce
manuel.
ACHTUNG : Bitte lesen Sie sorgfältig die angegebenen
Sicherheitshinweise, bevor Sie die Verfahren in diesem
Handbuch beschrieben durchführen.
Multilingual Safety Notices Guide, 86 X1 12FL
C004 CAUTION
C004:
Static electricity can damage the server and other electronic devices. To
avoid damage, keep static-sensitive devices in their static-protective
packages until you are ready to install them.
To reduce the possibility of damage from electrostatic discharge,
observe the following precautions:
Limit your movement. Movement can cause static electricity to build up
around you.
Wear an electrostatic-discharge wrist strap.
Handle the device carefully, holding it by its edges or its frame.
Do not touch solder joints, pins, or exposed circuitry.
Do not leave the device where others can handle and damage it.
While the device is still in its static-protective package, touch it to an
unpainted metal surface on the outside of the server for at least 2
seconds. This drains static electricity from the package and from your
body.
Remove the device from its package and install it directly into the
server without setting down the device. If it is necessary to set down
the device, put it back into its static-protective package. Do not place
the device on the server cover or on a metal surface.
Take additional care when you handle devices during cold weather.
Heating reduces indoor humidity and increases static electricity.
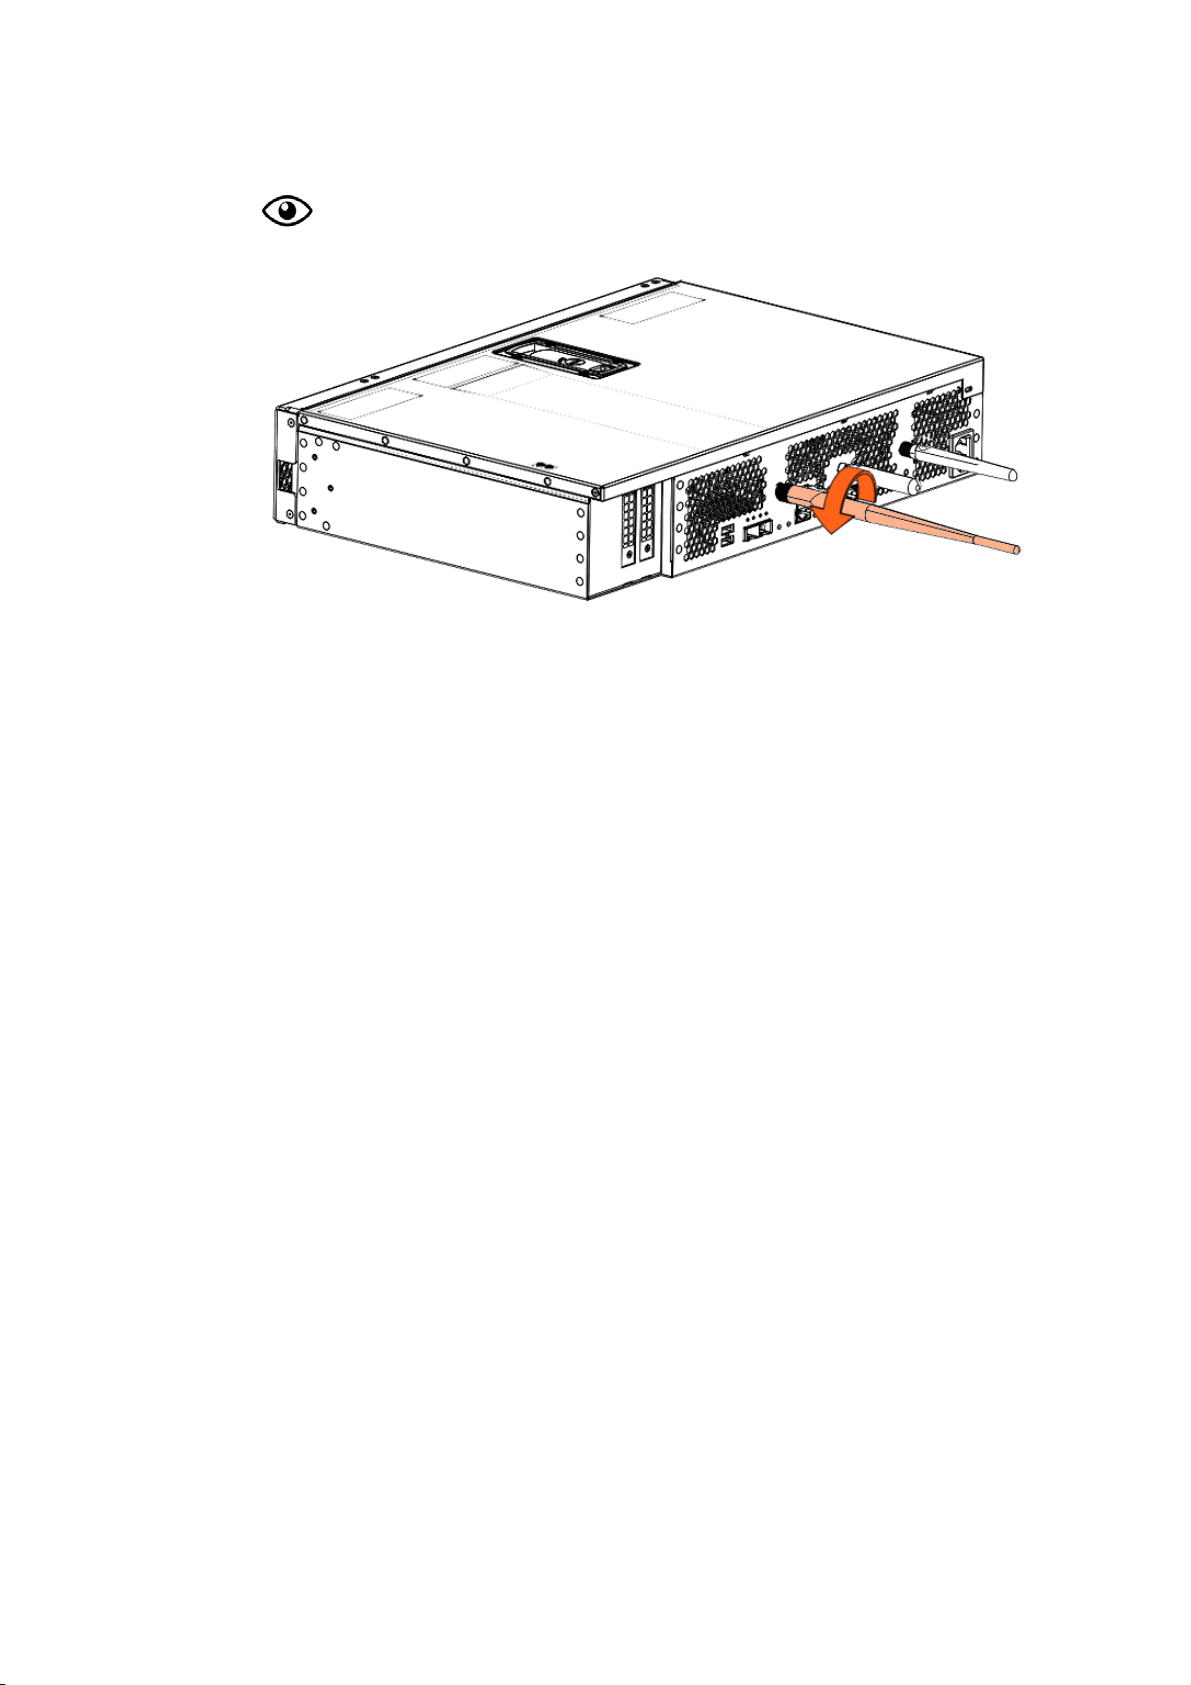
See BullSequana Edge Description Guide, 86 A1 65FR to locate the
antenna.