manuals.online logo
Brands
  1. Home
  2. •
  3. Brands
  4. •
  5. Auber Instruments
  6. •
  7. Timer
  8. •
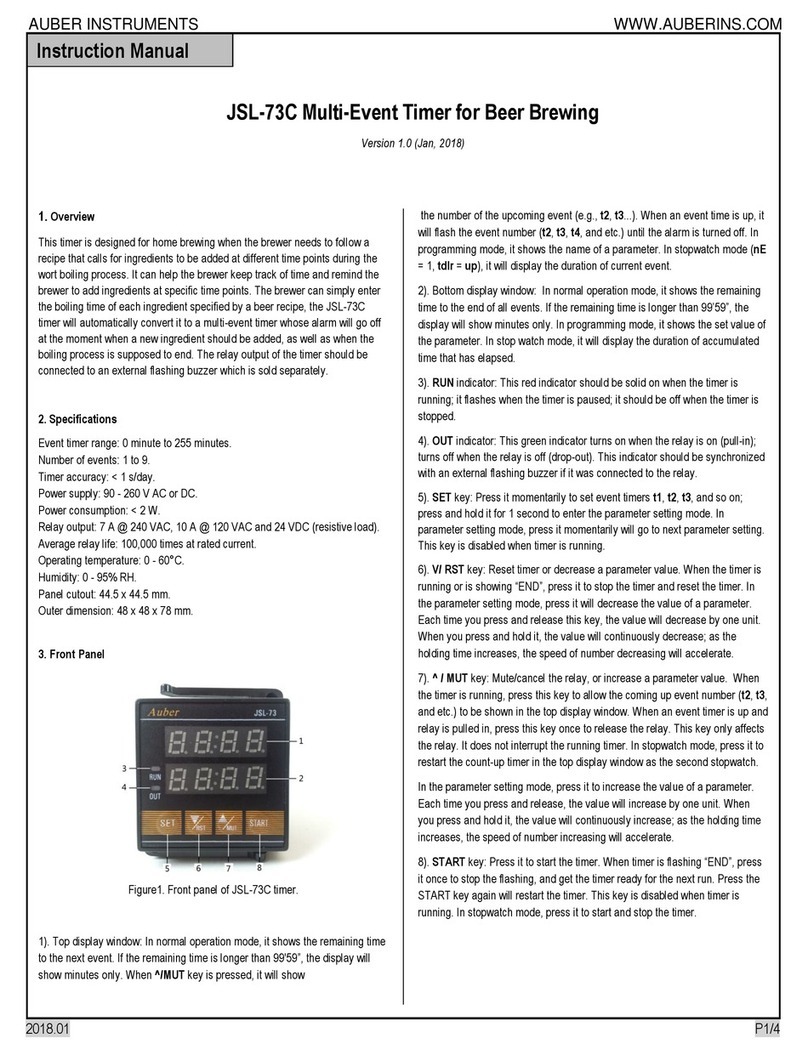
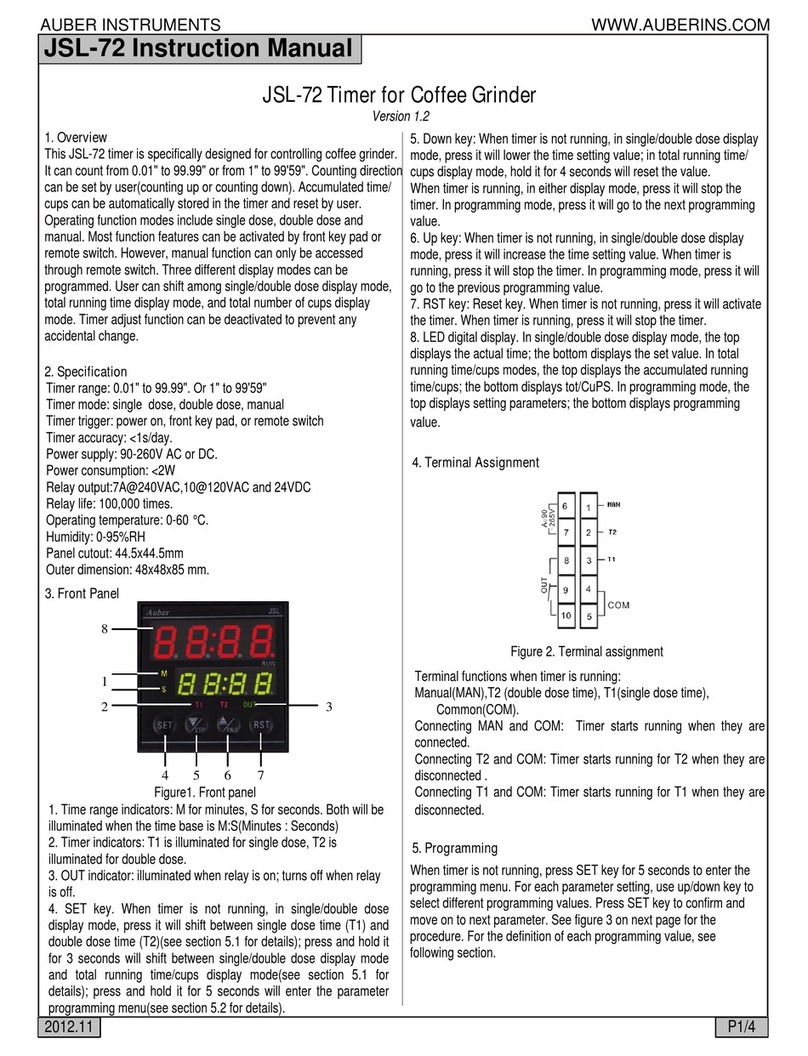
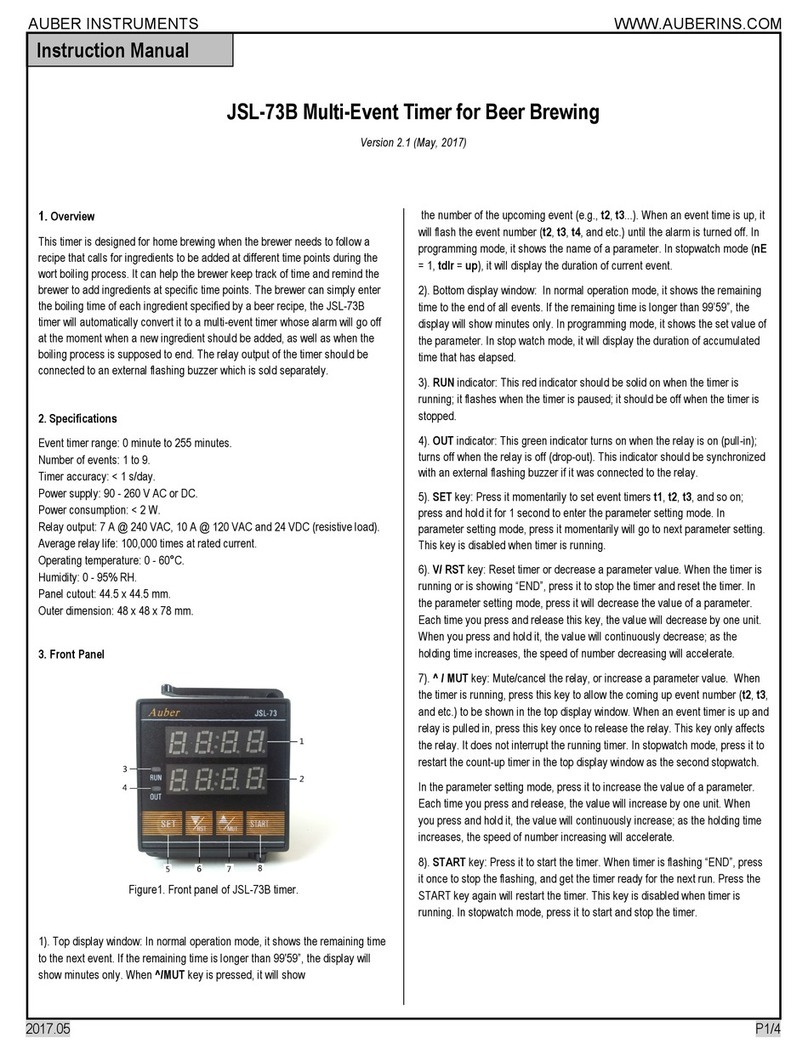
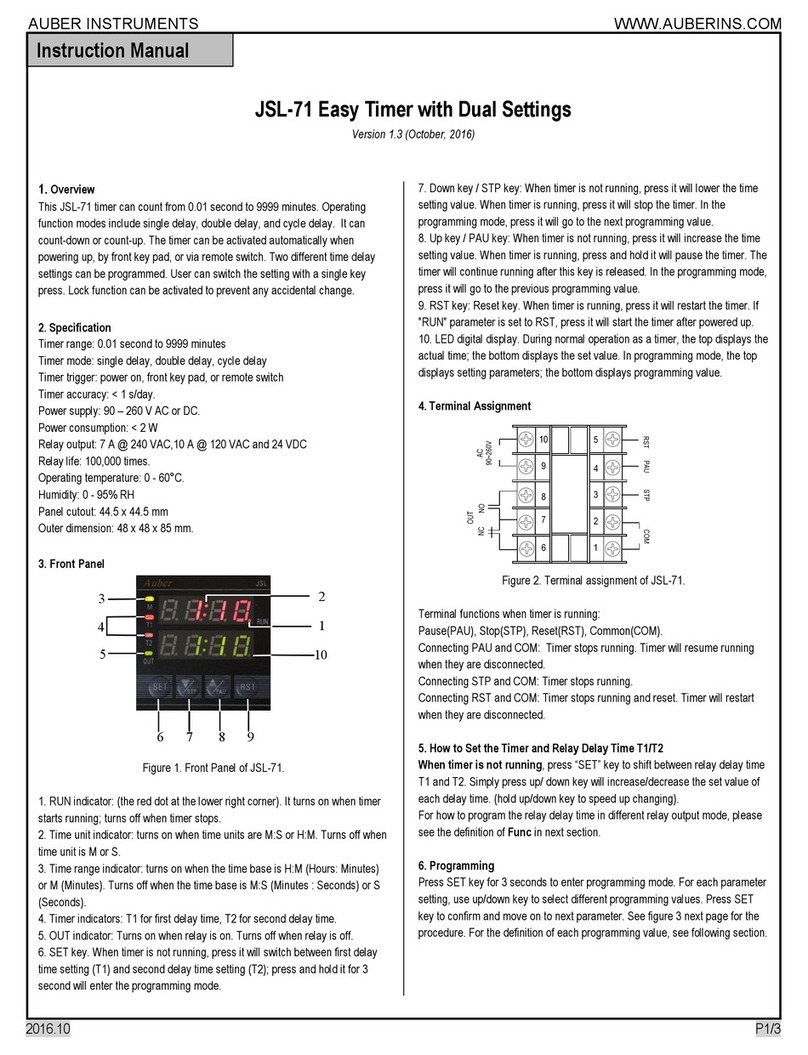
  9. Auber Instruments JSL-72 User manual

Auber Instruments JSL-72 User manual

AUBER INSTRUMENTS WWW.AUBERINS.COM
2018.02 P1/3
JSL-72 Timer for Coffee Grinder
Version 2.1 (Feb, 2018)
1. Overview
This JSL-72 timer is specifically designed for controlling coffee grinder. It can
count from 0.01" to 99.99" or from 1" to 99'59". Counting direction can be set
by user (counting up or counting down). Accumulated time/ cups can be
automatically stored in the timer and reset by user. Operating function modes
include single dose, double dose and manual. Most function features can be
activated by front key pad or remote switch. However, manual function can
only be accessed through remote switch. Three different display modes can be
programmed. User can shift among single/double dose display mode, total
running time display mode, and total number of cups display mode. Timer
adjust function can be deactivated to prevent any accidental change.
2. Specification
Timer range: 0.01" to 99.99", or 1" to 99'59".
Timer mode: single dose, double dose, or manual.
Timer trigger: power on, front key pad, or remote switch.
Timer accuracy: < 1 s/day.
Power supply: 90 - 260 V AC or DC.
Power consumption: < 2 W.
Relay output: 7 A @ 240 VAC, 10 A @ 120 VAC and 24 VDC.
Relay life: 100,000 times.
Operating temperature: 0 - 60° C.
Humidity: 0 - 95% RH.
Panel cutout: 44.5 x 44.5 mm.
Outer dimension: 48 x 48 x 85 mm.
3. Front Panel
1
2
3
4 5 6 7
8
Figure1. Front panel
1. Time range indicators: M for minutes. It will be illuminated when time base is
MM:SS (Minutes: Seconds). It will be off when time base is SS.SS (Seconds).
2. Timer indicators: T1 is illuminated for single dose; T2 is illuminated for
double dose.
3. OUT indicator: illuminated when relay is on; turns off when relay is off.
4. SET key. When timer is not running, in single/double dose display mode,
press it will shift between single dose time (T1) and double dose time (T2) (see
section 5.1 for details); press and hold it for 3 seconds will shift between
single/double dose display mode and total running time/cups display mode
(see section 5.1 for details); press and hold it for 5 seconds will enter the
parameter programming menu (see section 5.2 for details).
5. Down key: When timer is not running, in single/double dose display mode,
press it will lower the time setting value; in total running time/cups display
mode, hold it for 4 seconds will reset the value.
When timer is running, in either display mode, press it will stop the timer. In
programming mode, press it will go to the next programming value.
6. Up key: When timer is not running, in single/double dose display mode,
press it will increase the time setting value. When timer is running, press it will
stop the timer. In programming mode, press it will go to the previous
programming value.
7. RST key: Reset key. When timer is not running, press it will activate the
timer. When timer is running, press it will stop the timer.
8. LED digital display. In single/double dose display mode, the top displays the
actual time; the bottom displays the set value. In total running time/cups modes,
the top displays the accumulated running time/cups; the bottom displays
tot/CuPS. In programming mode, the top displays setting parameters; the
bottom displays programming value.
4. Terminal Assignment
6
7
8
9
10
1
2
3
4
5
NC
OUT
NO AC
90~260V
T1
T2
MAN RSV COM
Figure 2. Terminal assignment
Terminal functions when timer is running
1. Terminal abbreviations: MAN (manual), T2 (double dose time), T1 (single
dose time), COM (common), RSV (reserved).
2. Connecting MAN and COM: timer starts running when they are connected.
3. Connecting T2 and COM: Timer starts running for T2 when they are
disconnected.
4. Connecting T1 and COM: Timer starts running for T1 when they are
disconnected.
5. Terminal 6, 7 and 8 are relay outputs. Terminal 6 & 7 are normally closed
(NC), terminal 7 & 8 are normally open (NO). When output relay is deactivated,
terminal 6 & 7are jumped and terminal 7& 8 are isolated. When output relay is
activated, terminal 6 & 7are isolated and terminal 7& 8 are jumped.
6. Terminal 2 (RSV) is reserved for customized applications.
5. Programming
When timer is not running, press SET key for 5 seconds to enter the
programming menu. For each parameter setting, use up/down key to select
different programming values. Press SET key to confirm and move on to next
Instruction Manual
AUBER INSTRUMENTS WWW.AUBERINS.COM
2018.02 P2/3
parameter. See figure 3 on next page for the procedure. For the definition of
each programming value, see following section.
trnG
S
tdir
dn
0000
tot
Accumulated Value
Total Time
trnG
s
0000
0000
Process Time
Set Time
SET
tAdj
on
TDIR
dn
SET
Tl.a
1
disp
Tot
Tl.b
1
SET
SET
SET
3 seconds
SET
SET
5 seconds
0000
cups
Accumulated Value
Total cups
Figure 3. Flow chart of programming
5.1 How to Set the Timer and Dose Time T1/T2.
When timer is not running, in single/double dose display mode,
a) Press “SET” key to shift between single dose time T1 and double dose time
T2. When parameter “tAdJ” is programmed to “ON” (see definition of “tAdJ” in
next section), simply press up/ down key will increase/decrease the set value
of each delay time. (Hold up/down key will increase the changing speed
exponentially).
b) Hold “SET” key for 3s, the display will change to total running time/cups
display mode. For how to program two different display modes, please see the
definition of “dISP” in next section.
c) Hold “SET” key for 5s, the display will enter parameter programming menu.
5.2 Definition of Programming Values.
trnG: timer range.
S: 0.01 s ~ 99.99 s.
M:S: 1 s ~ 99 m 59 s.
tdir: timing direction.
up: counting up.
dn: counting down.
*Note: the timing direction can only be changed in the single and double dose
timer display. The manual control always counts up so that user can use its
value to fine tune the single and double dose setting.
tAdJ: time adjust.
On: When timer is not running, adjust timer directly by pressing up/down key
from the front panel.
Off: Values for timer T1/T2 are locked.
dISP: display mode.
Tot: total time (unit: second).
CUPS: number of cups.
*Note 1: in Tot mode: total time will only display integer part; when manual key
is pressed and held, the running time is counted into total time until the manual
switch is released.
*Note 2: in CUPS mode: number of cups will not be counted into total number
when manual key is pressed.
*Note 3: press down key for 4 seconds will reset the display to zero in both
modes.
tLA: constant A.
tLb: constant b.
These two constants are used for converting the total time display to other
units, such as weight in grams.
dISP = T x A/b,
where T = T1 or T2. For example, if grind 1 gram of coffee takes 2 seconds, set
A = 1, b = 2, this will convert the total display unit from second to gram.
6. Wiring Examples
6.1 Wire JSL-72 timer as Auber’s J72BX -- Coffee Grinder Timer Controller.
To make a control box similar to Auber’s J72BX for grinder, please refer to the
wiring diagram in Figure 4. PLEASE NOTE: this setup is only suitable for
grinders with motors that consume less than 300 W power.
6
7
8
9
10
1
2
3
4
5
N
L
G
G
To Enclosure Ground
Output Socket
Manual
T2
T1
120VAC
N
G
Input Power
Socket
L
L
N
Figure 4. Wiring diagram of J72BX.
6.2 Wire JSL-72 timer as Auber’s J72MA -- Timer Controller for Mazzer
Automatic Grinder.
To make a control box similar to Auber’s J72MA for Mazzer Automatic Grinder,
please refer to the wiring diagram in Figure 5.
6
7
8
9
10
1
2
3
4
5
Manual
T2
T1
120VAC
L N
G
To Enclosure Ground
Input Power
Socket
Output Socket to
the Coil of Grinder’s
Contactor.
N
L
Figure 5. Wiring diagram of J72MA.
6.3 Wire JSL-72 timer’s output in parallel to a grinder’s power switch.
AUBER INSTRUMENTS WWW.AUBERINS.COM
2018.02 P3/3
In this example, JSL-72 timer’s output relay (pin 7 and 8, normally open) is
tapped in parallel to the power switch of a coffee grinder. So the grinder will be
energized either when the power switch is closed or when the relay contacts on
the timer are closed. User can run the grinder by pressing the power switch on
the grinder. Or they can control the grinder by pressing T1, T2, or Manual
switch connected to the timer, which will close then close its relays contacts on
pin 7 and 8.
Manual
6
7
8
9
10
1
2
3
4
5
T2
T1
Coffee
Grinder
120VAC
L
N120VAC
L
N
Figure 6. JSL-72 timer’s output relay is tapped in parallel to the power switch
of a coffee grinder.
6.4 Wire JSL-72 timer’s output in series to the grinder’s power switch.
In this example, JSL-72 timer’s output relay (pin 7 and 8, normally open) is
tapped in serial to the power switch of a coffee grinder. So the grinder will be
energized when both the power switch and the relay contacts on the timer are
closed. In this case, user cannot manual control the grinder by pressing the
power switch of the grinder. They must control the grinder from the timer by
pressing T1, T2, or Manual switch connected to the timer, and the power
switch on the grinder should stay closed.
Manual
6
7
8
9
10
1
2
3
4
5
T2
T1
Coffee
Grinder
120VAC
L
N120VAC
L
N
Figure 6. JSL-72 timer’s output relay is tapped in serial to the power switch of
a coffee grinder.
(END)
Auber Instruments
5755 North Point Parkway, Suite 99
Alpharetta, GA 30022, USA
www.auberins.com
E-mail: [email protected] Tel: 770-569-8420
Copyright 2007-2018, Auber Instruments All Rights Reserved.
No part of this manual shall be copied, reproduced, or transmitted in any way without the
prior, written consent of Auber Instruments. Auber Instruments retains the exclusive
rights to all information included in this document.

Other Auber Instruments Timer manuals

Auber Instruments JSL-73B User manual

Auber Instruments

Auber Instruments JSL-73B User manual

Auber Instruments JSL-64A-EST User guide

Auber Instruments

Auber Instruments JSL-64A-EST User guide

Auber Instruments JSL-74A User manual

Auber Instruments

Auber Instruments JSL-74A User manual

Auber Instruments JSL-74 User manual

Auber Instruments

Auber Instruments JSL-74 User manual

Auber Instruments JSL-71 User manual

Auber Instruments

Auber Instruments JSL-71 User manual

Auber Instruments JSL-73C User manual

Auber Instruments

Auber Instruments JSL-73C User manual

Auber Instruments JSL-72 User manual

Auber Instruments

Auber Instruments JSL-72 User manual

Auber Instruments JSL-73C-24 User manual

Auber Instruments

Auber Instruments JSL-73C-24 User manual

Auber Instruments JSL-64A User manual

Auber Instruments

Auber Instruments JSL-64A User manual

Popular Timer manuals by other brands

ENFORCER ENFORCER SA-025EQ manual&nbsp;

ENFORCER

ENFORCER ENFORCER SA-025EQ manual&nbsp;

Salter 338 Instructions and guarantee

Salter

Salter 338 Instructions and guarantee

F&F PCZ-524.3 user manual

F&F

F&F PCZ-524.3 user manual

B-hyve XR quick start guide

B-hyve

B-hyve XR quick start guide

ADE TD 1800-1 operating manual

ADE

ADE TD 1800-1 operating manual

Radio Shack 630-0892 Operation manual

Radio Shack

Radio Shack 630-0892 Operation manual

Sunrise KR4-SR3-S5 quick start guide

Sunrise

Sunrise KR4-SR3-S5 quick start guide

claber aquauno LOGICA PLUS instruction manual

claber

claber aquauno LOGICA PLUS instruction manual

Melnor AquaTimer 3012 operating instructions

Melnor

Melnor AquaTimer 3012 operating instructions

Omron H3CR manual

Omron

Omron H3CR manual

Intermatic ET8000 Series Installation and user instructions

Intermatic

Intermatic ET8000 Series Installation and user instructions

Kemo Electronic M113D Assembly instructions

Kemo Electronic

Kemo Electronic M113D Assembly instructions

HydroSure 350010101 instructions

HydroSure

HydroSure 350010101 instructions

CDN TMT1 manual

CDN

CDN TMT1 manual

Wholesale Chess 0489 user manual

Wholesale Chess

Wholesale Chess 0489 user manual

Siemens 7LF4 511-0 operating instructions

Siemens

Siemens 7LF4 511-0 operating instructions

Orbit 57896-50 rJ quick start guide

Orbit

Orbit 57896-50 rJ quick start guide

MULTISPAN UTR - 1044 operating manual

MULTISPAN

MULTISPAN UTR - 1044 operating manual

manuals.online logo
manuals.online logoBrands
  • About & Mission
  • Contact us
  • Privacy Policy
  • Terms and Conditions

Copyright 2025 Manuals.Online. All Rights Reserved.