manuals.online logo
Brands
  1. Home
  2. •
  3. Brands
  4. •
  5. AUDAC
  6. •
  7. Speakers System
  8. •
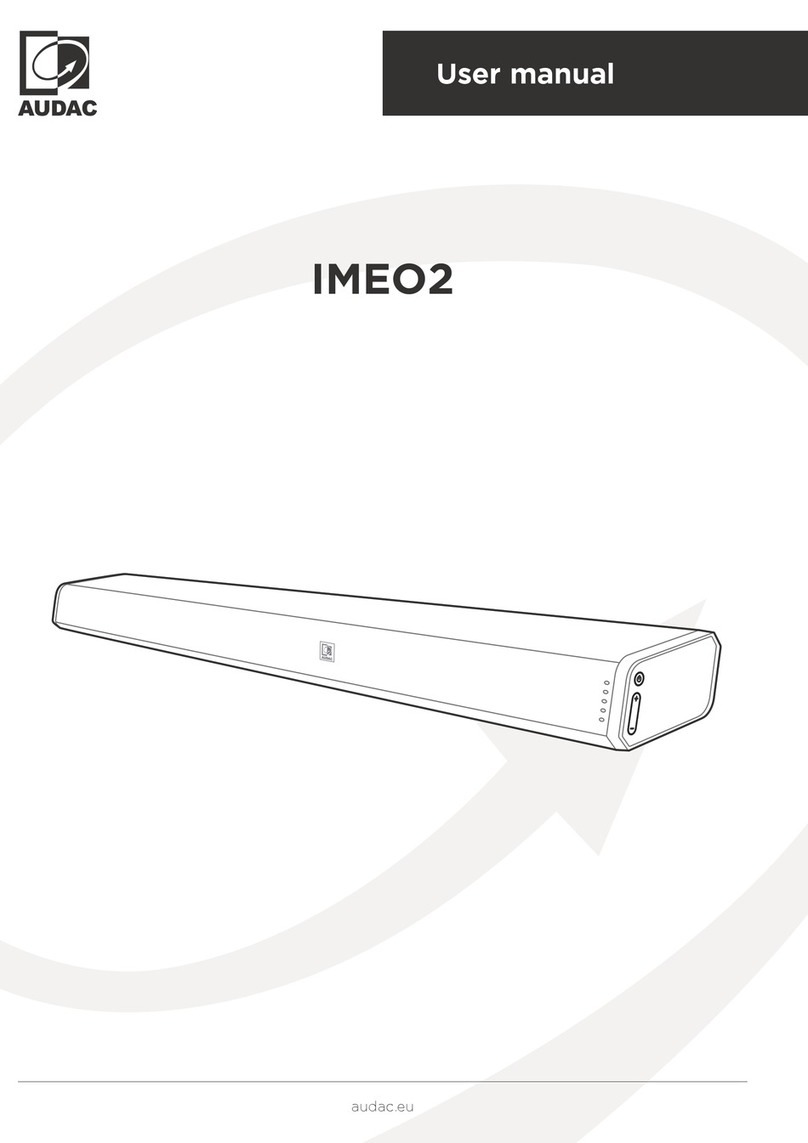
  9. AUDAC IMEO2 User manual

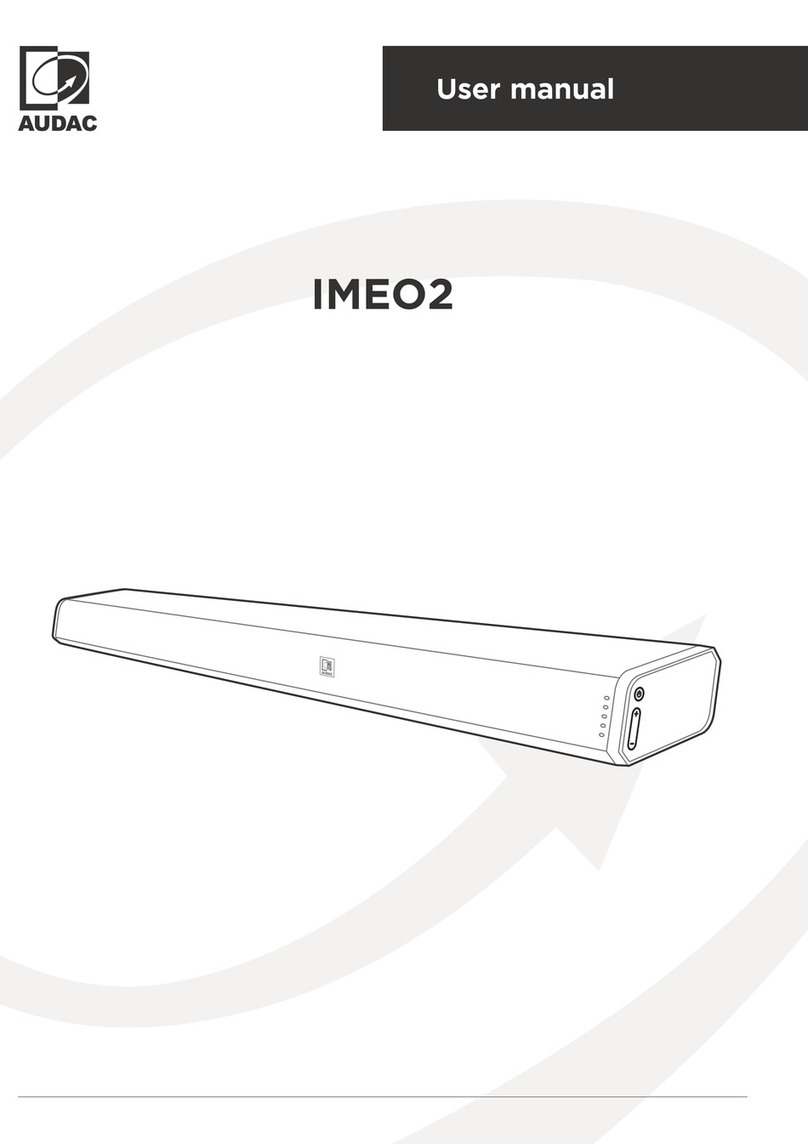
AUDAC IMEO2 User manual

Quick Start Guide
IMEO2
audac.eu
1
2
3
4
The quick start guide gives you an overview of all the functions of the IMEO2. It allows you to
get started with the installation of it in your project. To get a detailed explanation of all functions,
please check the complete manual which is available on the web page https://manuals.
audac.eu/IMEO2 or scan the QR code as shown on top of this page.
1) Status indicator LED’s:
These LED’s indicate the current operation status
of the IMEO2.Various color LED’s indicate following
statuses:
• Red: Standby mode
• Green: (Blinking) USB / (Illuminated) AUX (3.5 mm
jack input)
• Blue: Bluetooth mode
• Orange:(Illuminated) Optical / (Blinking) Coaxial mode
• White: HDMI ARC mode
3) Power button:
The power button allows to switch on and off the unit.
Press to switch the sound bar on. Press and hold
to switch the sound bar off. Repeatedly press (short
term) to switch between the various operation modes
(USB / AUX / BLUETOOTH / OPTICAL / COAXIAL /
HDMI ARC).
2) Remote control (IR) sensor:
The remote control (IR) sensor is located behind the
front grill of the IMEO2. This sensor requires a line-
of-sight connection with the remote control. Make
sure this sensor is not covered or blocked.
4) +/- buttons:
The + / - buttons allow to increase or decrease the
volume level.
Front
IMEO2 - Quick Start Guide02
Rear
5) AC Power inlet connection:
The mains power supply (100-240V AC - 50/60
Hz) has to be applied to this AC power inlet. The
connection is made by an IEC C8 power connector
and the power lead is standard tted, but can be
unplugged for convenient assembly.
6) Coaxial input connection:
The coaxial input connection (RCA) allows connecting
the sound bar to any TV, receiver or other source
device with an coaxial SP/DIF output connection.
7) Optical input connection:
The optical input connection (Toslink) allows
connecting the sound bar to any TV, receiver or
other source device with an optical SP/DIF output
connection.
8) USB socket:
The USB connection allows connection to memory
devices. This allows previously stored audio sources
to be played back (MP3, FLAC, WAV).
9) AUX socket:
The AUX input connection (3.5 mm jack) allows
connecting the sound bar to any stereo line-level
audio source. It can be a connection between a
portable device such as smartphone, tablet, laptop
or headphone output of any device.
10) HDMI ARC socket:
The HDMI input socket allows connecting the
soundbar to any TV or projector with an HDMI
connection supporting ARC functionality
Using Bluetooth
The rst time when your Bluetooth portable device is connected (smartphone, tablet, ...) it needs to get
paired. For getting it paired, the sound bar shall be switched ON and in Bluetooth mode. This can be
done using the power button on the side of the unit, or the remote control. When in Bluetooth mode,
the blue LED behind the front grill will blink. Activate the Bluetooth mode in your portable device and
search for devices.
The device name ‘AUDAC IMEO2’ will appear on your Bluetooth device list. If the device can’t be found,
press and hold the button on the remote control to be discoverable. The system will enter
in pairing mode and two ‘beeps’ will be heard through the speakers. The Bluetooth indicator (blue LED)
will blink fast. Select ‘AUDAC IMEO2’ from the device list and an ‘uplifting beep’ will be heard through the
speakers. The Bluetooth indicator (blue LED) will illuminate constantly.
// PPAIRAIR
5 6 7 8 9 10
COAXIAL OPTICAL USB AUX
HDMI / ARC
IMEO2 - Quick Start Guide 03
Mounting
1) Attach the wall support bar:
The support bar has to be xed to the wall by four
screws which need to get tted through the provided
slots. The provided slots have an elliptical shape,
allowing the possibility for slightly adjusting the
position to make it perfectly level.
Make sure the appropriate fasteners are used,
depending on the mounting surface
(brick, concrete, wood, ... )
2) Attach the speaker
After the wall support bar is attached and the
connections are made, the soundbar shall be xed
to the wall plate. This is done by sliding the hooks
assembled to the soundbar into the provided slots
on the wall support bar and xing them with security
bolts.
3a) TOP security bolt:
This option can be selected in the situation that
no object is placed above the IMEO2. To prevent
the IMEO2 from falling, attach safety screws on
top of the xing hooks.
3b) BOTTOM security bolt:
There is the option of xing the speaker from
below when an object is placed above of the
IMEO2. Attach the custom safety screws at the
bottom of the xing hooks.
13a
3b
2
CAUTION - SERVICING
This product contains no user serviceable parts.
Refer all servicing to qualied service personnel. Do
not perform any servicing (unless you are qualied
to)
CAUTION
The symbols shown are internationally recognized
symbols that warn about potentional hazards
of electrical products. The lightning ash with
arrowpoint in an equilateral triangle means that the
unit contains dangerous voltages. The exclamation
point in an equilateral triangle indicates that it is
necessary for the user to refer to the users manual.
These symbols warn that there are no user
serviceable parts inside the unit. Do not open
the unit. Do not attempt to service the unit
yourself. Refer all servicing to qualied personnel.
Opening the chassis for any reason will void the
manufacturer’s warranty. Do not get the unit wet. If
liquid is spilled on the unit, shut it off immediately
and take it to a dealer for service. Disconnect the
unit during storms to prevent damage.
EC DECLARATION OF CONFORMITY
This product conforms to all the essential
requirements and further relevant specications
described in following directives: 2014/30/EU
(EMC) , 2014/35/EU (LVD) and 2014/53/EU (RED)
WASTE ELECTRICAL AND ELECTRONIC
EQUIPMENT (WEEE)
The WEEE marking indicates that this product
should not be disposed with regular household
waste at the end of its life cycle. This regulation
is created to prevent any possible harm to the
environment or human health.
This product is developed and manufactured with
high quality materials and components which can
be recycled and/or reused. Please dispose this
product at your local collection point or recycling
centre for electrical and electronic waste. This
will make sure that it will be recycled on an
environmentally friendly manner, and will help to
protect the environment in which we all live.
CAUTION - SERVICING
IMEO2 - Quick Start Guide 04
ALWAYS KEEP THESE INSTRUCTIONS. NEVER THROW
THEM AWAY
ALWAYS HANDLE THIS UNIT WITH CARE
HEED ALL WARNINGS
FOLLOW ALL INSTRUCTIONS
NEVER EXPOSE THIS EQUIPMENT TO RAIN, MOISTURE,
ANY DRIPPING OR SPLASHING LIQUID. AND NEVER PLACE
AN OBJECT FILLED WITH LIQUID ON TOP OF THIS DEVICE
NO NAKED FLAME SOURCES, SUCH AS LIGHTED
CANDLES, SHOULD BE PLACED ON THE APPARATUS
DO NOT PLACE THIS UNIT IN AN ENCLOSED ENVIRONMENT
SUCH AS A BOOKSHELF OR CLOSET. ENSURE THERE IS
ADEQUATE VENTILATION TO COOL THE UNIT. DO NOT
BLOCK THE VENTILATION OPENINGS.
DO NOT STICK ANY OBJECTS THROUGH THE VENTILATION
OPENINGS.
DO NOT INSTALL THIS UNIT NEAR ANY HEAT SOURCES
SUCH AS RADIATORS OR OTHER APPARATUS THAT
PRODUCE HEAT.
DO NOT PLACE THIS UNIT IN ENVIRONMENTS WHICH
CONTAIN HIGH LEVELS OF DUST, HEAT, MOISTURE OR
VIBRATION
THIS UNIT IS DEVELOPED FOR INDOOR USE ONLY. DO NOT
USE IT OUTDOORS
PLACE THE UNIT ON A STABLE BASE OR MOUNT IT IN A
STABLE RACK
ONLY USE ATTACHMENTS & ACCESSORIES SPECIFIED BY
THE MANUFACTURER
UNPLUG THIS APPARATUS DURING LIGHTNING STORMS
OR WHEN UNUSED FOR LONG PERIODS OF TIME
THE MAINS PLUG OR APPLIANCE COUPLER IS USED AS
THE DISCONNECT DEVICE, SO THE DISCONNECT DEVICE
SHALL BE READILY OPERABLE
USE THE APPARATUS ONLY IN MODERATE CLIMATES
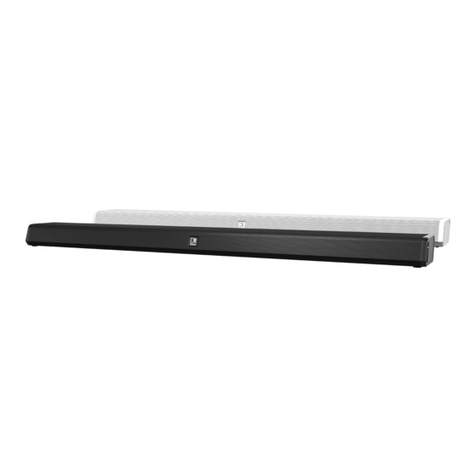
Other manuals for IMEO2

1

Other AUDAC Speakers System manuals

AUDAC IMEO2 User manual

AUDAC

AUDAC IMEO2 User manual

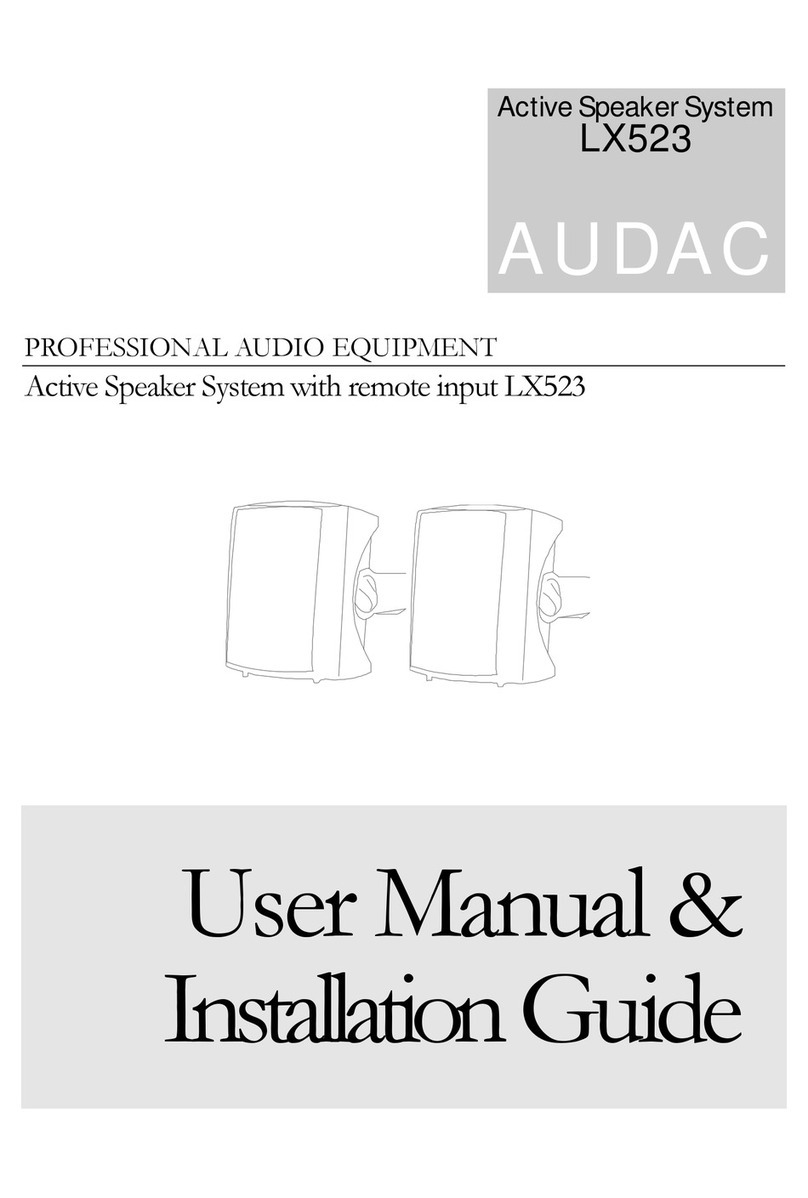
AUDAC LX523 Installation and operating instructions

AUDAC

AUDAC LX523 Installation and operating instructions

AUDAC NOBA8A User manual

AUDAC

AUDAC NOBA8A User manual

AUDAC IMEO1 User manual

AUDAC

AUDAC IMEO1 User manual

AUDAC MBK300S User manual

AUDAC

AUDAC MBK300S User manual

AUDAC SP20 User manual

AUDAC

AUDAC SP20 User manual

AUDAC LX503 MKII Installation and operating instructions

AUDAC

AUDAC LX503 MKII Installation and operating instructions

AUDAC IMEO2/B User manual

AUDAC

AUDAC IMEO2/B User manual

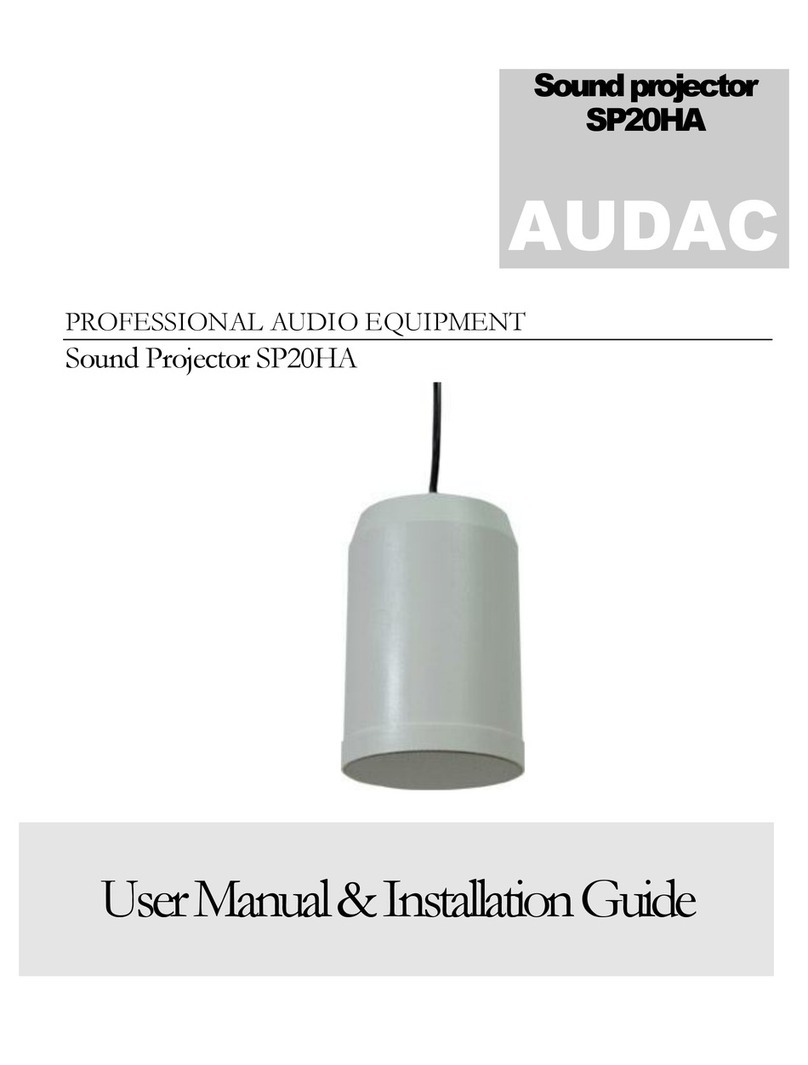
AUDAC SP20HA Installation and operating instructions

AUDAC

AUDAC SP20HA Installation and operating instructions

Popular Speakers System manuals by other brands

Harman Kardon HKTS 10 Specifications

Harman Kardon

Harman Kardon HKTS 10 Specifications

TAD TAD-E1 unpacking instructions

TAD

TAD TAD-E1 unpacking instructions

Polk Audio AMR 70 Using

Polk Audio

Polk Audio AMR 70 Using

Legacy Whisper XD owner's manual

Legacy

Legacy Whisper XD owner's manual

JVC CA-MXJ150R instructions

JVC

JVC CA-MXJ150R instructions

rough country 921995100 manual

rough country

rough country 921995100 manual

Adcom GFS-300 owner's manual

Adcom

Adcom GFS-300 owner's manual

Ibiza PORT-UHF-BT Series manual

Ibiza

Ibiza PORT-UHF-BT Series manual

Creative INSPIRE T6300 quick start guide

Creative

Creative INSPIRE T6300 quick start guide

JBL Simply Cinema ESC340 owner's manual

JBL

JBL Simply Cinema ESC340 owner's manual

Pioneer S-71C-K operating instructions

Pioneer

Pioneer S-71C-K operating instructions

Samsung HW-A430 Full manual

Samsung

Samsung HW-A430 Full manual

Vizio SB3820-C6 quick start guide

Vizio

Vizio SB3820-C6 quick start guide

QSC SC-424 Specifications

QSC

QSC SC-424 Specifications

Sony SRS-T33 operating instructions

Sony

Sony SRS-T33 operating instructions

JVC SP-F303 instructions

JVC

JVC SP-F303 instructions

LG NB2420A owner's manual

LG

LG NB2420A owner's manual

Microlab FC362 user manual

Microlab

Microlab FC362 user manual

manuals.online logo
manuals.online logoBrands
  • About & Mission
  • Contact us
  • Privacy Policy
  • Terms and Conditions

Copyright 2025 Manuals.Online. All Rights Reserved.