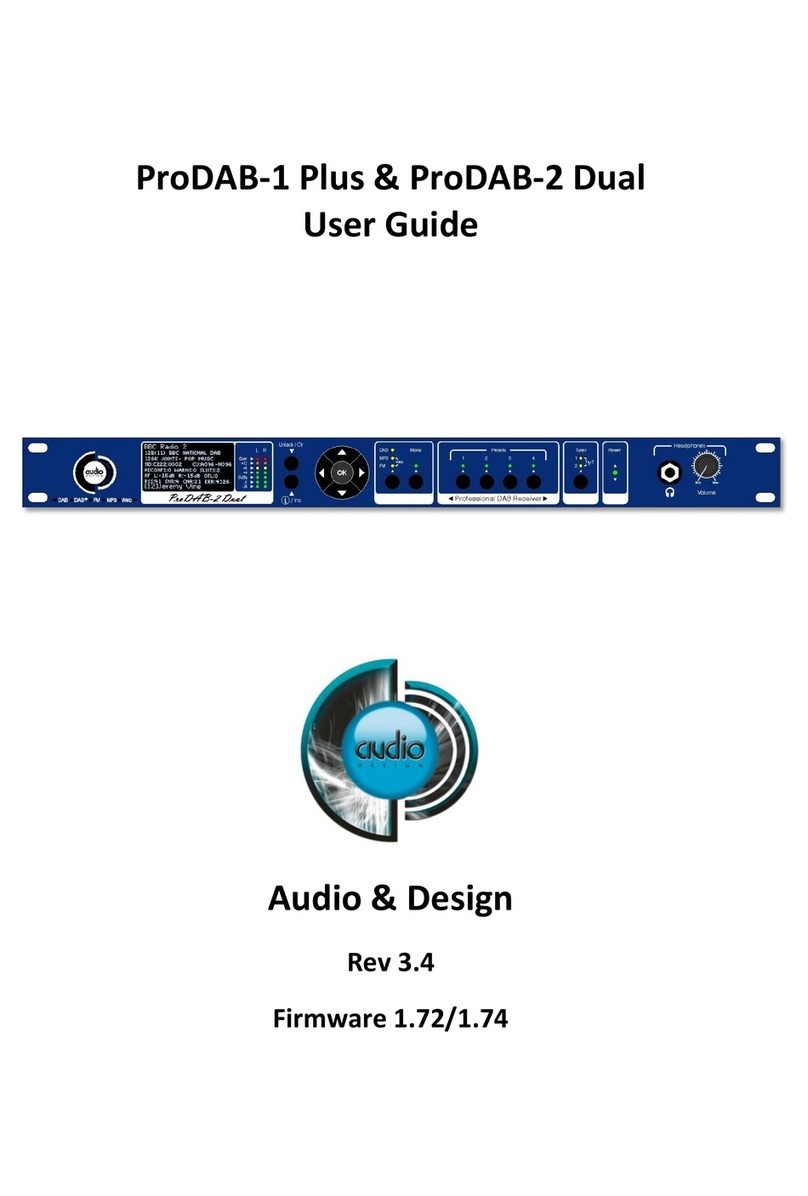
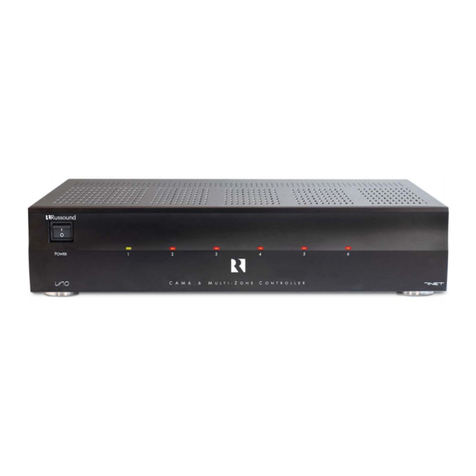
Audio & Design ProDAB-1 Plus User manual

ProDAB-1 Plus
&
ProDAB-2 Dual
Quick Start Guide
Version 4.0
ProDAB Version 210/210
Audio & Design

ProDAB Quick Start Guide
Audio & Design
2
1Initial Configuration
Getting Started:
ProDAB takes approximately 35 seconds to boot up,
during this time the power LED will flash.
Press to select:
DAB/DAB+
MP3
Web (Internet Radio)
FM
When the OLED display is not in screen saver mode
(Pressing any of the “Nav” keys will bring the unit out of
screen saver)
DAB Mode: display the available DAB services OK,
will select the currently displayed service.
MP3 Mode: display the MP3 files available OK, will
play the currently displayed file.
Web Mode: display available web links OK, will
select the currently displayed link.
FM Mode: tune FM receiver in 100KHz steps OK,
will tune to the currently displayed frequency.
Unlocked
To Unlock front panel press and hold Unlock button
until padlock symbol changes to Unlocked. This button
will also jump out of Screen Saver or Main Menu to
service display.
When displaying currently selected service, station or
track press to change displayed information.
Locked
When ProDAB is shipped from the factory it will require a “DAB Scan” to find
your local multiplexers. You will see a message “No Stream Selected – Press OK
for Menu” Press the OK button then select DAB Scan use the button to
select the type of scan you require and to start scanning. ProDab will then
select the first service alphabetically that it finds. Press to view all other
found services & OK to select.

ProDAB Quick Start Guide
Audio & Design
3
Press and hold Preset button to save
currently selected service, station, MP3
track or Web link.
Pressing whilst the preset directory is shown will cycle through
the available presets, including those not available by direct access
buttons –i.e. Presets 5 to 15
Presets also store mode, so can be used as a quick way to switch
between DAB, FM, MP3 & Web.
Mono/Stereo selection will change the audio
output in all modes, including IP stream output.
The headphone output is suitable to drive
headphones with a minimum impedance of 16Ω
Tuner selection button selects which output is
currently being monitored by the headphone
output and controlled by the front panel buttons
LED Meters - Over = 1dB below fsd.
0dBu = -18dB below fsd
Press and hold Tuner button to change unit mode between Diversity
or Independent modes

ProDAB Quick Start Guide
Audio & Design
4
2OLED DAB Display screens
Press Info button to cycle through available
display screens
Basic screen with Service Name, program
information, bit rate & mode
Information about selected MUX, audio
algorithm, CID & SID, allocated Consumers
Units.
Technical information for both tuners
Oscilloscope display to help with setting change
over parameters
See Change Over section for more details.

ProDAB Quick Start Guide
Audio & Design
5
3Network set-up
Setting up IP address mask & default gateway.
Press OK then select SYSTEM with then
.
Select NETWORK MENU with or then
Choose between STATIC & DHCP using keys
Then press Next Menu
If Static press to edit IP address/net mask.
Then use to select & to change items
then OK to save Note: net mask of
255.255.255.0 is shown as /24 i.e. 24 bits
Press Next Menu
To edit use to select & to change
items then OK to save
Press Next Menu
To edit use to select & to change
items then OK to save
Press Next Menu
Note: The embedded web server can be
accessed via the set IP address port 80.
Press Next Menu

ProDAB Quick Start Guide
Audio & Design
6
to save settings
Next Menu
And to re-boot Operating System
Units are shipped with the network set to Static (192.168.0.7).
To upload MP3 files use a SFTP client such as Filezilla, but, note that we use non-
standard port for SSH & SFTP of 43222 or use Web Interface (Full User Manual
can be downloaded using the Help Button on the Web Interface).
Login details for MP3 upload:
Username - mp3
Password - 2033740
Filezilla download - https://filezilla-project.org/
When displaying menus pressing or takes you to the next or
previous menu item. OK is for selecting/accepting the desired action
or parameter.
Will take you into sub-menu or editing function.

ProDAB Quick Start Guide
Audio & Design
7
4DAB Scan
Press OK then select DAB SCAN with then
Choose between Radio A & B using keys
Then to go to next menu option
Choose between NEW SCAN which will clear
current station list or RE-SCAN to append to
current list using Then to go to next
menu option
Choose NORMAL SCAN or THOROUGH SCAN
using keys. Then to go to next menu
option
Press OK to start Scan or to change scan
starting MUX or to change scan ending
MUX.

ProDAB Quick Start Guide
Audio & Design
8
5System Menu
Thento go to next menu option
to access, option time before unit will automatically
lockout front panel keys. Press and hold Unlock/Clr key
to unlock.
to access sub-menu, this sets the MUX range for
DAB Scan options:
UK Range 10B to 13A
EU Range 05A to 13F
to access sub-menu, this sets Tuner 1 & 2 as fully
independent or diversity mode.
to access sub-menu
options:
100KHZ
50KHZ
to access sub-menu
options:
OFF
AUTO BLEND –Audio will automatically be mixed to
Mono as RSSI decreases.
to access sub-menu
options:
DISABLED
ENABLED

ProDAB Quick Start Guide
Audio & Design
9
to access sub-menu
options:
DISABLED
ENABLED
to access sub-menu
options:
NONE (Disabled) Unit will return to previous setting
when powered up
Select Preset which should be used on power up.
to access sub-menu
to access sub-menu
to edit
to edit
to access Engineering sub-menu

ProDAB Quick Start Guide
Audio & Design
10
to access Network sub-menu, see Network setup
section on previous pages
to access sub-menu
to access sub-menu, manage copy/delete stored
MP3 files

ProDAB Quick Start Guide
Audio & Design
11
6Change Over
ProDAB can automatically play out a stored MP3 or switch to Internet radio when audio silence is
detected or when RF signal level drops below a set threshold. From version 160/160 Change Over is
implemented as a separate software module that is “hard coded” to use Preset 1 as the main program
selected and Preset 2 as the “fail over” preset. Once “Armed” front panel controls are locked out. To
disable Change Over mode, press and hold the Unlock/Clr front panel button. On ProDAB Dual only
Tuner 1 can be set to Change Over mode, Tuner 2 still functions but cannot be changed. Also, from
version 160/160 Change Over can be “Armed” and parameters changed via the web GUI.
Change Over modes
Preset 1
Preset 2
DAB
MP3 or Web
FM
MP3 or Web
Web
MP3 or DAB or FM
FM
DAB
DAB
FM
Press OK then select SYSTEM with then
Then select CH/MENU with then
Change over options are: Disabled, ON AF THRESHOLD
(Audio level) or ON RSSI THRESHOLD (Received Signal
Strength)

ProDAB Quick Start Guide
Audio & Design
12
Change over parameters can be optimized for audio
threshold/rf RSSI along with delay, attack and decay
times. Other options –SMOOTH MUSIC, POP MUSIC,
SPEECH, CLASSIC MUSIC & RSSI LEVEL
Change Over, Disabled or detection on audio silence or
low RSSI
MP3 Repeat options:
STOP AT END –Play once then stop
REPEAT SAME –Play single selected MP3 then repeat.
NEXT IN LIST –Play all MP3 once, then stop
Oscilloscope display, see notes below for how to use
this tool.
AF is the instant L+R (mixed) volume level for the selected source (i.e channel 1 as "C1") This is
shown as a number (0..255) and also as a time plot.

ProDAB Quick Start Guide
Audio & Design
13
PK is the peak value of the above, and modified by the attack and decay constants settable by
the change over menu, "pk" is shown as a number (0..255) and as a time plot.
GT is the raw gate logic level generated by the value PK threshold by constant value TH which
is also settable from the changeover menu and displayed as a number (0..255)
EG Is the extended (smoothed) gate version of GT by adding extra lead and lag times to avoid
glitches.
Lead and lag are settable from the changeover menu. The EG gate is the one that defines the
changeover state.
The general procedure is to set the GT threshold, attack and decay so that it more or less
follows the audio, then adjust the lead and lag times for EG so that short glitches are
minimised or removed.
SI is the silence gate for the same source, (obtained by a different calculation) and shown here for
comparison.
7Engineering menu
key takes you to next menu level
key takes you to next menu level
key takes you to next menu level
key takes you to next menu
key takes you to next menu level
key takes you to next menu

ProDAB Quick Start Guide
Audio & Design
14
key takes you to next menu level
key takes you to next menu
Set AES 3 parameters such as sampling frequency.
Press to edit, then to change
key takes you to next menu
Press to edit, then to change
key takes you to next menu
Warning key will reboot system
Full or partial spectrum scan of FM band
key takes you to menu options
key takes you to next menu
Full or partial spectrum scan of DAB MUX/Services
key takes you to next menu option
key takes you to next menu
Application software and FPGA versions
key takes you to next menu

ProDAB Quick Start Guide
Audio & Design
15
DAB (and FM, select FM mode first) chipset firmware
versions
DAB - 6.04
FM - 4.0C
key takes you to next menu
Select source for Icecast compatible IP stream output.
Either follows the selected “Tuner” (Front panel or web
GUI), or fixed to the output of Tuner 1
key takes you to next menu option
key takes you to next menu
Allows additional calibration of DAB RSSI level
Press to edit, then to change
key takes you to next menu
Allows additional calibration of FM RSSI level
Default map settings for GPIO Outputs. & to
change
(compatible with ProDAB-1)
Default map settings for GPIO Inputs. & to
change
(compatible with ProDAB-1)

ProDAB Quick Start Guide
Audio & Design
16
7.1 GPIO Outputs
Default GPIO Output mapping and pin out
GPO-0 (pin 23)Low = In changeover to MP3, Tuner 1
GPO-1 (pin 22)Low = RDS TA Traffic Flag active, Tuner 1
GPO-2 (pin 21)Low = Mono, Tuner 1
GPO-3 (pin 20)Low = Audio silence detect, Tuner 1
GPO-4 (pin 19)Low = RSSI below threshold, Tuner 1
GPO-5 (pin 10)Low = Audio silence detect, Tuner 2
GPO-6 (pin 9) Low= Network Fail
7.2 GPIO Output options available
OLED Display
Changeover
Changeover Active
AESb AF Silence
Silence detected on Tuner 2 AES Output
Rb AF Silence
Silence detected on Tuner 2 (internal)
AESa AF Silence
Silence detected on Tuner 1 AES Output
Stream Active
Streaming output has active connection/s
Ra AF Silence
Silence detected on Tuner 1 (internal)
CPU AF Silence
Silence detected on Streaming Output (internal)
SNR Low Ra
Signal to Noise low on Tuner 1
Diversity
Unit in Diversity mode
Mono Flag on DACb
Output 2 set to mono (DAB, FM, MP3 or Web)
Network Fail
No network connection
Silence on DACb
Silence detected on Output 2 (internal)
RSS Low Ra
Received Signal Strength Low Tuner 1
Silence on DACa
Silence detected on Output 1 (internal)
Mono Flag on DACa
Output 1 set to mono (DAB, FM, MP3 or Web)
FM TA Flag
FM TA Flag active Tuner 1
Default GPIO allocation version 1.30 firmware onwards
7.3 GPIO Output Pin out:
GPO-0 (pin 23)Low = In changeover to MP3, Tuner 1
GPO-1 (pin 22)Low = RDS TA Traffic Flag active, Tuner 1
GPO-2 (pin 21)Low = Mono, Tuner 1
GPO-3 (pin 20)Low = Audio silence detect, Tuner 1
GPO-4 (pin 19)Low = RSSI below threshold, Tuner 1
GPO-5 (pin 10)Low = Audio silence detect, Tuner 2
GPO-6 (pin 9) Low = Network Fail
GPO-7 (pin 8) Low = Not Defined
Common Grounds: pins 2, 3, 4, 11, 12 & 13
+5V Current Limited: pins 24 & 25

ProDAB Quick Start Guide
Audio & Design
17
7.4 GPIO Inputs
& to change
7.5 GPIO Inputs options available
Option
Activate (Closing contact to GND)
Release (Open)
0
No action
No action
1
Preset 1 Tuner 1
No Action
2
Preset 2 Tuner 1
No Action
3
Preset 3 Tuner 1
No Action
4
Preset 4 Tuner 1
No Action
5
Preset 1 Tuner 2
No Action
6
Preset 2 Tuner 2
No Action
7
Preset 3 Tuner 2
No Action
8
Preset 4 Tuner 2
No Action
9
Preset 2 Tuner 1
Return to Preset 1 Tuner 1
10
Preset 3 Tuner 1
Return to Preset 1 Tuner 1
11
Preset 4 Tuner 1
Return to Preset 1 Tuner 1
12
Preset 1 Tuner 1
Return to Silence
13
Preset 2 Tuner 1
Return to Silence
14
Preset 3 Tuner 1
Return to Silence
15
Preset 4 Tuner 1
Return to Silence
Default GPIO allocation version 1.30 firmware onwards
7.6 GPIO Input Pin out:
GPIO-0 (pin 18)Gnd to select preset 1, Tuner 1
GPIO-1 (pin 17) Gnd to select preset 2, Tuner 1
GPIO-2 (pin 16) Gnd to select preset 3, Tuner 1
GPIO-3 (pin 15) Gnd to select preset 4, Tuner 1
GPIO-4 (pin 14) Gnd to select preset 1, Tuner 2
GPIO-5 (pin 1) Gnd to select preset 2, Tuner 2
Common Grounds: pins 2, 3, 4, 11, 12 & 13
+5V Current Limited: pins 24 & 25

ProDAB Quick Start Guide
Audio & Design
18
8Web Interface
Using a web browser navigate to the IP address of the ProDAB (default
192.168.0.7)
Default Username & Password:
Sign in as:
Username –admin
Password –1234
Note that the web interface has been tested with the following
browsers: Firefox, Chrome & Internet Explorer version 10 onwards
The Summary screen shows information about both tuners on Dual units and
Tuner 1 on ProDAB-1 Plus.

ProDAB Quick Start Guide
Audio & Design
19
Click here to play audio for currently selected
tuner. Note: that when option “STREAMER
SOURCE” is set to “Tuner 1 Only” in Engineering
menu you can only listen to Tuner 1.
Click here to turn off audio monitor stream.
This is the user you are currently sign in as.
This will download an “embedded” copy of the
full User Guide as a PDF.
Click here to Sign Out.
In order to control a Tuner using the web
interface, it has to be selected.

Audio & Design
20
9System Block Diagrams
DAB/FM
Tuner
1
DAB/FM
Tuner
2
MP3
Player
Internet
Web
Radio
Output 1
Output 2
Analogue
OP 1
L&R
AES
OP 1
AES
OP 2
Analogue
OP 2
L&R
Streaming
Output
Signal Processing
ProDAB-2 Dual
Independent Mode
DAB/FM
Tuner
1
DAB/FM
Tuner
2
MP3
Player
Internet
Web
Radio
Output 1
Output 2
Analogue
OP 1
L&R
AES
OP 1
AES
OP 2
Analogue
OP 2
L&R
Streaming
Output
Signal Processing
ProDAB-2 Dual
Diversity Mode
Other manuals for ProDAB-1 Plus
1
This manual suits for next models
1
Table of contents
Other Audio & Design Receiver manuals
