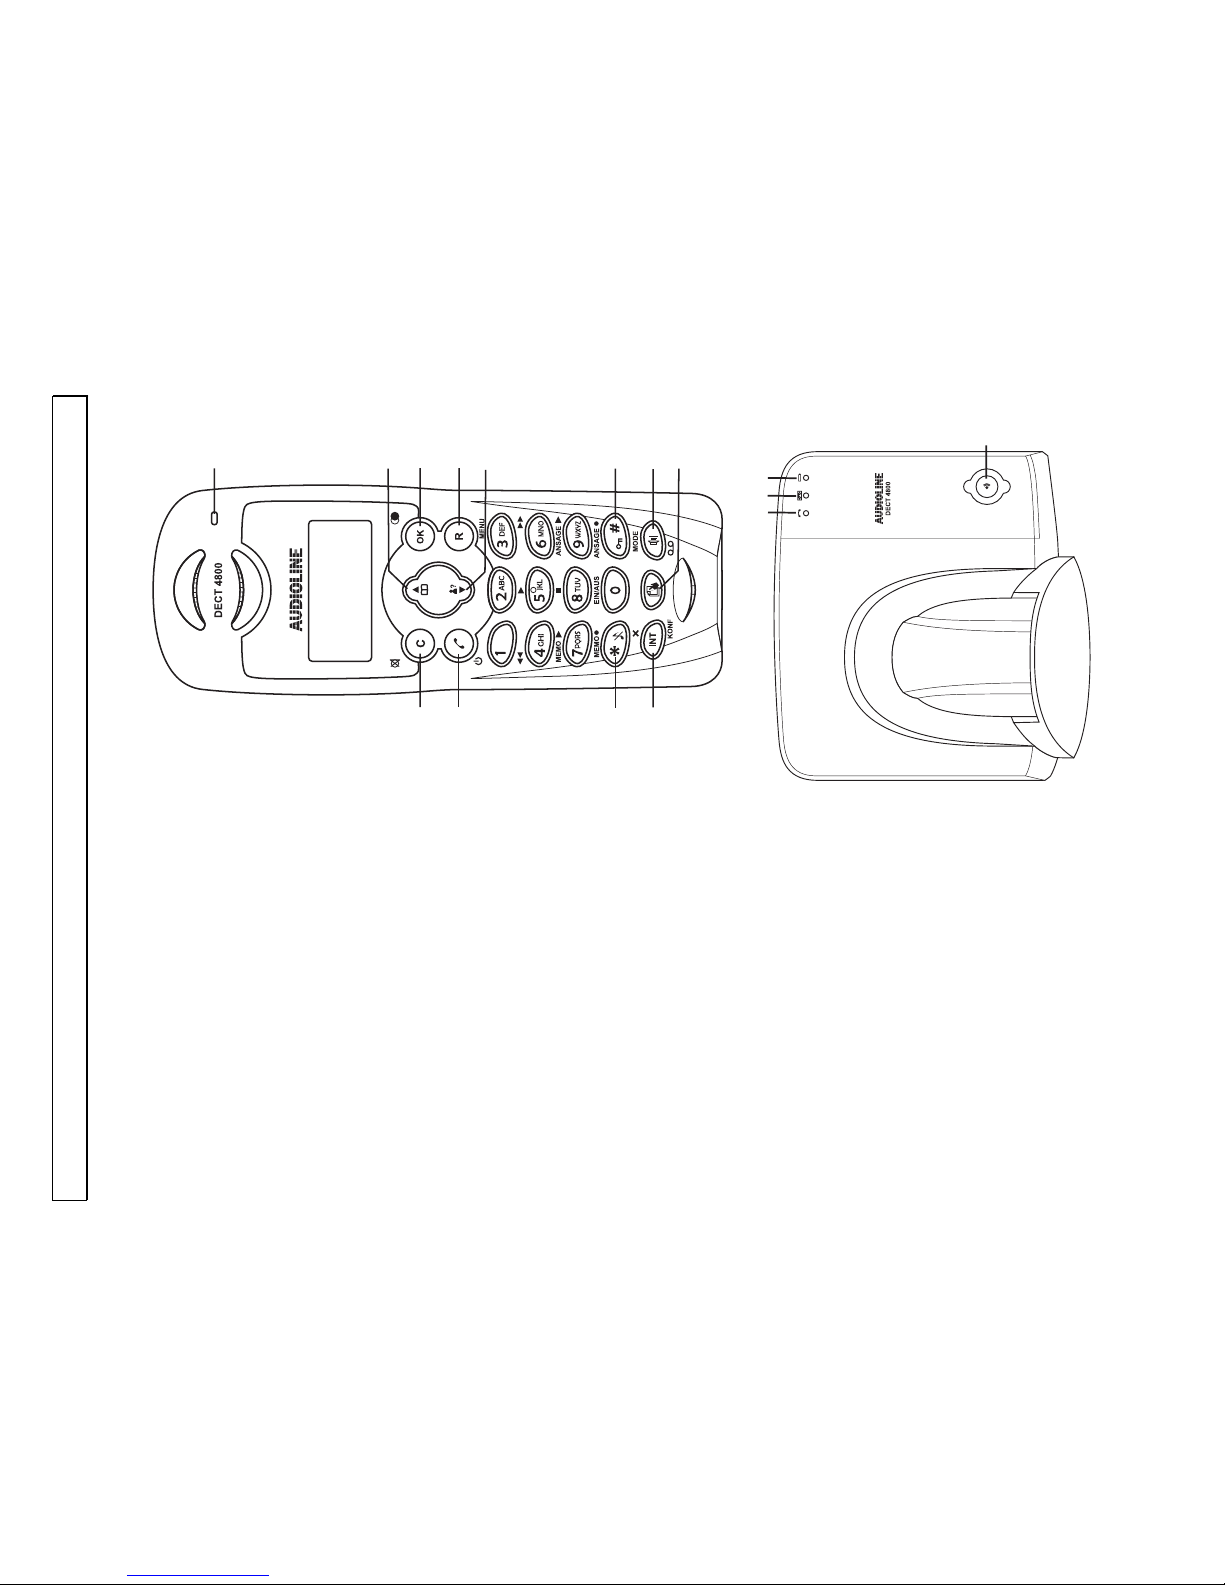
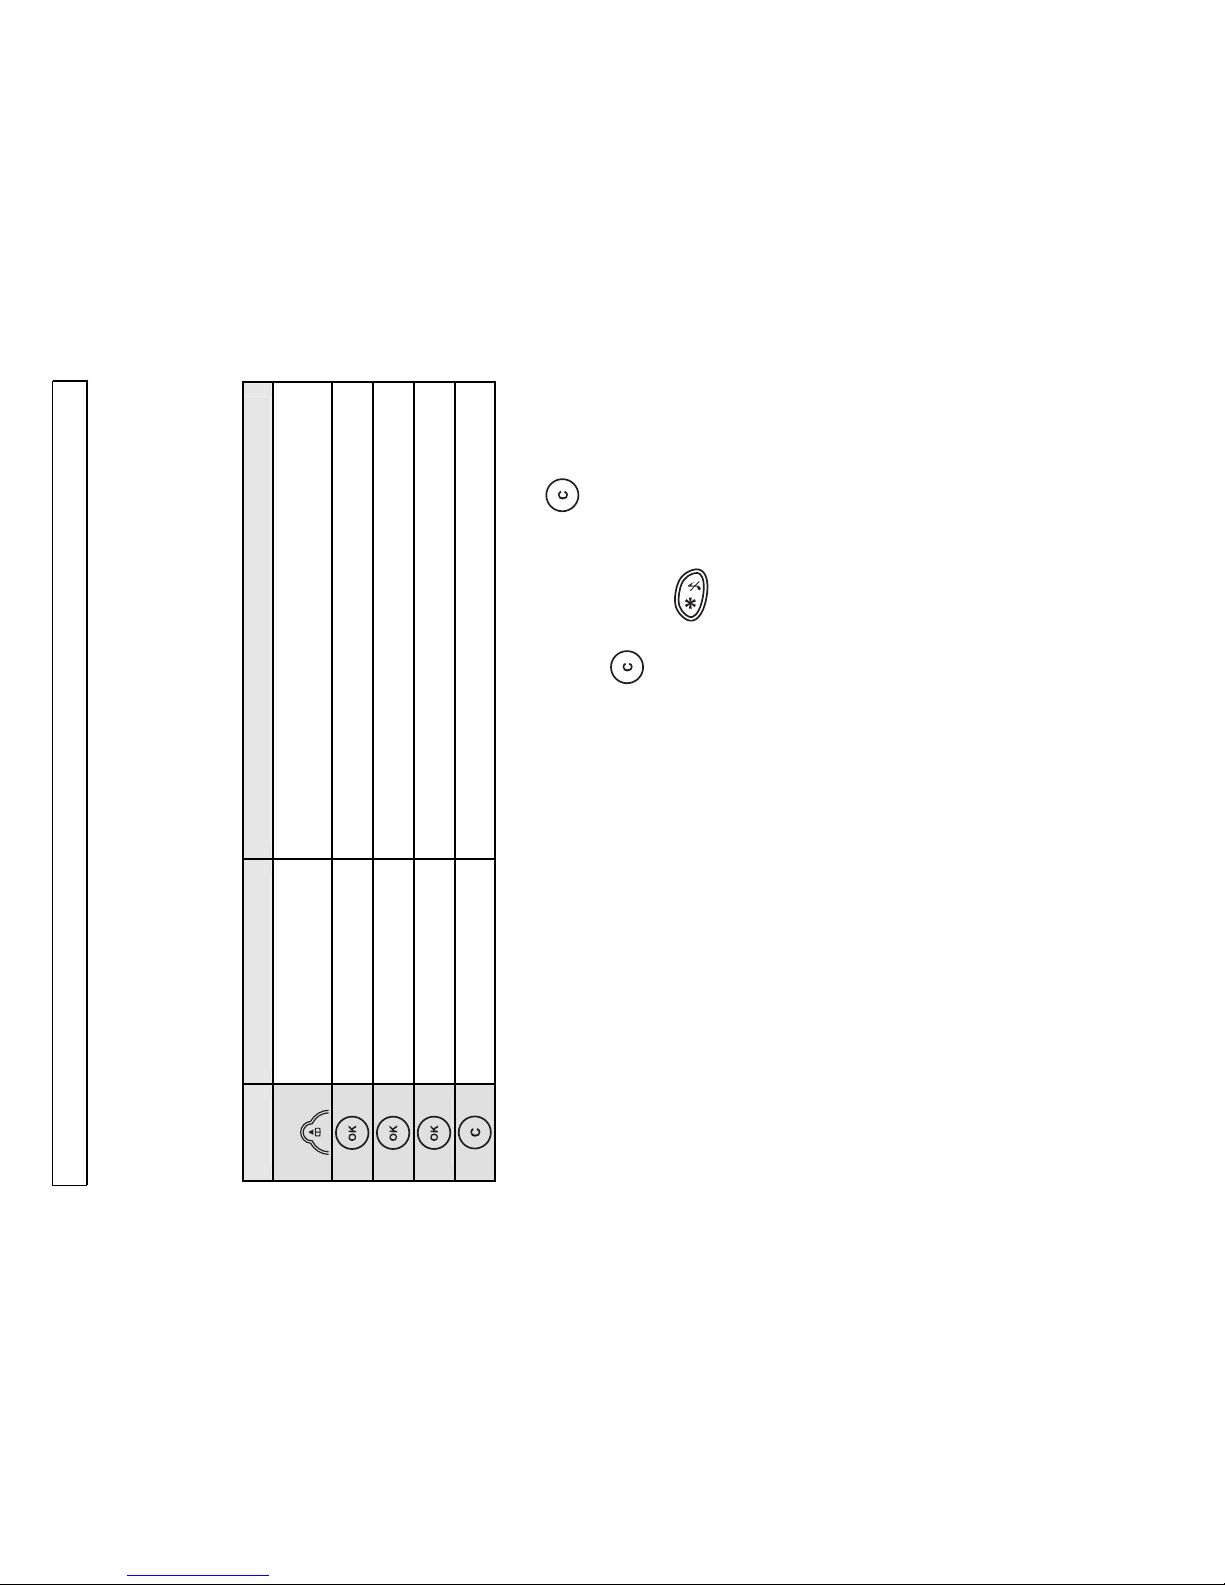
AUDIOLINE DECT 4800 User manual
Other AUDIOLINE Cordless Telephone manuals

AUDIOLINE
AUDIOLINE Euro 802 User manual

AUDIOLINE
AUDIOLINE DECT A 181 User manual

AUDIOLINE
AUDIOLINE Surf User manual

AUDIOLINE
AUDIOLINE PRO 20X - V1.0 User manual

AUDIOLINE
AUDIOLINE SPRINT180 User manual

AUDIOLINE
AUDIOLINE CDL500 User manual

AUDIOLINE
AUDIOLINE BIGTEL 100 User manual

AUDIOLINE
AUDIOLINE STUDIO 60 User manual

AUDIOLINE
AUDIOLINE OSLO 580 User manual

AUDIOLINE
AUDIOLINE 5400TECH ALARM B User manual

AUDIOLINE
AUDIOLINE FF 988 User manual

AUDIOLINE
AUDIOLINE SPRINT183 User manual

AUDIOLINE
AUDIOLINE FF894 User manual

AUDIOLINE
AUDIOLINE Switch 20x User manual

AUDIOLINE
AUDIOLINE BigTel 110 User manual

AUDIOLINE
AUDIOLINE DECT 4800 User manual

AUDIOLINE
AUDIOLINE Euro 30X User manual

AUDIOLINE
AUDIOLINE FF893 User manual

AUDIOLINE
AUDIOLINE Euro 30X User manual

AUDIOLINE
AUDIOLINE EURO 200 User manual