INSTALLATION INSTRUCTIONS
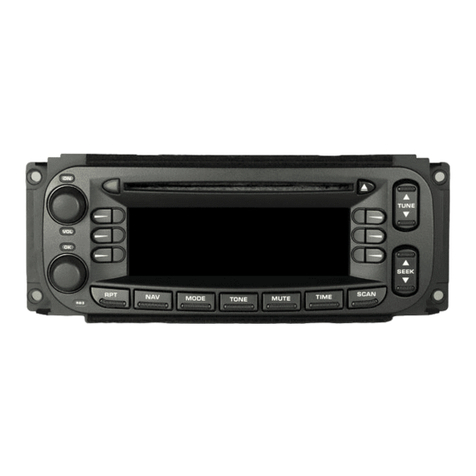
ThisunitisdesignedforinstallationinGMandChryslercars,trucks,and vanswitha1-1/2DINradioopening. Insomecases,
aspecialinstallationkitwillberequiredtomounttheradiotothedashboard. Thesekitsareavailableatelectronicssupplystores
andcarstereospecialtyshops. Alwayscheckthekitapplicationbeforepurchasingtomakesurethekitworkswithyourvehicle.
Ifyou needa kit butcannot findit available, callour toll-free“HELP” line at 1-800-645-4994.
PRE-INSTALLATION CONSIDERATIONS
IMPORTANT: Disconnect the ground cable from the negative terminal of the battery.
a. Dash Disassembly:
NOTE: Locationsand typesof fastenerswill varydepending onthe makeand model of the vehicle.
Carefullycheck thedashforallfastenersthatmayrequireremovalinordertoremovethefactoryradiofromthesub-dash.
1. Removethescrewssecuringtheupperand/orlowerportionofthedashpanel.
2. Remove the screws above the instrument cluster and all screws from the trim panel that may surround the factory
radio.
3. Removetheashtrayandopentheglove boxtoseeifthereareanyscrewsthatneedtoberemovedfrom thedashpanel.
Donot discard any screws!
NOTE: Thegear shiftermay needto bein lowgear toallow fordash panelremoval.
4. Gentlyunclip and removethedashpanel.
b.RemovingtheFactoryRadio:
1. Remove any hardware securing the factory radio assembly to the sub-dash. Do not discard any hardware!
2. Disconnectthewiring and antennacable fromthefactory radio.
c.Removing theFactory Radio Brackets(IfApplicable):
1. Remove all nuts that secure the original factory brackets to the radio.
2. Removeandretaintheoriginalmountingbracketsfromthefactoryradio.
NOTE: Not allradios haveremovablemountingbrackets.ForGMradioswithnon-removablebrackets,usethetwoenclosed.
These will satisfy most 1993 and up GM radio mounting applications. If this is not the case, it will be necessary to
purchaseaspecialinstallationkit.Pleaseconsultyourlocalcarstereoinstallationshoporconsumerelectronicsstore.
d.Check the dashboard opening size by measuring the height and width. If the opening is not large enough,
carefullycutorfileasnecessary untilthe openingslightlyexceeds theradiosize. Check thattherewill besufficientspace
behindthedashboardfor the radiochassis.
NOTE: Afterconfirming fit, place the P-105 aside and proceed with the wiring instructions.
USING A WIRING ADAPTER
Theeasiest wiring method to connect the P-105to the vehicle is to buy a wireharness adapter from your dealer, a car stereo
installationshop, or anelectronics store.If youuse a wiringadapter, allwires canbe connected toyour P-105even beforeyour
oldradio isremoved from thecar.
Connecting theWires
Splice,crimporsolderthewiresfromtheAudiovoxP-105radioconnectortothewiringadapter. Match the wiresaccording to
thefunction vs. color code relationshipexpressed in thefollowing table,and the wiringadapter instructions.
Attach Wires to Radio (See Figures 1 and 2.)
a. After splicing the wiring adapter to the radio connector, attach the connector to the back of the radio.
b. Attach an antenna extender cable (not supplied) and antenna adapter, if needed.
NOTE: TheDimmer function maynot work inconjunction with some Chrysler vehicle models. In thiscase, leave the
Dimmerwire disconnected. Radio backlightingwill illuminate whenradio power is on.
Install Wiring Inside the Car (See Figures 1 and 2.)
a. Connect wiring adapter to the car’s existing wiring harness.
b. Connect an antenna extender cable (not supplied) to car antenna lead, if needed.
-2-
