manuals.online logo
Brands
  1. Home
  2. •
  3. Brands
  4. •
  5. Aurora Design
  6. •
  7. Adapter
  8. •
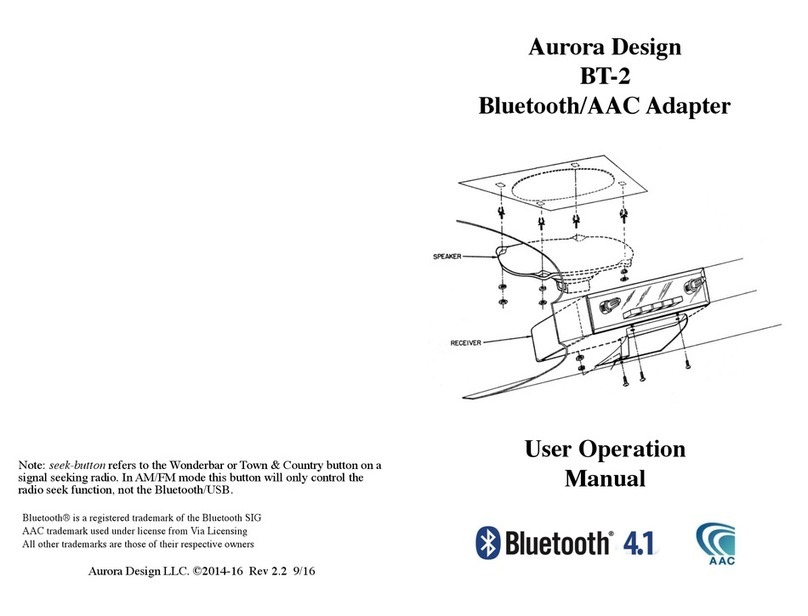
  9. Aurora Design BTC-3.0 Mounting instructions

Aurora Design BTC-3.0 Mounting instructions

Aurora Design
BTC-3.0/BTL-3.0
Bluetooth/AAC Adapter
User Operation
Manual
Congratulations on your new Aurora Design BTC-3.0/BTL-3.0
Bluetooth/AAC adapter. Combined with an FMR-3 converted radio, you
can enjoy 21st century technology in your classic vehicle!
Setup: Your radio may have come equipped with an internal
microphone. If not, before installing your radio back into your vehicle,
you may wish to plug the hands-free microphone or optional illuminated
pushbutton into the appropriate jacks on the radio. The microphone can be
placed in a convenient location in the vehicle, typically along the front
edge of the headliner near the rear view mirror or along the bottom edge of
the dashboard. The attached cable is 9.8’ (3M) long and can be routed as
required, typically behind the A pillar cover for headliner mounting.
Excess cable can be coiled and tied off.
The optional pushbutton assembly is not required when used with an
FMR-3 converted radio as the existing radio controls can be used to fully
control the BTC-3.0/BTL-3.0. The pushbutton assembly can still be used
with an FMR-3 converted radio if desired, and must be used with all other
installations. The pushbutton requires a 1/2” (12.7mm) hole and should be
mounted somewhere convenient such as the bottom edge of the dashboard.
The pushbutton is illuminated with a red status LED that should be made
visible for easiest operation. The attached cable is 3.3’ (1M) long and can
be routed as required. Excess cable can be coiled and tied off.
Basic Operation: Operation of the BTC-3.0/BTL-3.0 is extremely
simple yet powerful. The BTC-3.0/BTL-3.0, when combined with an
FMR-3 AM/FM receiver form a fully integrated AM/FM/Bluetooth/AAC
solution. Communication over a proprietary com-link keeps the two
modules in perfect sync. No external cables, plugs or switches are
required. Full operation is provided by the existing controls on the radio.
When streaming music or handling a phone call, the FMR-3 status LED
will change color to indicate Bluetooth operation. (see FMR-3 manual for
more information on status LED) When you stop streaming music or end a
call, the BTC-3.0/BTL-3.0 will put the FMR-3 back into normal
operation. Everything is handled automatically.
The BTC-3.0/BTL-3.0 supports SBC and AAC formats over
Bluetooth. AAC files offer higher quality and is the native format used by
iTunes® and many other popular music services. ACC files will play
natively off compatible Bluetooth devices.
The BTC-3.0/BTL-3.0 will always return to the last mode it was in
when the radio was turned off assuming the Bluetooth device is still
present. For example, if the BTC-3.0/BTL-3.0 was playing back from the
Bluetooth when the radio was powered off, it will return to playing back
from where it left off when the radio is turned back on.
The BTC-3.0/BTL-3.0 supports Voice Assist HD which will clearly
speak messages to you to assist in the operation of the radio.
2
Bluetooth Pairing:To pair a new device, twist the volume control
back and forth twice towards the direction of higher volume. (this is the
same action that is used with the tone control to access the virtual fader
function) or push and hold the optional pushbutton. The optional front panel
status LED or the optional pushbutton LED will flash and a Voic e As si st
message will be heard in the radio. The BTC-3.0/BTL-3.0 will then go into
pairing mode for approximately 90 seconds or until a device is paired. While
in pairing, the BTC-3.0/BTL-3.0 will display as AuroraDesign BTC-x.x.x in
the Bluetooth section of your device. (x.x.x represents the version) Select
the BTC-3.0/BTL-3.0 to connect. (refer to the owners manual for your
Bluetooth device for information on pairing) If you wait longer than 90
seconds the BTC-3.0/BTL-3.0 will time out and Voi c e A s s i s t message will
be heard. Up to eight devices can be paired to the BTC-3.0/BTL-3.0.
Bluetooth Connecting:The BTC-3.0/BTL-3.0 will automatically
attempt to reconnect to the last connected Bluetooth device. If this device
is not within range, the BTC-3.0/BTL-3.0 will then attempt to reconnect to
any of the last four connected devices. This is handy when the user has
multiple Bluetooth devices, or several people use the radio. If any paired
device is within range when the radio is powered on, the BTC-3.0/
BTL-3.0 will reconnect and return to its last mode. The optional front
panel LED or the optional pushbutton LED will illuminate to signify a
Bluetooth device is connected. A Voice Assist message will also be heard
in the radio when a Bluetooth device successfully connects.
Bluetooth Audio Levels:The BTC-3.0/BTL-3.0 sends commands
to the connected Bluetooth device to adjust the playback audio levels, but
many devices require that the user make these settings manually. Usually
the playback levels for audio streaming, phone calls and Voice Command
are all stored separately so must be adjusted separately. The first time you
stream audio, take a phone call, or use the Voice Command feature, use the
volume buttons or volume slider menu on the device to adjust the audio
level. This only needs to be performed once on the device as these settings
are permanently saved in the device.
Bluetooth Voice Command:The Bluetooth Voice Command feature
allows the user to control their compatible Bluetooth device through voice
commands. The Voice Command feature is accessible in all radio modes. It
is designed to work with Apple Siri®, Google Voice®and Microsoft
Cortana®and other Bluetooth voice interfaces. To initiate a Voice
Command, twist the volume control back and forth twice towards the
direction of higher volume or push and hold the optional pushbutton/seek-
button. (this is the same motion that was used to open up pairing) Wait for
the confirmation tone from the Bluetooth device and then speak the
command. For example you can say things like “call home” or “play
Bruce Springsteen”. Check with the manual for your Bluetooth device for
further information on its support for voice commands.
Bluetooth Streaming: To start playing music from the Bluetooth
interface, twist the volume control back and forth twice towards the
direction of lower volume or push and hold the optional pushbutton/seek-
button for about 1 second. (you can also use the menus on your Bluetooth
device to control the audio) To toggle between pause and play, repeat the
procedure above. When the audio is paused, the FMR-3 status LED will
blink slowly. If the audio is paused for more than about 10 seconds, the
BTC-3.0/BTL-3.0 will release the FMR-3 and it will switch back to
normal radio operation. If playback is started again, it will continue from
where it left off.
To skip to the next song, twist the tuning control towards the high
frequency end of the dial or quickly press the optional pushbutton/seek-
button once. To skip to the previous song, twist the tuning control towards
the low frequency end of the dial or quickly press the optional pushbutton/
seek-button twice. (Hint: when twisting the tuning control, twist it in the
desired direction and then back to the starting point. This way the tuner
always remains in the same position)
Hands-free Phone:When a phone call comes in, the FMR-3 will
mute the radio and ring through. To accept the call, twist the tuning control
towards the high frequency end of the dial or quickly press the optional
pushbutton/seek-button once. To reject or end a call, twist the tuning
control towards the low frequency end of the dial or quickly press the
optional pushbutton/seek-button twice or press the seek button again.
To mute the microphone, twist the volume control back and forth
twice towards the direction of lower volume or push and hold the optional
pushbutton/seek-button for about 1 second. (you can also use the menus
on your Bluetooth device to control the audio) A repeating confirmation
tone will be heard on the radio while the call is muted. To toggle between
mute and unmuted, repeat the instructions above. When the audio is
muted, the FMR-3 status LED will blink slowly. A Voice Assist message
will be heard confirming when the call ends.
For call-waiting, follow the same procedure as above to accept or
reject the waiting call. To switch between calls, use the accept call action.
To end the active call, use the reject call action. To join the calls, twist the
volume control back and forth twice towards the direction of higher
volume or push and hold the optional pushbutton/seek-button.
Note: The Bluetooth device can also be controlled using its own menus.
(follow manufactures instructions on controlling your device)
34
Troubleshooting:
Poor Range: Make sure nothing is obstructing the dial face of the radio,
or the openings along the bottom side of the radio chassis. Try moving
your Bluetooth device to a different location.
No Sound: Make sure the BTC-3.0/BTL-3.0 is paired and connected to
your device. Also make sure the BTC-3.0/BTL-3.0 is selected as the
audio device for streaming audio and hands-free operation on your
device following the manufacturers instructions. Verify the audio levels
are set properly on the Bluetooth device.
US Certification:
FCC ID: A8TBM20SPKXYNBZ
This equipment has been tested and found to comply with the limits for
a Class B digital device, pursuant to part 15 of the FCC Rules. These
limits are designed to provide reasonable protection against harmful
interference in a residential installation. This equipment generates, uses
and can radiate radio frequency energy, and if not installed and used in
accordance with the instructions, may cause harmful interference to
radio communications. However, there is no guarantee that interference
will not occur in a particular installation. If this equipment does cause
harmful interference to radio or television reception, which can be
determined by turning the equipment off and on, the user is encouraged
to try to correct the interference by one or more of the following
measures:
•Reorient or relocate the receiving antenna.
•Increase the separation between the equipment and receiver.
•Consult the dealer or an experienced radio/TV technician for help.
European Certification:
The Bluetooth module used in this device complies with the essential
requirements of the R&TTE 1999/EC, the EMC Directive 2004/108/EC
and the low-voltage Directive 2006/95/EC.
Canadian Certification:
IC: 12246A-BM20SPKS1
This device complies with Industry Canada license-exempt RS
standard(s). Operation is subject to the following two conditions: (1) this
device may not cause interference, and (2) this device must accept any
interference, including interference that may cause undesired operation
of the device.
Under Industry Canada regulations, this radio transmitter may only operate using an
antenna of a type and maximum (or lesser) gain approved for the transmitter by
Industry Canada. To reduce potential radio interference to other users, the antenna type
and its gain should be so chosen that the equivalent isotropically radiated power (e.i.r.p.)
is not more than that necessary for successful communication.
Le présent appareil est conforme aux CNR d'Industrie Canada applicables aux
appareils radio exempts de licence. L'exploitation est autorisée aux deux conditions
suivantes: (1) l'appareil ne doit pas produire de brouillage, et (2) l'utilisateur de l'appareil
doit accepter tout brouillage radioélectrique subi, même si le brouillage est susceptible
d'en compromettre le fonctionnement.
Conformément à la réglementation d'Industrie Canada, le présent émetteur radio peut
fonctionner avec une antenne d'un type et d'un gain maximal (ou inférieur) approuvé
pour l'émetteur par Industrie Canada. Dans le but de réduire les risques de brouillage
radioélectrique à l'intention des autres utilisateurs, il faut choisir le type d'antenne et son
gain de sorte que la puissance isotrope rayonnée équivalente (p.i.r.e.) ne dépasse pas
l'intensité nécessaire à l'établissement d'une communication satisfaisante.
Specifications:
Bluetooth Transceiver*:
Frequency Band: 2.40-2.48GHz
Standard: Bluetooth 5.0 certified, Class 2
Profiles: HFP 1.6, A2DP 1.2, AVRCP 1.5
Sensitivity: -90dBm @ 0.1% BER
TX Power: 4dBm maximum
Environmental:
Temperature: -30C to 65C (-22F to 150F) Operating
-40C to 125C (-40F to 257F) Storage
Humidity: 10% to 90% non-condensing
Aurora Design LLC. does not assume any responsibility for personal
injury or property damage incurred due to hazardous driving as a result of
interaction with the BTC-3.0/BTL-3.0 or other Bluetooth devices.
BE SAFE! Never text while driving or be distracted by the radio.
Note: seek-button refers to the Wonderbar or Town & Country button on a signal seeking radio.
In AM/FM mode this button will only control the radio seek function, not the Bluetooth.
*Characterized by component manufacturer
Bluetooth® is a registered trademark of the Bluetooth SIG
AAC trademark used under license from Via Licensing
Aurora Design LLC. ©2014-23 Rev 3.0.5 5/23
56

This manual suits for next models

1

Other Aurora Design Adapter manuals

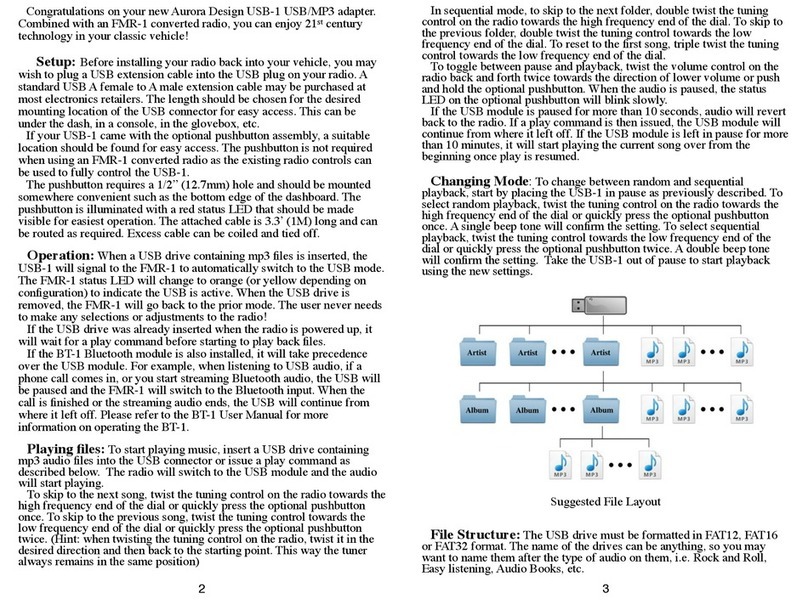
Aurora Design USB-1 User manual

Aurora Design

Aurora Design USB-1 User manual

Aurora Design BT-2 Mounting instructions

Aurora Design

Aurora Design BT-2 Mounting instructions

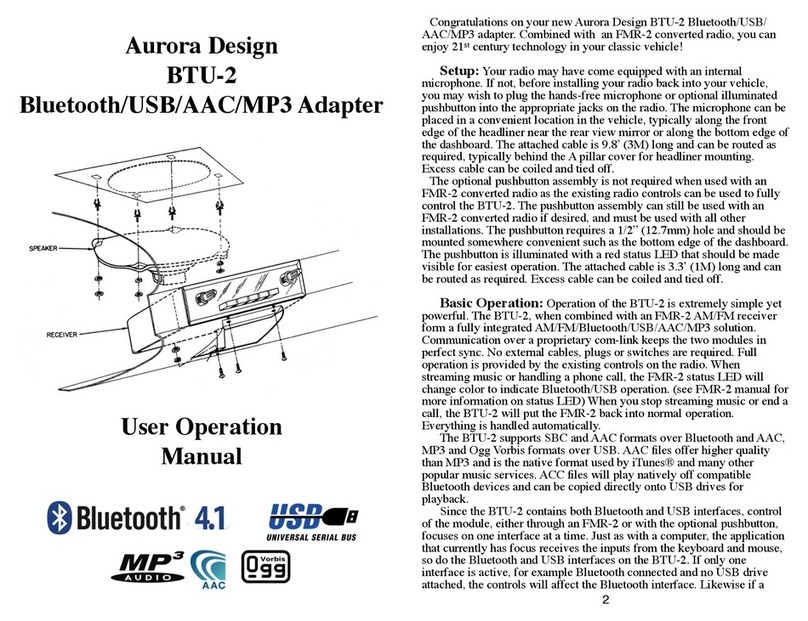
Aurora Design BTU-3.1 Mounting instructions

Aurora Design

Aurora Design BTU-3.1 Mounting instructions

Aurora Design BT-2.5 Mounting instructions

Aurora Design

Aurora Design BT-2.5 Mounting instructions

Aurora Design BTU-2 Mounting instructions

Aurora Design

Aurora Design BTU-2 Mounting instructions

Aurora Design BTU-2.6 Mounting instructions

Aurora Design

Aurora Design BTU-2.6 Mounting instructions

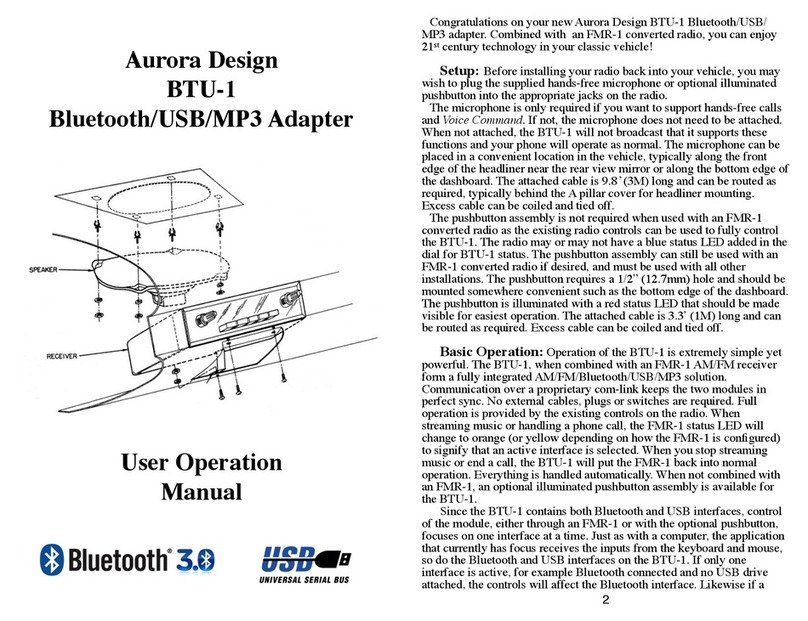
Aurora Design BTU-1 Mounting instructions

Aurora Design

Aurora Design BTU-1 Mounting instructions

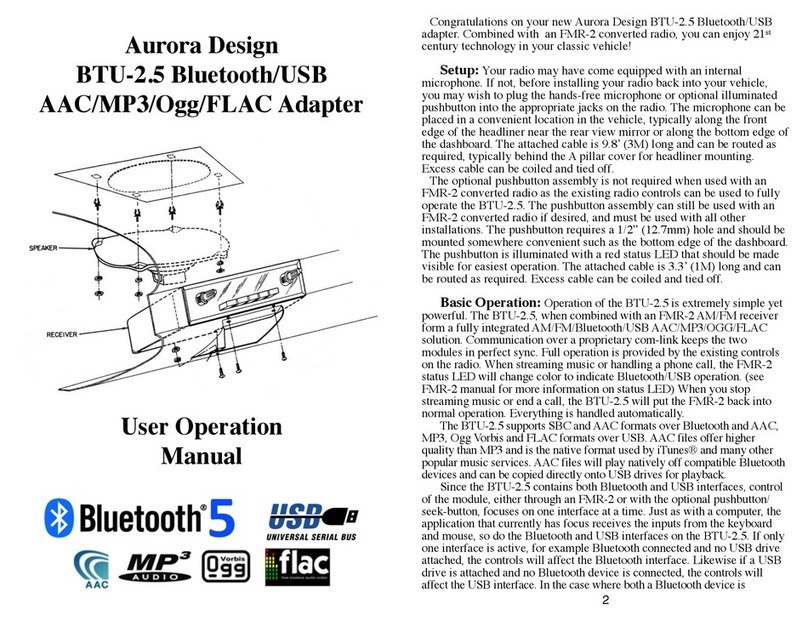
Aurora Design BTU-2.5 Mounting instructions

Aurora Design

Aurora Design BTU-2.5 Mounting instructions

Popular Adapter manuals by other brands

NETGEAR RangeMax WN511T installation guide

NETGEAR

NETGEAR RangeMax WN511T installation guide

Linksys PAP2 Quick installation

Linksys

Linksys PAP2 Quick installation

Atlantis Land PowerLine Ethernet Turbo A02-PL200 Specification sheet

Atlantis Land

Atlantis Land PowerLine Ethernet Turbo A02-PL200 Specification sheet

Lenovo 43N3412 user guide

Lenovo

Lenovo 43N3412 user guide

TP-Link TL-WN951N - IEEE 802.11b/g 802.11n Draft 2.0 PCI Wireless... Quick installation guide

TP-Link

TP-Link TL-WN951N - IEEE 802.11b/g 802.11n Draft 2.0 PCI Wireless... Quick installation guide

ACTiSYS ACT-WF8000U Specifications

ACTiSYS

ACTiSYS ACT-WF8000U Specifications

Sony NPA-D100K operating instructions

Sony

Sony NPA-D100K operating instructions

HP Mini 30W Specifications

HP

HP Mini 30W Specifications

Acer HOMEPLUG user manual

Acer

Acer HOMEPLUG user manual

Lenovo 90W AC/DC user guide

Lenovo

Lenovo 90W AC/DC user guide

Adaptec AHA-1522B Technical data

Adaptec

Adaptec AHA-1522B Technical data

Gogen G2 ECM 41 G user manual

Gogen

Gogen G2 ECM 41 G user manual

X-Micro XBT-PACX user manual

X-Micro

X-Micro XBT-PACX user manual

Microsoft MN-720 user guide

Microsoft

Microsoft MN-720 user guide

Salto KPB19 Series installation guide

Salto

Salto KPB19 Series installation guide

Poly DA Series user guide

Poly

Poly DA Series user guide

Digitus AC600 user guide

Digitus

Digitus AC600 user guide

Dolphin MXH94x user guide

Dolphin

Dolphin MXH94x user guide

manuals.online logo
manuals.online logoBrands
  • About & Mission
  • Contact us
  • Privacy Policy
  • Terms and Conditions

Copyright 2025 Manuals.Online. All Rights Reserved.