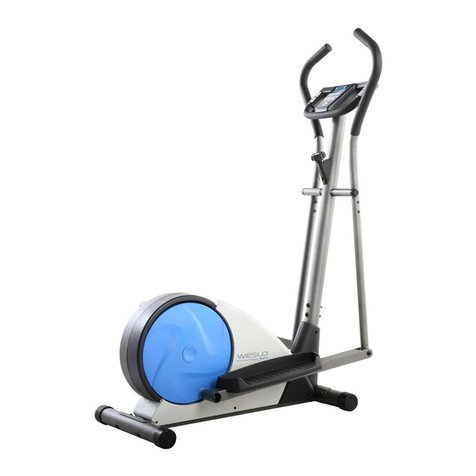
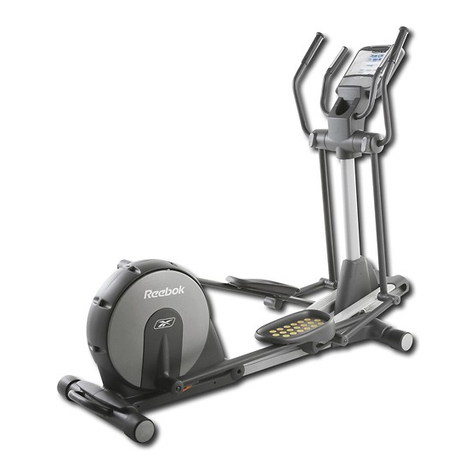
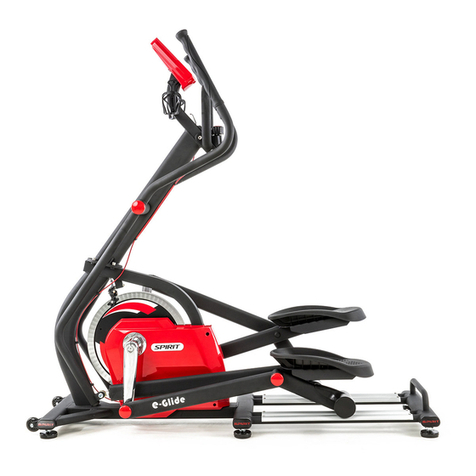
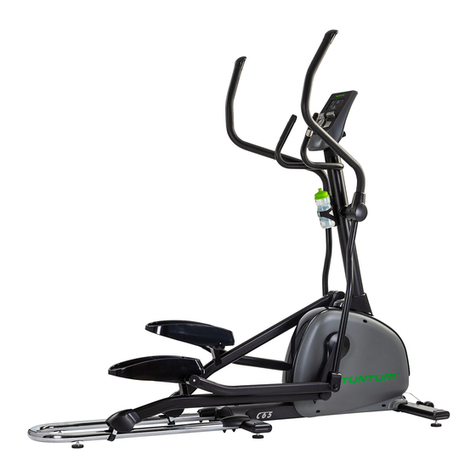
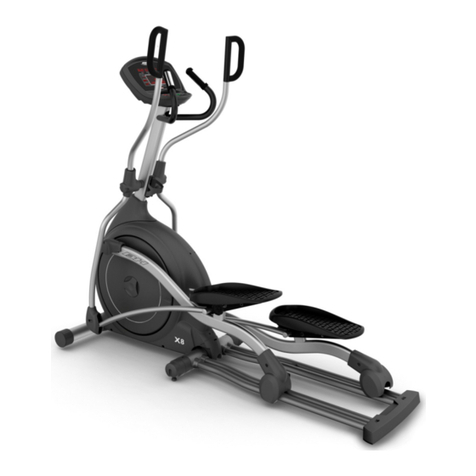
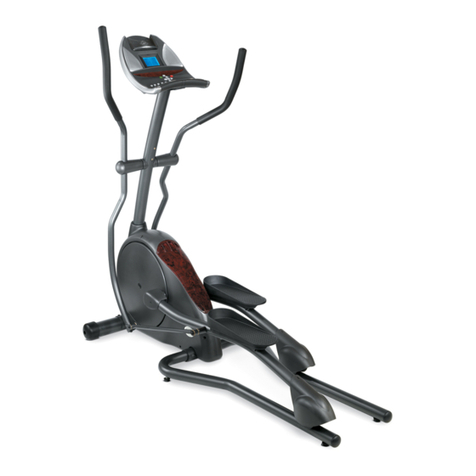
Aussie Fit V-450 User manual

USER’S MANUAL
V-450 Crosstrainer
SERIAL NUMBER (found on frame):

PREASSEMBLY
For future service or related questions:
Please staple your receipt and/or write in the name and phone number of the retail store where you purchased your item.
Name: ______________________________ Phone Number: ___________________ Receipt: ______________________
Open the boxes:
You are now ready to open the boxes of your new equipment. Make sure to inventory all of the parts that are included in the boxes.
Check the Parts List for a full count of the number of parts included for this product to be assembled properly. .
Gather your tools:
Before starting the assembly of your unit, make sure that you have gathered all the necessary tools you may require to assemble the
unit properly. Having all of the necessary equipment at hand will save time and make the assembly quick and hassle-free.
Clear your work area:
Make sure that you have cleared away a large enough space to properly assemble the unit. Make sure the space is free from
anything that may cause injury during assembly. After the unit is fully assembled, make sure there is a comfortable amount of free
area around the unit for unobstructed operation.
Invite a friend:
Some of the assembly steps may require heavy lifting. It is recommended that you obtain the assistance of another person when
assembling this product.
User Weight Limitation:
Please note that there is a weight limitation for this product. If you weigh more than 150 Kg. it is not recommended that you use this
product. Serious injury may occur if the user’s weight exceeds the limit shown here. This product is not intended to support users
whose weight exceeds this limit.

POWER REQUIREMENTS
Power Requirements:
IMPROPER CONNECTION OF THE EQUIPMENT GROUNDING CONNECTOR CAN RESULT IN THE RISK OF AN ELECTRIC
SHOCK. CHECK WITH A QUALIFIED ELECTRICIAN OR SERVICE MAN IF YOU ARE IN DOUBT AS TO WHETHER THE
PRODUCT IS PROPERLY GROUNDED. DO NOT MODIFY THE PLUG PROVIDED WITH THE PRODUCT, IF IT WILL NOT FIT
THE OUTLET; HAVE A PROPER OUTLET INSTALLED BY A QUALIFIED ELECTRICIAN.
This treadmill can be seriously damaged by sudden voltage changes in your home’s electrical power. Voltage spikes, surges and
noise interference can result from weather conditions or from other appliances being turned on or off. To reduce the possibility of
treadmill damage, always use a surge protector (not included) with your treadmill.
Surge protectors can be purchased at most hardware stores. The manufacturer recommends a single outlet surge protector with a
UL 1449 rating as a Transient Voltage Surge Suppressor (TVSS) with a UL suppressed voltage rating of 400V or less and an
electrical rating 120VAC, 15 amps.
This treadmill must be grounded to reduce the risk of electrical shock. Grounding provides a path of least resistance for electric
current, should the treadmill malfunction. This treadmill is equipped with an electrical cord that has an equipment-grounding
conductor and a grounding plug. Always plug the power cord into a surge protector, and plug the surge protector into an
appropriate outlet that is properly installed and grounded in accordance with all local codes and ordinances.
This product is for use on a nominal 120-volt circuit, and has a grounding plug that looks like the plug illustrated in the drawing below.
GFCI outlets and GFCI / AFCI Circuit Breakers are NOT recommended for use on this product. GFCI outlets and GFCI / AFCI Circuit Breakers may cause this
equipment to function improperly.

SUPPLIED COMPONENTS
Base Frame
Upright Tube
Pedal Support Tube (L)
Pedal (R/L)
Pedal Support Tube (R)
Rear Stabilizer
Front Stabilizer
Fixed Handlebar
Swing Arm Handlebar (R)
Swing Arm Handlebar (L)
Upright Tube Front Cover
Upright Tube Rear Cover
Power pack
Front Pedal Tube Cover Top (L/R)
Rear Pedal Tube Cover Bottom (L/R)
Front Pedal Tube Cover Bottom (L/R)
Rear Pedal Tube Cover Bottom (L/R)
Bottle Holder
Hardware
Console

TOOL included with machine:
General tools prepared by user:
MILLIMETERS
M8 socket
M8/M10
wrench
Screw driver 5mm
M8 wrench
M10 wrench
Screw driver 5mm

1
Handlebar end cap
45
Screw
2
Handlebar grip
46
Washer
3
T-Bar grip
47
Flywheel
4
Hand pulse grip unit
48
Speed Sensor Cable
5
End cap
49
Belt
6
Screw
50
End cap
7
Locking washer
51
Bearing
8
Washer
52
Pedal, LH
9
Sleeve
53
Pedal, RH
10
Sleeve
54
Adjustable foot
11
Washer
55
End cap
12
Nylock nut
56
End cap (T-Bar)
13
Pedal tube shaft
57
Middle cover, LH
14
Washer
58
Middle cover, RH
15
Bearing
59
Side cover, LH
16
Retainer
60
Side cover, RH
17
Washer
61
Screw
18
Allen head bolt
62
Motor
19
Screw
63
Screw
20
Nylock nut
64
Magnet
21
Plastic cap
65
Washer
22
Screw
66
Pulley
23
Rear foot cover
67
Base frame
24
Front foot cover (middle)
68
Upright tube
25
Front foot cover (left)
69
Swivel tube, LH
26
Front foot cover (right)
70
Swivel tube, RH
27
Wheel
71
Fix handle bar
28
Screw
72
Handle bar, LH
29
Screw
73
Handle bar, RH
30
Screw
74
Pedal tube, left
31
Screw
75
Pedal tube, right
32
Screw
76
Front foot
33
Bearing
77
Rear foot
34
power adaptor
78
Flywheel holder bracket
35
Screw
79
Belt ightener
36
Locking screw
80
Metal cross, LH
37
Spacer
81
Metal cross, RH
38
Screw
82
Bushing
39
Washer
83
Bushing
40
Screw
84
Metal plate
41
Nut
85
Plastic Washer
42
Spring
86
Connecting tube Left
43
Meter
87
Connecting tube Right
44
Washer
88(A)
Upper cover

88(B)
Lower cover
89
Console cable 990MM
90
Cable
91
Cable 850MM
92
Power wire 750MM
93
Rear cover A for upright tube
94
Front coverA for upright tube
95
Inner cover for swivel tube
96
Front cover for swivel tube
97
Rear cover for swivel tube
98
End cap
99
End plug
100
Screw
101
Metal Spring plate
102
Knob2
103
Plastic Ring
104
Cable
105
Cable
106
Washer
107
Washer
108
Front cover, LH
109
Front cover, RH
120
Arm cover front
121
Arm cover rear
122
Meter
123
Front cover B for upright tube
124
Rear cover B for upright tube
125
Bottle holder black
126
T-Bar grip
127
End cap
128
Screw


ASSEMBLY
STEP 1: Attach the Front Support (Front Stabilizer)
NOTE: To make attaching the support easier place a large Styrofoam
block under the machine.
(A) Attach the front support to the base frame with the wheels facing
outward.
(B) Align the 2 bolt holes in the front support with the bolt holes in the
main frame.
(C) Secure the front support to the main frame by using 2 x #19 bolts
inserted through the bottom, 2 x # 65 washers 2 x 20 lock nuts and 2
x #21 nut covers
(D) Tighten all bolts now.
#19
2
#65
2
#20
2
#21
2

STEP 2: Attach the Rear Support (Rear Stabilizer)
NOTE: To make attaching the support easier place a large Styrofoam
block under the machine.
(A) Attach the rear support to the base frame
(B) Align the 2 bolt holes in the rear support with the bolt holes in the main
frame.
(C) Secure the rear support to the main frame by using 2 x #19 bolts
inserted through the bottom, 2 x # 65 washers 2 x 20 lock nuts and 2 x
#21 nut covers
(D) Tighten all bolts now.
#19
2
#65
2
#20
2
#21
2

STEP 3:Attach the Upright Tube Assembly to the Base Frame
As photo shown
A) place upright tube on top of a chair ( or by a second person to
assist holding) close to the main frame be facilitated to connect the
cables.
B) check the direction of upright tube before connect the Top/Bottom
pre-assembled cables as photo shown.
C) fixing eight screws (#18) with finger locking first then tighten all firmly.
Note! tighten the two screws on the label "①" screw hold and
then locking up the rest of six screws.
#18
6

STEP 4: Attach the Pedal Tube Assembly

STEP 5: Attach the Pedal Tube Assembly
(A) Secure the pedal tube to the base frame crank arm by using 1 x #17
washer and 1 x #12 M10 lock nut. Completely tighten with a wrench
(B) Attach and secure the Rear pedal tube covers #101 and #102 to the
left pedal tube by using 4 x #29 screws.
(C) Repeat theis process for the right side.
(D) Insert the front left of the pedal tube #85 on to Action handle bar tube
#69 and secure them together by using the adjuster knob # 44
(E) Repeat the process for the right side.
Note: Tighten all fasteners!
#29
8
#12
2
#17
2

STEP 6:Attach the Console Base and Handlebars

STEP 7: Attach the Upper Swing Arm Assembly and Covers
(A) Place the upper swing arms left and right #72/#73 in to the lower
swing arms #69/#70
(B) Secure the upper and lower swing arms together by using 4 x #18
Allen bolts, 4 x #A spring washer and 4 x #65 washers.
#18
4
#65
4
#A
4
#98
2

STEP 8: Attach the Computer and Console Base Rear Cover
# 6
2
# 61
1
# 88
1
A
1
1

STEP 9: Attach the Computer and Console Base Rear Cover
(A) connect cables comes out from console (#43) & cables from
the upright tube together
(B) set console (#43) to the top plate on the upright tube and secure both with
for screws (E)
E
4
Due to console/computer will assemble with a higher Location of machine SUGGEST to have a
partner to Hold the computer and make sure all the Cable/plug Are plug in firmly or use a Chair
to stand on it to get a higher position to the console location so be more easier to make sure all
the cable /plug are plug in firmly.

STEP 10: Attach the Bottle Holder and Pedals
(A) Attach the rear cover #94 to the bottle holder #105and secure by using 4 x
#104 screws.
(B) Place the front cover and the rear cover with the bottle holder attached around
the upright tube and secure by using 4 x #29 screws (See Fig. 9A)
(C) Locate the left and right pedals. Place them on the pedal tubes with the side
opening facing outward away from the machine (see Fig. 9B)
(D) Secure the pedals to the pedal tube by using 4 x #18 screws.
(E) Tighten all bolts and screws now.
#29
4
Fig. 9A

STEP 11: Attach the Power Supply
(A) Before plugging in the power supply verify the voltage specifications on the
lable.
(B) Plug the adaptor jack in to the inlet on the bottom rear of the elliptical.
(C) Plug the power supply in to the wall outlet.
#34
1
V450

Mp3, Fan and Procedure to Move the Equipment
Mp3, Fan and Procedure to Move the Equipment
Mp3 and iPod Usage
To play music or audio books through the console sound system while you exercise, plug the included audio
cable into the jack on the back of the console and into a jack on your MP3 or iPod; make sure that the audio
cable is fully plugged in. Next, press the play button on your MP3 player or IPOD. Adjust the volume level using
the volume control on your MP3 or IPOD.
Cooling Fan
Cooling Fan is included with the unit to increase the Air Circulation during your exercise. To operate press the
“Fan” key to turn on. To turn the fan off, press the “Fan” key again to stop the fan.
Transporting the Elliptical
Please follow these instructions when carrying and moving the equipment. Lifting it incorrectly may strain
your back or cause injury
The device is easy to move by pushing along on the integrated transport wheels. Tilt the unit from the front
and pull it along the floor on the wheels.
To prevent the equipment malfunctioning, store in a dry place with as little temperature variation as possible
and protected from dust.
Table of contents
Other Aussie Fit Elliptical Trainer manuals
