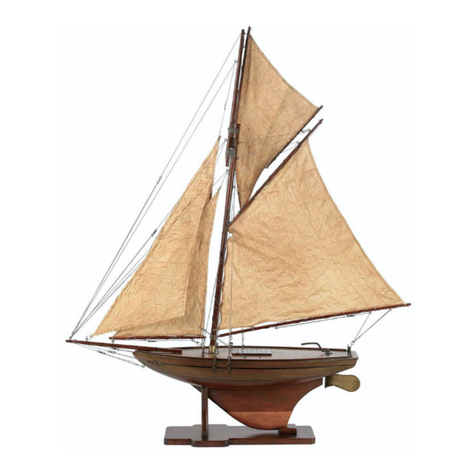
Authentic Models AS167 User manual

The Netherlands
AM NL
Ambachtsweg 37
NL-3899 AM
Zeewolde
United States
AM USA
888 Garfield
P.O. Box 21710
Eugene, OR 97402
Tips to know before you start:
be sure to follow the directions and not unwind
any lines until ready to connect; otherwise they
can become tangled.
before you begin rigging, make sure lines hang free.
If a line is loose after a step is completed, use the
brass block attached to the line to tighten.
1. Begin on a low table or on the floor for ease of assembly.
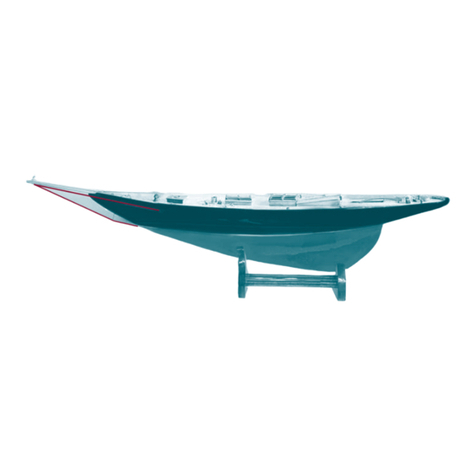
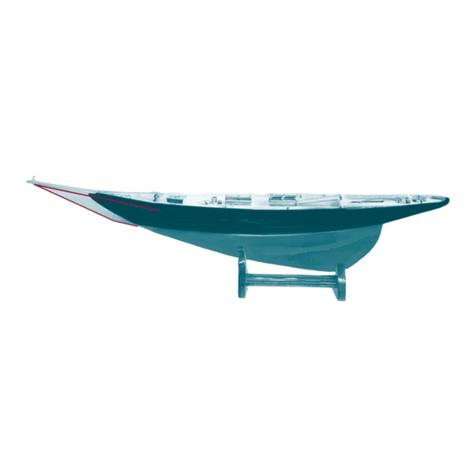
Place the hull of the boat in the stand.
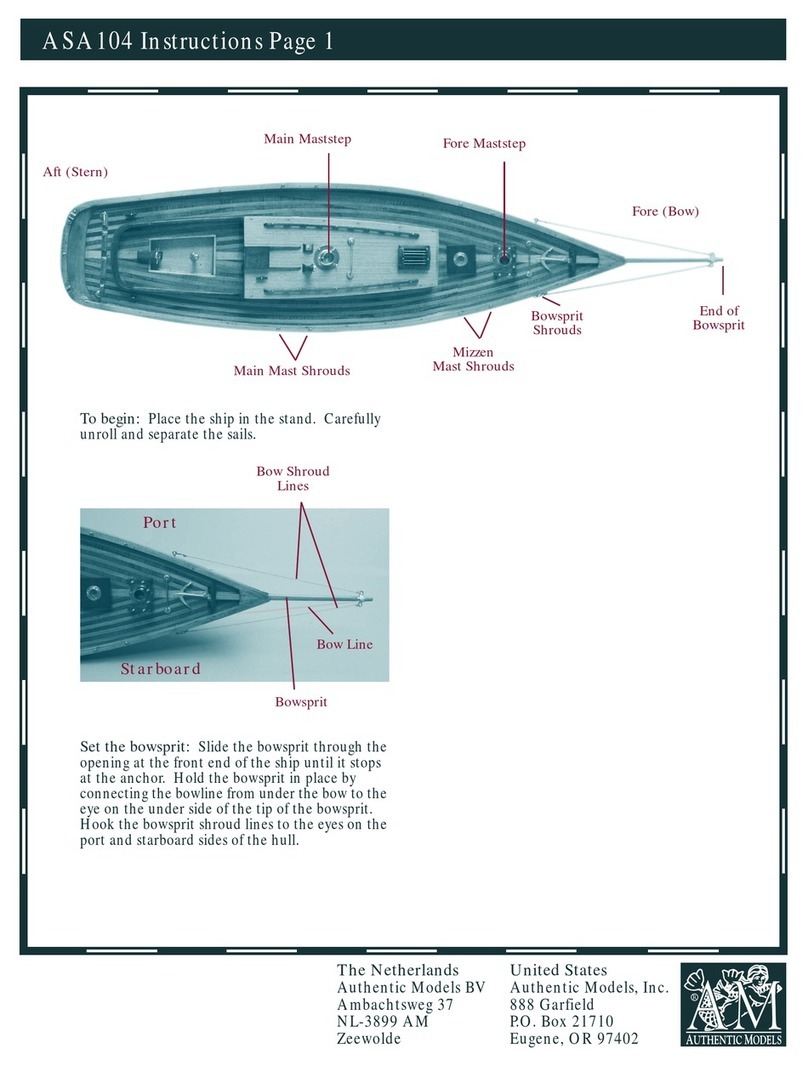
2. Unfurl the roll of sails. Locate the bowsprit and separate
the three attached lines. Slide the bowsprit into the first
brass fitting and then into the second. The bowsprit
should come to a stop, resting firmly halfway into the
second brass fitting. The A1 (center) line may now be
attached to the single brass eye A1 located along the bow.
Tighten the line by running the brass block up the line
until the line is taut. This and all rigging lines should be
taut; they should give way to the pressure of your fingers
yet bounce back to their original location.
3. Attach bowsprit lines A2 and A3 to the brass eyes A2
and A3 respectively on the outsides of the hull. Tighten
using brass blocks.
4. Carefully pick up the sails using the Mast Pole. All
remaining sails are attached to the mast and will hang
loosely until they are attached to their appropriate brass
eyes. Place the end of the Mast Pole into the Mast Step
with the large Main Sail facing the rear (aft) of the boat.
5. Attach line B1, which originates at the top of the mast,
to eye B1 on the deck and tighten the line by running
the brass block up the line, until taut. Repeat withline B2
and eye B2 on the opposite side of the Mast Pole.
6. Attach line B3, which originates at mid-mast, to eye B3
and repeat with line B4 to eye B4 on the opposite side of
the deck. Tighten the lines. This should stabilize the
Mast Pole and allow you to work with the remaining lines.
7. Attach hook C1, on the Boom line, to its corresponding
eye C1 on the stern. Attach hook C2 to the rear Traveler
Bar on the deck. Hoist the Main Sail by attaching line
C3 to eye C3 on the mast by the boom. Tighten the lines.
8. Separate the First Jib (the second largest sail) and hold
so that the longest edge faces upward. Attach the brass
hook A4 at the forward end of the spar to eye A4 on the
tip of the bowsprit. Attach line A5 to eye A5 on the
bowsprit. Tighten the lines.
9. Repeat step 7 with the Second Jib, attaching hook A6 to
eye A6 and line A7 to the front Traveler Bar on the deck.
AS167 & AS168 Instructions
Mast Pole
First Jib
A1
Main Sail
Boom
Second Jib
B1
A6
A5
A4
A7
Bowsprit A2
A3
B3
C2
Traveler Bar
C1
B4
C3
Gaff Spar
B1
Brass Fittings
B4
C2
B1
B2
03/07 83000009

The Netherlands
AM NL
Ambachtsweg 37
NL-3899 AM
Zeewolde
United States
AM USA
888 Garfield
P.O. Box 21710
Eugene, OR 97402
Conseils à connaître avant de commencer :
Suivez soigneusement les instructions et ne déroulez aucun
cordage avant d'avoir à l’utiliser, pour éviter de l’emmêler.
Avant d'établir le gréement, vérifiez que les cordages à utiliser
soient bien dégagés.
Si un cordage est détendu après son installation, utilisez l'élément
de laiton qui y est fixé pour le tendre.
1. Mettez-vous sur une table basse ou sur le plancher pour un montage plus
facile. Placez la coque du bateau sur son support.
2. Déroulez les voiles. Repérez le beaupré et isolez les trois cordages qui sont
fixés. Glissez le beaupré dans le premier support laiton puis dans le second.
Le beaupré est maintenant stoppé, fermement maintenu par le second
support laiton. L’étai A1 (au centre) peut maintenant être fixé à l’oeilleton
isolé A1 placé sous la proue. Mettre l’étai en tension en faisant coulisser
le tendeur de laiton le long de l’étai. Celui-ci, ainsi que tous les autres
gréements, est correctement tendu lorsqu’il cède sous les doigts pour
reprendre ensuite sa position initiale.
3. Fixez les haubans du beaupré A2 et A3 aux œilletons A2 et A3 placés
de chaque côté de la coque. Utilisez les tendeurs de laiton.
4. Prenez délicatement le mât. Toutes les voiles sont fixées au mât et pendront
jusqu’à ce qu’elle soit fixée aux œilletons appropriés. Placez l’extrémité
inférieure du mât dans le pied de mât, la grand-voile faisant face à l’arrière
(proue) du bateau.
5. Fixez le hauban B1, qui part du sommet du mât, à l’œilleton B1 sur le
pont et mettez-le en tension à l’aide du tendeur laiton. Répétez l’opération
avec le hauban B2 et l’œilletons B2 de l’autre côté du mât.
6. Fixer le hauban B3, qui part à mi-hauteur du mât, à l’œilleton B3 et
répétez l’opération avec le hauban B4 et l’œilleton B4 de l’autre côté du
mât. Tendez les haubans. Le mât est maintenant stabilisé et vous allez
pouvoir travailler sur les gréements restants.
7. Fixez le crochet C1, sur l’écoute de bôme, à l’oeilleton
correspondant C1 à la proue. Fixez le crochet C2 à la barre
d’écoute arrière sur le pont. Hissez la grand-voile en fixant
la drisse C3 à l’œilleton C3 sur le mât à côté de la bôme.
Mettez en tension.
8. Repérez le premier foc (le plus grand des deux) et placez-le
de façon à ce que son bord le plus long soit tourné vers
l’avant. Fixez le crochet A4, situé l’extrémité avant de
l’espar, à l’œilleton A4 à l’extrémité du beaupré. Fixez
la drisse A5 à l’œilleton A5 sur le beaupré. Mettez en
tension.
9. Répétez l’étape 7 avec le second foc,
en fixant le crochet A6 à
l’œilleton A6 et la drisse
A7 à la barre d’écoute
avant sur le pont.
Ein paar Tips bevor Sie starten:
Folgen Sie genau den Schritten der Anleitung. Wickeln Sie die
Leinen erst auseinander, wenn sie verbunden werden sollen,
andernfalls könnten sie verheddern. Bevor Sie mit dem Aufriggen
beginnen, stellen Sie sicher, daß alle Leinen frei hängen. Sollte
eine Schnur bzw. Leine nach einem Arbeitsschritt noch lose sein,
verwenden Sie bitte den fixierten Messingblock, um sie zu spannen.
1. Führen Sie den Aufbau auf einem niedrigen Tisch oder auf dem Boden
durch. Zunächst wird der Rumpf des Schiffes in den Ständer gesetzt.
2. Entfalten Sie die aufgerollten Segel und entnehmen Sie den Bugspriet.
Die beigelegten Leinen werden sorgfältig nebeneinander gelegt. Der
Bugspriet wird zuerst durch den vorderen der beiden
hintereinanderliegenden Messingbeschläge geschoben und dann bis zur
Hälfte fest in den zweiten Messingbeschlag geführt. Die Leine A1 (Mitte)
kann nun in der Messingöse A1 befestigt werden, die sich unterhalb des
Bugs befindet. Mit Hilfe des Messingblockes können Sie die Leine spannen.
Alle anderen Leinen sollten ebenfalls so gespannt werden, dass sie dem
Druck Ihrer Finger leicht nachgeben, aber in eine straffe Ausgangslage
zurückschwingen.
3. Verbinden Sie die Bugsprietleinen A2 und A3 mit den entsprechenden
Messingösen A2 und A3 an den Außenseiten des Rumpfes. Zum Spannen
der Leinen benutzen Sie wieder die Messingblöcke.
4. Nun werden die Segel gesetzt. Richten Sie den Mast vorsichtig auf und
stellen ihn in den Mastfuß. Dabei wird das Großsegel in Richtung Heck
ausgerichtet. Die Leinen der lose hängenden Segel werden wie folgt mit
ihren entsprechenden Ösen verbunden.
5. Verbinden Sie die Leine B1 (Oberwant), die an der Mastspitze fixiert ist,
mit der Öse B1, die sich an Deck befindet. Spannen Sie die Leine wieder
mit Hilfe des Messingblockes. Der gleiche Vorgang wiederholt sich mit
der Leine B2 und der Öse B2 auf der anderen Seite des Mastes.
Die Leine B3, die von der Mitte des Mastes verläuft,
wird mit der Öse B3 verbunden und Leine B4 mit Öse
B4 auf der anderen Seite des Mastes. Beide Leinen
(Unterwanten) werden gespannt und stabilisieren
den Mast. Nun können Sie mit den verbleibenden
Leinen weiterarbeiten.
Befestigen Sie Haken C1, der sich an der Leine
unterhalb des Baumes (Großschot) befindet, mit
der entsprechenden Öse C1 am Heck des
Schiffes. Verbinden Sie Haken C2 mit der vor
der Steuerpinne montierten Traveller-Schiene
(Metallbügel). Jetzt hissen Sie das Großsegel.
Dafür wird Haken C3 mit der Öse C3, die
sich am Mast auf Höhe des Baumes befindet,
verbunden. Spannen Sie die Leinen.
Richten Sie das erste Focksegel (das
zweitgrößte Segel) so aus, daß die lange
Kante des Segels nach oben zeigt. Der
Messinghaken A4 ist am vorderen
Teil des Fockbaumes befestigt. Er
wird in die Öse A4 an der Spitze
des Bugspriets eingehakt Fädeln
Sie Leine A5 in die Öse A5 auf
dem Bugspriet. Abschließend
werden die Leinen gespannt.
Wiederholen Sie Schritt 7
mit dem zweiten Focksegel.
Haken Sie Haken A6 in die Öse
A6 und Leine A7 (Fockschot) in die
Traveller Schiene (Metallbügel) am Bug.
AS167 & AS168 Instructions - Aufbauanleitung
Mât
Mast
Premier Foc
Erstes Focksegel
A1
Grand-voile
Hauptsegel
Bôme
Baum
Second Foc
Zweites Focksegel
B1
B2
A6
A5
A4
A7
Beaupré
Bugspriet
A2
A3
B3
C2
Barre d’écoute
Traveller-Schiene
C1
B4
C3
B1
Supports laiton
Messingbeschläge
B4
C2
7.
8.
9.
6.
Corne
Gaffel Baum
03/07 83000009
This manual suits for next models
1
Other Authentic Models Toy manuals
Popular Toy manuals by other brands

Bandai
Bandai Digital Monster Vital Bracelet instruction manual
Black Horce Model
Black Horce Model EDGE BH 69 Instruction manual book

Basic Fun
Basic Fun TETRIS NANO instruction manual

Mega Bloks
Mega Bloks Halo UNSC Spade vs. Skirmisher manual

Canon
Canon CREATIVE PARK Bird Cage Canary Assembly instructions

Fisher-Price
Fisher-Price Imaginext Dinosaurs manual
