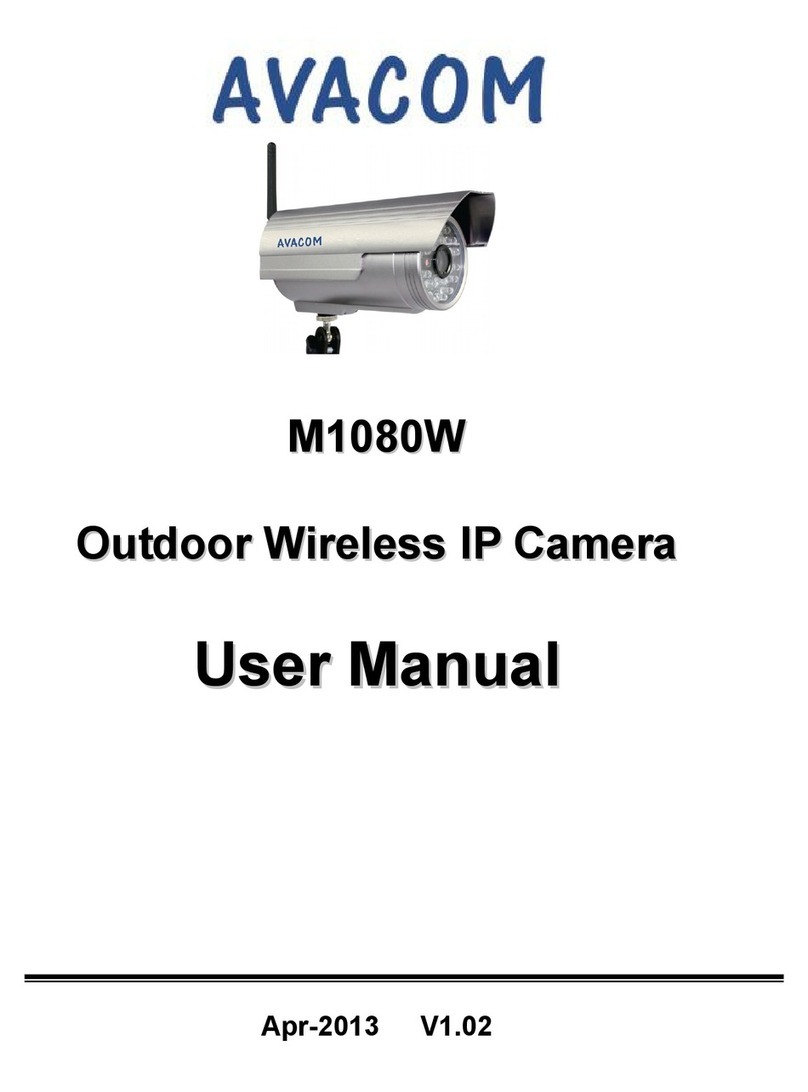
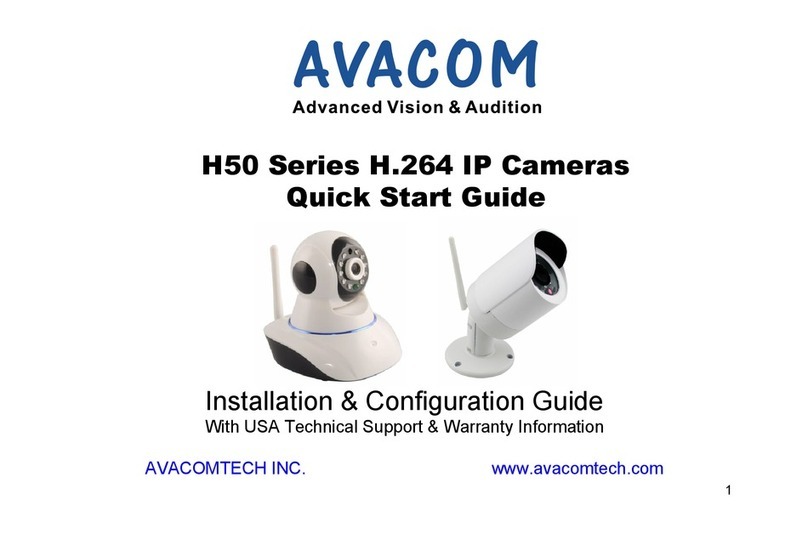
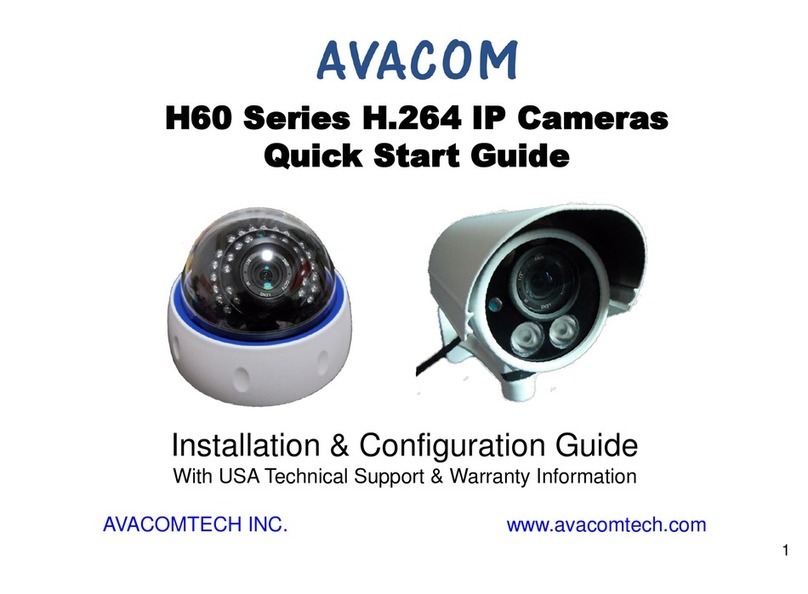
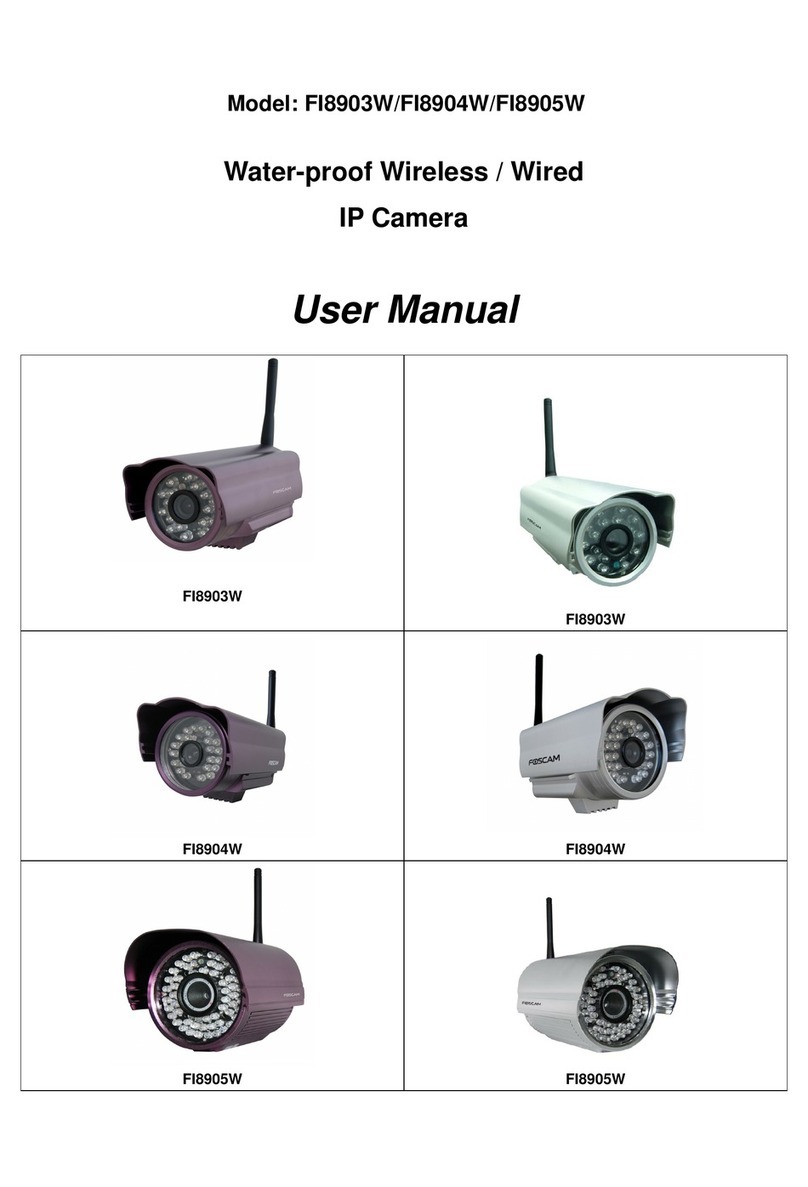
Avacom H.264 User manual

H
H6
60
0
S
Se
er
ri
ie
es
s
H
H.
.2
26
64
4
H
HD
D
I
IP
P
C
Ca
am
me
er
ra
a
U
Us
se
er
r
M
Ma
an
nu
ua
al
l
Feb-2014 V100R001

If after consulting the user manual you cannot solve the problem, please call our support
center about the solutions. We reserve the right to update the manual content without notice.
1. Installation Environment
Keep away from fire, heat source, direct sunlight or dust.
Avoid using in damp environments, the range for operational humidity is below 90% H.
Avoid using in very hot or very cold environments, the reference range for operational
temperatures is:
H60xx: -5°C ~ +50°C or 23°F ~ 122°F
H60xx-L: -20°c ~ +50°c or -4°F ~ 122°F
H60xx-LL: -40°c ~ +50°c or -40°F ~ 122°F
2. Transport and Handling
The package is well-designed to ensure camera safety during the delivery, so please do
not change the packaging.
Do not move the IP cameras from overheated to supercooled condition
frequently,
otherwise it will frost and shorten the service life.
Do not move the item when is power on, otherwise the main board might be damaged.
Notice:
1. Please check the power supply before it is used.
2. Be careful not to drop the camera or subject it to strong impacts or shocks.
3. Do not directly touch the optical components for the image sensor, if necessary, please
use a clean cotton cloth with alcohol and wipe the dirt gently;
4. Do not aim the camera directly into the sun or at other intense light sources that could
affect the image quality or shorten the service life for the image sensor.
5. Keep away from laser when in use, the image sensor can be damaged.
6. If the equipment is not working properly, please contact the customer service center, do
not disassemble or modify the equipment in any way. (Problems caused by
unauthorized modification or repair should be at your own risk.)
Statement
Notice

http://www.avacomtech.com
Avacomtech Inc.
Page
2
Index
1 PRODUCT INTRODUCTION ............................................................................................. 3
1.1 P
RODUCT SUMMARY
..................................................................................................... 3
1.2 I
NCLUDED IN THE BOX
.................................................................................................... 3
1.3 F
RONT
&
S
IDE
V
IEW
..................................................................................................... 4
2 INSTALLATION GUIDE ..................................................................................................... 6
2.1 W
IRED CONNECTION TO
LAN......................................................................................... 6
2.3 P
REVIEW VIDEO
............................................................................................................ 8
2.4 S
ETTING
M
ENU
............................................................................................................. 8
2.4.1 Setting menu features list: ...................................................................................... 9
2.4.2 Setting-> ecord ..................................................................................................... 11
2.4.3 Setting->Alarm ....................................................................................................... 11
2.4.4 Setting->System ................................................................................................... 16
2.4.5 Setting->Advanced ............................................................................................... 25
2.4.6 Setting->Info ......................................................................................................... 28
2.5 PC
C
LIENT
C
ONFIGURATION
M
ANAGER
........................................................................ 30
2.5.1 Config Manger->Alarm Setting->Normal Setting .................................................. 30
2.5.2 Config Manger->Alarm Setting->Alarm Link Setting ............................................ 31
2.5.3 Config Manger->System Setting ........................................................................... 31
3 SPECIFICATIONS ........................................................................................................... 32

http://www.avacomtech.com
Avacomtech Inc.
Page
3
1 Product introduction
1.1 Product summary
Thank you for choosing Avacom IP camera. The IP Camera combines a high uality
digital video camera with wireless/wired network connectivity and a powerful web server
to bring clear video to your desktop, laptop or smart phone from anywhere on your local
network or over the Internet. It is suitable for house, apartment, shops, office buildings,
etc.
Main features:
::
:
♦
The video is compressed by H.264 main/baseline profile. There are five video
resolutions available for different models:1080P/960P/720P/D1/CIF.
♦
Infrared LED for night vision covers 100 feet area allowing 24 hours monitoring;
♦
Support IEEE 802.11b/g/n protocol.
♦
Support motion detection/ video blind/ video loss alarm, alarm information sent
by email and/or FTP.
♦
Supports Plug and Play setting.
♦
Built-in web server with graphical user interface.
♦
Supports DDNS. When the IP Camera is connected to the internet this URL can
be used to visit the device.
♦
Supports Windows IE, Safari, Firefox, Chrome.
♦
Supports Android, iPhone/iPad
1.2 Included in the box
Accessory
Type
Power
adaptor CD Cable
Bracket
Antenna
H602x
12V √ √
H602xW
12V √ √ Internal
Antenna

http://www.avacomtech.com
Avacomtech Inc.
Page
4
H608x
12V √ √ √
H608xA
12V √ √ √
H608xW
12V √ √ √ √
H608xAW
12V √ √ √ √
Note:
Please check carefully that all listed items are included in the package. If anything is
missing, please contact seller’s customer support.
1.3 Front & Side View

http://www.avacomtech.com
Avacomtech Inc.
Page
5

http://www.avacomtech.com
Avacomtech Inc.
Page
6
2 Installation Guide
2.1 Wired connection to L N
Plug in the 12V power supply and connect the camera to wireless router Ethernet
port with the network cable. Connect your computer to the same router via cable or
wireless, as shown in Figure 1.
Figure 1
2.2 Logging into the Camera
On a Windows PC, insert CD into computer CD-ROM drive or visit
www.avacomtech.com to find “H60_ Device_Manager.exe”, double click “H60_
Device_Manager.exe” to install the software, run “DeviceManager.exe”.
Figure 2
1) Click “IP Search”;
2) Choose the camera then click “WebBrowse”. Then you can run Internet Explorer.
3) Enter user name and password for the device, the default user name is “admin”,
default password is blank;

http://www.avacomtech.com
Avacomtech Inc.
Page
7
Note:
::
:
1) DHCP is enabled in factory default for standalone cameras, but disabled for the
camera for NVR systems. In the NVR system the camera IP address is set to fixed
IP, the fixed IP address can be found on camera label.
2) DHCP server may assign 2 IP address for wireless camera, one IP address for RJ45
network card, another IP address for WiFi network card.
Figure 3
3) Windows7/8/8.1 may block the IP address, you may need to change “Compatibility
View Settings” on Internet Explorer’s tools menu to add the IP address to
compatibility lists. See Figure 3
4) For privacy concerns, please change user name and password after login.
Please reference 2.4.5.2 Setting-Advanced-Account.
5) For Safari/Firefox/Chrome, the browse can login the camera and preview video, but
cannot access the setting menu.

http://www.avacomtech.com
Avacomtech Inc.
Page
8
2.3 Preview video
After logging you may select main stream or sub stream to preview video, you can also
switch the main stream or sub stream by click on the top left corner on the screen.
Digital Zoom: In preview mode, press mouse left button and drag the mouse to select any zone
on video window, release left button and move mouse to select zone, click left button, the select
zone will be enlarged to full window.
2.4 Setting Menu
In preview mode, click , device config window popup, enter sub menus by clicking
, the sub menu includes: Record, Alarm,System,Advanced, Info.

http://www.avacomtech.com
Avacomtech Inc.
Page
9
2.4.1 Setting menu features list:
Main Menu Sub Menu Features
Record Record Not supported on H60xx
Snapshot Not supported on H60xx
Alarm
Video Motion
Set motion detection alarm channel,
sensitivity, area, and set the alarmed
parameters: alarm output, record, snapshot,
PTZ, EMAIL, FTP upload etc.
Video Blind
Set video blind alarm channel, sensitivity, and
set the alarmed parameters: alarm output,
record, snapshot, PTZ, EMAIL, FTP upload
etc.
Video Loss
Set video loss alarm channel, sensitivity, and
set the alarmed parameters: alarm output,
record, snapshot, PTZ, EMAIL, FTP upload
etc.
Alarm Input (GPIO) Not supported on H60xx
Alarm Output (GPIO) Not supported on H60xx
Abnormal
Storage device not exist
Storage space lack alarm
Storage device access failure
IP conflict
Net abort
System
General System Time
Time Zone
Date Format
Date Separator
DST(Daylight Saving Time)
Time Format
Language
HDD Full
DVR No.
Video Standard
Auto Logout
Encode Channel
Compression
Resolution
FPS
Bit Rate Type
Quality
Bit Rate(Kb/S)
I Frame Interval
Video/Audio
Network DHCP
This manual suits for next models
6
Table of contents
Other Avacom IP Camera manuals
