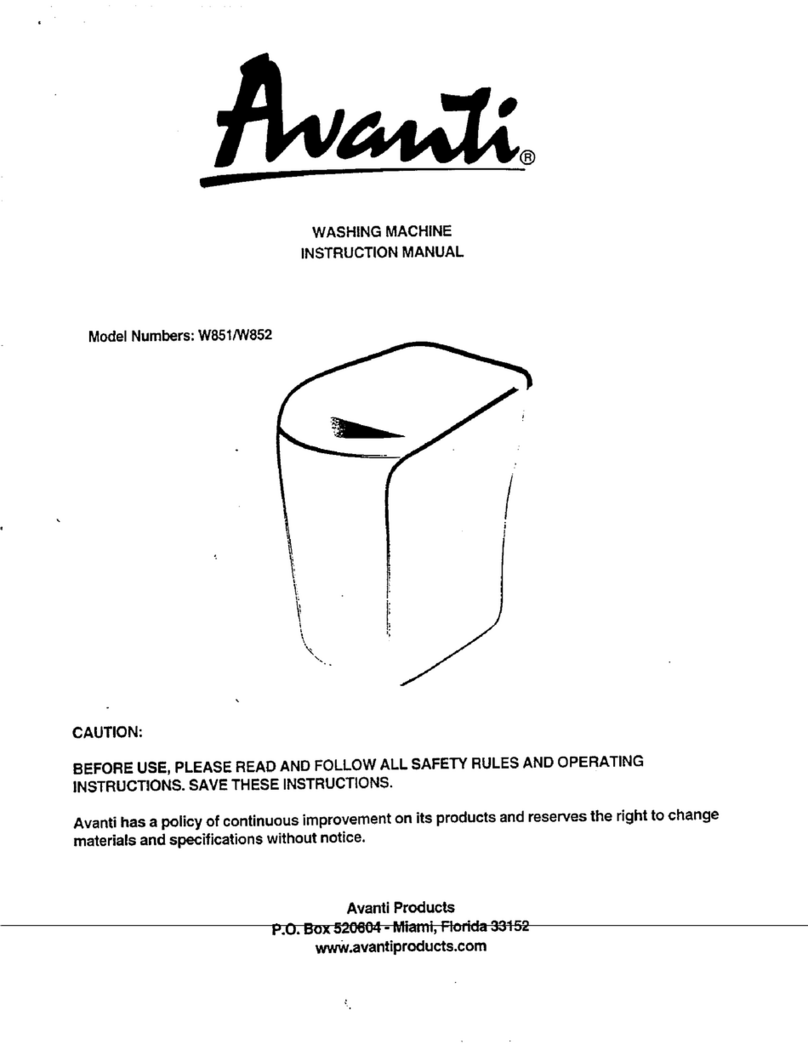
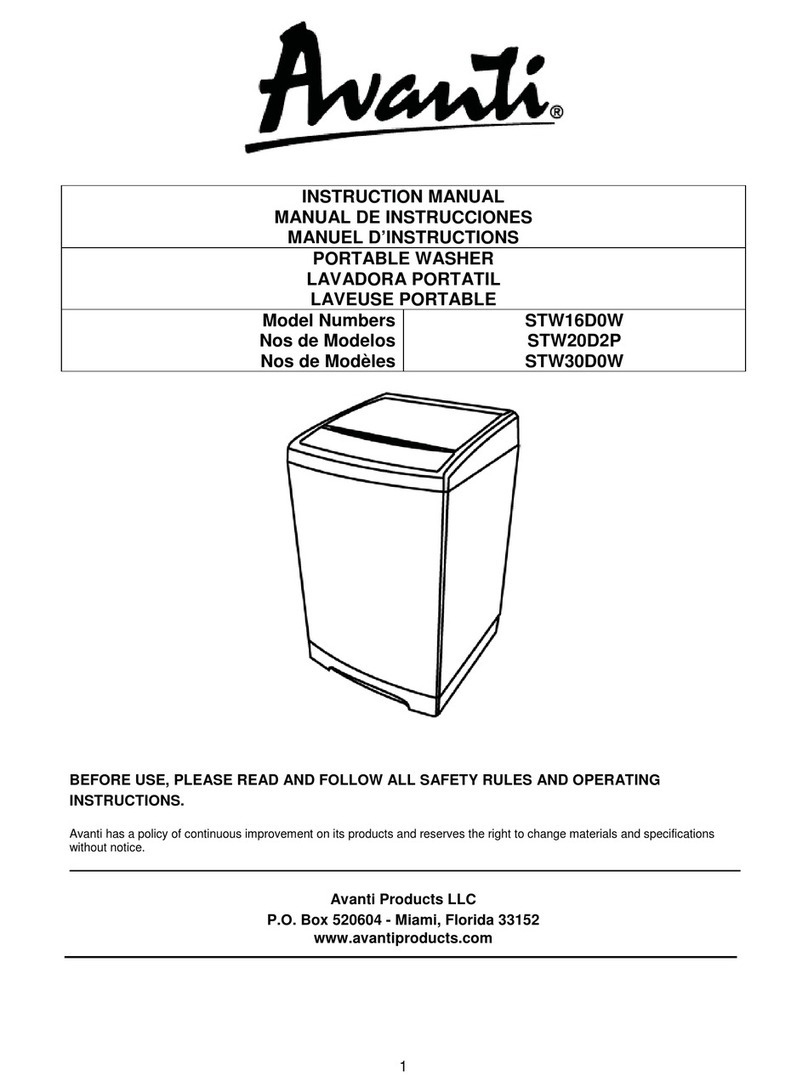
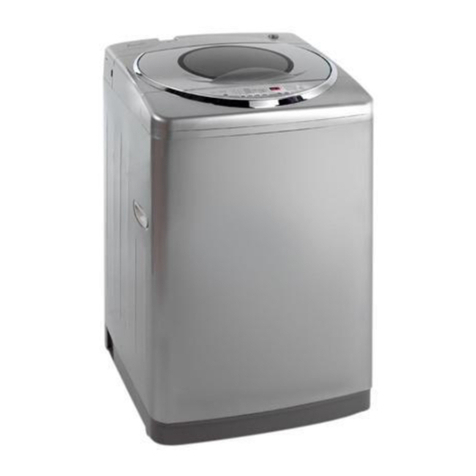
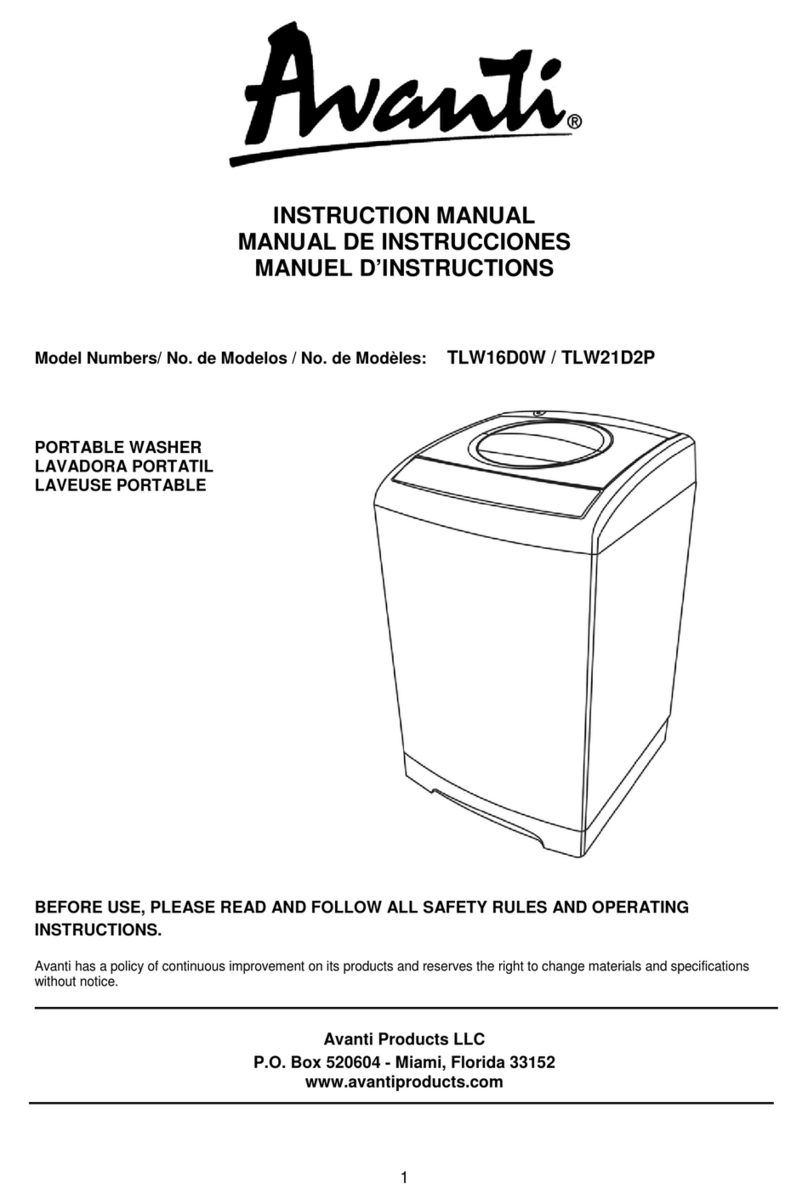
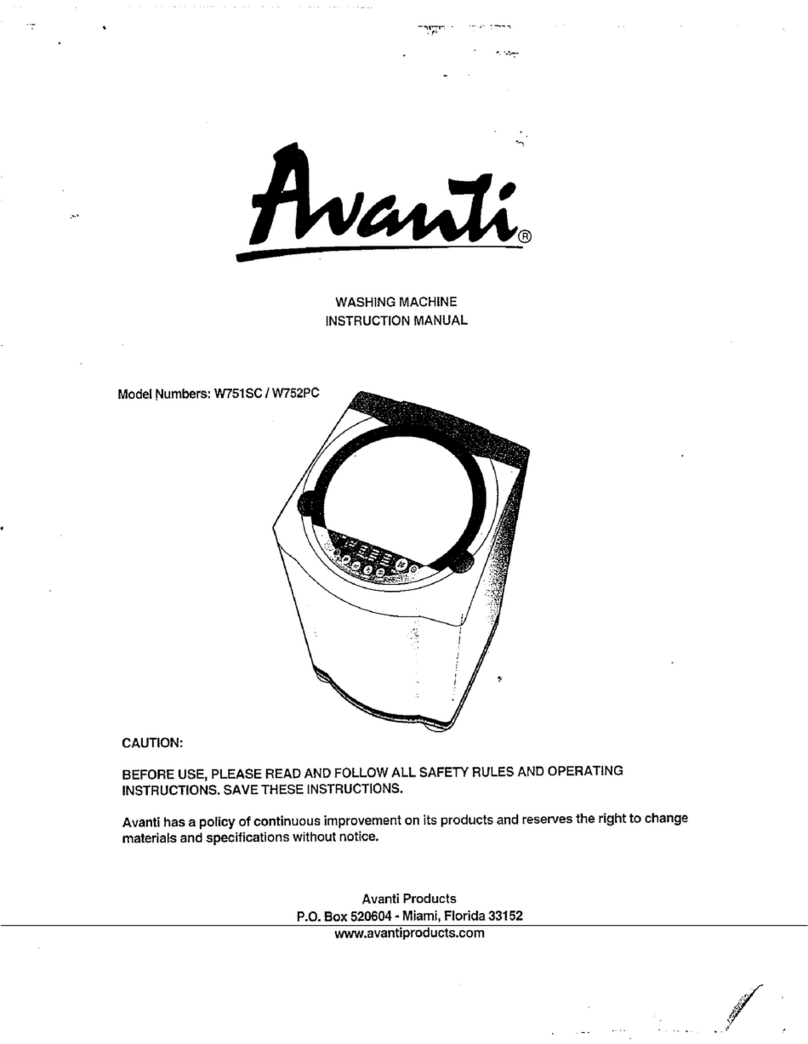
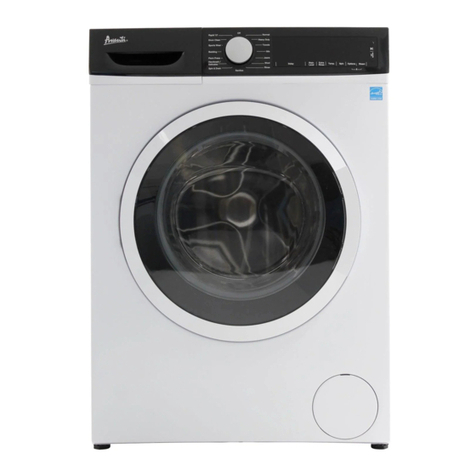
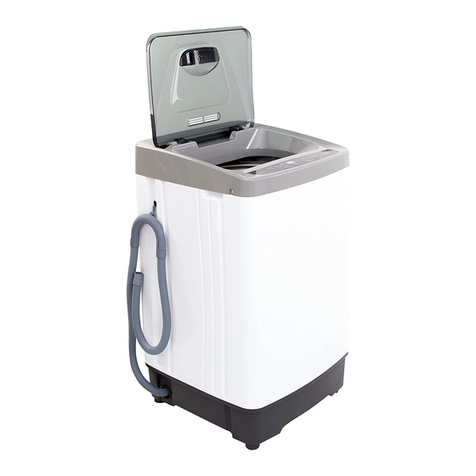
Avanti W851 User manual

WASHiNG
MAGHINE
INSTRUCTION
MANUAL
Model
Numbers:
W851/W852
CAUTION:
BEFORE
USE,
PLEASE
READ
AND
FOLLOW
ALL
SAFETY
RULES
AND
OPERATING
INSTRUCTIONS.
SAVE
THESE
INSTRUCTIONS.
Avanti
has
a
poiicy
of
continuous
improvement
on
its
products
and
reserves
thè
right
to
change
materials
and
specìfications
without
notice.
Avanti
Products
P
.O.
B
ox
520604
-
Mia
m
i,
Rorida
33152
www.avantiproducts.com

Warranty
Information
Thank
you
for
purchasing
this
fine
Avanti
produci.
Please
fili
out
this
card
and
return
il
within
100
days
of
purchase
and
receive
these
importa
nt
benefits:
Confimi
your
warranty:
.u
.
__
^
Your
prompt
product
registration
confirms
your
right
to
thè
protection
available
under
thè
terms
and
conditions
of
your
Avanti
warranty.
Protect
your
product:
We
will
keep
thè
model
number
and
date
of
purchase
of
your
new
Avanti
product
on
file
to
help
you
refer
to
this
Information
in
thè
event
of
an
Insurance
claim
such
as
fire
or
theft.
PromotebetterProducts:
.
..
w
*
We
value
your
input.
Your
responses
will
help
us
develop
products
designed
to
best
meet
your
future
needs.
-
(detachhere)
-
Avanti
Registration
Card
Marne
Model
#
Serial
#
Address
Date
Purchased
Store/Dealer
Marne
City
State
Zip
Occupation
Area
Code
Phone
Number
As
Your
Primarv
Residence,
Do
You:
::
Own
“
Rent
Did
You
Purchase
An
Additional
Warranty:
=
Extended
-
None
Reason
For
Choosinq
This
Avanti
Produci:
Please
indicate
thè
most
important
factors
that
ìnfluenced
your
decision
to
purchase
this
product.
Z
Price
Z
Product
Features
Z
Avanti
Reputation
Z
Product
Quality
Z
Salesperson
Recommendation
Z
Friend/Relative
Recommendation
Z
Warranty
-
Z
Other_
Your
Age:
“
under
18
Z
18-25
Z
26-30
Z
31-35
Z
36-50
Z
over
50
Maritai
Status:
Married
-
Single
Is
This
Product
Used
in
Thei
Home
-
Business
How
Did
You
Learn
About
This
Product:
■
Advertising
Z
Product
Features
In
Store
Demo
Z
Personal
Demo
Other_____
Comments______

HELP
US
HELP
YOU...
Read
this
guide
carefuliy.
It
is
intended
to
help
you
operate
and
maintain
your
new
appliance
properly.
Keep
it
handy
to
answer
your
questione.
If
you
don't
understand
something
or
your
need
more
heìp,
please
cali:
Avanti
Customer
Service
800-220-5570
Keep
proof
of
originai
purchase
date
(such
as
your
sales
slip)
with
this
guide
to
establish
thè
warranty
period.
Write
down
thè
model
and
serial
numbers.
You'll
find
them
on
a
piate
located
on
thè
back
wail
of
thè
appliance.
Please
write
these
numbers
bere:
Date
of
Purchase
Model
Number
Seria!
Number
Use
these
numbers
in
any
correspondence
or
Service
calls
conceming
your
appliance.
If
you
received
a
damaged
appliance,
immediately
contact
thè
dealer
(or
builder)
that
sold
you
thè
appliance.
Save
time
and
money.
Before
you
cali
for
Service,
check
thè
Troubleshooting
Guide.
It
lists
causes
of
minor
operating
problems
that
you
can
correct
yourself
IF
YOU
NEED
SERVICE
We're
proud
of
our
Service
and
want
you
to
be
pleased.
If
for
some
reason
you
are
not
happy
with
thè
Service
you
receive,
bere
are
some
steps
to
follow
for
further
help.
FIRST,
contact
thè
people
who
sen/iced
your
appliance.
Explain
why
you
are
not
pleased.
In
most
cases,
this
will
solve
thè
problem.
NEXT,
if
you
are
stili
not
pleased,
write
all
thè
details,
including
your
telephone
number,
and
send
to:
Customer
Service
Avanti
Products
10880
NW
30
Street
Miami,
FL
33172

WATER
SUPPLY
ROSE
(COLO)
PARTS
AND
FEATURES
•T-
SOUND
ABSORPTION
PANEL

TABLE
OF
CONTENTS
Warranty
Information
and
Registration
Card
2
Help
Us
Help
You
3
Parts
and
Features
4
Important
Safety
Instructions
6-7
Installation
Instructions
8
Before
Using
Your
Appliance
8
Installation
of
Your
Appliance
9
Water
Connections
10
Electrical
Connection
.
“Il
Care
and
Maintenance
Control
Panel
12
Washing
Procedure
13-15
Troubleshooting
Guide
16
Service
Por
Your
Appliance.
16
Your
Avanti
Products
Warranty
.
17”
Parts
Breakdown
and
Parts
List
.
16
Wiring
Diagram
.
22
Spanish
Section
23-31

Important
Safety
Instructions
WARNING
M
To
reduce
thè
risk
of
tire,
electrical
shock,
or
injury
when
using
your
appliance.
follow
these
basic
precautions:
Read
all
instructions
before
using
thè
appliance.
Do
not
wash
articies
that
bave
been
previously
cleaned
in.
washed
in,
soaked
in,
or
spotted
with
gasoline,
dry-cleaning
solvents,
other
flammabte,
or
explosive
substances
as
they
give
off
vapors
that
could
ignite
or
explode.
Under
certain
conditions.
hydrogen
gas
may
be
produced
in
a
hot
water
System
that
has
not
been
used
for
2
weeks
or
more.
HYDROGEN
GAS
IS
EXPLOSIVE.
If
thè
hot
water
System
has
not
been
used
for
such
a
period,
before
using
a
washing
machine,
turo
on
all
hot
water
faucets
and
let
thè
water
flow
from
each
for
several
minutes.
This
will
release
any
accumulated
hydrogen
gas.
As
thè
gas
is
flammable,
do
not
smoke
or
use
an
open
flame
during
this
time.
Before
thè
appliance
is
removed
from
service
or
discarded,
remove
thè
door.
Do
not
tamper
with
Controls.
Do
not
repair
or
replace
any
part
of
thè
appliance
or
attempi
any
servicing
uniess
specifically
recommended
in
thè
user-maintenance
instructions
or
in
published
user-
repair
instruction.
DANGER
or
WARNING
:
Risk
of
child
entrapment.
Child
entrapment
and
suffocation
are
not
problems
of
thè
past.
Junked
or
abandoned
appiiances
are
stili
dangerous...
even
if
they
will
"just
sit
in
thè
garage
a
few
days.
-
Before
you
throw
away
your
old
appliance:
Take
off
thè
door
so
that
children
may
not
easily
climb
inside.
Never
aliow
children
to
operate,
play
with,
or
crawl
inside
thè
appliance.
Never
ctean
appliance
parts
with
flammable
fluids.
The
fumes
can
create
a
fire
hazard
or
explosion.
.
.
,
^
■
Do
not
place
thè
washer
in
steamy
rooms
or
where
thè
washer
is
directly
exposed
to
rain.
Moisture
may
destroy
thè
electrical
insulation
causìng
an
electrical
shock
hazard.
During
spinning,
don’t
put
your
hand
in
thè
spin
basket;
Because
thè
spin
basket
is
rotating
at
high
speed,
rotating
parts
may
injure
your
hand.
WARNING
^

Important
Safety
Instructions
Do
not
store
or
use
gasoline
or
any
other
flamnnable
vapors
and
liquids
in
thè
vicinity
of
this
or
any
other
appliance.
The
fumes
can
create
a
tire
hazard
or
explosion.
Tum
off
water
taps
when
thè
washer
is
not
in
use
to
avoid
water
pressure
damage
to
thè
pump.
To
minimize
thè
possibiiity
of
electric
shock,
unpiug
this
appliance
from
thè
power
supply
or
disconnect
thè
washer
at
thè
household
distribution
panel
by
removing
thè
fuse
or
switching
off
thè
Circuit
breaker
before
attempting
any
maintenance
or
cleaning.
The
appliance
is
not
intended
for
use
by
young
children
or
infimi
persons
without
supervision.
If
thè
power
supply
cord
is
damaged,
it
must
be
replaced
by
thè
manufacturer
or
its
service
agent
or
a
similary
qualified
person
in
order
to
avoid
a
hazard.
Place
clothes
evenly
into
thè
washer
as
unevenly
distributed
laundry
may
cause
excessive
out
of
balance
noise
and
vibration.
Do
not
operate
this
appliance
if
it
is
damaged,
malfunctioning,
partially
disassembled,
or
has
missing
or
broken
parts,
including
a
damaged
cord
or
plug.
-Save
these
instructions-
//
WARNING
^

INSTALLATION
INSTRUCTIONS
Before
lisina
Your
Appliance
Remove
thè
exterior
and
interior
packing.
Check
to
be
sure
you
bave
all
of
thè
following
parts:
•
Hot
Water
Supply
Hose
•
Cold
Water
Supply
Hose
•
Drain
Hose
(Pump)
•
Instnjction
Manual
•
Absorbing
Panel
&
Screw
•
Male
and
Remale
Hose
Thread
Adapters
•
Support
Legs
Ciean
thè
interior
surtace
with
lukewarm
water
using
a
soft
cloth.
.
.
r
„
Piace
your
washer
on
a
floor
that
is
strong
enough
to
support
thè
appliance
when
it
is
fully
Ioaded.
To
level
your
washer,
adjust
thè
lags
at
thè
front
of
thè
appliance.
Allow
5
inches
of
space
between
thè
back
and
sides
of
thè
appliance.
Carpeting
must
not
obstruct
ventilation
openings
when
thè
washing
machine
is
installed
on
a
carpeted
floor,
*
+
\
Locate
thè
appliance
away
from
direct
sunlight
and
sources
of
heat
(stove,
heater,
radiator.
etc.).
Direct
sunlight
may
affect
thè
acrylic
coating,
plastic
and
electricai
components.
Put
your
laundry
irto
thè
washer
eveniy.
Uneven
laundry
may
cause
noise
or
vibration.
Don’t
use
excessively
hot
water
50°C(122T)
or
more.
Plastic
parts
may
be
deformed
or
damaged.
Also,
clothing
may
be
deformed
or
bleached.
Before
washing,
check
all
pockets.
If
nails
or
pins
remain
in
pockets,
they
may
damage
thè
washer
or
clothes.
Never
splash
water
on
thè
control
panel.
Plug
thè
washer
into
an
exclusive
properly
installed-grounded
wall
outlet.
Do
not
under
any
circumstances
cut
or
remove
thè
third
(ground)
prong
from
thè
power
cord.
Any
questions
conceming
power
and
or
grounding
shouid
be
directed
toward
a
certified
electncian
or
an
authorized
Avanti
Products
Service
center.

INSTALLATION
INSTRUCTIONS
Acfiftmblinq
The
Sound
Absorbinq
m
|,
into
thè
five
slots
provided
(as
OT.O
Screw
•
Place
thè
machine
more
than
lOcm
away
from
thè
wail.
WATER
Adjust
thè
front
legs
for
levelling.
Loosen
Wk.
Lock
Note
:
The
protective
rubber
support
inserte
may
leave
mark^n
To
prevent
possible
markings
place
a
small
piece
of
do
,
under
thè
rear
legs
when
thè
machine
is
in
use.
o
Support
Leg
>
r.nnnectina
T
he
Drain
Hose
•Take
out
thè
cap-hose
and
connect
thè
outlet
hose.
-
cap-hose
outlel-hose
•Be
sure
to
join
tightiy
thè
drain
hose
outlet
on
thè
bacKof
thè
machìne.
•Instali
thè
drain
hose
28-32
inches
above
thè
ground.
cauto»
:
-Sy
SSCSS
;•

>
Cleaninq
thè
Magie
Filter
1.
Push
thè
upper
part
2.
Open
thè
cover
as
of
thè
filter
and
pulì
in.
shown
in
thè
figure.
3.
Ciean
thè
filter.
4.
Close
thè
cover
and
inserì
thè
lower
part
of
thè
filter
in
thè
basket
first
and
then
push
thè
filter
untìi
your
bear
a
"click"
sound
>
Water
Connection
Por
normal
kitchen-sink
tap
oniy
use
thè
inlet
hose
with
cold
water
inlet.
.
i-
^
k+i
Connect
thè
inlet
hose
to
thè
male
hose
thread
adapter
by
turning
it
clockwise
to
be
fixed
tightiy.
"
Make
sure
to
inserì
thè
rubber
ring
enciosed.
Then
connect
tightiy
to
your
sink.
Note
:
Some
faucets
may
require
you
to
also
use
thè
temale
hose
thread
adapter
between
thè
male
adapter
and
your
sink
as
shown
below.
Make
sure
thè
rubber
ring
is
inserted
and
connect
to
your
sink.
Oniy
necessary
on
some
faucets.
Male
Adapter
Rubber
Ring
Inlet
hose
Female
Hose
Thread
Adapter
®—
Rubber
Ring
Male
Adapter
Rubber
Ring
Inlet
hose
>
Connectinq
The
Water
Supplv
Ho
ses
1.
Your
washer
is
provided
with
dual
water
iniets
(hot
&
cold)
Connect
thè
water
suppiy
hose
to
thè
water
tap.
Fasten
it
tightiy.
2.
Next,
connect
thè
other
end
of
thè
water
suppiy
hose
to
thè
inlet
valve
at
thè
back
of
thè
washer.
Screw
thè
hose
clockwise
all
thè
way
in.
3.
When
using
as
a
portable
washer
connect
hose
to
thè
cold
side
of
thè
water
valve.
Noto*
•_
B^e
to
connect
thè
hot
inlet
hose
to
hot
water
tap
and
hot
water
valve.
For
best
operating
conditions
your
hot
water
shouid
be
approximately
SO^C
(122-F)
otherwise
water
above
this
te
r
i
iperalure
w
i
ll
cause
damago
to
th
è
machine
.
-
Tum
on
thè
water
completely
to
check
for
any
leakage.
If
any,
tum
off
thè
water
and
try
again
above
procedures.
For
special
tap,
use
connectors
provided
or
cali
a
qualified
plumber
for
thè
installa
lon.

>
Eiectricai
Connection
//
Warning
M
improper
use
of
thè
grounded
plug
can
result
in
thè
risk
of
eiectricai
shock.
If
thè
power
cord
,s
damaged,
bave
it
replaced
by
an
authorized
Avanti
Products
service
center.
_
Do
not
under
any
circumstances
cut
or
remove
thè
third
ground
prong
tram
thè
power
cord
supplied.
Use
of
extensìon
cords
is
not
recommended.
11
e;/i
9
n-\/nlt
60Hz
electiical
outlet
with
three-prong
ground.
CARE
AND
MAINTENANCE
wSh«S’I*aandMWsoa.stlutiov
W««lUlo.»»«b«2
FEATURES
thè
clear
window.
Rnnmeranq
pulsator
„„.„„,hm.,nhfahriosetficientlvwhileprovidingboththepowerful
SXrcleSeS:Srs%^
tear
on
clothes.

CONTROL
PANEL
7
1)
Power
Button
Press
this
button
once
to
operate.
Press
once
again
to
turn
thè
washer
oft.
2
)
Start/Hold
Button
.
^
■
Use
to
pause
and
restart
thè
operation.
To
change
thè
washing
procedure
dunng
operation
press
this
button
to
stop,
and
once
again
to
restart
after
changing
thè
procedure.
3)
Course
Select
Button
With
every
press
of
this
button,
thè
washing
course
changes,
Fuzzy
Heavy
Speedy
Wooi
-*-
Fuzzy
4)
Function
Select
Button
With
every
press
of
this
button,
thè
washing
course
changès,
Wash+Rinse+Spin-Soak+Wash+Rinse+Spin-Wash-Rinse
Spin
-
Wash+Rinse
Rinse+Spin
Wash+Rinse+Spin
5)
Water
LeveI
Select
Button
According
to
thè
washload,
select
thè
water
level.
Med
High
Extra
Low
Low
6)
Water
Supply
Select
Button
As
you
press
this
button,
thè
type
of
water
is
selected
as
folìows.
Cold
Cold+Hot
Hot
-
Cold
When
using
as
a
portable
washer
use
cold
water
setting
oniy.
7)
D
elay
Start
Button
Press
this
button
when
delay
start
washing
is
needed.
8)
R
e
m
aining
Time
Indicator
Light
^
u
i
The
indicator
light
shows
thè
remaining
time
(in
Minutes)
of
each
wash
cycle.
_
At
t
h
è
end
nf
thp
cycle.
thè
power
automatically
switches
off.
_
9)
F
unction
indicator
Light
The
function
in
use
indicator
shows
thè
current
function
as
a
flashing
symbol.
The
light
goes
out
at
thè
end
of
thè
function.

WASHING
PROCEDURE
FUZZY
COURSE
Selects
thè
best
washing
course
automatically.
1
)
2
)
Before
starting
washing,
check
thè
following;
,
Connect
thè
water
supply
hose
to
thè
water
tap.
Leave
thè
tap
open.
Plug
thè
power
cord
in.
Put
thè
laundry
into
thè
washer
and
add
detergent,
too.
Be
careful
not
to
overload.
Use
righi
detergent
for
thè
fabrics
you
are
washing.
3)
Press
thè
POWER
Button
to
"ON".
The
remaining
lime
indicator
should
show
4)
Press
thè
START/HOLD
Button,
Water
levei
is
selected
automatically.
Washing,
rinsing,
and
spinning
follow.
Ifyouwantto
pause,
press
thè
START/HOLD
button
again.
You
can
change
thè
course
when
in
pause
mode.
START/HOLD
BX
Hgr
fevei
5)
Close
thè
Lid.
HEAVY
COURSE
For
thè
heavy
laundry,
it
gives
powerful
washing.
1)
Press
thè
power
button
to
"ON".
2
)
Press
thè
course
select
button
once.
3)
Press
thè
START/HOLD
button.
Water
levei
is
selected
automatically.
Washing,
rinsing,
START/HOLD
«A
H'g^
level
and
spinning
follow.
!f
you
want
to
pause,
press
thè
START/HOLD
button
again.
no
^nutes
operatonTl^
and
4
minutes
for
soaking)
carry
out
during
30
minutes.
4)
Close
thè
Lid.

SPEEDY
COURSE
Because
washing
is
speedy,
it
is
good
for
light
or
less
stained
laundry.
1)
Press
thè
power
button
to
"ON"
POWER
2)
Press
thè
course
select
button
three
times.
COURSE
3)
Press
thè
START/HOLD
button
Water
leve!
is
selected
automatically.
Washing,
rinsing,
and
spinning
follow.
If
you
want
to
pause,
press
thè
START/HOLD
button
again.
You
can
change
thè
course
when
in
pause
mode.
START/HOLD
4)
Close
thè
Lid.
ex)
High
levei
WOOL
COURSE
Oniy
high
or
medium
water
levei
is
available.
Colà
water
is
selected.
1)
Press
thè
power
button
to“ON".
2)
Press
thè
course
select
button
twice.
COURSE
3)
Press
thè
START/HOLD
button.
«
y°u
want
to
pause,
press
,he
START/HOLD
button
aga.n.
You
can
change
thè
course
when
in
pause
mode.
START/HOLD
ex/
Low
leve!
4)
dose
thè
Lid.
Do
not
use
water
above
30°C
for
WOOL
washing.
.
Refer
to
thè
tag
attached
on
thè
clothes
for
washing
Information.
Fasten
buttons
and
tum
inside
out
before
washing.
-
WOOL
cour?e
button
in
order
to
enhance
washing
efficiency.

delay
sta
r
t
course
_
Select
this
course
when
you
bave
to
go
out
or
do
something
else.
1
Press
thè
Power
button
to
"ON".
3.
Press
thè
START/HOLD
button
and
put
thè
proper
amount
of
deterQent
into
thè
detergent
box.
POWER
2.
Press
thè
DELAY
START
button
once.
You
may
change
thè
delay
start
time
with
use
of
thè
DELAY
START
button.
(From
3
hours
to
IShours)
4.
Close
thè
iid.
The
washing
starts
at
thè
time
you
selected.
MANUAL
FUNCTIONS
SOAK
AND
WASH
AND
RINSE
AND
SPIN
Press
thè
POWER
button.
Press
thè
FUNCTION
SELECT
button
once,
Press
thè
START/HOLD
button
once.
Washing
goes
on
for
69
minutes.
The
laundry
is
soaked
in
water
so
that
thè
diti
can
be
eliminated
completely.
When
thè
FUNCTION
button
is
pressed
during
operation
thè
tinse
times
can
be
changed
to
between
1
and
5
times
in
duration.
WASH
ONLY
Press
thè
POWER
button:
Press
thè
FUNCTION
SELECT
button
twice.
Press
thè
START/HOLD
button
once.
Washing
goes
on
for
18
minutes.
When
thè
FUNCTION
button
is
pressed
during
washing,
thè
washtime
can
be
changed
to
between
3
and
25
minutes
in
duration.
RINSE
ONLY
Press
thè
FUNCTION
button
Jhree
times.
Press
thè
START/HOLD
button
once.
Rinsing
goes
on
for
5
minutes.
When
thè
FUNCTION
button
is
pressed
during
rinsing.
thè
tinse
times
can
be
changed
to
between
1
and
5
times
in
duration.
SPIN
ONLY
Press
thè
FUNCTION
button
tour
times.
Press
thè
START/HOLD
button
once.
Spin-drying
goes
on
for
11
minutes.
When
thè
FUNCTION
button
is
pressed
during
spinning,
thè
spin
time
can
be
changed
to
from
1
to
7
minutes.
WASH
AND
RINSE
Press
thè
FUNCTION
button
five
times.
Press
\he
-
START/HOLD
button
once.
Washing
and
rinsing
go
on
for
28
minutes.
When
thè
FUNCTION
button
is
pressed
during
operation
thè
rinse
times
can
be
changed
to
between
1
and
5
times
in
duration.
five
times

RINSE
AND
SPIN
Press
thè
FUNCTION
button
six
times.
Press
thè
START/HOLD
button
once.
Washing,
rinsing
and
spinning
follows.
When
thè
FUNCTION
button
is
pressed
during
operation.
thè
rinse
times
can
be
changed
to
between
1
and
5
times
in
duration.
WASH,
RINSE
AND
SPIN
Press
thè
FUNCTION
button
seven
times.
Press
thè
START/HOLD
button
once.
Washing,
rinsing
and
spinning
follow.
When
thè
Function
button
is
pressed
during
operation
thè
rinse
times
can
be
changed
to
between
1
and
5
times
in
duration.
PROBLEMS
WITH
YOUR
WASHER?
You
can
solve
many
common
appliance
problems
easily,
saving
you
thè
cost
of
a
possible
Service
cali.
Try
thè
suggestione
below
to
see
if
you
can
solve
thè
problem
before
calling
thè
seivicer.
TROUBLESHOOTING
GUIDE
PROBLEM
POSSIBLE
CAUSE
j
Washer
does
not
operate.
Not
plugged
in.
|
The
Circuit
breaker
tripped
or
blown
fuse.
|
l
_______—I
Vibrations.
Check
to
assure
that
thè
washer
is
level.
>
Washing
machine
won't
work
Is
thè
water
tap
opened?
Is
thè
washer
plugged
in?
>
-
Is
thè
power
cut
off?
.
f
Is
there
enough
water?
^
>
Water
is
not
supplied
Is
thè
water
tap
opened?
•
Is
thè
water
cut
off?
is
thè
water
supply
hose
or
hose
connection
clogged?
Is
thè
water
tap
frozen?
ff
water
is
not
supplied
in
1
hour,a
buzzer
will
sound,
and
thè
remaining
time
indicator
will
show
“4E
/
7E".
f
•
>
Water
dose
not
drain
Is
thè
drain
hose
down?{No
pumpi
Is
thè
drain
hose
frozen?
Is
thè
drain
hose
clogged?
ff
thè
water
dose
not
drain
in
15
minutes,
a
buzzer
will
sound,
and
thè
remaining
time
indicator
will
show
“E/5E'\
>-
Spinning
does
not
work
Is
thè
laundry
spread
out
evenly
in
thè
washer?
Is
thè
washer
set
on
a
sturdy
fiat
surface?
>
Water
is
overflowed
Restart
after
spinning.
It
thè
error
sign
stili
indicates.
cali
agency.
:
^
r
ari
>

Staple
your
sales
receipt
bere.
Proof
of
originai
|
purchase
date
is
needed
to
obtain
Service
under
warranty.
VWAT
IS
COVERED
LIMITED
ONE-YEAR
WARRANTY
For
one
year
from
thè
date
of
purchase
by
thè
originai
owner.
Avanti
Products
will.
at
its
option.
repair
or
replace
any
part
of
thè
appliance
that
proves
to
be
detective
in
material
or
workmanship
under
norma!
use.
During
this
period
Avanti
Products
wil!
provide
all
parts
and
labor
necessary
to
correct
such
defects
free
of
charge,
so
long
as
thè
appliance
has
been
instalied
and
operated
in
accordance
with
thè
written
instructions
in
this
manual.
in
renta!
or
commercial
use,
thè
warranty
period
is
90
days.
LIMITED
5
YEAR
WARRANTY
ON
PLASTIC
TUB
After
one
year
and
until
five
years
from
date
of
purchase,
Avanti
will
fumish
a
replacement
plastic
tub.
which
is
detective
in
material
or
workmanship.
You
will
be
charged
for
labor.
LIMITED
7
YEAR
WARRANTY
ON
STAINLESS
STEEL
TUB
After
one
year
and
until
seven
years
from
date
of
purchase.
Avanti
will
furnish
a
replacement
stainless
Steel
tub.
which
is
detective
in
material
or
workmanship.
You
will
be
charged
for
labor.
WHAT
IS
NQT
COVERED
tncidental
or
consequential
damages.
Parts
and
labor
costs
for
thè
fotlowìng
will
not
be
considered
as
warranty:
Plastic
cabinet
liners.
Repairs
performed
by
unauthorized
servicers.
Service
calls
that
do
not
involve
defects
in
material
or
workmanship
such
as
customer
education,
or
improper
installation.
Service
calls
that
are
related
to
external
problema,
such
as
abuse,
misuse.
inadequate
electrical
power,
accidente,
tire,
floods.
or
acts
of
God.
Replacement
of
house
fuses
or
resetting
Circuit
breakers.
Failure
of
thè
product
if
it
is
used
for
other
than
its
intended
purpose.
This
warranty
does
not
apply
outside
thè
Continental
U.S.A.
SERVICE
FOR
YOUR
WASHER
We
are
proud
of
our
customer
se^ice
organization
and
thè
network
of
professional
tecteians
that
orovide
Lrvice
on
your
Avanti
appliances,
With
thè
purchase
of
your
Avanti
washer
you
can
bave
thè
ronfidence
that
if
yL
evér
need
additional
information
or
assistance,
thè
Avanti
Products
Customer
Cervie
team
will
be
here
for
you.
Just
cali
us
toll-free.
AVANTI
PRODUCTS
CUSTOMER
SERVICES
Product
Information
800-323-5029
Part
Orders
800-220-5570
In-Home
Repair
Service
800-220-5570
Whatever
your
questions
are
about
our
produets.
help
is
avaiiable.
You
may
order
parts
and
accessories
that
vizili
be
delivered
directiy
to
your
home.
You
may
order
these
items
by
personal
check,
money
order,
Master
Card,
or
Visa.
An
Avanti
Products
authorized
Service
center
will
provide
expert
repair
service,
scheduled
at
a
time
that
is
convenient
for
you.
Our
trained
servicers
know
your
washer
inside
and
out.

1
fi
(
18
)


Livaiion
No.
CivJe
No.
1-1
DC97-01750P
1-2
DC97-01751K
2
DC61-00343A
3
DC63-00283E
4
DC61-60044J
5
DC90-10104K
6
DC32-30006T
7
DC63-00124G
8
DC62-30310K
9
10
DC61-10331P
Descripiion
ASSY-LID
T.C
ASSY-LIDT.C
SPR1NG-Q{R);
COVER-T.C
CUSHION-LIO:
ASSY-CHECKER
SW:
SENSOR
PRESSURE:
COVER-TOP;
VALVE-WATER;
Spei.'itìcaiion
W851/W852.S/WHT(P0WERCIRUM)
W852DW,YML,SNOW.WHT(NO-PRINT)
KS-PJT.STEEL
WIRE.CD2.0.-.-.
W851
'W052.ABS.-.-.-.-.AVANT:,SNOW
■
,v-“,nO'P=;nt
SW-46J1
.NBR.-.-.-.T5.5-LIGHT
WA7564C0.5KG/STANDARD/1
DN-S18.-,-.5KG/STANDARD,
WA7064C1.ABS.-.-.SNOW.AA/HT..N0N-
SW70AI.PP.-,-.-.110-120V'50-
-.ABS.-,-.-.-.WHT.SW-5A1
Other manuals for W851
2
This manual suits for next models
1
Table of contents
Other Avanti Washer manuals

Avanti
Avanti W789SA User manual

Avanti
Avanti W798SS-1 User manual

Avanti
Avanti W851 User manual

Avanti
Avanti TLW16D0W User manual

Avanti
Avanti W711 User manual

Avanti
Avanti PORTABLE WASHER W757-1 User manual

Avanti
Avanti TLW16W User manual

Avanti
Avanti W892F User manual

Avanti
Avanti W751SC User manual

Avanti
Avanti W751SC User manual

Avanti
Avanti STW16D0W User manual
Avanti
Avanti W511 User manual

Avanti
Avanti W797 User manual

Avanti
Avanti CTW84X0W-IS User manual

Avanti
Avanti CTW14X0W-IS User manual

Avanti
Avanti CTW10V0W User manual

Avanti
Avanti W851 User manual

Avanti
Avanti FLW22V0W User manual
Avanti
Avanti SLTW37D0W User manual
Avanti
Avanti TLW09W User manual