EN 8
If you do not receive a code before the countdown
has ended, press renvoyer (return) and check the
email address or telephone number entered.
To complete your registration, set a password
between 6 and 20 characters long with letters and
numbers only, then press Terminé (Finish).
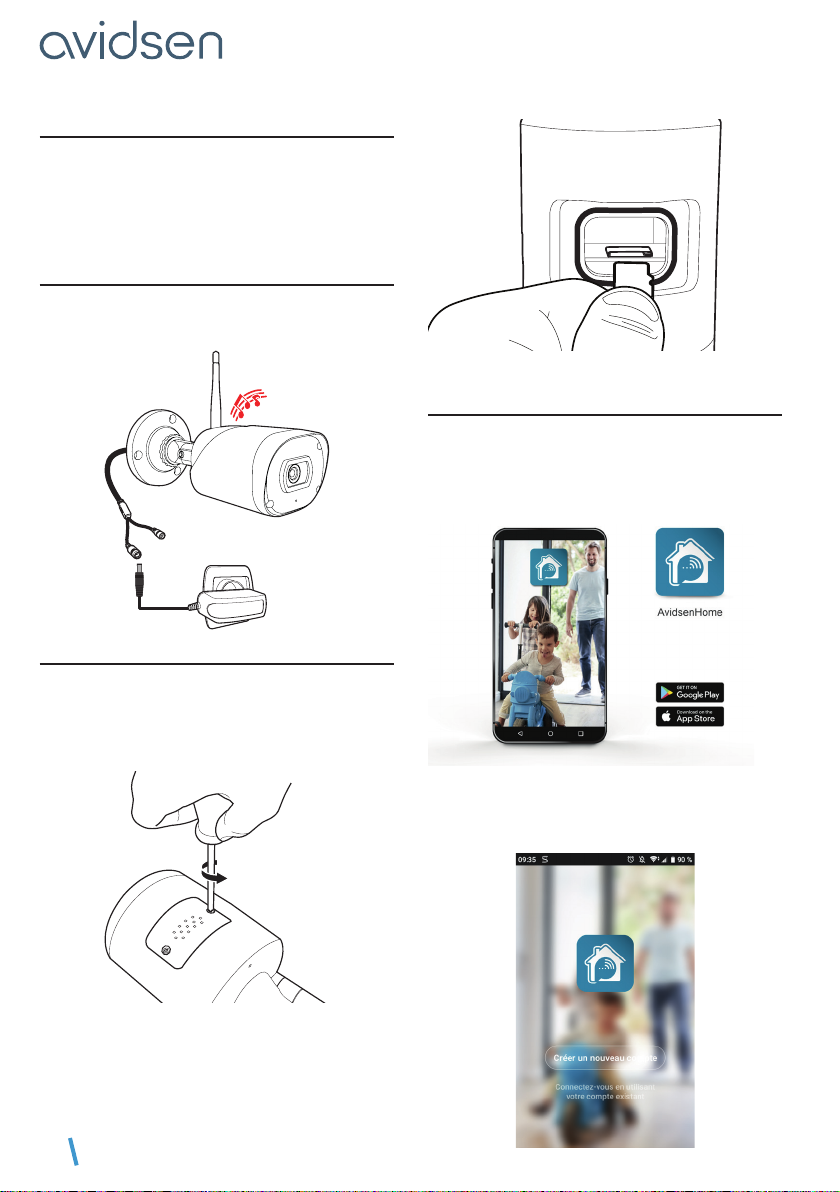
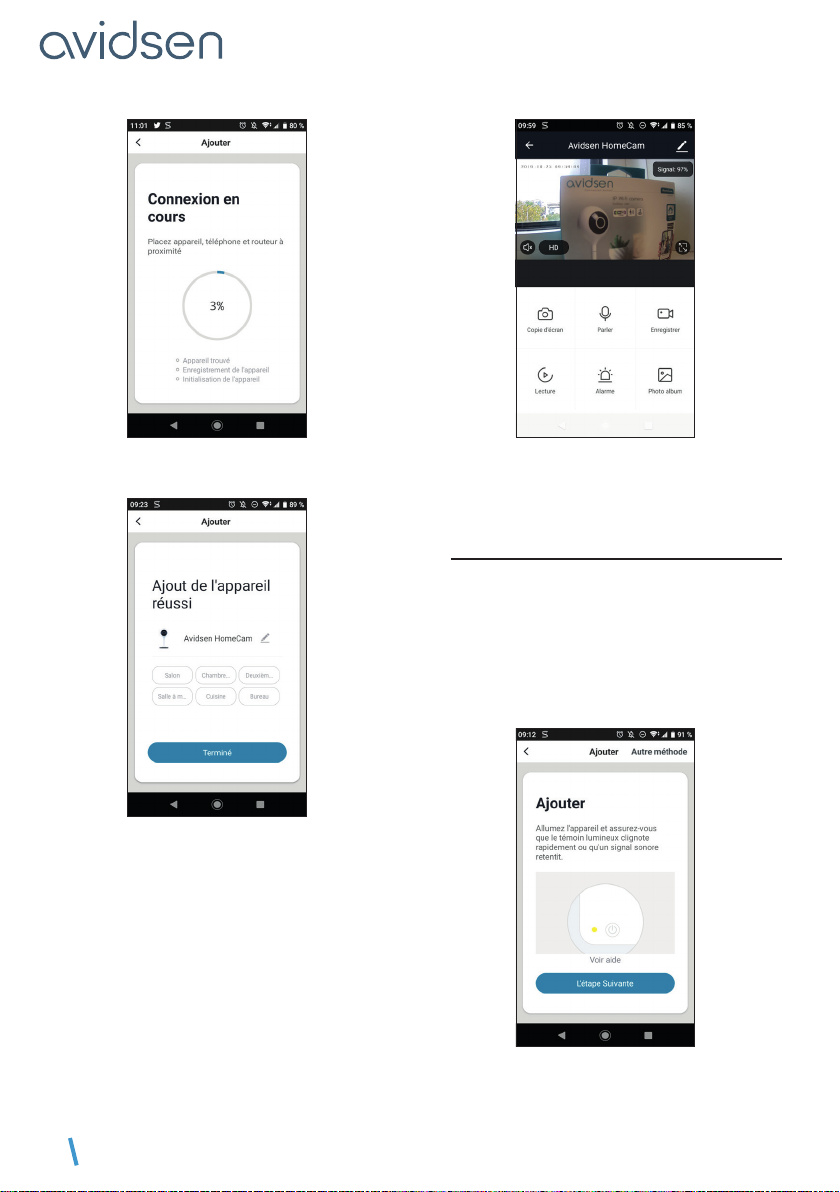
5 - CONNECTING THE CAMERA
If you have more than one item to pair (plugs,
cameras, other bulbs) switch on only one item at
a time.
The following information may vary depending on
the app updates.
IMPORTANT: This device is compatible with 2.4
GHz - WPA/WPA2 networks. Not compatible
with 5 GHz WiFi or with WEP encryption. Please
check the WiFi settings of your router or contact
your Internet service provider if you experience
connection difculties.
A message may also appear during installation
indicating that the WiFi password and SSID is too
long. Make sure that your box password and SSID
are less than 20 characters long. Otherwise, see
Chapter “5.2 Other method.”
5.1 By QR code.
To start the installation, press AJOUTER (ADD).
Make sure your phone is connected to your
router’s 2.4 GHz WiFi network.
Select the product that you wish to pair and select
the HomeCam camera.
Check that the camera indicator light is ashing
red; otherwise, see the chapter Resetting the
camera. Then press ETAPE SUIVANTE (NEXT
STEP).
C - INSTALLATION