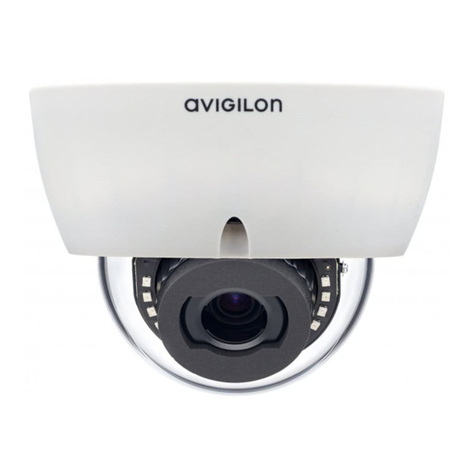
Installing the Camera Module 7
Assigning an IP Address 8
Accessing the Live VideoStream 8
Aiming the Dome Camera 8
Installing the Dome Cover 9
CAUTION — The dome camera must be mounted as instructed below or problems with moisture may
arise and will not be covered by the dome camera warranty.
Preparing the Camera for Installation
NOTE: Be careful not to scratch the dome bubble.
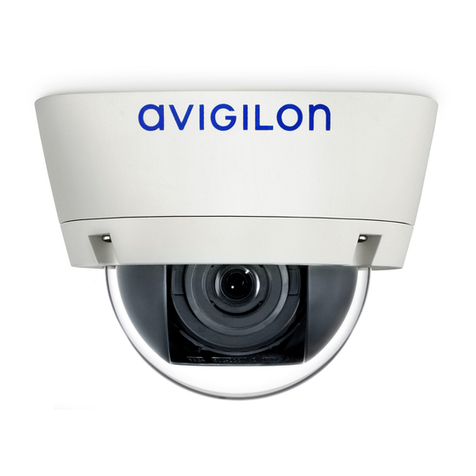
1. Remove the dome cover by loosening the screws that fix the cover to the base. The Torx key included
with the dome camera can be used to loosen the screws.
2. Determine where the cables will enter the camera. The camera has two cable entry holes: one on the
side and one on the bottom of the dome camera.
lUse the supplied 3/4” NPT closure plug to fill the unused cable entry hole.
lWhen installing outdoors, wrap the thread of the plug with the supplied Teflon sealing tape to
create a water tight seal.
3. If you are using the side cable entry hole, attach a conduit connector to the cable entry hole. Install the
conduit and its fitting as instructed by the manufacturer.
NOTE: Only use vandal resistant conduits. Vandal resistant conduits will protect the cables and
compliment the dome camera’s vandal resistant design.
When installing the dome camera outdoors, ensure the conduit and its fitting are designed for outdoor
use and have a suitable IP rating. Always apply silicone sealant to seal the cable entry hole and prevent
excessive moisture from entering the dome.
(Optional) Configuring SD Card Storage
To use the camera's SD card storage feature, you must insert an SD card into the card slot.
It is recommended that the SD card have a capacity of 8GB or more and a write speed of class 6 or better. If the
SD card does not meet the recommended capacity or write speed, the recording performance may suffer and
result in the loss of frames or footage.
1. Insert an SD card into the camera.
CAUTION — Do not force the SD card into the camera or you may damage the card and the
camera. The SD card can only be inserted in one direction.
2. Access the camera’s web interface to enable the onboard storage feature. For more information, see the
Avigilon High Definition H.264 Camera Web Interface User Guide.
Preparing the Camera for Installation 5
