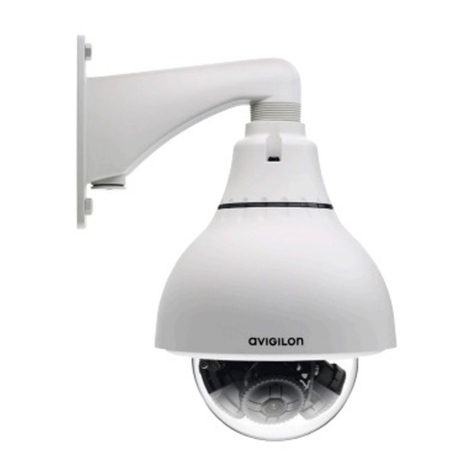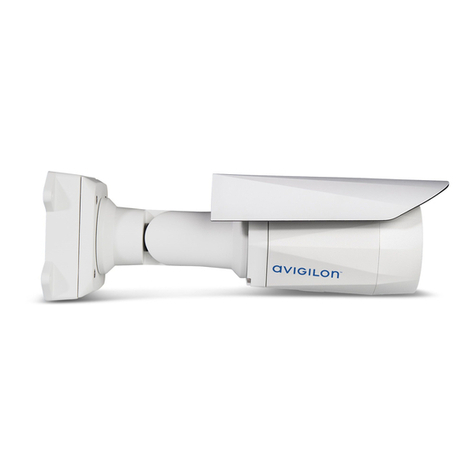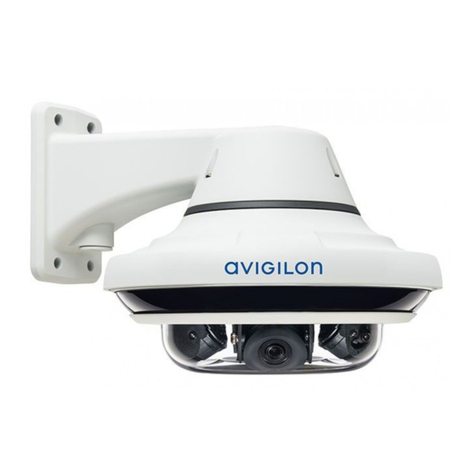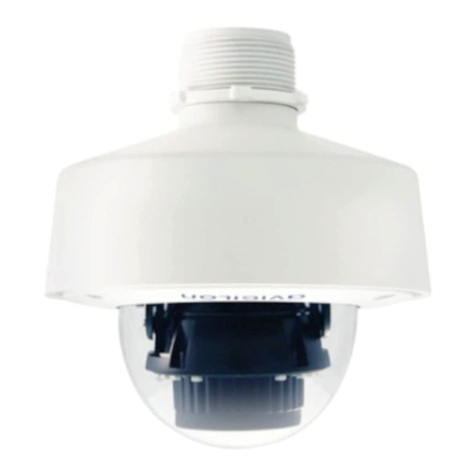
To connect the cables required for proper operation, complete the following:
1. If external input or output devices are part of the installation (for example: door contacts,relays, etc),
connect the devices to the I/O Terminals.
2. If an external microphone or external video monitor needs to be connected to the camera, connect the
devices to the camera Audio/Video Connector.
3. Connect power using one of the following methods:
oPower over Ethernet (PoE) Class 3 — If PoE is available, the LEDs will turn on.
oExternal Power — Connect an external 12 VDC or 24 VAC power source to the power connector
block.
4. Connect a network cable to the Ethernet Port (RJ-45 connector).
The Link LED will turn on once a network link has been established.
5. Check that the Connection Status LED indicates the correct state. For more information, see LED
Indicators on page10.
Assigning an IP Address
The camera automatically obtains an IP address when it is connected to a network.
NOTE: If the camera cannot obtain an IP address from a DHCP server, it will use Zero Configuration Networking
(Zeroconf) to choose an IP address. When set using Zeroconf, the IP address is in the 169.254.0.0/16 subnet.
The IP address settings can be changed using one of the following methods:
lCamera's web browser interface: http://<camera IP address>/
lARP/Ping method. For more information, see Setting the IP Address Using the ARP/Ping Method on
page12
lNetwork Video Management software application (for example, Avigilon™ Control Center).
NOTE: The default camera username is admin and the default password is admin.
Accessing the Live VideoStream
Live video stream can be viewed using one of the following methods:
lWeb browser interface: http://<IP address>/
lNetwork Video Management software application (for example, the Avigilon Control Center software).
NOTE: The default camera username is admin and the default camera password is admin.
Aiming and Focusing the Camera
Use the Avigilon Camera Installation Tool or camera web browser interface to aim and focus the camera. Consult
the software user guide for more information.
1. In the Image and Display settings dialog box, use the Zoom controls to achieve the desired zoom position
for the camera.
2. In the Image and Display settings page, use the Auto Focus button to focus the lens.If the desired focus
position was not achieved, use the focus near and far buttons to adjust the focus.
5Assigning an IP Address

