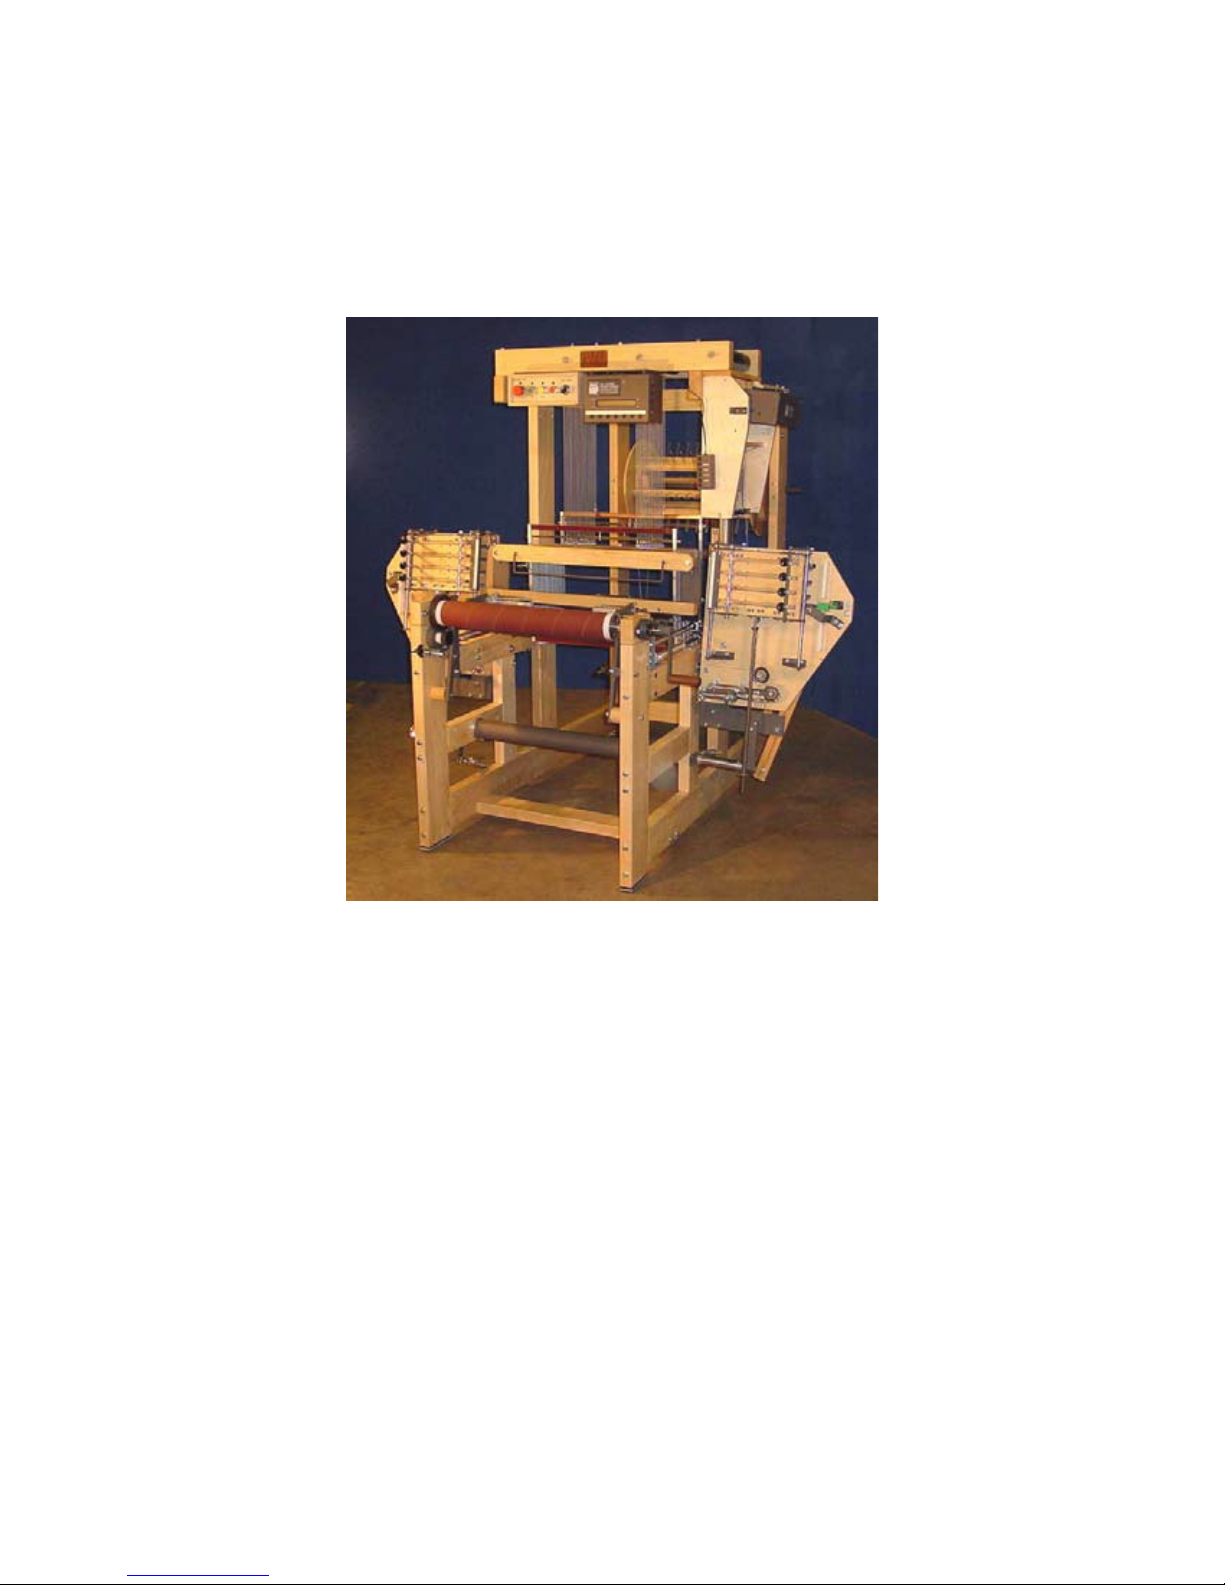
Industrial Dobby Loom User's Manual Introductory Information
Introductory Information Page | 3
Introductory Information ................................................................................................................ 1
Safety .......................................................................................................................................... 2
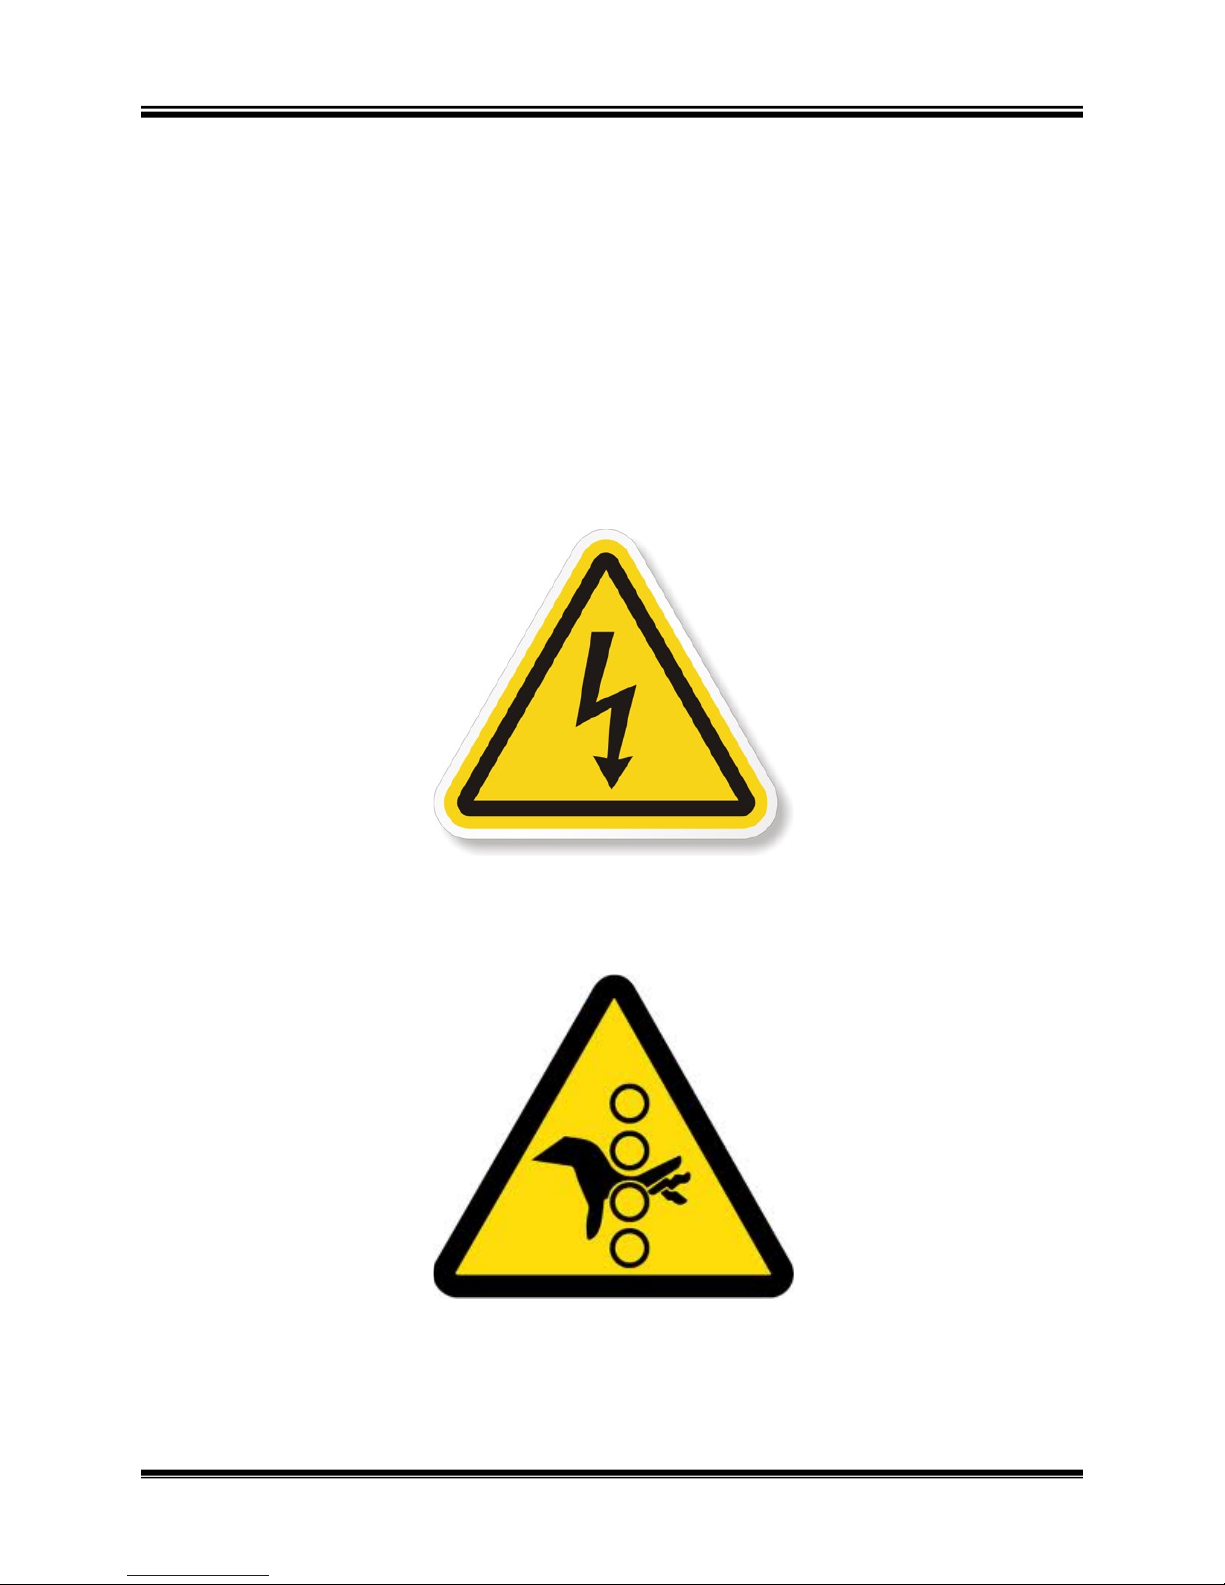
Warnings: ................................................................................................................................ 2
Safety Features: ....................................................................................................................... 3
IDL Setup ........................................................................................................................................ 5
Introduction ................................................................................................................................. 6
About This Manual ..................................................................................................................... 6
Preparations................................................................................................................................. 6
Safety .......................................................................................................................................... 6
Stopping your loom safely ...................................................................................................... 8
Restarting After an "Emergency Stop" ................................................................................... 9
Additional Loom Setup ............................................................................................................. 10
Square and Level the Loom .................................................................................................. 10
Flexible Air Link ................................................................................................................... 11
Floor Brackets ....................................................................................................................... 11
Power Supply ........................................................................................................................ 11
Setup Your Computer ............................................................................................................... 11
Setup the Air System ................................................................................................................ 12
Compressor ........................................................................................................................... 12
Filter-Regulator (FR) ............................................................................................................ 12
Regulators ............................................................................................................................. 13
Cylinder Flow Controls (Speed Controls) ............................................................................ 14
Testing The Loom ..................................................................................................................... 14
Pre-Operation Checklist ............................................................................................................ 15
Normal Loom Firing Sequence ................................................................................................. 15
Using the IDL ............................................................................................................................... 17
Operating the Loom .................................................................................................................. 18
Manual Loom Control ........................................................................................................... 18
Automatic Loom Control ...................................................................................................... 19
Reversing Cloth Direction ........................................................................................................ 19
Adjustments .............................................................................................................................. 22
Synchronized
Loom Motion ................................................................................................. 22
Automatic Cloth
Advance Speed Adjustment ...................................................................... 22
Automatic
Advance and Cloth Beam Gear Adjustment ....................................................... 23