Avolites Diamond 9 User manual

Welcome & Care Guide
Avolites Diamond 9.

Welcome to Avolites
New Diamond 9
Since Avolites was founded 1976, our team has
always worked closely with the users of our
products. With their input we have redened our
agship Avolites Diamond experience for the next
generation of shows.
Right from its inception, Avolites has always been a
pioneer in the development of the integrated visual
canvas. Now with our new hardware combined with
our powerful software platforms, Titan and Ai, we
are able to control not only lights but also video,
generative content, pyrotechnics and cameras.
Designed from the ground up to power our
proprietary Avolites Synergy software feature set,
every component has been carefully chosen for its
quality and precision to control the most demanding
productions for years and decades to come. We
believe D9 will become the visual canvas console of
its time. Again.
Paul Wong
Avolites Managing Director
We hope you are delighted with our new Avolites
agship console, here are a few tips and hints to get
yourself up and running.

Building on four decades of
experience powering the most
demanding shows, Avolites
D9 is a dramatic evolution in
production control.
DESIGNED TO PIONEER THE NEXT GENERATION OF SHOWS
CHECKLIST OF WHAT IS IN THE FLIGHT CASE
Created in consultation with leading visual
designers, and alongside expert industrial designers,
D9 is ready for the next generation of ultimate shows
and beyond. With vast screen real-estate, all-new
controls, and unique media integration it intuitively
combines control of all visual aspects of the show.
Hand-crafted in London, built upon Avolites’ heritage
of quality and reliability.
– Power Cable (powerCON TRUE1)
– Dust Cover
– 4 Pin RBW LED Desk Lamp x2
– External Monitor stands and clamps x 2 (Optional)
– Documentation
– Spare Parts Kit
– Warranty Registration
3

Transpor t &
Storage
Be careful when moving or lifting your Avolites desk.
To avoid injury, a minimum of two people is required
when handling the desk.
Before transporting, remove all cabling, ensure the
keyboard tray is closed, return the screen back
to home position using the push down latch, then
protect the console using the provided dust cover. It
is strongly recommended to transport the desk using
the provided ight case.
The Avolites console must be protected from
vibration during transportation. The console must be
checked after transportation for damage.
Pay attention to the temperature and humidity during
storage and transportation.
OPERATION
0 up to 40 Degrees (ºC)
(20% up to 90% relative humidity – no condensation)
STORAGE & TRANSPORT
–10 up to 50 Degrees (ºC)
(10% up to 90% relative humidity – no condensation).
Only use the device within its operating limits.
4
TEMPERATURE

5
General Safety
Instructions
Place the console on to a stable and load-bearing
surface only.
Do not place high powered radio devices on top of
the console
Do not support yourself on the console, use the
provided armrest only.
Do not place any heavy objects on top of the
console.
Do not use excessive force on buttons, faders, knobs
and switches.
Switch off the console using the power switch
located on the rear if left unattended for a long
period of time.
Shut down the console using the power button
located under the arm rest, then switch off the
power switch located on the rear and disconnect the
power cable before cleaning the device.
Prevent liquids from entering the console.
Do not cover or block any ventilation holes. These
are essential for the airow within and will protect
the device from overheating.
If the power cable or main plug power is defective,
let a qualied technician replace this immediately.
Unplug the power cable to disconnect the power
supply from electric voltage during thunderstorms.
IF ANY OF THE FOLLOWING OCCUR, PLEASE DISCONNECT THE
MAIN POWER PLUG AND CALL YOUR LOCAL DISTRIBUTOR OR
TECHNICAL SUPPORT TEAM
Ingress of liquids
Console has been exposed to rain or high ambient
humidity
The console fell damaging the housing
The console does not power on and none of the
troubleshooting and quick start steps resolve the
issue.

Support
All Avolites product related manuals are available
online and via the ‘Tools’ menu in the console.
To view the online manual, visit:
https://manual.avolites.com
Avolites offers a whole range of videos on how to
use your product in the best possible way. Get tips
and tricks from our experts on your product via our
YouTube channel. To learn more, visit:
https://www.youtube.com/user/avolitesvis
Share your knowledge and get help from other Titan
users. A community can be stronger and better than
the individual. Be part of the Avo community!
FACEBOOK GROUP
https://www.facebook.com/groups/Avolites/
FORUM
http://forum.avolites.com/
If you have any questions regarding your Avolites
product, please contact your local Avolites
distributor or reseller. If you require further
assistance, please contact
support@avolites.com. This email service is
monitored during regular business hours Monday
through Friday from 9am until 5pm (BST).
In the event of an emergency, please contact Avolites
out of hours support on +44 (0) 77831 178 888.
Please note, this number is strictly for emergency
technical support only.
ONLINE MANUAL
VIDEO TUTORIALS
COMMUNITY
LOCAL & MANUFACTURER SUPPORT
EMERGENCY CONTACT
6

7

I/O Panel The D9 provides exible connectivity so compatible
devices and cables remain in place whatever
vibration and knocks are thrown at them.
8
D9 Layout (Front):
1. ON/OFF SWITCH (INSIDE ARMREST)
2. USB 3.0
3. READING LIGHT
4. KEYBOARD TRAY
With backlit keys and responsive Cherry MX Low
Prole key switches, the keyboard is beautifully
concealed, repurposing the legendary Avolites
drawer.
34
2
1

9
D9 Layout (Rear):
1. POWER INPUT
2. POWER SWITCH
3. UPS BATTERY INTERRUPT SWITCH
4. 2 X USB 3.0
5. GPIO
6. TRIGGER IN
7. AUDIO INPUT
8. LTC INPUT
9. LTC LOOP
10. DMX INPUT
11. 2 X HDMI
12. 2 X EXTERNAL MONITOR USB 2.0
13. MIDI IN
14. MIDI THRU
15. MIDI OUT
16. ETHERNET CONNECTIVITY
17. S/PDIF
18. FIBER CONNECTIVITY
19. WORK LIGHT
20. DMX OUTPUT
21. GIGACORE (LUMINEX) LED POWER & MODE INDICATOR
The onboard Gigacore 10 Luminex switch is validated
against all common protocols in the AV industry
including ArtNet, sACN, QoS and IGMP Snooping.
The integrated switch works awlessly with every
xture and device you connect to the network.
1
2
3
4
5
6
7
8
9
10
13
14
15
17
19
16
18
20
21
12 12
11 11

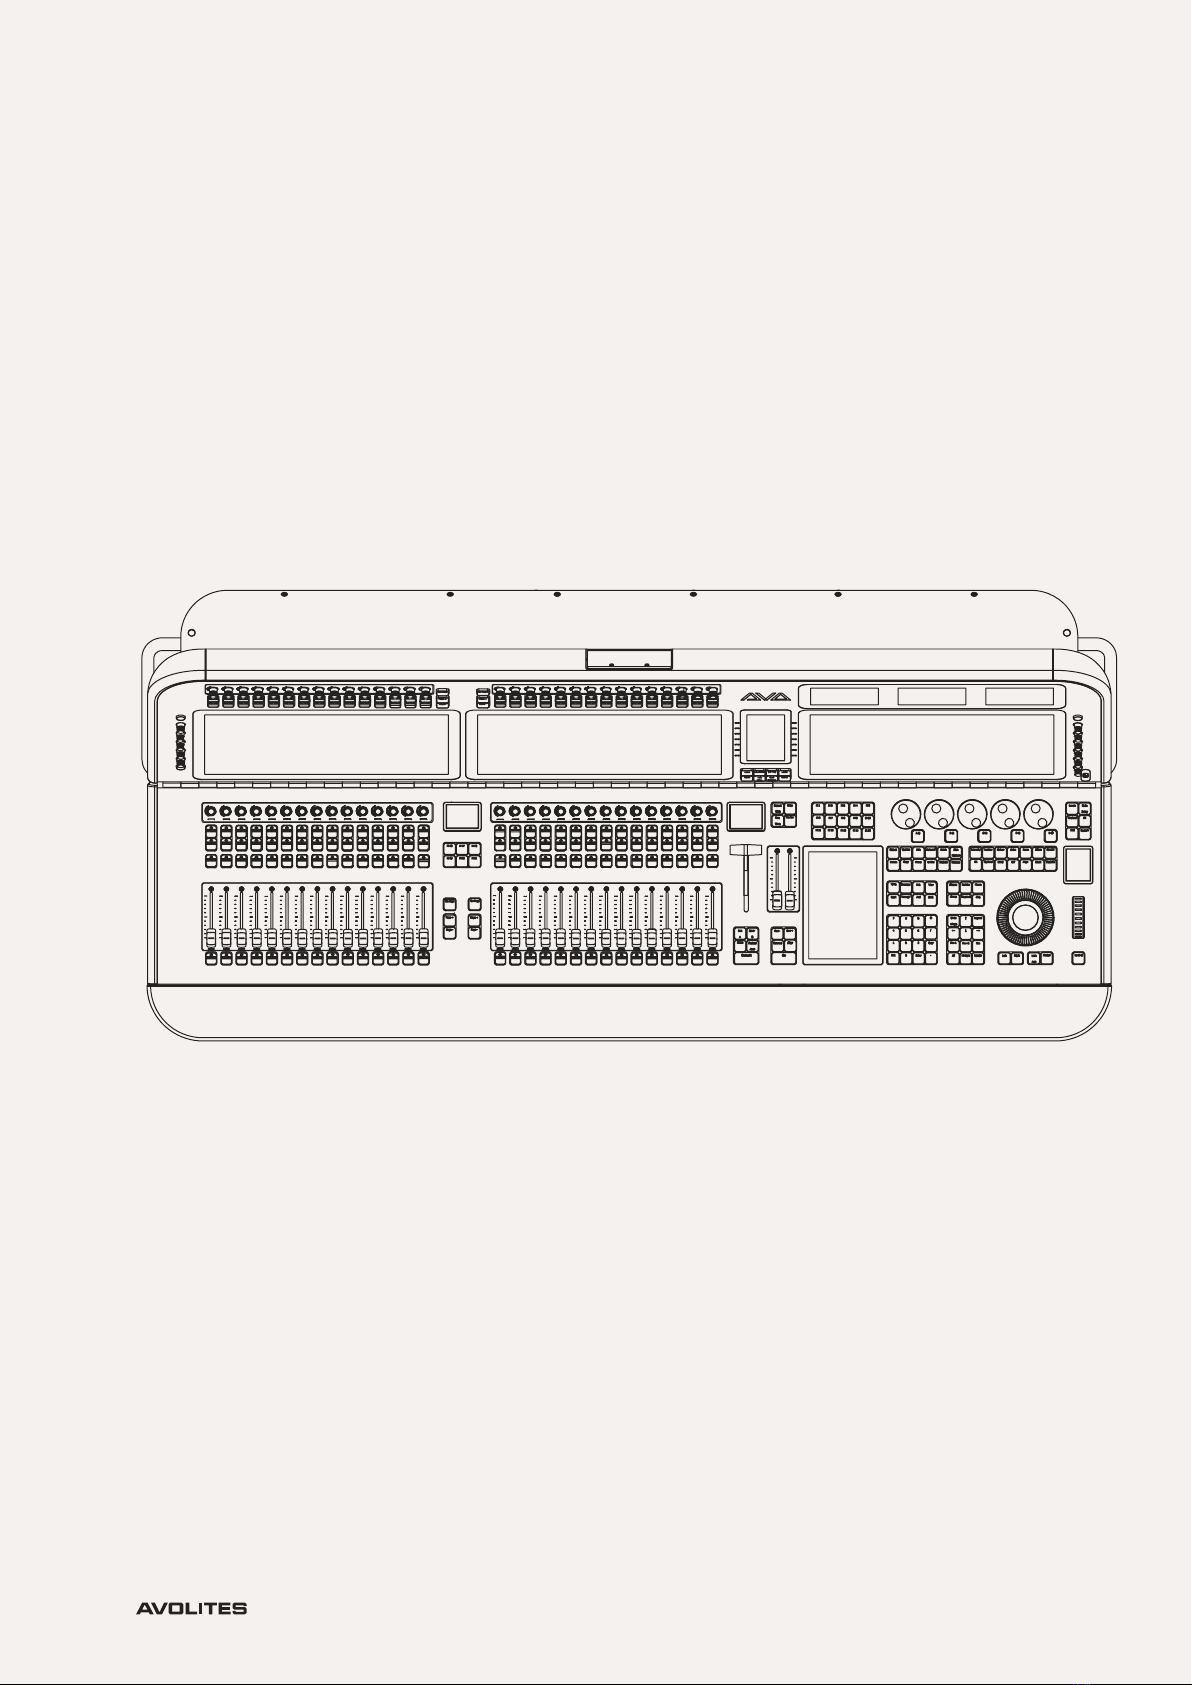
Quick Start 1. Unpack the console.
2. Remove the dust cover.
3. Place the device along with the bottom half of the
ight case onto a stable surface (recommended).
4. Using the push down latch raise the back panel.
1. Insert powerCON TRUE1 into the corresponding
jack.
2. Fit console lights.
2. Connect the main power plug.
3. Turn on the red power switch located on rear of
the console. Observe that the mains present neon is
lit
4. Press the power switch located under the arm
rest.
5. Once the software has fully launched and
the show le has loaded, you can then begin
programming.
1. Press the power switch located under the arm rest.
2. Switch off the power button located on the
back and remove powerCON TRUE1 from the
corresponding jack when the console has nished
powering down.
3. Return screen to home position using the push
down back panel.
4. Apply dust cover.
TO ENSURE THE CONSOLE IS RUNNING THE LATEST
SOFTWARE VERSION, PLEASE VISIT HTTPS://WWW.AVOLITES.
COM/SOFTWARE.
You can enjoy a complete system mounting option
by using the external monitor brackets to mount
additional displays.
To take advantage of this, securely hand-tighten the
provided brackets to the ight case. Place the VESA
bracket in position on the back of the monitor and
attach using the provided screws. Apply and tighten
the monitor clamps to the brackets.
19 to 24-inch monitors weighing between 2.2kg to
5.5kg.
VESA 100 x 100 mm
10
POWERING UP CONSOLE
POWERING DOWN CONSOLE
CONNECTING EXTERNAL MONITORS
(BRACKETS AND CLAMPS SOLD SEPARATELY)
COMPATIBILITY

11
Care &
Maintenance
The Diamond 9 console requires minor attention to
keep in good working order.
WARNING
All repair and service work must be performed by
qualied service technicians as live parts may be
exposed when opening and / or removing coverings.
Touching live parts may cause electric shock.
IMPORTANT
The intervals between maintenance may differ
depending on the frequency of transport and the
operational environment.
Disconnect power supply before cleaning.
Clean the surface and arm rest using anti-static
wipes or spray with a dry cloth only.
Either use non-alcoholic disinfectant or a 70%
alcohol 30% water mixture.
Prevent moisture build up near the edge of the
screens as this may impair the touch sensor while it
is wet. If the touch sensor is affected by moisture,
use clean dry paper to dry out the junction between
the top of the glass and the foam gasket, by sliding
the paper in approximately 6mm and running it
around the whole edge of the screen. This may
need to be repeated twice with dry paper to get the
desired result.
Check if the ventilation holes are blocked, they may
need to cleared using a vaccum cleaner and soft
brush.
Faders no longer require maintenance due to its roof
tapered designed.
Dust cover should be utilised when the console is
not in operation or when not stored in its ight case.
Depending on the environment, we recommend
professionally cleaning the console once a year.
CLEANING
MAINTENANCE

12
Designed from the ground up for seamlessly
integrated control of all visual elements, with the
nest materials and meticulous attention to detail,
the Diamond 9–330 is the agship visual canvas
controller in our collection.
One Diamond 9 experience.
Two different sizes.
D9–330

13
D9–215 The same intuitive, integrated control but with a
smaller footprint. The Diamond 9–215 is a more
compact version of the agship visual canvas
controller in our collection.

CONTROL SURFACE
CONSTRUCTION
D9–330 Data Sheet
Features
30 motorised touch-sensitive Penny &
Giles faders – designer fader cap
11-segment RGB LED level indicator
alongside each fader
Halo RGB indicator for each playback
60 optical rotary touch sensitive playback
encoders with push function - designer
knob
11-segment RGB LED level indicator
alongside each encoder
RGB halo indicator for each encoder
180 C&K playback function buttons with
positive haptics for timing – designer
button cap
10 optical rotary assignable encoders
with push function - designer knob
3 x 15.6” 1000nits 1920*1080 capacitive
touchscreens with adjustable brightness
3 x 4.3” 1000nits 800x480 preview
touchscreens for media or workspaces
Softkey menu touchscreen
Panels machined from single pieces of
solid aluminium
Comfortable armrest
Exclusively manufactured button caps,
fader caps, encoder knobs, encoder
wheels and level wheel
Independent paging for each playback
section
Programming buttons all RGB backlit,
short travel Cherry® MX Low Prole
switches
5 custom RGB backlit optical attribute
encoders
Dedicated level wheel, machined
aluminium with colour LCD status screen
T-Bar with 5 control buttons and a colour
LCD status screen
Dual, motorised, touch-sensitive, master
cue list fader control with 9 buttons
7” dual-touch high-brightness 800*1280
programming screen
Full custom backlit QWERTY keyboard in
drawer, keys identical to program panel
X, Y, Z, optical trackball
21 backlit Macro / Executor keys, all
screen-labelled
Supports two additional HDMI 1920*1080
touchscreens
All screens ush-mounted
Innitely adjustable hydraulic screen
panel articulation – 18 to 68 degrees from
horizontal
14

C P U
S Y S T E M R A M
G P U
UNIT DIMENSIONS
(W X D X H)
WEIGHT
INTEL I7-9700K 9TH GEN UP
TO 4.9GHZ
16 GB
AMD RADEON PRO WX-5100
4TH GEN
1380 X 640 X 455 MM
(SCREENS UP), 1380 X 705 X
240 MM (SCREENS DOWN)
54.3” X 25.2” X 17.9”
(SCREENS UP), 54.3” X 27.8”
X 9.5” (SCREENS DOWN)
68 KG / 150LBS
POWER CONSUMPTION
VOLTAGE
OPERATING ENVIRONMENT
HEAT OUTPUT
INTERNAL UPS
MAX 400W
110 – 240V AC, 50-60HZ
OPERATING TEMP 0-40C /
32-104F MAX HUMIDITY 95%
RELATIVE NON-CONDENSING
MAX 1365 BTU/HR
UP TO 5 SEPARATE 4-MINUTE
PERIODS, FULLY SOFTWARE
INTEGRATED
DMX 512
NETWORK
DATA / PERIPHERALS
EXTERNAL DISPLAY
S M P T E
TRIGGER INPUTS
MIDI
A U D I O O U T
MAINS POWER
8 X NEUTRIK 5-PIN XLR, OPTICALLY AND GALVANICALLY ISOLATED WITH HALO
ASSIGNMENT INDICATORS
4 X 1GBE NEUTRIK ETHERCON, INTERNALLY SWITCHED & MANAGED
1 X QUAD OPTICALCON 1GBE LC CONNECTION
1 X 1GB ETHERCON, NETWORK 2
OPTIONAL UPGRADE TO ADD:
1 X 10GBE CONNECTION TO OPTICALCON
1 X 10GBE NEUTRIK ETHERCON
1 X USB 3.1 UNDER ARMREST
1 X USB 3.1 ON FRONT PANEL
2 X USB 3.1 BACK PANEL
2 X USB 2.0 ASSIGNED FOR EXTERNAL TOUCHSCREENS
2 X HDMI UP TO 1920*1080
1 X 3-PIN NEUTRIK XLR TRANSFORMER ISOLATED INPUT WITH SIGNAL INDICATOR PLUS 3-PIN
XLR LOOP OUT.
GPIO 4 IN/4 OUT, ISOLATED, AND DRY CONTACTS
¼” JACK FOR FOOT SWITCH.
DMX512 DEDICATED INPUT WITH INDICATOR
AUDIO INPUT 3-PIN XLR WITH INDICATOR
IN, THRU, OUT ON 5-PIN DIN WITH SIGNAL AND ENABLED INDICATORS
USB MIDI SUPPORTED
DIGITAL S/PDIF RCA
NEUTRIK TRUE1®
Connectivity
Hardware
SOFTWARE PLATFORM
DMX CHANNELS PER DEVICE
DMX CHANNELS PER SYSTEM
M A X F I X T U R E S
KEYFRAME EFFECT ENGINE
PIXEL MAPPING
AVOLITES TITAN
16,384
32,768
UNLIMITED
CUSTOM EFFECTS WITH ANY
NUMBER OF KEYFRAMES
VIDEO VIA SYNERGY, PIXEL
ANIMATIONS FROM TITAN
Software
PLAYBACK CONTROL
EXTERNAL CONTROL
TITAN NET
OUTPUT FORMATS
BASE OS
USER DEFINED USING
MULTIPLE FADERS,
ENCODERS AND BUTTONS
WEB API, SMPTE, MIDI, DMX,
S-ACN, GPIO
MULTI-USER & DMX
EXPANSION
ARTNET, S-ACN, DMX512
MICROSOFT WINDOWS 10
ENTERPRISE LTSC 64 BIT
The Diamond 9 console comes with a 2-year systems manufacturer warranty.
15

CONTROL SURFACE
CONSTRUCTION
D9–215 Data Sheet
Features
15 motorised touch-sensitive Penny &
Giles faders – designer fader cap
11-segment RGB LED level indicator
alongside each fader
Halo RGB indicatorfor each playback
30 optical rotary touch sensitive playback
encoders with push function - designer
knob
11-segment RGB LED level indicator
alongside each encoder
RGB halo indicator for each encoder
90 C&K playback function buttons with
positive haptics for timing – designer
button cap
10 optical rotary assignable encoders
with push function - designer knob
2 x 15.6” 1000nits 1920*1080 capacitive
touchscreens with adjustable brightness
3 x 4.3” 1000nits 800x480 preview
touchscreens for media or workspaces
Softkey menu touchscreen
Panels machined from single pieces of
solid aluminium
Comfortable armrest
Exclusively manufactured button caps,
fader caps, encoder knobs, encoder
wheels and level wheel
Independent paging for each playback
section
Programming buttons all RGB backlit,
short travel Cherry® MX Low Prole
switches
5 custom RGB backlit optical attribute
encoders
Dedicated level wheel, machined
aluminium with colour LCD status screen
T-Bar with 5 control buttons and a colour
LCD status screen
Dual, motorised, touch-sensitive, master
cue list fader control with 9 buttons
7” dual-touch high-brightness 800*1280
programming screen
Full custom backlit QWERTY keyboard in
drawer, keys identical to program panel
X, Y, Z, optical trackball
21 backlit Macro / Executor keys, all
screen-labelled
Supports two additional HDMI 1920*1080
touchscreens
All screens ush-mounted
Innitely adjustable hydraulic screen
panel articulation – 18 to 68 degrees from
horizontal
16

C P U
S Y S T E M R A M
G P U
UNIT DIMENSIONS
(W X D X H)
W E I G H T
INTEL I7-9700K 9TH GEN UP
TO 4.9GHZ
16 GB
AMD RADEON PRO WX-5100
4TH GEN
995 X 640 X 455 MM
(SCREENS UP), 995 X 705 X
240 MM (SCREENS DOWN)
39.2” X 25.2” X 17.9”
(SCREENS UP), 39.2” X 27.8”
X 9.5” (SCREENS DOWN)
54 KG / 120 LBS
POWER CONSUMPTION
VOLTAGE
OPERATING ENVIRONMENT
HEAT OUTPUT
INTERNAL UPS
MAX 380W
110 – 240V AC, 50-60HZ
OPERATING TEMP 0-40C /
32-104F MAX HUMIDITY 95%
RELATIVE NON-CONDENSING
MAX 1297 BTU/HR
UP TO 5 SEPARATE 4-MINUTE
PERIODS, FULLY SOFTWARE
INTEGRATED, WITH BYPASS
S W I T C H
DMX 512
NETWORK
DATA / PERIPHERALS
EXTERNAL DISPLAY
S M P T E
TRIGGER INPUTS
MIDI
A U D I O O U T
MAINS POWER
8 X NEUTRIK 5-PIN XLR, OPTICALLY AND GALVANICALLY ISOLATED WITH HALO
ASSIGNMENT INDICATORS
4 X 1GBE NEUTRIK ETHERCON, INTERNALLY SWITCHED & MANAGED
1 X QUAD OPTICALCON 1GBE LC CONNECTION
1 X 1GB ETHERCON, NETWORK 2
OPTIONAL UPGRADE TO ADD:
1 X 10GBE CONNECTION TO OPTICALCON
1 X 10GBE NEUTRIK ETHERCON
1 X USB 3.1 UNDER ARMREST
1 X USB 3.1 ON FRONT PANEL
2 X USB 3.1 BACK PANEL
2 X USB 2.0 ASSIGNED FOR EXTERNAL TOUCHSCREENS
2 X HDMI UP TO 1920*1080
1 X 3-PIN NEUTRIK XLR TRANSFORMER ISOLATED INPUT WITH SIGNAL INDICATOR PLUS 3-PIN
XLR LOOP OUT.
GPIO 4 IN/4 OUT, ISOLATED, AND DRY CONTACTS
¼” JACK FOR FOOT SWITCH.
DMX512 DEDICATED INPUT WITH INDICATOR
AUDIO INPUT 3-PIN XLR WITH INDICATOR
IN, THRU, OUT ON 5-PIN DIN WITH SIGNAL AND ENABLED INDICATORS
USB MIDI SUPPORTED
DIGITAL S/PDIF RCA
NEUTRIK TRUE1®
Connectivity
Hardware
SOFTWARE PLATFORM
DMX CHANNELS PER DEVICE
DMX CHANNELS PER SYSTEM
M A X F I X T U R E S
KEYFRAME EFFECT ENGINE
PIXEL MAPPING
AVOLITES TITAN
16 , 3 8 4
32 ,76 8
UNLIMITED
CUSTOM EFFECTS WITH ANY
NUMBER OF KEYFRAMES
VIDEO VIA SYNERGY, PIXEL
ANIMATIONS FROM TITAN
Software
PLAYBACK CONTROL
EXTERNAL CONTROL
TITAN NET
OUTPUT FORMATS
BASE OS
USER DEFINED USING
MULTIPLE FADERS,
ENCODERS AND BUTTONS
WEB API, SMPTE, MIDI, DMX,
S-ACN, GPIO
MULTI-USER & DMX
EXPANSION
ARTNET, S-ACN, DMX512
MICROSOFT WINDOWS 10
ENTERPRISE LTSC 64 BIT
17
The Diamond 9 console comes with a 2-year systems manufacturer warranty.

18
A Diamond
history.
AVOLITES QM 8100
Since the birth of the company under a railway
arch in 1976 in London, Avolites has believed in
technology innovation, reliable components, quality
nish and inspired design. A pioneer in the lighting
industry, Avolites has paved the way to ever bier,
more demanding, and more immersive shows.
The diamond console heritage goes back to 1977
with the arrival of the 8100 series. They were custom
built with blue stamped fader panels, indented white
lettering and wavy brushed aluminium side panels.
Three styles were designed: a 72 way, 84-way and
a 96-way model, all with a sloped frontage and
separate inner panel construction. A classic Avolites
design, this was much admired and established
Avolites’ agship consoles as aspiring leaders in the
industry.
Next, Avolites began to develop what became a true
legend of its time and part of ‘Rock & Roll’ history:
the QM series. In production from 1983, the QM500-
90 & 180 kept the 8100’s familiar analogue feel, with
high quality faders topped by comfortable caps that
precisely located your nger, each fader bank colour-
coded to its corresponding master, all with ash and
swap buttons. Later, the QM500TD came along with
added new generation technology: a single Motorola
6809 microprocessor with 64k memory.

19
This produced a modern digital console putting
Avolites rmly on the worldwide map of lighting
control manufacturers.
Strictly speaking, there was no Diamond I, it was
called QM-Diamond, and launched in 1991, just after
Avolites returned to private ownership from Carlton
Television. The QM-Diamond was to become the
most versatile lighting console of its time; its exible
design made it an LD’s favourite for both theatre or
installs and major Rock & Roll tours. The advanced
digital design allowed for precise, accurate and
repeatable control, as well as a new creative freedom
for LDs to programme or control the most demanding
shows of the time.
The Diamond II debuted at PLASA in 1993, followed
soon after by the Diamond III. They were designed
to meet the need to control large lighting rigs with
multi-parameter instruments. They offered 1024 HTP
or LTP channels, 100 pages of submaster playbacks
(30/20 of which were submasters), 180 Penny &
Giles motorised faders, 3,071 control channels, 6 full
speed isolated DMX outputs, as well as ultra-smooth
optical encoders, shape generator, fan mode and
highlight functions, colour VGA outputs and ‘Add’
and “Swap” buttons on Masters and Channels. Both
came with full size Qwerty keyboards and compatible
with Avolites Graphics Tablet and riers remote
control. The Diamonds quickly became renowned for
being the ultimate live performance consoles.
The Diamond IV (D4) Vision and Classic launched
in October 2001, followed in 2002 with the Elite
version. These were designed after intensive user
research to address Lighting Designers requirements
for fast, accurate and immediate control of intelligent
and conventional xtures, as well as DMX devices.
To perform equally as well in live as well as pre-
programmed shows or install environments where
power and functionality in the minimum physical
space was paramount. The Diamond 4s were stylish
and had an aesthetically pleasing prole, intuitive to
operate, with minimal operator fatigue and the ability
to create the fastest, most cost efcient range of live
or programmed shows with cutting edge technology
built-in.
The NEW Diamond 9, agship console of the
new Diamond Collection, is the latest to join the
legendary lineage of Avolites consoles bearing
the Diamond name. Designed to power the next
generation of shows, it is set to become the class
leading console of its time. Yet again.

READ MORE & BOOK A DEMO • WWW.D9.AVOLITES.COM
This manual suits for next models
4
Table of contents
Other Avolites Music Mixer manuals