Avolites Titan V9 Quick start guide

Titan V9 BIOS and Shell Upgrade
ECN 0204
For all Titan Consoles
Version 1.2
This document, the product and procedures it describes within are intellectual property of
Avolites Ltd. at all times.
The use of the software this document describes on any console not manufactured by Avolites
Ltd. may cause damage for which Avolites Ltd accepts no responsibility. If you are in any doubt
about your console being a genuine Avolites console please contact Avolites on the numbers
below.
Useful Avolites phone numbers:-
Avolites England
Sales and service*
(+44) (0) 20 8965 8522
Service out of hours*
(+44) (0) 7831 17 8888
Fax
(+44) (0) 20 8965 0290
Email
Website
http://www.avolites.com/
The small print:
No Liability for Consequential Damages
Avolites has a policy of continuous product and documentation improvement. As such although Avolites Ltd. makes every effort to ensure
the information contained herein is accurate Avolites Ltd. accepts no responsibility for events arising as a result of inaccuracies or missing
information contained within this document.
In no event shall Avolites be liable for any direct, indirect, special, incidental, or consequential damages or loss whatsoever (including,
without limitation, damages for loss of profits, business interruption, or other pecuniary loss) arising out of the use or inability to use
equipment even if Avolites Ltd. has been advised of the possibility of such damages. Because some jurisdictions do not allow the exclusion
or limitation of liability for consequential or incidental damages, the above limitation may not apply to you.
Reprint and revision history:
First produced RS October 2015
Minor edits for publication KD January 2019

1. Introduction
This upgrade resolves the occasional start-up condition where the default display is configured
wrongly requiring connection of an external monitor. Additionally the new Windows Shell
improves the licence stability.
This document is a step by step guide on how to install an upgraded BIOS and an upgraded
Operating system shell into your console.
For ALL consoles the Shell must be upgraded, however the BIOS upgrade is only required for
consoles using the I5 motherboard. Please see the table below to identify your motherboard
Console
BIOS Upgrade
Windows Shell
Required?
Upgrade
Required?
Tiger Touch
Not required unless
Yes
Pro upgrade has
been carried out
(see note 1)
Tiger Touch Pro
All Consoles
Yes
Tiger Touch II
All Consoles
Yes
Pearl Expert
All Consoles
Yes
(see note 1)
Pearl Expert Pro
All Consoles
Yes
Sapphire Touch
All Consoles
Yes
Titan Network
All Units
Yes
Processor
Note 1: to check if the console has been upgraded look at the number of Ethernet ports on
the rear of the console, if there is only 1 then it has NOT been upgraded and uses the
original motherboard. If there are 2 it HAS been upgraded from the original motherboard.

2. Overview of process
It is assumed that you have an Avolites Titan Console running version 9.1 software.
This install is in five parts:
1As a security measure backup your show data
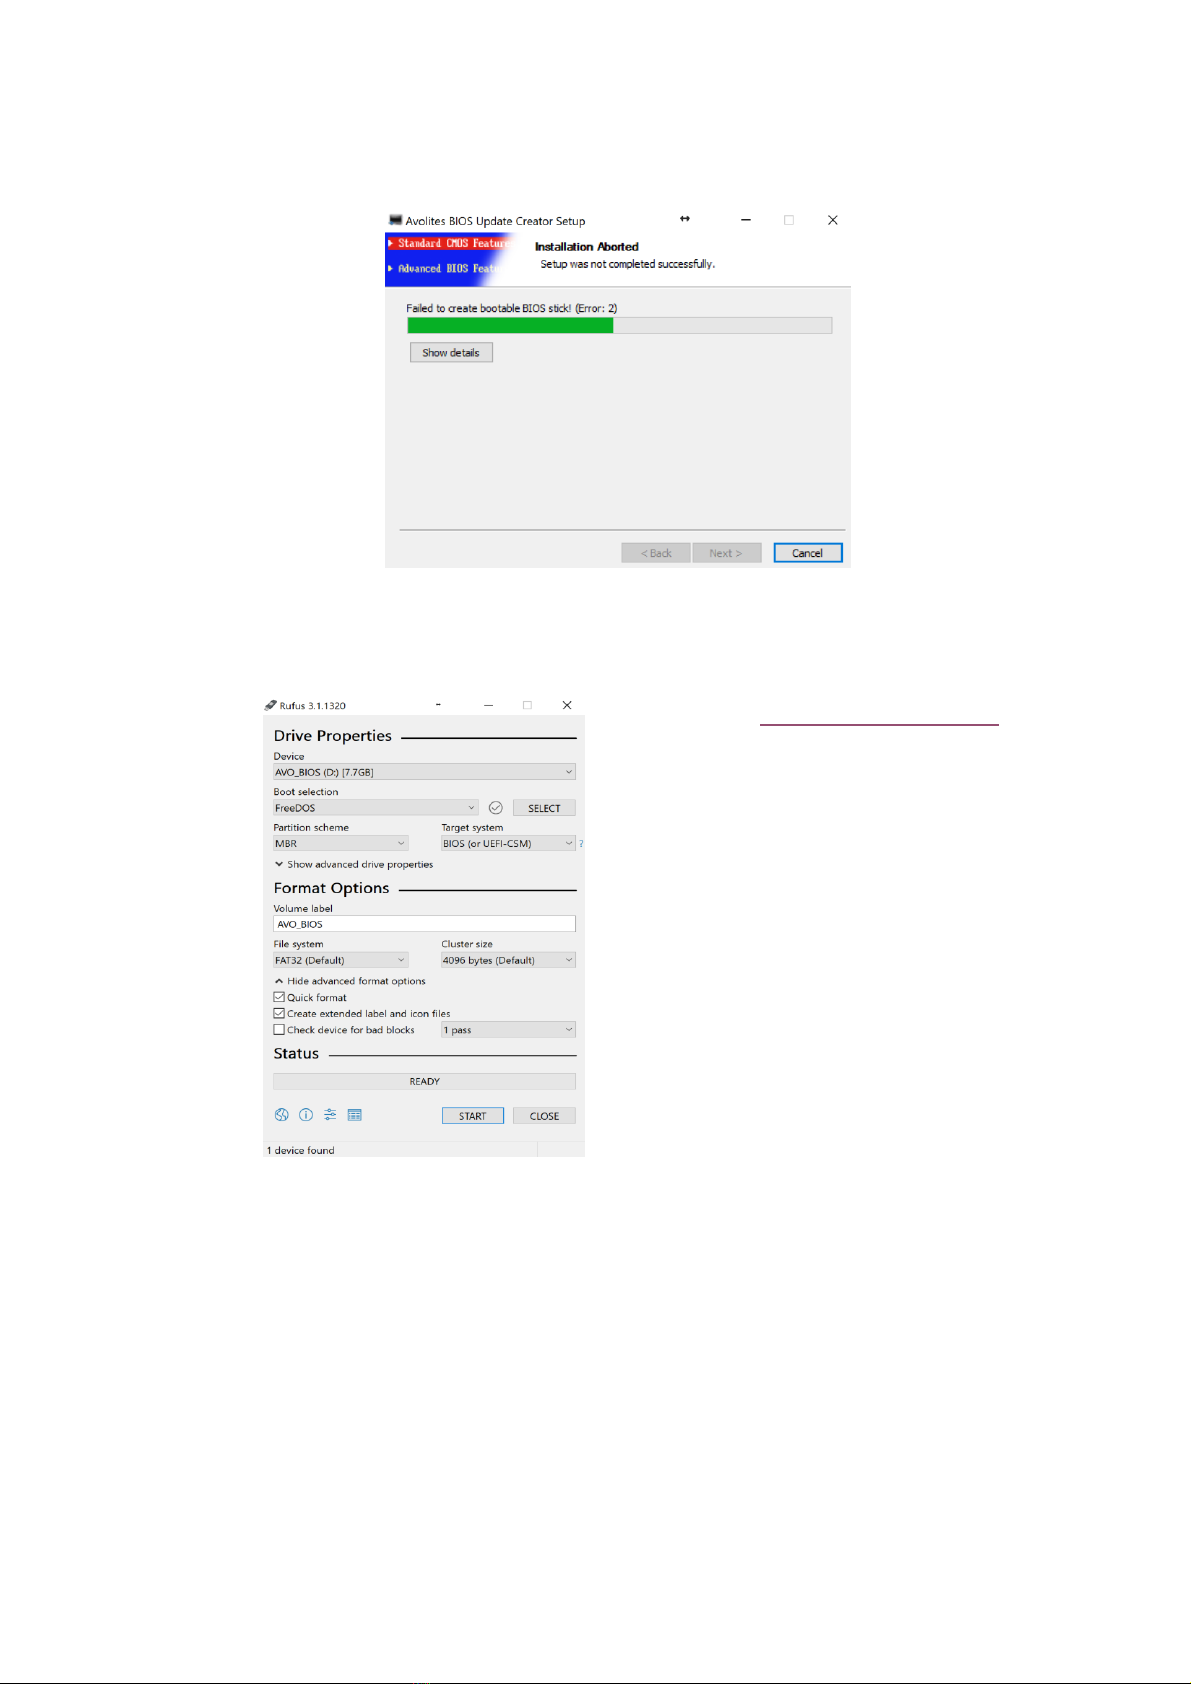
2Upgrade your BIOS (for newer motherboards, see table above)
3Carry out a Standard Recovery
4Upgrade the Windows Shell
5Re Licence your console
3. Preparation
You will need a number of blank USB sticks, two of at least 25MB in size and one of 3GB. The
BIOS and Shell upgrades require the 25MB sticks, whilst the recovery stick will require a 3GB
stick. You may need an additional memory stick to back up your shows on if you don’t already
have a backup.
This upgrade should not normally take more than 60 minutes to perform, however you will
also need to relicense your console, and you will initially be issued a temporary licence. A full
licence will follow normally within a day but can take up to 5 days. If you need a full licence
immediately you should contact TitanLicensing@avolites.com before starting this upgrade to
ensure a full licence can be sent to you as soon as you request it. This will require you to be
upgrading the console during normal working hours 09:00 to 17:00 UK time, Monday to Friday
excluding holidays.
You will require access to the internet for relicensing your console.
You should download into a PC the file BIOS and Shell Upgrade.zip which can be found on
the Avolites Web Site www.avolites.com and navigate to Software and Downloads.
In this compressed file you will find two files along with a copy of this document:
Avolites BIOS Update Creator 2.0 (size approximately 13,721 KB)
And
TitanShellSetupV2.6Release3 (size approximately 3,308 KB)
You should download the latest software if you do not already have this.
During the BIOS upgrade it is essential that the mains supply is continuous. A mains
failure may render your motherboard in-operable and requiring it to be returned to
Avolites for replacement.

4. Upgrading the BIOS
Back up your show files to an external memory stick or drive.
Insert one of your blank memory sticks into your PC and double click on the file Avolites
BIOS Update Creator 2.0
This will run a small application which will ask you to select the console type you wish to
upgrade.
You will be presented with on screen prompts as follows:
Select next, and select the console type you wish to upgrade. MAKE SURE YOU SELECT
THE CORRECT CONSOLE TYPE.
(For an upgraded original Tiger Touch, select Tiger Touch Pro).
Next select the USB drive from the drop down list.
PLEASE NOTE: ALL CONTENTS ON THIS DRIVE WILL BE ERASED.

Next select Install and the following screen will appear:
Once this is completed you see this screen:
Click Next to complete the operation and note the instructions

You can print the instructions on how to install the new BIOS into your console from this
screen.
Ensure the mains power to your console is reliable because a mains failure during the
BIOS upgrade may require you to send your console to Avolites for repair.
Please follow these the printed instructions to upgrade the BIOS in your console. Remember
to remove the memory stick once the BIOS upgrade has completed (otherwise it will try and
program it again).
After installing the new BIOS you may need to power cycle twice before all the settings are
fully updated.
Note that the new BIOS will no longer require a Password to enter it. This is deliberate and
we do not recommend setting a password. Following this upgrade the default setting for
your BIOS are correct for your console type and you should not make any alterations to
them and doing so will make the console unreliable.

5. Troubleshooting
If you are using Windows 10 and encounter the following ‘Failed to create bootable BIOS stick!
(Error: 2)’ message, then you will need to apply the following procedure.
Download link: http://tinyurl.com/ecn0204
Back up all show files, custom personalities and
macros to an external USB storage device.
Insert a blank USB storage device into your PC and
format this using Rufus (this is provided in the
download link above). Rufus is a utility that will help
format and create the bootable USB.
The USB drive must be formatted using the FreeDOS
boot selection.
On completion, copy all files from ‘ECN 204 –
console name’ on to the root of the newly formatted
drive.
You can now insert the BIOS stick into the console.
Once the BIOS creator has been loaded successfully, you will be prompted with C:\here
you will need to type flash and press enter.
On completion you will receive the following message ‘FPT Operation Passed’. Please
remove the USB and restart the console by pressing CTRL + ALT + DEL.

6. Recovery and install of Titan 9.1
For all consoles that have received a BIOS upgrade you must now run a Standard Recovery as
follows:
1Plug recovery USB stick into the console.
2Power up the console, it will boot automatically into the recovery stick.
3Once the memory stick has booted, the touch screen will display 'Welcome to …’
touch Next to continue.
4Please read to the bottom of the licence agreement then touch Agree to accept.
5From the options please select “Standard Recovery” which will preserve your data
partition containing your show files and personalities.
6On the next screen type in the serial number of the console (using the onscreen
keypad) –for a Tiger Touch this is the number following the 'TT-' written on the back
of the console.
7Touching Install will then format the hard drive and copy the setup files to it.
8Once complete unplug the memory stick and touch the Restart button.
After restarting the console will then install all the software and drivers required to run. This
takes approximately 30 minutes to complete during which the console will reboot a number of
times. Please do not switch off the console during this process.

7. Upgrading the SHELL
Whilst you are running the Standard Recovery on your console, on your second USB stick
copy the file TitanShellSetupv2.6Release3
Insert this memory stick into your console.
From the Tools menu in Titan select Folders and then open the USB stick (probably
drive E)
Double Click on the file TitanShellSetupv2.6Release3 Select
Install
After a very short time (2 or 3 seconds) the message installation complete will be presented.
Remove the USB stick
Select Next and then Finish, the console will reboot.
This concludes the upgrade.
8. Relicensing
You will now need to relicense your console. During the working week most licenses are
returned within hours of the request, but if you are in special need of a fast licence
turnaround you should contact TitanLicensing@avolites.com, or call +44 208 965 8522
between 9am and 5pm UK Time and we will endeavour to ensure you receive your licence in
the shortest possible time.
9. Finally
You should keep the USB stick containing the file: TitanShellSetupv2.6Release3 together
with console’s recovery stick because if you carry out a version 9.x system recovery you will
also need to re install the new Shell. (Version 10 will have the new shell integrated into
Windows.)
You may also like to keep your licence on this stick for use after a Full Erase and Install has
been carried out.
Table of contents
Other Avolites Music Mixer manuals