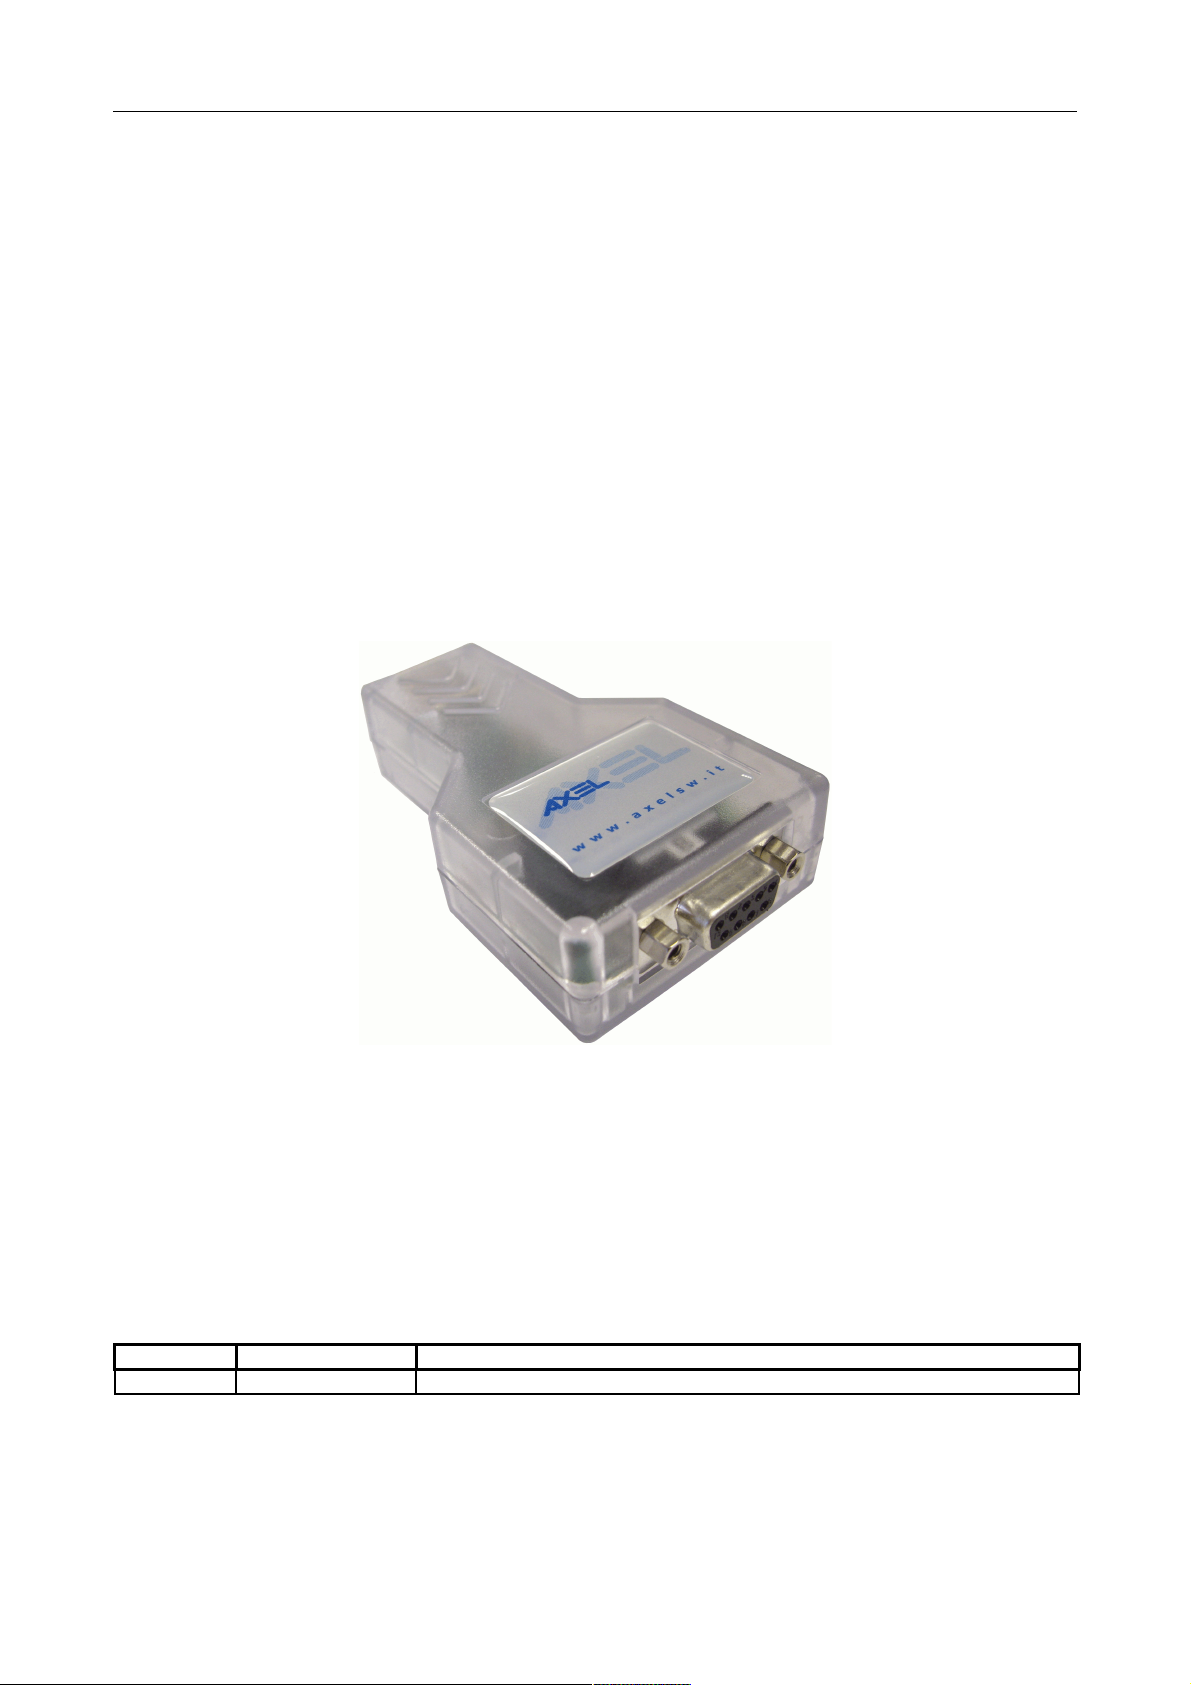
RS-USBX user manual - 2009/03/16 SP09002 Page 8 of 12
1) Select the proper communication parameters (baud rate and parity) and the connection mode
(RS485 or RS422) if needed (TTL mode is always working independently from these settings).
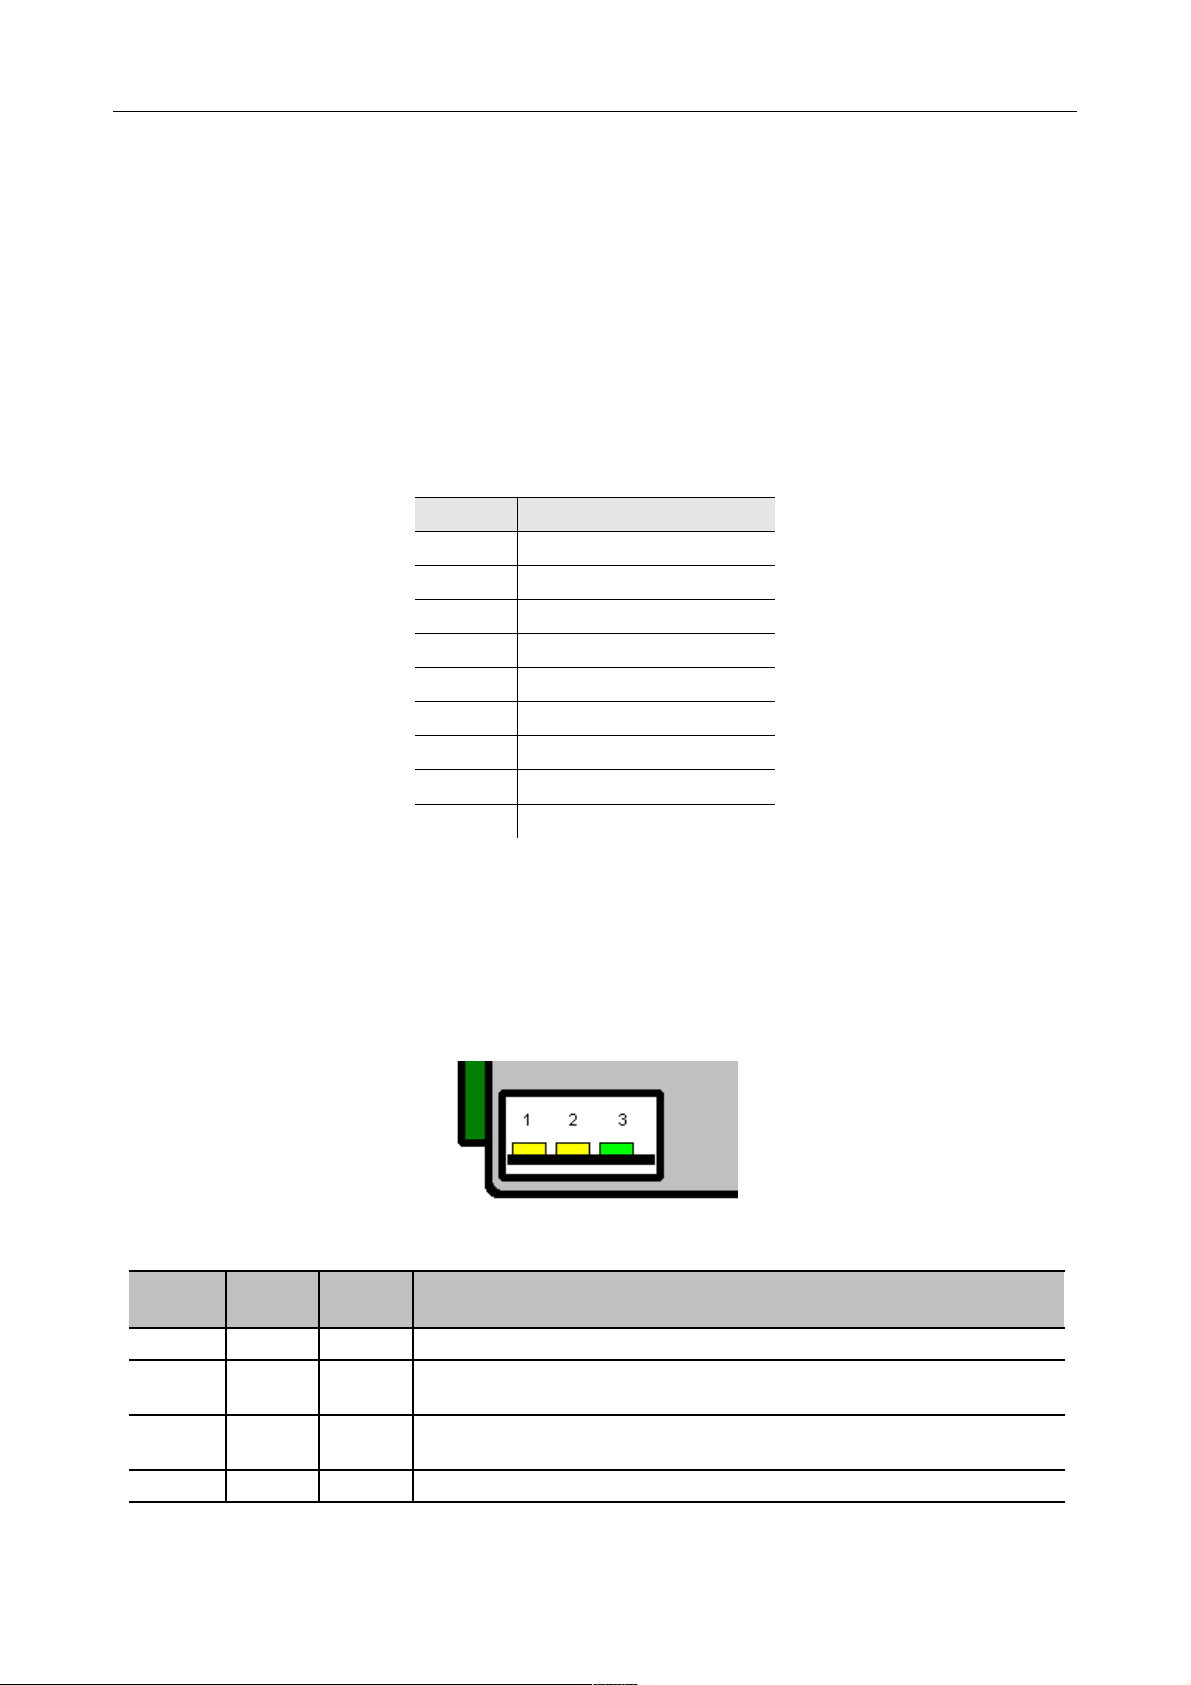
2) heck that the interface is properly connected to the P (green led on) and press the “Open” button
to start the communication.
3) Data to be transmitted should be written byte by byte in the apposite “Data to send” text-box. Data
bytes are intended to be in hex format separated by spaces.
4) Received data is automatically displayed in red into the apposite monitor box.
5) Transmitted data is displayed in blue.
6) The timer option allows to periodically send the data out. The period duration can be set in the
relative text-box.
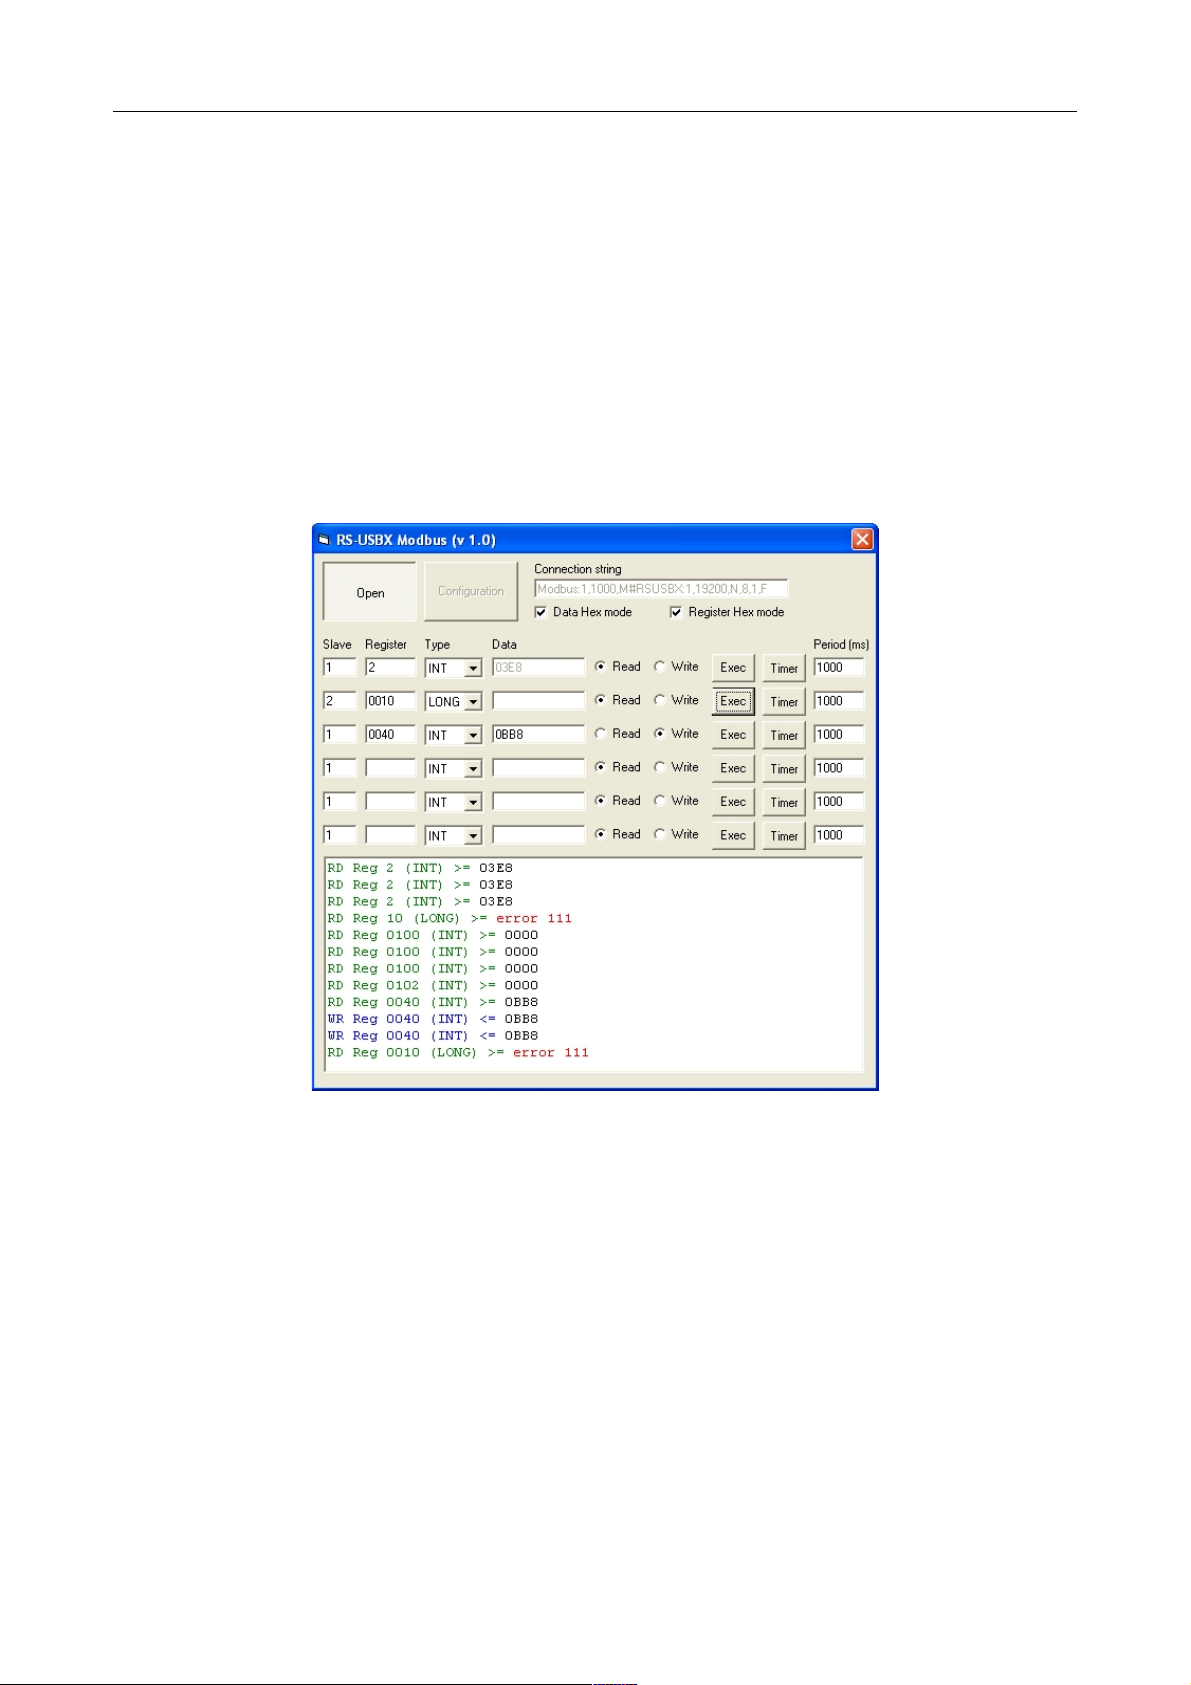
3.2.2 RS-USBXModbus
RS-USBXModbus allows to exchange holding registers between the P and one or more Modbus RTU slave
devices. This tool uses the protocol-level communication layer of the software libraries.
To use RS-USBXTool follow the instructions below:
1) Select the proper communication parameters by using the “ onfiguration” button or by editing
directly the “ onnection string”.
2) heck that the interface is properly connected to the P (green led on) and press the “Open” button
to start the communication.
3) Six rows are available to read and write holding registers to/from the devices. “Slave” indicates the
Modbus address of the device and “Register” is the index of the holding register to read or write.
4) The “Type” field indicates how to interpret the data. With LONG and REAL data type, two contiguous
holding registers are exchanged.
5) Each row has an “Exec” button to perform the selected operation once and the “Timer” option to
perform the selected operation with a fixed execution period.
6) The monitor window logs the result of each operation. For error codes, refer to the relative
documentation in the libraries manual.