Page 4
Downloading the Connection
Wizard
Note: If you have the latest LogTag Analyzer (version
3.1.6 onwards), you can just run the wizard instead
without having to download it by opening LogTag
Analyzer then clicking ‘Connection Wizard’ from the
‘LogTag Online’ menu.
Alternatively, you can download the LogTag Online
Connection Wizard here. Please click the link below:
https://logtagrecorders.com/wp-content/uploads/
connectionwizard.exe
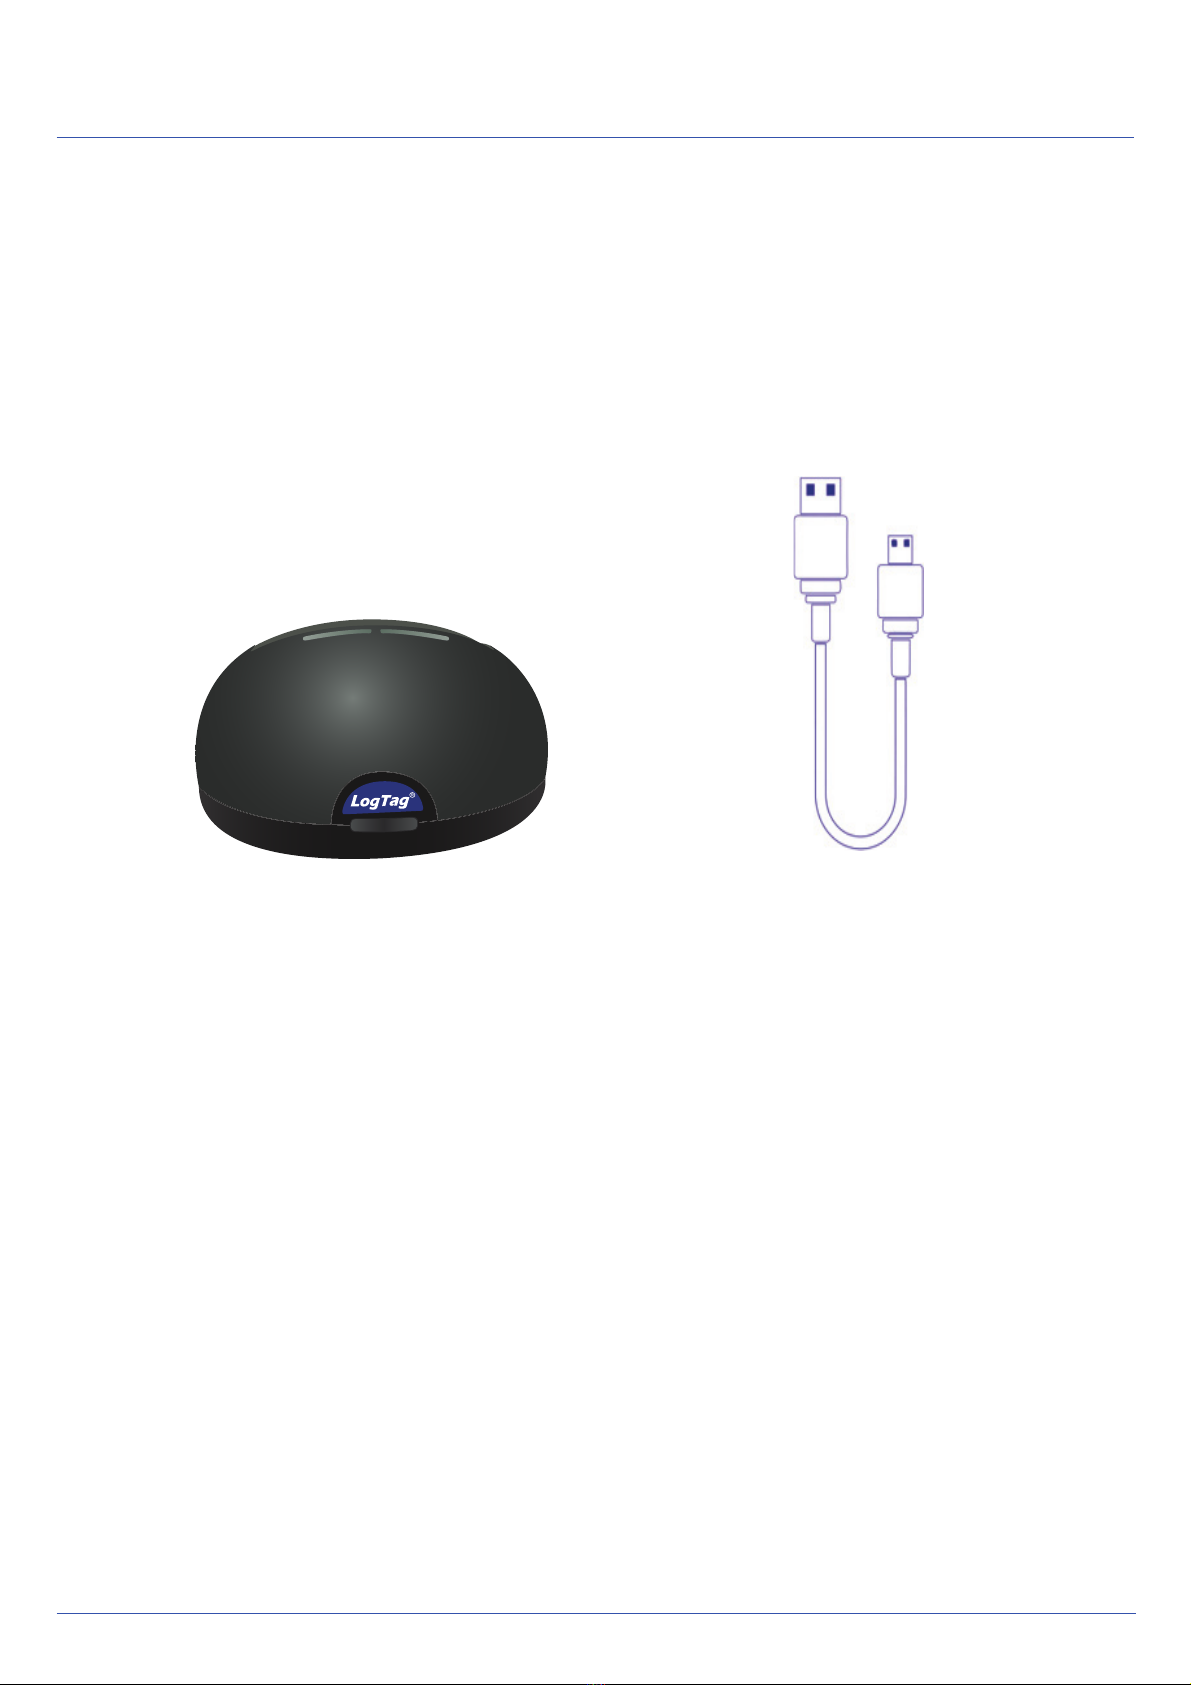
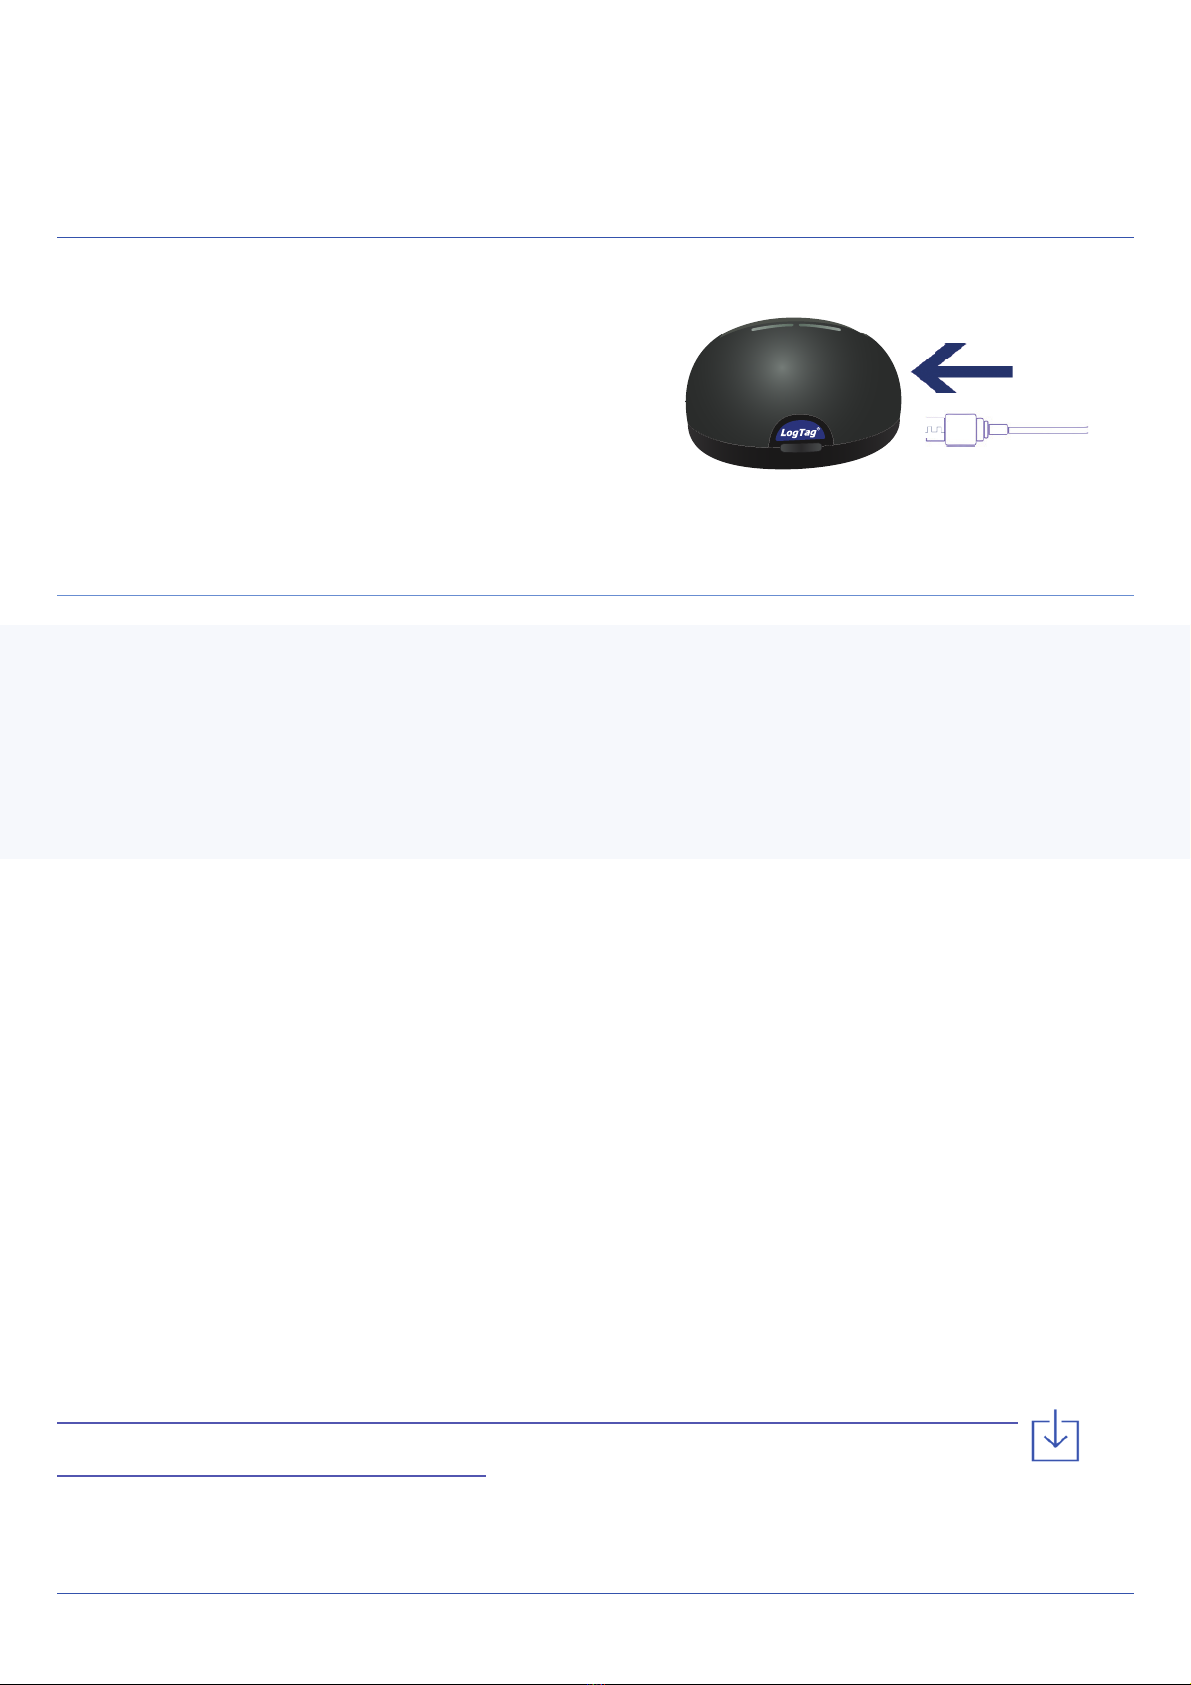
Connect your LTI-WiFi to
your computer via the USB
cable. The USB socket on
the interface is located at the
back of the interface cradle.
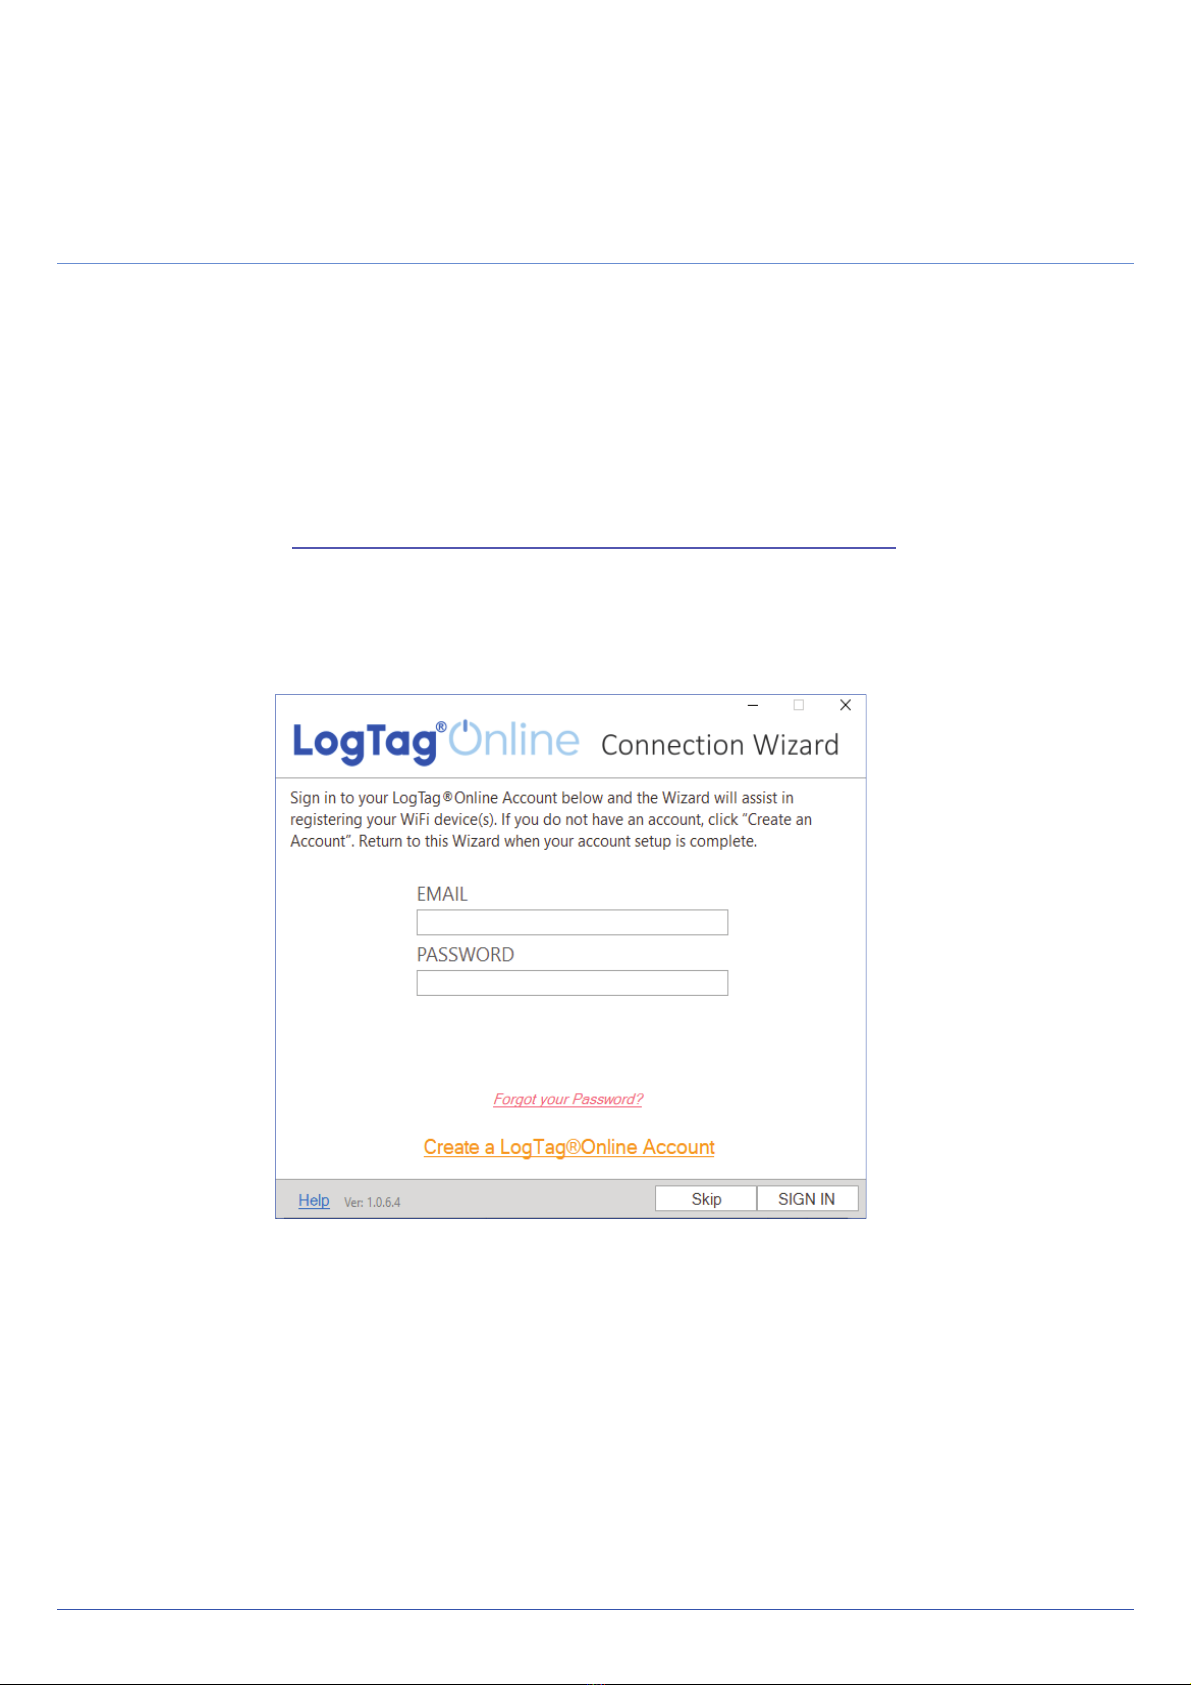
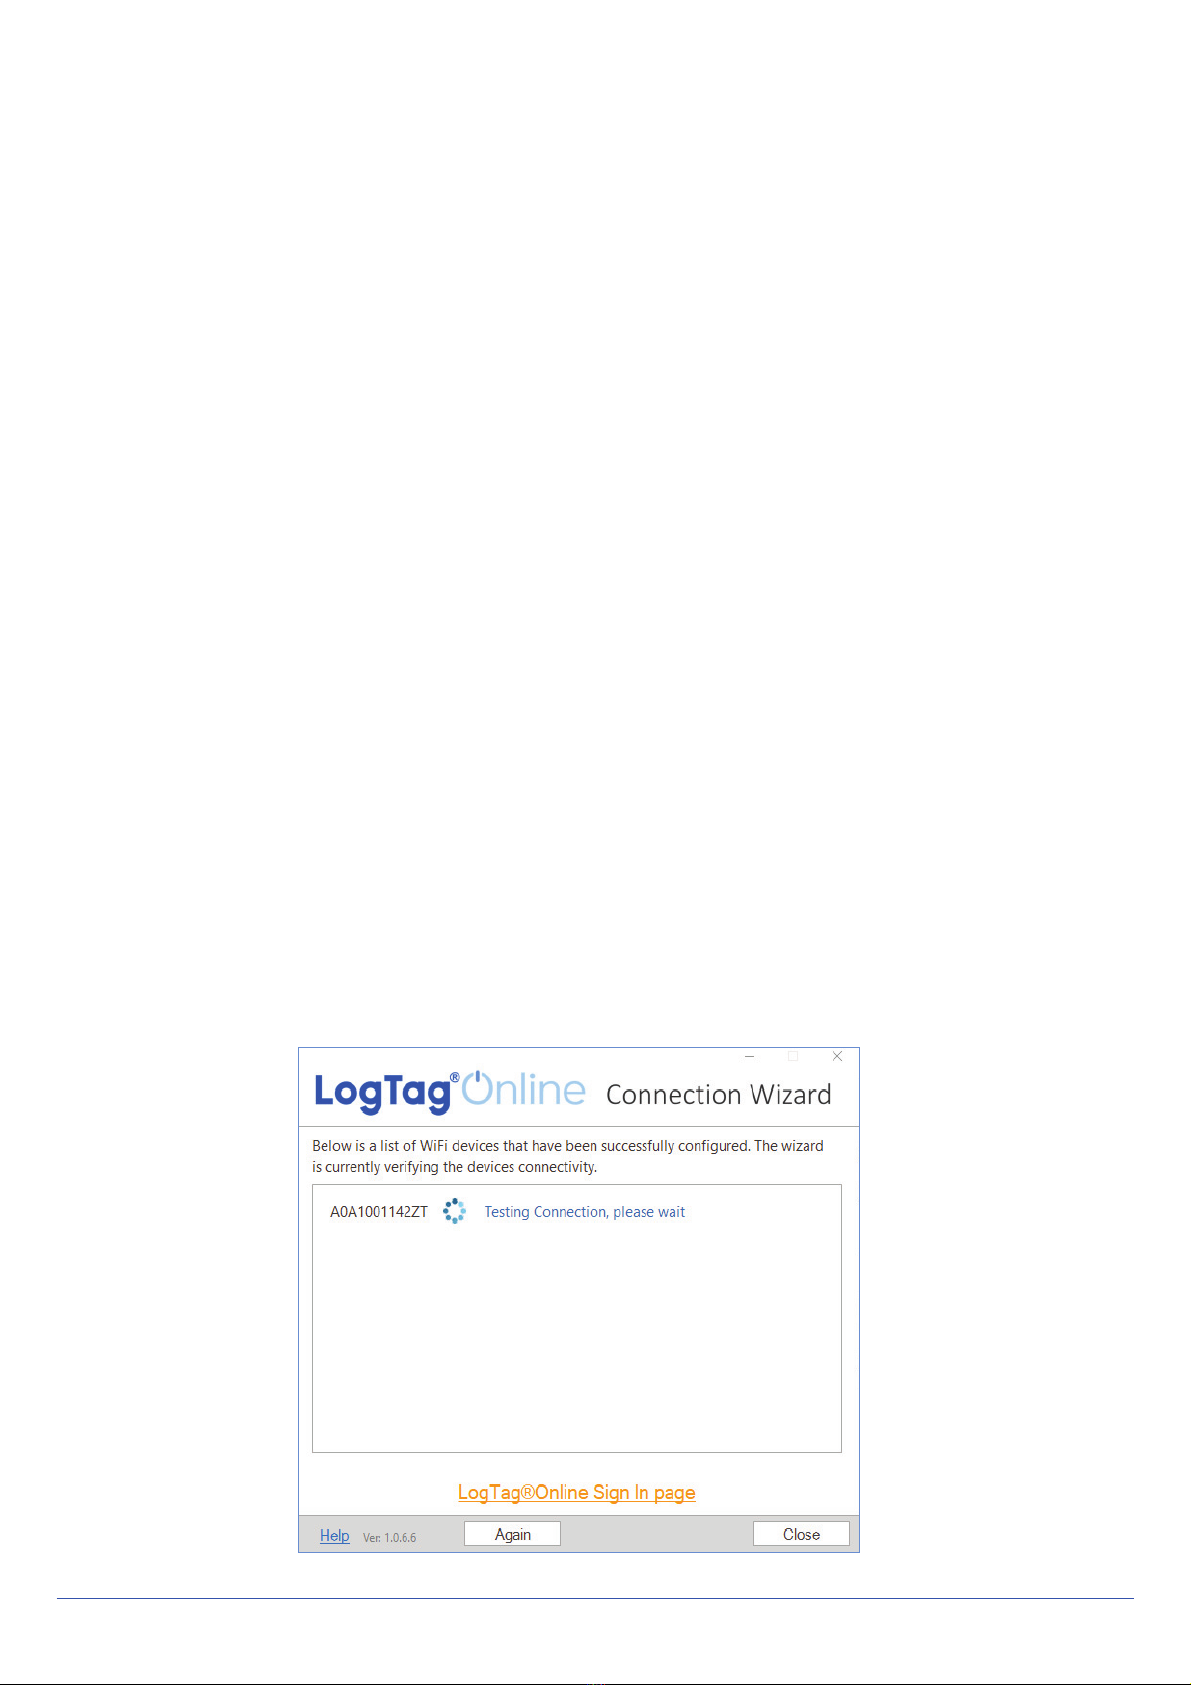
Your LTI-WiFi requires you to connect it to your WiFi
Network. To do that, we have an easy tool for you to
use called the LogTag Online Connection Wizard.