manuals.online logo
Brands
  1. Home
  2. •
  3. Brands
  4. •
  5. axing
  6. •
  7. Amplifier
  8. •
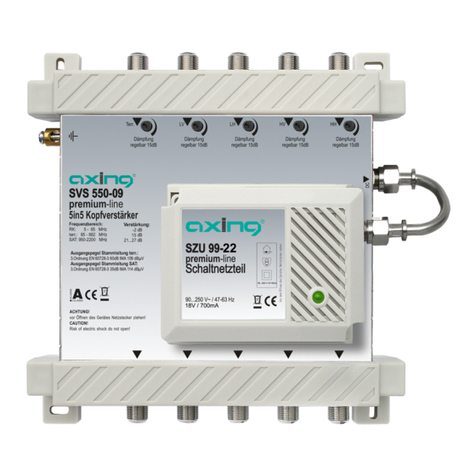
  9. axing premium-line SVS 550-09 User manual

axing premium-line SVS 550-09 User manual

This manual suits for next models

1

Other axing Amplifier manuals

axing basic-line TVS 6-00 User manual

axing

axing basic-line TVS 6-00 User manual

axing TVS 1-00 User manual

axing

axing TVS 1-00 User manual

axing premium-line BVS 13-67 User manual

axing

axing premium-line BVS 13-67 User manual

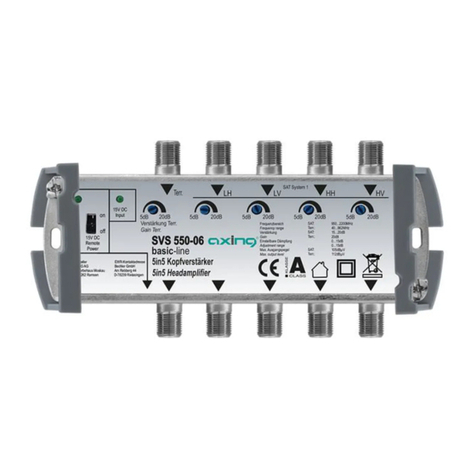
axing SVS 550-06 User manual

axing

axing SVS 550-06 User manual

axing premium-line BVS 12-69N User manual

axing

axing premium-line BVS 12-69N User manual

axing basic-line SVS 550-06 User manual

axing

axing basic-line SVS 550-06 User manual

axing basic-line Series User manual

axing

axing basic-line Series User manual

axing BVS 20-66 User manual

axing

axing BVS 20-66 User manual

axing basic BVS 10-00 User manual

axing

axing basic BVS 10-00 User manual

axing premium-line Series User manual

axing

axing premium-line Series User manual

axing BVS 10-00 User manual

axing

axing BVS 10-00 User manual

axing BVS 10-00 User manual

axing

axing BVS 10-00 User manual

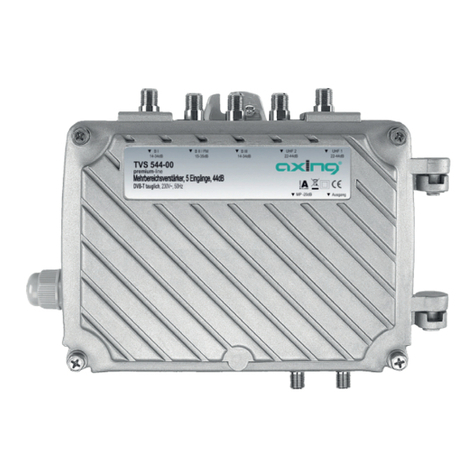
axing premium-line TVS 544-00 User manual

axing

axing premium-line TVS 544-00 User manual

axing basic-line Series User manual

axing

axing basic-line Series User manual

axing Basic-line SVS 1-00 User manual

axing

axing Basic-line SVS 1-00 User manual

axing premium-line Series User manual

axing

axing premium-line Series User manual

axing BVS 14-69 User manual

axing

axing BVS 14-69 User manual

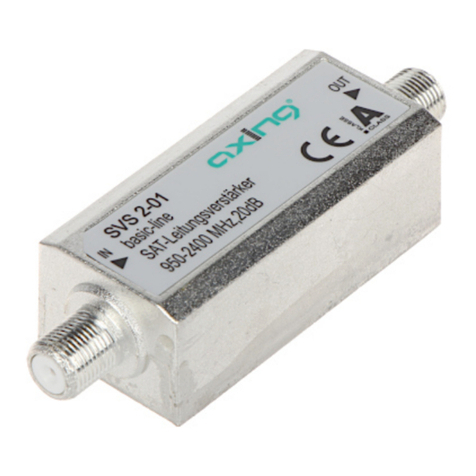
axing SVS-2-01 User manual

axing

axing SVS-2-01 User manual

axing Premium-line BVS 14-69 User manual

axing

axing Premium-line BVS 14-69 User manual

axing BZU 30-65 User manual

axing

axing BZU 30-65 User manual

axing Premium Series User manual

axing

axing Premium Series User manual

axing TVS 1-00 User manual

axing

axing TVS 1-00 User manual

axing TVS 31-00 User manual

axing

axing TVS 31-00 User manual

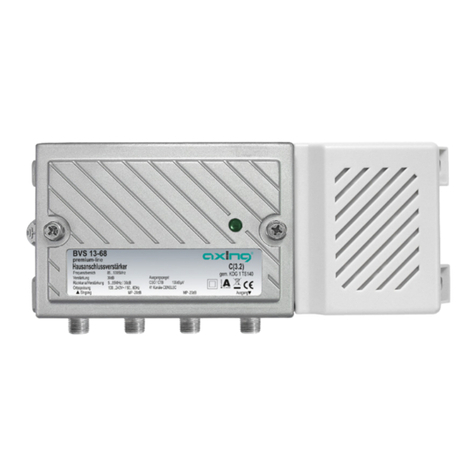
axing BVS 13-68 User manual

axing

axing BVS 13-68 User manual

Popular Amplifier manuals by other brands

Magnat Audio EDITION FOUR Owner's manual/warranty document

Magnat Audio

Magnat Audio EDITION FOUR Owner's manual/warranty document

Inter-m PA-2000A Operation manual

Inter-m

Inter-m PA-2000A Operation manual

Yamaha TX6n owner's manual

Yamaha

Yamaha TX6n owner's manual

Peavey TNT 150 user guide

Peavey

Peavey TNT 150 user guide

Bosch LBB 1903/10 Installation and user instructions

Bosch

Bosch LBB 1903/10 Installation and user instructions

Avocent Emerge DA1200D Installer/user guide

Avocent

Avocent Emerge DA1200D Installer/user guide

Redgum RGi35 operating instructions

Redgum

Redgum RGi35 operating instructions

Cambridge Audio AXA25 user manual

Cambridge Audio

Cambridge Audio AXA25 user manual

Alpine MRP-M200 owner's manual

Alpine

Alpine MRP-M200 owner's manual

Technical Pro H1502UrBT user manual

Technical Pro

Technical Pro H1502UrBT user manual

FMS EMGZ307 operating manual

FMS

FMS EMGZ307 operating manual

Racal Instruments 5601 user manual

Racal Instruments

Racal Instruments 5601 user manual

Valcom V-1094A Technical specifications

Valcom

Valcom V-1094A Technical specifications

Cambridge Audio 851D user manual

Cambridge Audio

Cambridge Audio 851D user manual

QSC 3800 Specifications

QSC

QSC 3800 Specifications

NAD C300 owner's manual

NAD

NAD C300 owner's manual

Rotel RMB-1077 owner's manual

Rotel

Rotel RMB-1077 owner's manual

Peavey Monitor 300 Series operating guide

Peavey

Peavey Monitor 300 Series operating guide

manuals.online logo
manuals.online logoBrands
  • About & Mission
  • Contact us
  • Privacy Policy
  • Terms and Conditions

Copyright 2025 Manuals.Online. All Rights Reserved.

AXING AG
Gewerbehaus Moskau
CH-8262 Ramsen
[email protected]
www.axing.com SVS 550-09
SVS 990-09
DE
EN
BETRIEBSANLEITUNG
premium
Kopfverstärker
-line
OPERATION INSTRUCTIONS
premium
Head amplifier
-line
Dieses Symbol weist darauf hin, dass das Produkt gemäß WEEE-Richtlinie
(Richtlinie über Elektro- und Elektronik-Altgeräte) (2002/96/EC) und
nationalen Gesetzen nicht über den Hausmüll entsorgt werden darf.
Dieses Produkt muss bei einer dafür vorgesehenen Sammelstelle
abgegeben werden. Dies kann z. B. durch Rückgabe beim Kauf eines
ähnlichen Produkts oder durch Abgabe bei einer autorisierten Sammelstelle
für die Wiederaufbereitung von Elektro- und Elektronik-Altgeräten
geschehen.
Informationen zu Sammelstellen für Altgeräte erhalten Sie bei Ihrer
Stadtverwaltung, dem öffentlich-rechtlichen Entsorgungsträger, einer
autorisierten Stelle für die Entsorgung von Elektro- und Elektronik-
Altgeräten oder Ihrer Müllabfuhr.
This symbol indicates that this product is not to be disposed of with your
household waste, according to the WEEE Directive (2002/96/EC) and your
national law.
This product should be handed over to a designated collection point, e.g.,
on an authorized one-for-one basis when you buy a new similar product or
to an authorized collection site for recycling waste electrical and electronic
equipment (WEEE).
For more information about where you can drop off your waste equipment
for recycling, please contact your local city office, waste authority, approved
WEEE scheme or your household waste disposal service.
WEEE Nr.
DE14023300
WEEE Nr.
DE14023300
Stand 2012-05-29 - Konstruktions- und Typenänderung vorbehalten - keine Haftung für Druckfehler
State of the art 2012-05-29 - Reserving change in design and type - We cannot be held liable for printing errors Lesen und aufbewahren
Read and keep
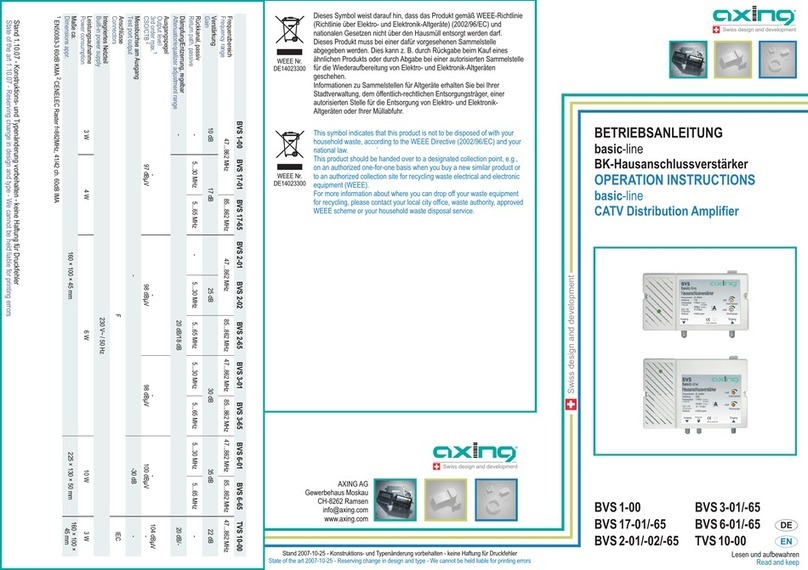
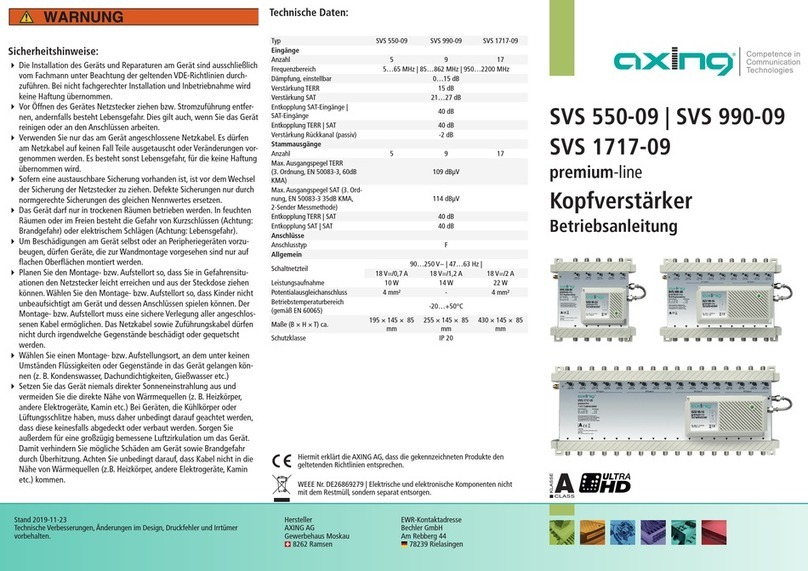
Technische Daten | Technical specifications
Eingänge/Ausgänge | Inputs/Outputs...................................
Einstellbare Dämpfung | Attenuator adjustment range .......0...15 dB
Ausgangspegel | Output level
Entkopplung terr. Ausgang | SAT-Ausgänge
Isolation terr. output | SAT outputs ..........................................40 dB
Entkopplung SAT-Eingänge | SAT-Eingänge
Isolation SAT inputs | SAT inputs ............................................40 dB
Entkopplung SAT-Ausgänge | SAT-Ausgänge
Isolation SAT outputs | SAT outputs ........................................40 dB
Anschlüsse | Connectors ................................................................F
Schaltnetzteil | Switching power supply........90…250 V~ / 47-63 Hz
Leistungsaufnahme | Power consumption.....................10W|14W
5/5 | 9/9
Frequenzbereich | Frequency range
Terrestrisch | terrestrial ................................................85...862 MHz
Rückkanal | Return path .................................................5…65 MHz
SAT..........................................................................950...2200 MHz
Verstärkung | Gain
Rückkanal | Return path (passive)............................................-2 dB
Terrestrisch | terrestrial ............................................................15 dB
SAT ..................................................................................21...27 dB
terr. 3.order EN 60728-3 60dB IMA ..................................109 dBµV
SAT 3.order EN 60728-3 35dB IMA ..................................114 dBµV
Entkopplung terr. Eingang | SAT-Eingänge
Isolation terr. input | SAT intputs .............................................40 dB
terr. Eingang/terr. input
Ausgänge
Outputs
SAT-Eingänge/SAT inputs
2
3
2
1
1
4
4
Verwendungsbereich:
Die Geräte sind ausschließlich für den Einsatz zum Verteilen von Radio- und
Fernsehsignalen im Haus geeignet! Wird das Gerät für andere Einsätze
verwendet, wird keine Garantie übernommen!
Field of application:
The devices are only suitable for in-house distribution of RF signals! If the device
is used for other purposes, no warranty is given!
ÉSicherheitshinweise:
·
·
·
·
·
·
Die Installation des Geräts und Reparaturen am Gerät sind ausschließlich vom
Fachmann unter Beachtung der geltenden VDE-Richtlinien durchzuführen. Bei nicht
fachgerechter Installation und Inbetriebnahme wird keine Haftung übernommen.
Das Gerät darf nur in trockenen Räumen betrieben werden. In feuchten Räumen oder im
Freien besteht die Gefahr von Kurzschlüssen (Achtung: Brandgefahr) oder elektrischem
Schlägen (Achtung: Lebensgefahr).
Um Beschädigungen am Gerät selbst oder an Peripheriegeräten vorzubeugen, dürfen
Geräte, die zur Wandmontage vorgesehen sind nur auf flachen Oberflächen montiert
werden.
Wählen Sie den Montage- bzw. Aufstellort so, dass Kinder nicht unbeaufsichtigt am
Gerät und dessen Anschlüssen spielen können. Der Montage- bzw. Aufstellort muss eine
sichere Verlegung aller angeschlossenen Kabel ermöglichen. Kabel dürfen nicht durch
irgendwelche Gegenstände beschädigt oder gequetscht werden.
Wählen Sie einen Montage- bzw. Aufstellungsort, an dem unter keinen Umständen
Flüssigkeiten oder Gegenstände in das Gerät gelangen können (z. B. Kondenswasser,
Dachundichtigkeiten, Gießwasser etc.)
Setzen Sie das Gerät niemals direkter Sonneneinstrahlung aus und vermeiden Sie die
direkte Nähe von Wärrmequellen (z. B. Heizkörper, andere Elektrogeräte, Kamin etc.)
Bei Geräten, die Kühlkörper oder Lüftungsschlitze haben, muss daher unbedingt darauf
geachtet werden, dass diese keinesfalls abgedeckt oder verbaut werden. Sorgen Sie
außerdem für eine großzügig bemessene Luftzirkulation um das Gerät. Damit verhindern
Sie mögliche Schäden am Gerät sowie Brandgefahr durch Überhitzung. Achten Sie
unbedingt darauf, dass Kabel nicht in die Nähe von Wärmequellen (z.B. Heizkörper,
andere Elektrogeräte, Kamin etc.) kommen.
ÉSafety advice:
·
·
·
·
·
·
·
Installation and repairs to the equipment may only be carried out by technicians
observing the current VDE guidelines. No liability will be assumed in the case of faulty
installation and commissioning.
The equipment may only be operated in dry rooms. In humid rooms or outdoors there is
danger of short-circuit (caution: risk of fire) or electrocution.
To prevent damage to your equipment and to avoid possible peripheral damages, the
devices foreseen for wall mounting may only be installed on a flat surface.
Choose the location of installation or mounting such that children may not play
unsupervised near the equipment and its connections. The location of installation or
mounting must allow a safe installation of all cables connected. Cables may not be
damaged or clamped by objects of any kind.
Choose the location of installation or mounting so that under no circumstances liquids or
objects can get into the equipment (e.g. condensation, water coming from leaking roofs
or flowing water, etc.).
To prevent damage to your equipment and to avoid possible peripheral damages, the
devices foreseen for wall mounting may only be installed on a flat surface.
Avoid exposure of the equipment to direct sunlight and to other heat sources (e. g.
radiators. other electrical devices, chimney, etc.). Devices that are equipped with heat
sinks or ventilation slots must under no circum-stances be covered or blocked. Also
ensure for a generous air circulation around the equipment. In this way you avoid
possible damage to the equipment as well as a risk of fire caused by overheating.
Absolutely avoid that cables come near any source of heat (e.g. radioators, other
electrical devices, chimney, etc.).
Überspannungsschutz:
Empfehlung: Verwenden Sie Überspannungsschutz-Geräte (wie z. B. AXING
SZU 6-02), um den Verstärker vor Schäden durch Überspannung zu schützen.
Overvoltage protection:
Recommandation: Use overvoltage protection devices (like e. g. AXING SZU
6-02) to protect your polarization switches against overvoltage.
Erdung, Montage und Spannungsversorgung:
!Zur Vermeidung gefährlicher Überspannungen (Achtung: Brand-
/Lebensgefahr), müssen die Geräte geerdet werden. Verwenden Sie die am
Gerät angebrachte Erdungsklemme .
Verwenden Sie die dem Gerät beiliegenden Montageschrauben und die
Montagelöcher am Gerät .
1
2
!
Grounding, Mounting and Power supply:
!Use the included mounting screws and the mounting holes of the device 2
!To avoid dangerous power surges (e.g. risk of fire and danger of life) all
devices must be grounded. Use the screw terminal at the device .1
5 × SZU 6-02
Pegeleinstellungen:
Der terrestrische Eingang- und alle SAT-Eingangspegel sind unabhängig
voneinander regelbar .4
Level Adjustment:
The terrestrial input and all SAT input levels can be adjusted .4
HF-Anschluss:
!
!
Verbinden Sie die SAT-Eingänge des
Kopfverstärkers mit den LNBs Ihrer SAT-
Empfangsantenne. Speisen Sie in den terr.
Eingang Ausgangssignale eines
terrestrischen Verstärkers bzw. eines BK-
Hausanschlussverstärkers ein.
Verbinden Sie die Ausgänge z.B. mit den
Eingängen eines
Verwenden Sie hierfür hochgeschirmte
Koaxialkabel mit F- Anschlusssteckern.
Passende Kabel und Stecker finden Sie im
aktuellen AXING-Katalog oder unter
www.axing.com.
Polaritätsumschalters
Verbinden Sie diese mit F/F-Quickfix-
Adaptern CFA 4-01.
RF-Installation:
Use highly shielded coaxial cables with F
connectors. Suited cables and plugs can be
found in the current AXING catalogue or at
www.axing.com.
onnect them with F/F
Quickfix adapters CFA 4-01.
!
!
Connect the SAT inputs of the head amplifier
to the LNBs of your SAT reception antenna.
Connect the output signals of a terrestrial
amplifier or a CATV amplifier to the terrestrial
input.
Connect the outputs with the inputs of a
polarization switch. C