manuals.online logo
Brands
  1. Home
  2. •
  3. Brands
  4. •
  5. Axio MET
  6. •
  7. Measuring Instrument
  8. •
  9. Axio MET AX-7250 User manual

Axio MET AX-7250 User manual

DIGITAL CLAMP METER
AX-7250
INSTRUCTION MANUAL
2
Symbols on the instrument and in the instruction manual:
Warning! Warns of potenitial danger, comply with theiInstruction manual.
Caution! Dangerous voltage. Danger of electrical Shoc .
Continuous double or reinforced insulation complies to IEC 61140, Class II
Symbol for the mar ing of electrical and electronic equipment (WEEE Directive
2002/96/EC). Environmental Protection. Waste electrical products should not be
disposed of with household waste. Please recycle where facilities exist. Chec with your
local authority or retailer for recycling advice.
Symbol of conformity, confirms conformity with relevant EU directives. The instrument
complies with the EMC Directive (89/336/EEC), as well as the Low Voltage Directive
(73/23/EEC)
During
application and remova
l of the CURENT SENSORS, please de
-
energise the
installation on which the current is measured, or to adept safe operating procedures
when wor ing on HAZARDOUS LIVE installations.
Introduction
The digital Current Clamp is a universal current measurement clamp. The measurement instrument
has been built in compliance with the most up-to-data Directives EN 61010, IEC 61010 and ensures
safe and reliable operation.
F atur s
•Small, handy AC Current Clamp up to 400A
•Measurements also in small compact systems with very limited space, available without
interruption lines.
•3 ¾ digit LCD, maximum 3999 digits
•Data Hold Function
•Min/Max Function
•Voltage measurement AC/DC up to 600V
•Clamp opening 28 mm
3
Saf ty m asur s
The instrument has left our factory in a safe and perfect condition. To maintain this condition,
the user must pay attention to the safety references contained in this instruction manual.
Warning! His instruction manual contains both information and warnings that are necessary
for the safe operation and maintenance of the instrument. It is recommended that you read the
manual carefully and ensure that its contents are fully understood. Failure to understand these
instruction and to comply with the warnings and instructions contained herein can result in serious
injury or damage.
Caution! In order to avoid the danger of electrical Shoc , it is important that proper safety
measures are respected when wor ing with voltages exceeding 120V (60V) DC or 50V (25V) r.m.s.
AC. These voltages represent internationally the limits of max. contact voltage.
Warning! When testing any current or voltage only the hand-hold area (11) of the instrument
May be touched.
Warning! The instrument operates correctly only In a temperature range specified In the
technical specification section
Warning! Priori to usage that the instrument is in perfect wor ing order, for example at
a nown current source.
Caution! Before opening the instrument (for example to replace the battery), it must be
disconnected from all circuits.
Cauton! Do not apply around or remove from HAZARDOUS LIVE conductors.
Measurements In dangerous proximity of electrical installations are only to be executed when
instructed by a responsible electrical specialist, and never alone.
The respective accident prevention regulations established by the professional associations
for electrical system and equipment must be strictly met at all times.
4
Appropriat Usag
The instrument must only be used under the conditions and for the purposes for which it has been
constructed. Particular attention should be paid to the safety instructions, the technical
specifications relating to environmental conditions and the use of the instrument in dry
surroundings.
Display and Control El m nts
1) Current converter
2) Movable jaw
3) Range selection switch
4) Digital Display
5) “VΩ” input soc et
6) “COM” input soc et
7) MIN/MAX ey
8) AC/DC switch ey
9) Data Hold
10) Barrier
11) Hand-hold area
Carrying-out curr nt m asur m nts
If tengible dangerous active parts are available In the plant to be measured, an individual
protection equipment (e.g. suitable covers) must be used.
The device only May be formed of the handle area, limited by the handle shroud, at current
measurements of every type. The handle shroud limits the area for touching the device for certain
5
and prevents a slipping of the hand inadvertently to the front, unsecured area of the clamp-on
ammeter.
Do not apply around or remove from HAZARDOUS LIVE conductors.
Prior to usage and measurement chec that the instrument is In perfect wor ing order,
for example At a nown current source.
Select the measuring range priori to connection of the instrument to the UUT (unit under
test).
Before selecting a new function or measuring range the instrument must be disconnected
from any circuit.
Use the instrument only In clean and dry surroundings. Dirt and moisture reduce the
effectiveness. Dirt and moisture reduce the effectiveness of the insulation with consequent danger
of electrical shoc , especially when dealing with high voltages.
The respective accident prevention regulations established by the Professional associations
are to be strictly enforced At all Times regarding tas s executed under voltage or In proximity of
parts under voltage.
AC curr nt m asur m nt
1) Switch on the instrument
2) Select measurement range A~
3) Open the clamp and surround the conductor of the current circuit to be measured
Ma e sure that the current converter (1) is completely closed as this may result in measurement
errors.
4) In case of range overflow, “OL” is displayed
5) Read the measured value on the display.
Key “MIN/MAX” is used to display minimum or maximum value during a measurement.
Voltag m asur m nt
Caution! Never apply more than 600V AC/DC to the test Leeds (instrument). If these
threshold is exceeded the result could be serious personal injury or damage to the instrument.
6
Caution! Do not apply around or remove from HAZARDOUS LIVE conductors.
Warning! Only use the instrument in circuits fused with max. 16A
Warning! Before switching to a New function, the probes must always be removed from the
UUT (Unit Under Test)
DC Voltag m asur m nt
1) Select measurement range “ with Range selection switch (3)
2) Select range “ ” with AC/DC switch ey (8)
3) Connect test leads to UUT
4) Read the measured value on the display
AC Voltag m asur m nt
1) Select measurement range “V” with Range selection switch (3)
2) Select range “~” with Ac/DC switch ey (8)
3) Connect test leads to UUT
4) Read the measured value on the display
R sistanc m asur m nt
Caution! Ensure that the UUT is switched off and that no voltage is present.
1) Select measurement range “ ” with Range selection switch (3)
2) Connect test leads to UUT
3) Read the measured value on the display.
Continuity t st
Caution! Ensure that the UUT is switched off and that no voltage is present.
1) Select measurement range “ ” with Range selection switch (3)
2) Connect test leads to UUT
3) Read the measured value on the display. A signal sound is audible at resistance values less than
40Ω.
7
The polarity at the red lead (soc et) is “+”
Data-Hold function
If the display is not visible during measurement, press the “DH” button (9) to retain the display.
The clamp can then be removed from the conductor and the stored value read.
Min/Max Functions
Facility to switch between 4 measurement modes pressing the MIN/MAX ey (7), in accordance with
the following table:
Display Function
MIN Smallest measurement value is displayed and saved
MAX Largest measurement value is displayed and saved
MIN/MAX The current measurement value is displayed, whereby the smallest and the highest
values are saved. The measurement values are saved. The measurement values
can then be read in MAX or MIN mode.
Auto-Mode Activate the AUTO MODE again pressing the MIN/MAX ey (7) for approx. 1 sec.
This is the standard mode when switching on the instrument. Display of current
measurement value (without saving)
Maint nanc
As long as the instructions in the operating manual are adhered to, no special maintenance is
required.
Cl aning
Disconnect the instrument from all circuits. Humidify cloth slightly with household cleaner and wipe
the instrument surface by applying light pressure. Allow a recovery time after cleaning before
operating the instrument.
Batt ry R plac m nt
If the battery symbol appears in display (3), the battery has to be replaced. Please proceed as
follows:
1) Disconnect the instrument from the measurement circuit.
2) Switch off the instrument.
3) Loosen both screws in the casing rear.
4) Carefully open the casing.
8
5) Replace the old battery with the new one by respecting the correct polarity! For the battery
type, please refer to the technical data section.
6) Carefully close the casing.
7) Insert the screws and ensure they are tightened.
Warning! If the instrument is li ely to remain unused for a long period of time the batteries
must be removed. If a battery should lea inside the housing, return the instrument to our service
department for cleaning and chec ing. Please thin of our environment when getting rid of used
batteries. They should be disposed of in a place suitable for hazardous waste.
T chnical sp cifications
(valid for 23°C ±5°C, max. 80% rel. humidity)
Display: 3 ¾ digit LCD, 3999 digits with symbols for units and used batteries.
Overload display: “OL” is displayed
Battery display: Battery in the display means “replace the battery”
Power supply: 2 x1,5V, IEC LR03
Clamp opening: 28 mm
Current consumption: <3mA
Temperature range: 0°C…+50°C at max 80% relative humidity
Storage temperature: -10°…60°C
Protection class: IP40
Altitude: up to 2000m
Pollution degree: 2
Overvoltage category: CAT III/600V against ground
Dimensions: 65x185x35 mm
Weight: approx. 175 g incl. battery
9
AC Curr nt 50/60 Hz
Rang
R solution
Tol ranc
Ov r Voltag Pr.
40 A
0,
01 A
±
(2% rdg.+10 digit
600V
400A
0,1 A
AC Curr nt 70-400 Hz
Rang
R solution
Tol ranc
Ov r Voltag Pr.
40 A
0,01 A
±
(3% rdg. +10 digit
600 V
400 A
0,01
DC Voltag
Range Resolution Tolerance Over Voltage Pr.
400 V 0,1 V ±(1% rdg. +5 digit 600V
600 V 1 V
AC Voltag
Rang R solution Tol ranc Ov r Voltag Pr.
400 V 0,1 V ±(1,5% rdg. + 10 digit) 600V
600 V 1V
Frequency range 40-450Hz
*Input impedance 1MOhm
R sistanc
Rang R solution Tol ranc Op n circuit
voltag
Ov r Voltag pr.
400Ω 0,1Ω ±(1%rdg. + 5
digit
-1,1 V…1,3V 600V
Continuity
Rang Op n circuit voltag Ov r Voltag Pr.
<=40Ω -1,1 V…1,3 V DC 600 V
10
12 months’ guarant
The instrument are subject to stringent quality controls. If, in the course of normal daily use a fault
should occur, we provide 12 months’ guarantee (only valid with invoice). Faults in manufacture and
materials will be rectified by us free of charge, provided the instrument has not been tampered
with, and is returned to us unopened. Damage due to dropping, abuse or misuse is not covered by
the guarantee. Our Service Department will promptly repair any faults that occur outside the
guarantee period. This Instruction Manual has been prepared with great care. No liability is
accepted for the correctness and completeness of the data, illustrations, and drawings it contains.
Please contact:
Transfer Multisort Ele troni
93-350 Lodz
Srt. Ustronna 41, Poland
Tel. +48 42 6455535
Fax. +48 42 645 5500
Email: mierni [email protected]

Other Axio MET Measuring Instrument manuals
Axio MET AX-C850 Assembly instructions
Axio MET

Axio MET AX-C850 Assembly instructions

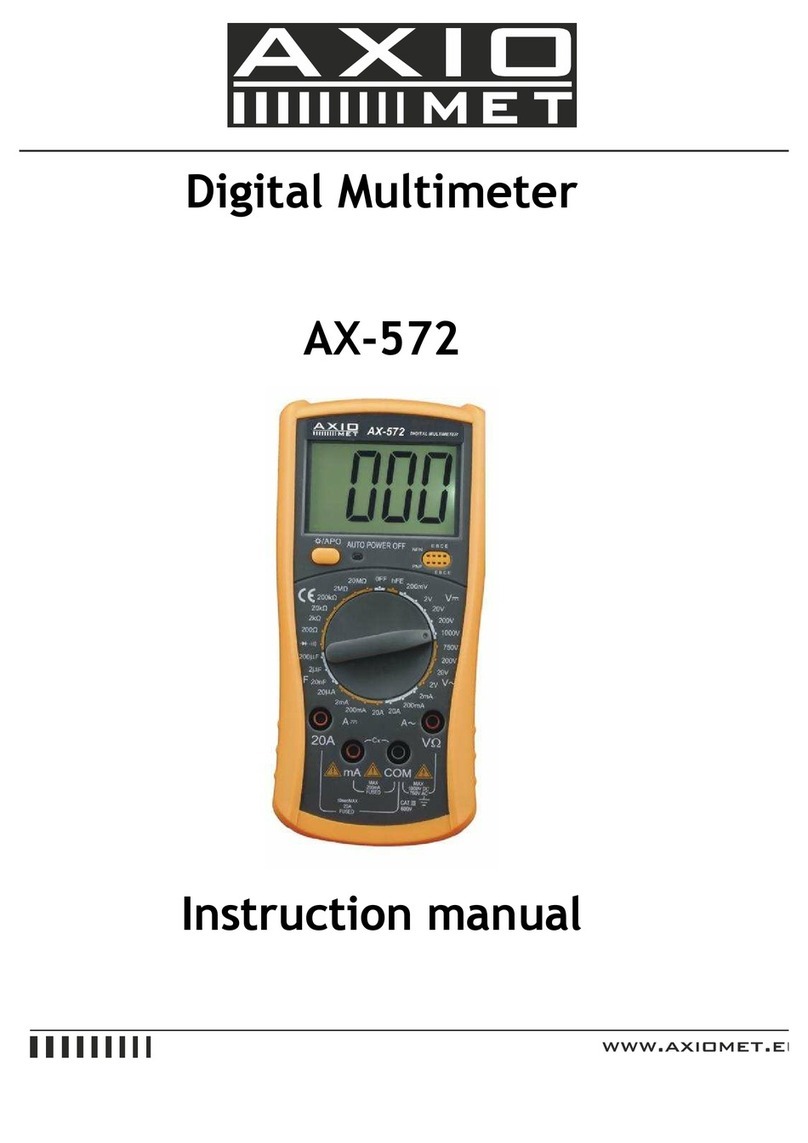
Axio MET AX-572 User manual

Axio MET

Axio MET AX-572 User manual

Axio MET AX-3550 User manual

Axio MET

Axio MET AX-3550 User manual

Axio MET AX-355 User manual

Axio MET

Axio MET AX-355 User manual

Axio MET AX-7600 User manual

Axio MET

Axio MET AX-7600 User manual
Axio MET AX-5003 User manual

Axio MET

Axio MET AX-5003 User manual
Axio MET AX-202 User manual

Axio MET

Axio MET AX-202 User manual

Axio MET AX-C800 User manual

Axio MET

Axio MET AX-C800 User manual

Axio MET AX-380 User manual

Axio MET

Axio MET AX-380 User manual

Axio MET AX-AN050 User manual

Axio MET

Axio MET AX-AN050 User manual

Axio MET AX-5001 User manual

Axio MET

Axio MET AX-5001 User manual

Axio MET AX-2040 User manual

Axio MET

Axio MET AX-2040 User manual

Axio MET AX-C705 User manual

Axio MET

Axio MET AX-C705 User manual

Axio MET AX-6520 User manual

Axio MET

Axio MET AX-6520 User manual

Axio MET AX-5002 User manual

Axio MET

Axio MET AX-5002 User manual

Axio MET AX-T2200 User manual

Axio MET

Axio MET AX-T2200 User manual
Popular Measuring Instrument manuals by other brands

PT W89730 owner's manual

PT

PT W89730 owner's manual

Chauvin Arnoux C.A847 user manual

Chauvin Arnoux

Chauvin Arnoux C.A847 user manual

Mirion Technologies Instadose + quick guide

Mirion Technologies

Mirion Technologies Instadose + quick guide

Extech Instruments 407495 user manual

Extech Instruments

Extech Instruments 407495 user manual

Victor VC60B+ instruction manual

Victor

Victor VC60B+ instruction manual

YOKOGAWA EXA TB TB400G user manual

YOKOGAWA

YOKOGAWA EXA TB TB400G user manual

PFlow Industries P116 instruction manual

PFlow Industries

PFlow Industries P116 instruction manual

Cyber Sciences CyTime SER-32e Instruction bulletin

Cyber Sciences

Cyber Sciences CyTime SER-32e Instruction bulletin

MPS EDS-C1 user manual

MPS

MPS EDS-C1 user manual

Dremel 100 Operating/safety instructions

Dremel

Dremel 100 Operating/safety instructions

Olympus USPM-RU-W Series instruction manual

Olympus

Olympus USPM-RU-W Series instruction manual

Badger Meter Hedland EZ-View H915 user manual

Badger Meter

Badger Meter Hedland EZ-View H915 user manual

Doris Schmithals Messwerkzeuge WP 201 066ECO user manual

Doris Schmithals Messwerkzeuge

Doris Schmithals Messwerkzeuge WP 201 066ECO user manual

Minebea Intec X3 manual

Minebea Intec

Minebea Intec X3 manual

twintex TI512 Operation manual

twintex

twintex TI512 Operation manual

ATO PH/ORP user manual

ATO

ATO PH/ORP user manual

Ecotech Serinus 30 instruction manual

Ecotech

Ecotech Serinus 30 instruction manual

Ink Bird MH-068 manual

Ink Bird

Ink Bird MH-068 manual

manuals.online logo
manuals.online logoBrands
  • About & Mission
  • Contact us
  • Privacy Policy
  • Terms and Conditions

Copyright 2025 Manuals.Online. All Rights Reserved.