AXIS 216FD/216FD-V/216MFD/216MFD-V Kit suspendu 9
FRANCAIS
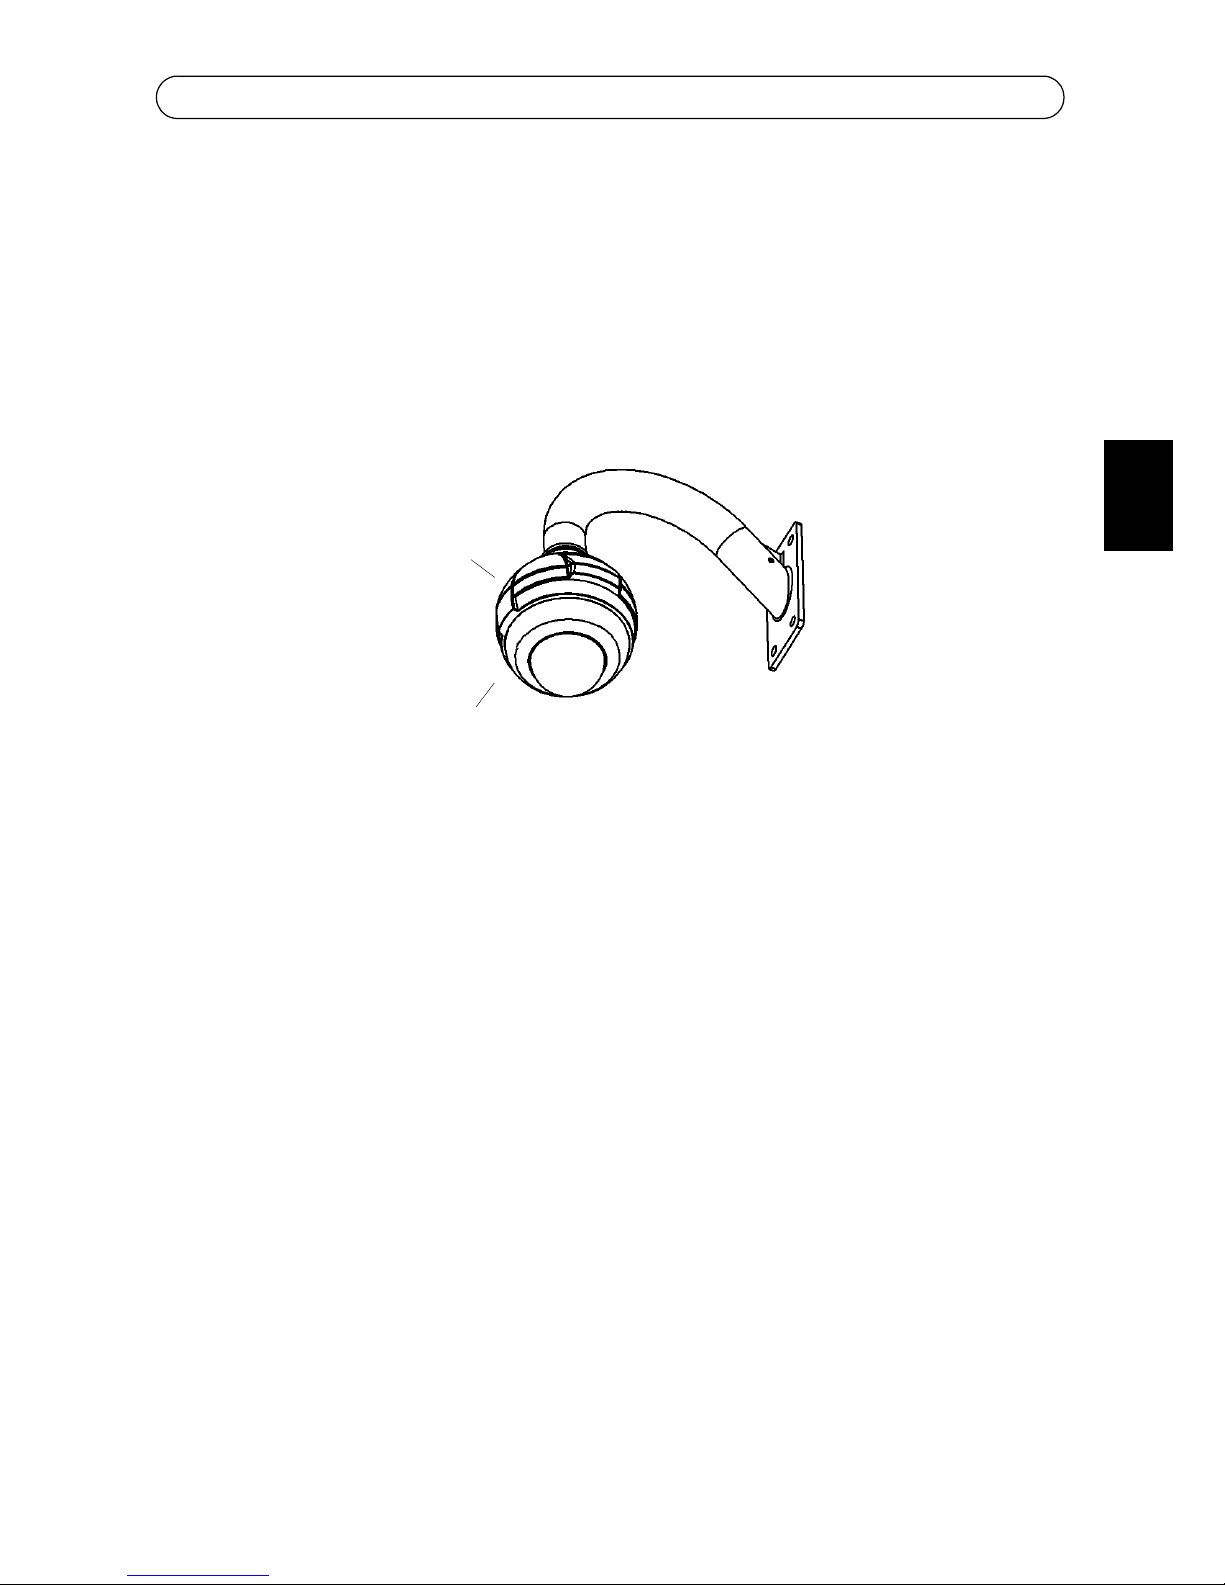
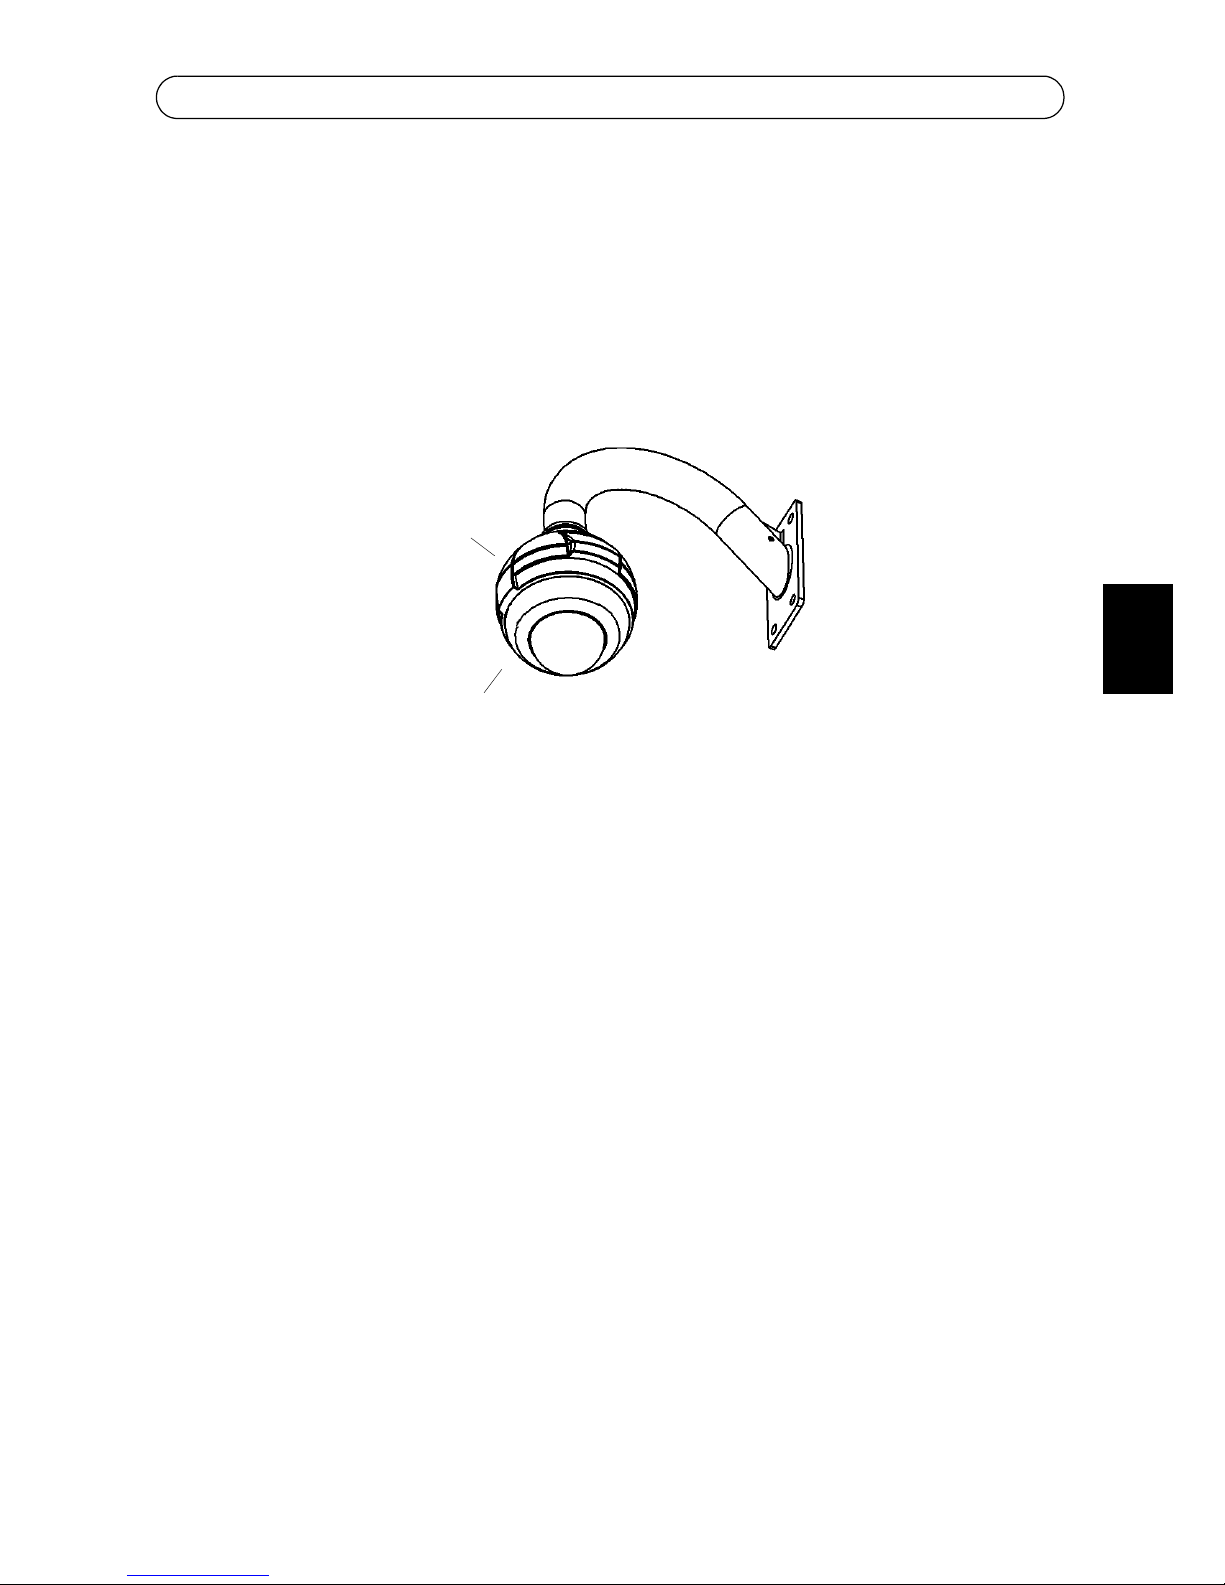
AXIS 216FD/216FD-V/216MFD/216MFD-V Kit suspendu
Ce guide d'installation vous explique comment installer le kit suspendu pour l’AXIS 216FD/
216FD-V/216MFD/216MFD-V caméra réseau à dôme fixe, appelée AXIS 216FD dans ce
document. Lisez attentivement ce guide avant de poursuivre l'installation.
Pour obtenir des instructions sur l'installation de la caméra, reportez-vous au guide
d'installation AXIS 216FD/216FD-V/216MFD/216MFD-V , disponible sur www.axis.com ou
sur le CD du produit vidéo réseau AXIS.
Avant de commencer
Avant de commencer l'installation, vérifiez que vous possédez les composants suivants :
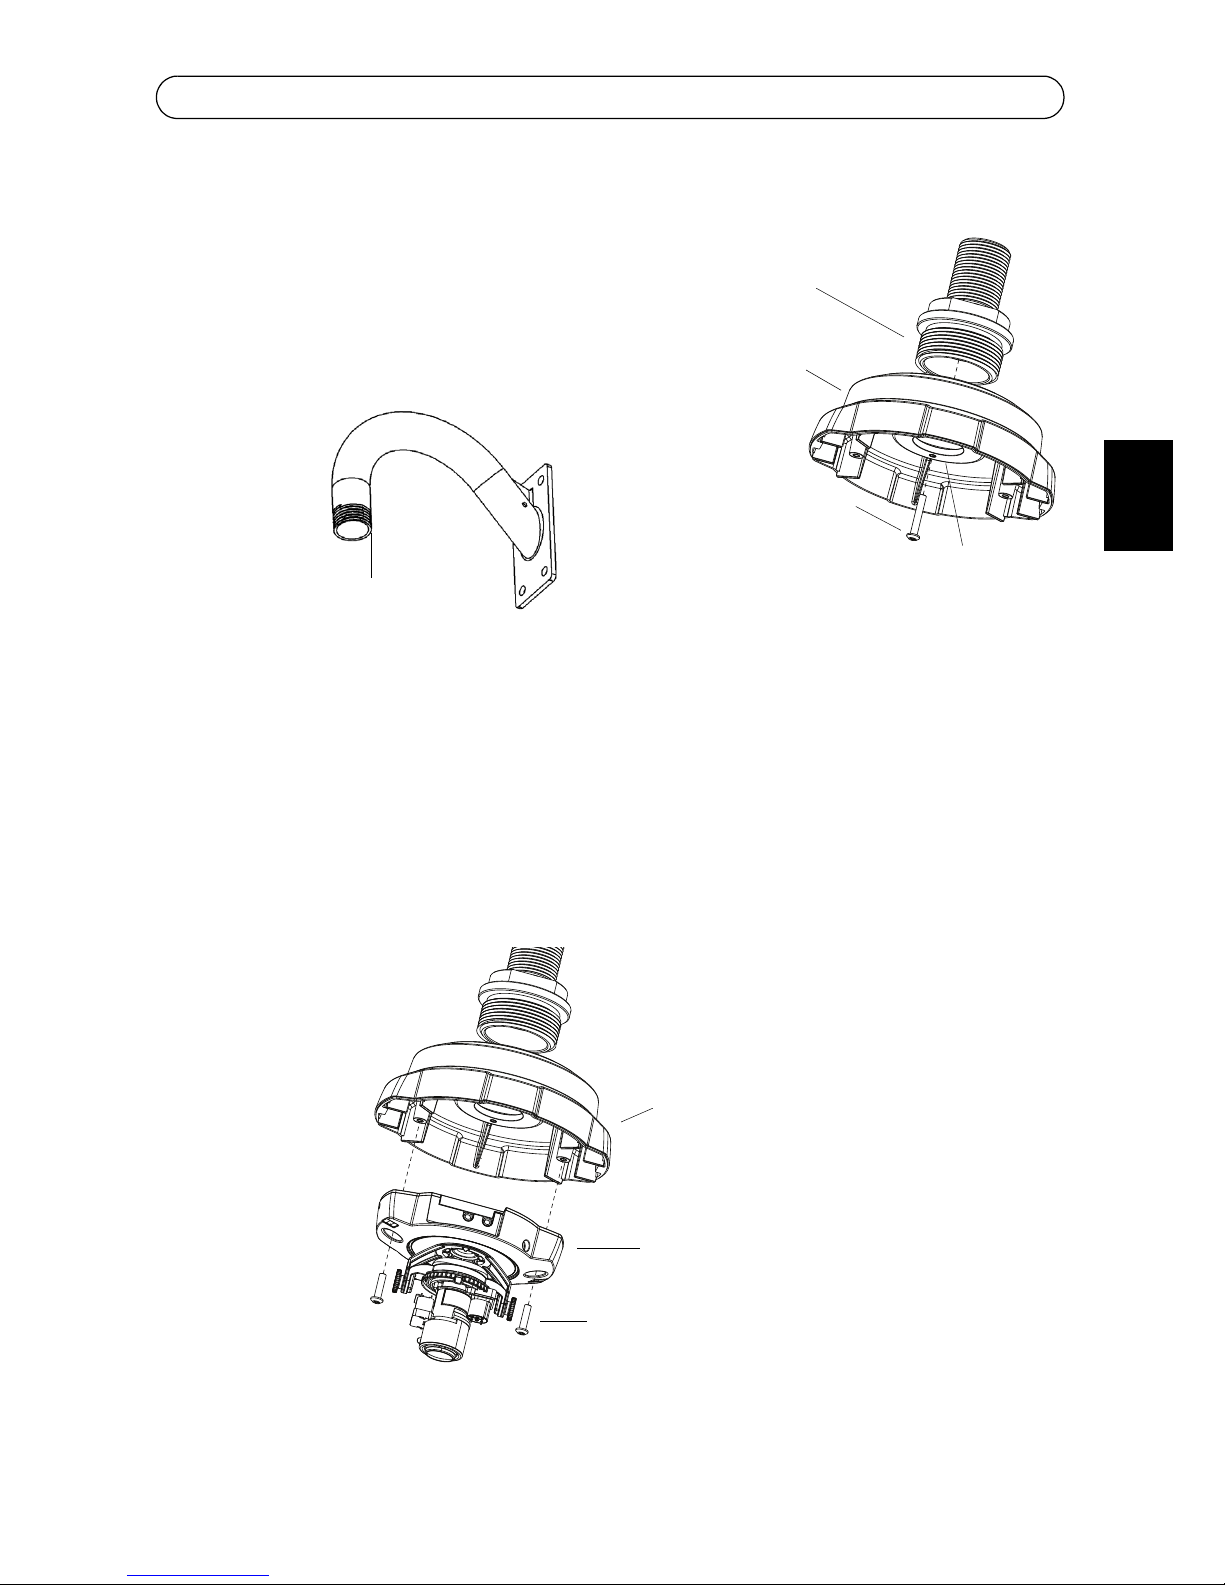
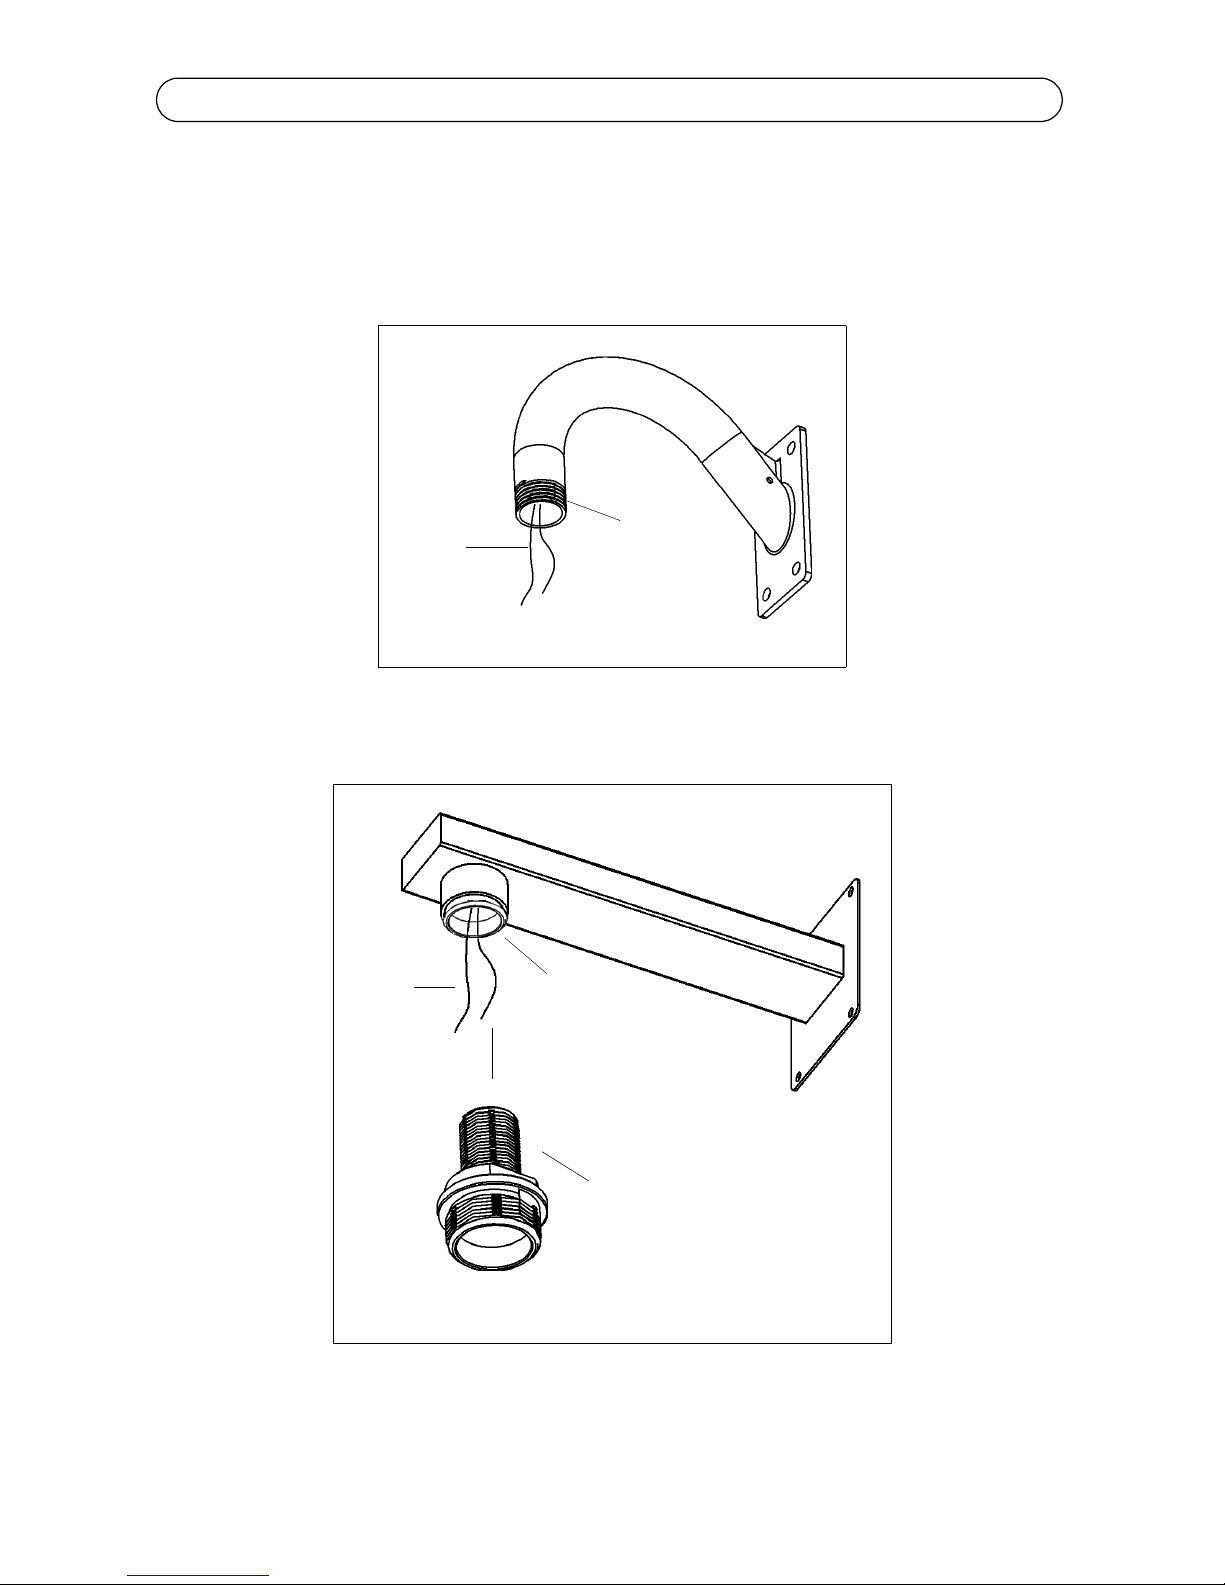
• Kit d'adaptateur suspendu
Contenu de l'emballage :
• (1) Adaptateur suspendu en aluminium coulé
• (1) Joint d'adaptateur suspendu
• (1) Adaptateur 1,5 pouce à 22mm (non disponible pour tous les kits pendants)
• (2) Vis à empreinte cruciforme M4 x 16
• (1) Vis à empreinte cruciforme M4 x 20
Autres composants (non inclus) :
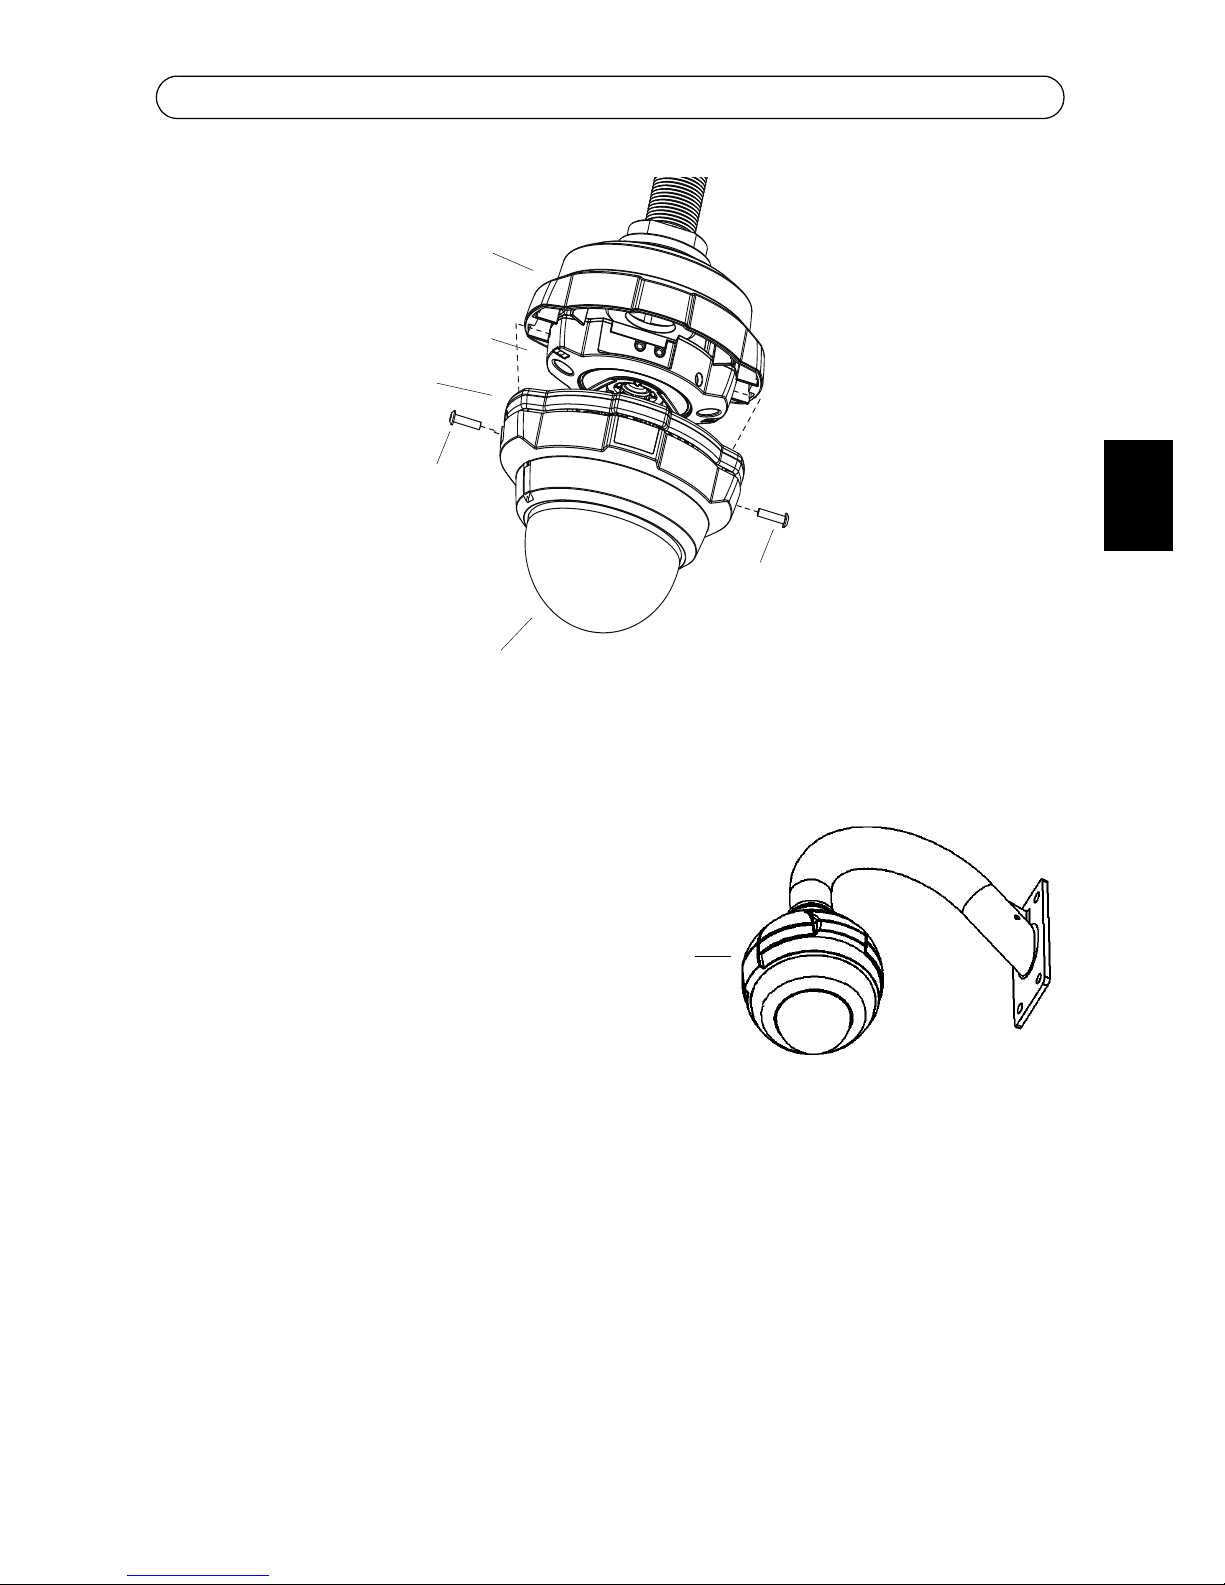
• AXIS 216FD/216FD-V/216MFD/216MFD-V Caméra réseau
Contenu de l'emballage :
• (2) Vis à tête cruciforme (non utilisées pour l'adaptateur suspendu)
• (2) Vis inviolables
• (1) Tournevis pour vis inviolables
• Support mural
• Vis et chevilles adaptées au support mural
• Tournevis Pozidriv (pour fixer la caméra à l'adaptateur suspendu)