5
List of Figures
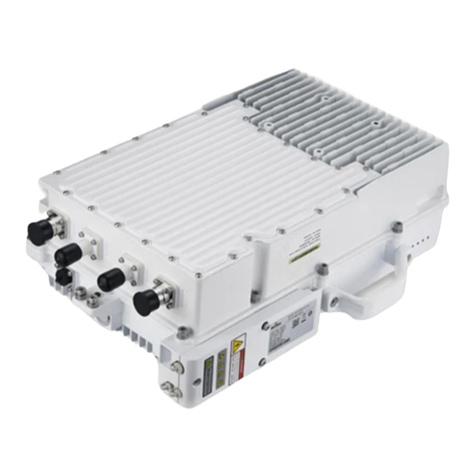
Figure 1–1: Nova-436Q eNB ...................................................................................................... 6
Figure 2–1: LEDs & Interfaces.................................................................................................... 9
Figure 2–2: Weatherproofing .................................................................................................. 10
Figure 2–3: CloudCore Login Page........................................................................................... 11
Figure 3–1: Installation Process............................................................................................... 11
Figure 3–2: GPS Antenna Installation ...................................................................................... 12
Figure 3–3: Omega Clamps...................................................................................................... 12
Figure 3–4: Attach Bracket to Pole .......................................................................................... 13
Figure 3–5: Attach eNB to Bracket........................................................................................... 13
Figure 3–6: Completed Attachment ........................................................................................ 13
Figure 3–7: Mark Drilling Locations......................................................................................... 14
Figure 3–8: Power Terminal..................................................................................................... 16
Figure 3–9: Grounding Screws................................................................................................. 16
Figure 3–10: Check LEDs.......................................................................................................... 17
Figure 3–11: GUI Login ............................................................................................................ 18
Figure 3–12: Home Page.......................................................................................................... 18
Figure 3–13: Configuration Flow ............................................................................................. 19
Figure 3–14: WAN/LAN............................................................................................................ 20
Figure 3–15: LGW .................................................................................................................... 21
Figure 3–16 LGW = Router....................................................................................................... 22
Figure 3–17: Static Routing...................................................................................................... 22
Figure 3–18: Management Server........................................................................................... 23
Figure 3–19: Quick Setting....................................................................................................... 24
Figure 3–20: Carrier Setting..................................................................................................... 25
Figure 3–21: Cell Status (eNB GUI) .......................................................................................... 25
Figure 3–22: Cell Status (OMC)................................................................................................ 26
List of Tables
Table 2-1: Materials................................................................................................................... 8
Table 2-2: LEDs........................................................................................................................... 9
Table 2-3: Interfaces .................................................................................................................. 9
Table 3-1: Internet/WAN ......................................................................................................... 20
Table 3-2: LGW......................................................................................................................... 21
Table 3-3: Static Routing .......................................................................................................... 23
Table 3-4: Management Server ............................................................................................... 23
