Bandit Industries, Inc.
Safety Booklet ii
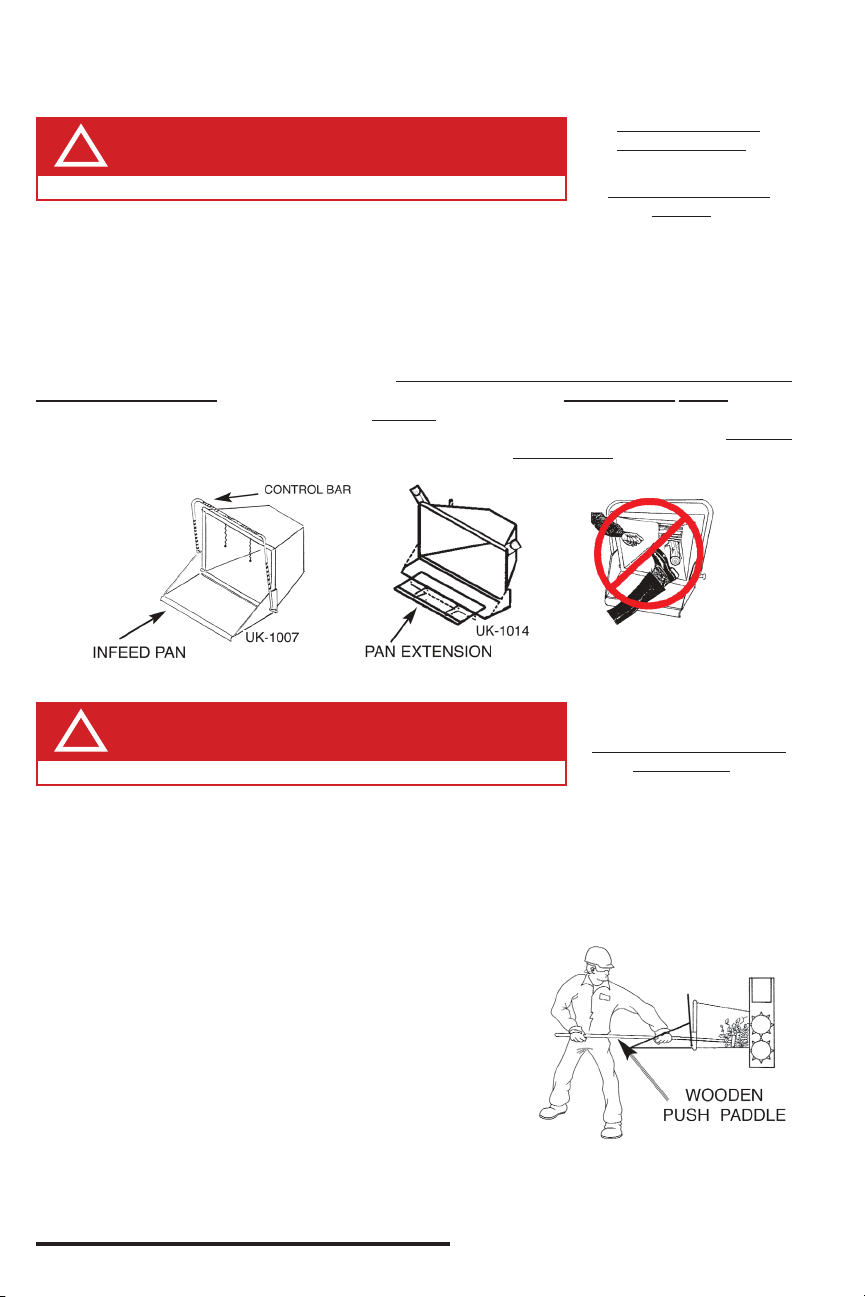
Operators must be trained to be constantly thinking about being in a
position and ready to use the forward‑o‑reverse feed control bar and
other controls. They should be thinking and ready to stop or reverse the
feed control bar the instant they feel any pulling toward the infeed hopper
or feedwheels. It is very easy to activate the control when the operator is
properly positioned, to stop or reverse the feedwheels, especially if they
are properly trained and paying attention.
It is dicult to activate the forward‑o‑reverse feed control bar if the operator
is bent over, reaching into the infeed hopper of the chipper. In this position the
operator is past the feed control bar, and in a very unsafe situation requiring
him/her to reach back and contact the control bar to stop or reverse the
feedwheels. The operators manual, video, and decals (located several
places on chipper) state; “never put feet or hands into the infeed hopper for any reason”.
If you have short pieces of wood, leaves, or twigs simply lay them on top of longer material while it is
feeding into the chipper. You can also use the wooden pusher tool. Do not feed vines or vine type material
into the chipper. Cut the vines into 4 to 5 foot lengths and lay them on top of longer material while it is feeding
into the chipper. With the vine material at this length, stop the feedwheels and lay the 4 to 5 foot pieces in
the infeed hopper, then they should be fed with the wooden pusher paddle. If you can’t cut the vines to this
length, don’t feed it into the chipper. Never put feet or hands into the infeed hopper for any reason! Always
be positioned and ready to operate control handle.
Always stand to the side of the infeed hopper when inserting material. This will allow you to turn away
from the wood, and walk away, without passing through the material. Feeding from the side also positions
the operator further from the feedwheels.
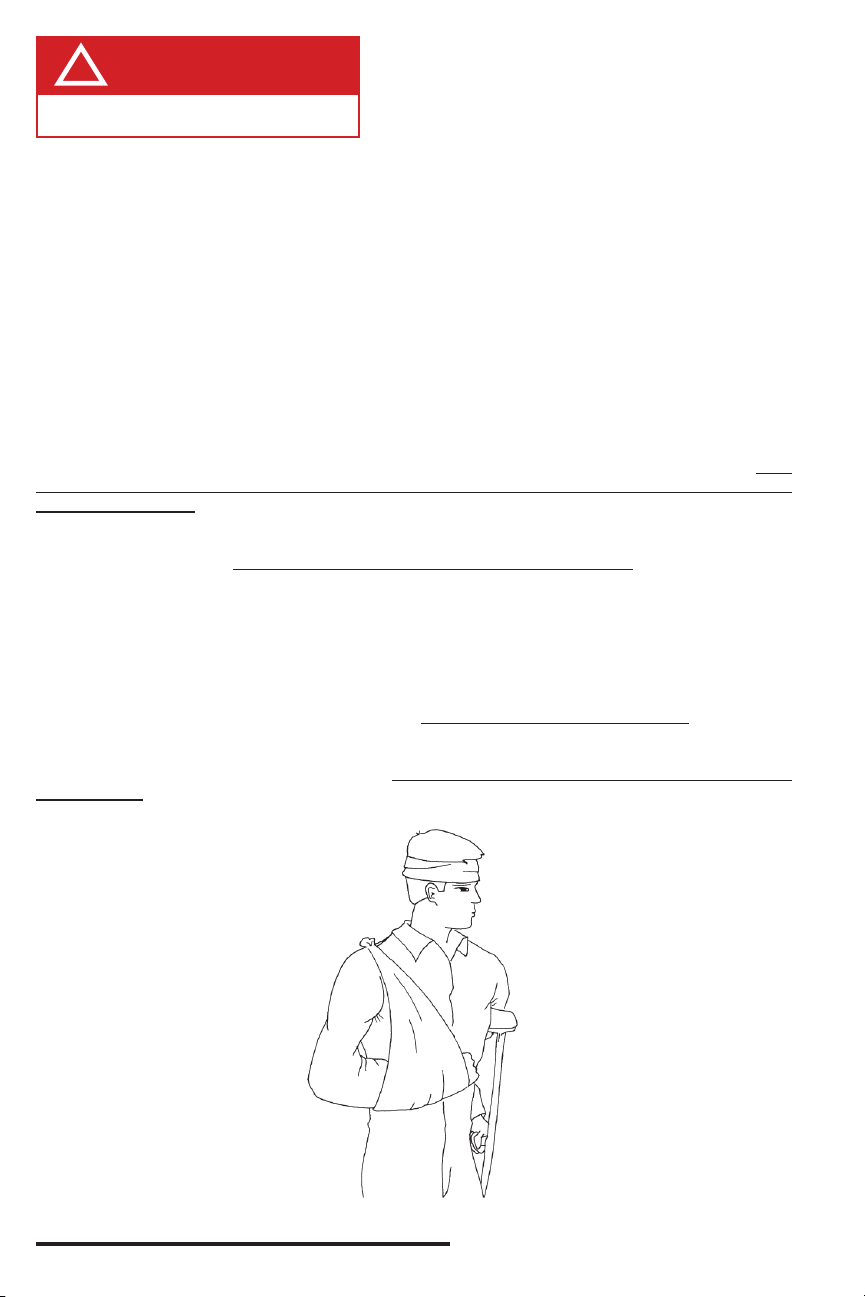
If you or your employees are not following these instructions, a very serious accident could occur. There is
no such thing as a “minor accident” if an operator gets into the feedwheels. Severe lacerations, amputations,
or even death can occur.
DANGER
!
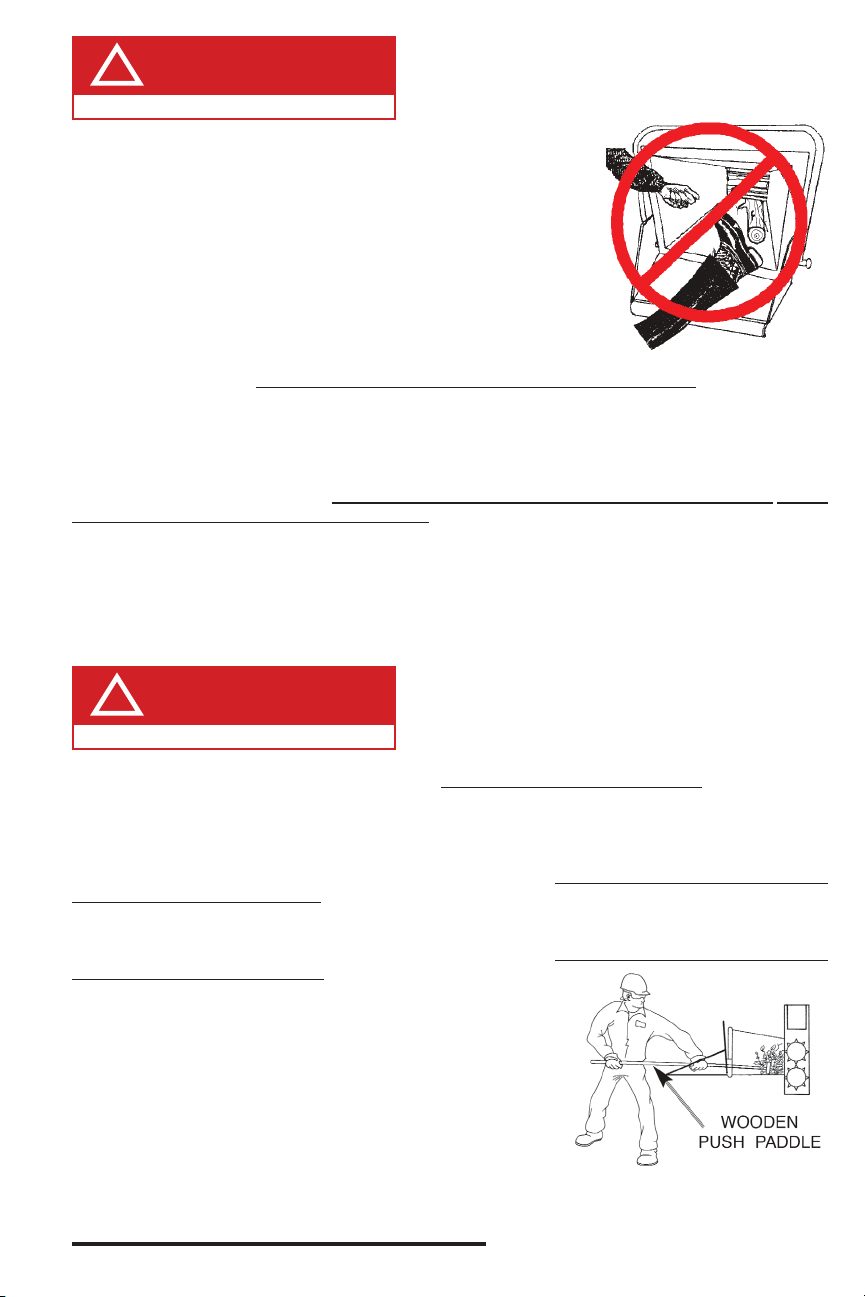
NEVER REACH INTO THE INFEED HOPPER.
Do not let this happen to you or your employees. Follow correct operating instructions. There have been
several accidents that involved foot amputations, leg amputations, and death as a result of operators kicking
into the infeed hopper of the chipper. Brush chippers are designed to be operated with hands placing the
material into the chipper - NOT FEET! If the operator kicks the material that has become lodged or is not
going into the feedwheels, he or she is placing themselves in extreme danger. If the wood does free up and
goes into the feedwheels, the operator can be thrown o balance. NEVER KICK OR PLACE A FOOT IN
THE CHIPPER INFEED HOPPER! Use a wooden push paddle to feed light, loose, wood material such as
twigs, leaves, etc. or when job is done you can shut o everything, sweep up everything, and throw it in the
chip box or pile. If the wood material becomes lodged and stops feeding, back it out, and turn it to a better
position or trim it with a chain saw. Then, re-feed it into the chipper. NEVER FIGHT WITH THE WOOD TO
GET IT TO ENTER THE CHIPPER!
Bandit Industries, Inc. continues looking into what can be done
to reduce chipper injuries. The following safety features have been
developed for, and are currently being used on Brush Bandit®
Chippers. They are available from your local Bandit® Dealer. Some are
new and some have been presented before. We urge you to update
your chippers with these devices.
To update your chippers, you must supply chipper models and serial
numbers of every unit where you are installing these very important
safety features. Safety devices available vary between “Hand Fed”
and “Loader Fed” Chippers.
DANGER
!
NEVER REACH INTO THE INFEED HOPPER.