Bang & Olufsen BEOSOUND 9000 Product guide

Reference book
BeoSound 9000

WARNING: To prevent fire or electric
shock, do not expose this appliance to
rain or moisture. Do not expose this
equipment to dripping or splashing
and ensure that no objects filled with
liquids, such as vases, are placed on
the equipment.
To completely disconnect this equip-
ment from the AC Mains, disconnect
the power supply cord plug from the
AC receptacle.
This symbol indicates that a
dangerous voltage constituting
a risk of electric shock is
present within this unit.
This symbol indicates that there
are important operating and
maintenance instructions in the
literature accompanying this
unit.
CAUTION: To reduce the risk of
electric shock, do not remove
cover (or back).
No User-serviceable parts inside.
Refer servicing to qualified
service personnel.

3
BeoSound 9000 – The music entertainment centre
The BeoSound 9000 is an extraordinary
CD player with a built-in radio.
BeoSound 9000 gives you perfect
sound reproduction and changes tracks
and CDs at a formidable pace. You will
experience six Compact Discs as one
piece of music – virtually one CD.
The system can be placed anywhere you
want music – in traditional placements;
on a table, hanging on a wall, or on the
specially designed, vertical stand. The
choice is yours.
The BeoSound 9000 represents a new
and visual way of experiencing music.

4
To get to know your Bang & Olufsen product,
two guides are at your disposal.
The Guide provides information on daily use. The
Reference book gives a thorough overview of all
aspects.
To the right, you find the contents of this Reference
book, the main chapters of the Guide are listed
below:
• Your key to using BeoSound 9000, 4
• Using the CD player, 6
• Using the radio, 9
• Adjust the volume, 10
Contents of the Reference book
Before you start…
6Cautions
How to set up BeoSound 9000
7Placing your BeoSound 9000
9Centering the CD drive mechanism
33 Option programming
Connect the cables
10 Aerial
10 Loudspeakers
10 Extra equipment
10 Master Link
11 Digital output
11 To the mains
Getting started
12 Close-up operation panel
Set the time
13 Using the built-in clock
Make BeoSound 9000 start or stop
at a specific time
14 Set a Timer
15 Set a Timer for single date
15 Set a weekly Timer
16 Checking or clearing Timers
17 Switching the Timer function on or off
17 Choose location for the Timer function
Playing CDs
18 Loading CDs
19 CD playback
Playing CDs in different ways
20 Choosing a sequence of discs
20 Playing CDs and tracks in random order
Playing favourite CD tracks
21 Select and store a series of tracks
21 Enable or disable playback of a track
series
Name your CDs
22 Name a CD
22 See the list of CD names
Positioning CDs
23 Load and adjust a CD manually
23 Clear the positioning
Display CD information
24 Switching between displays
Playing other sources
25 Listen to external sources
Guide
BeoVisionAvant
Reference book
BeoVisionAvant
The Guide The Reference
book

5
Using the radio
26 Presetting radio stations
26 Clearing presets
Optimise radio sound
27 Fine tuning a radio station
27 Mono/stereo reception
Name radio stations
28 Naming radio stations
28 Clear a name
Play your radio stations
29 Playing radio
29 Switching between displays
Adjust and store sound settings
30 Sound adjustments
Using the Beo4 remote control
31 Beo4 remote control operation
Use BeoSound 9000 with a video
system
32 A fully integrated setup
32 An AV integrated setup
33 Option programming
Looking after BeoSound 9000
34 Cleaning BeoSound 9000
35 Handling your CDs
The PIN-code system
36 Activate the PIN-code system
36 Change or delete a PIN-code
37 Using your PIN-code
37 Did you forget your PIN-code?
Key to using this guide
Use this key to identify what a button, source or
status display looks like in an instruction
sequence.
Buttons on the
BeoSound 9000 close-
up operation panel or
on the Beo4 remote
control
Displays on the
BeoSound 9000
Displays on the Beo4
remote control
RADIO
CD
OK
CD
EDIT ?
CD
RANDOM

6
We recommend that you follow this
procedure when you set up your
BeoSound 9000:
– Place the BeoSound 9000 where
you want to use it.
– If you wish to mount
BeoSound 9000 on a wall bracket
or floor stand accessory, then
assemble the accessory according
to the folder enclosed with it.
– Set up your loudspeakers (or, if the
BeoSound 9000 is to be used in a
Bang & Olufsen AV system, set up
this system) following the
procedures described in the guides
enclosed with these products.
– Connect all cables to their sockets
on the rear panel of the
BeoSound 9000 – remember not
to connect it to the mains yet!
– Arrange the cables in the cable
cover grooves and attach the cover
to the rear of the BeoSound.
– Connect BeoSound 9000 to the
mains.
Cautions
■Make sure that the BeoSound 9000 is set
up, placed and connected, in accordance with
the instructions in this guide.
■The BeoSound 9000 is designed for indoor
use in dry, domestic environments only, and
for use within a temperature range of 10–40° C
(50–105° F).
■Avoid placing the BeoSound 9000 in direct
sunlight or direct artificial light (e.g. a
spotlight), or near objects generating
electrical noise (e.g. dimmers), as this will
reduce the sensitivity of the remote control
receiver.
■Place the BeoSound 9000 so that
ventilation will not be impeded, and
remember to leave enough space above or in
front of the BeoSound 9000 for the glass
door to open, and to facilitate close-up
operation.
■If you are going to hang the
BeoSound 9000 on the wall, always use the
correct size and type of screws and wall plugs
to support the weight of the BeoSound 9000
(depending on the material and the
construction of the wall). If in doubt, consult
your Bang & Olufsen retailer.
■Light partition walls are often constructed
of gypsum panels – known as drywall or wall
board – secured to vertical studs. Gypsum is
not a satisfactory material to support the
weight of the BeoSound 9000!
■If you wish to hang your BeoSound 9000 on
a gypsum wall, using one of the brackets, we
recommend that at least one mounting screw
be a lag screw, which is screwed securely into
a vertical wall stud.
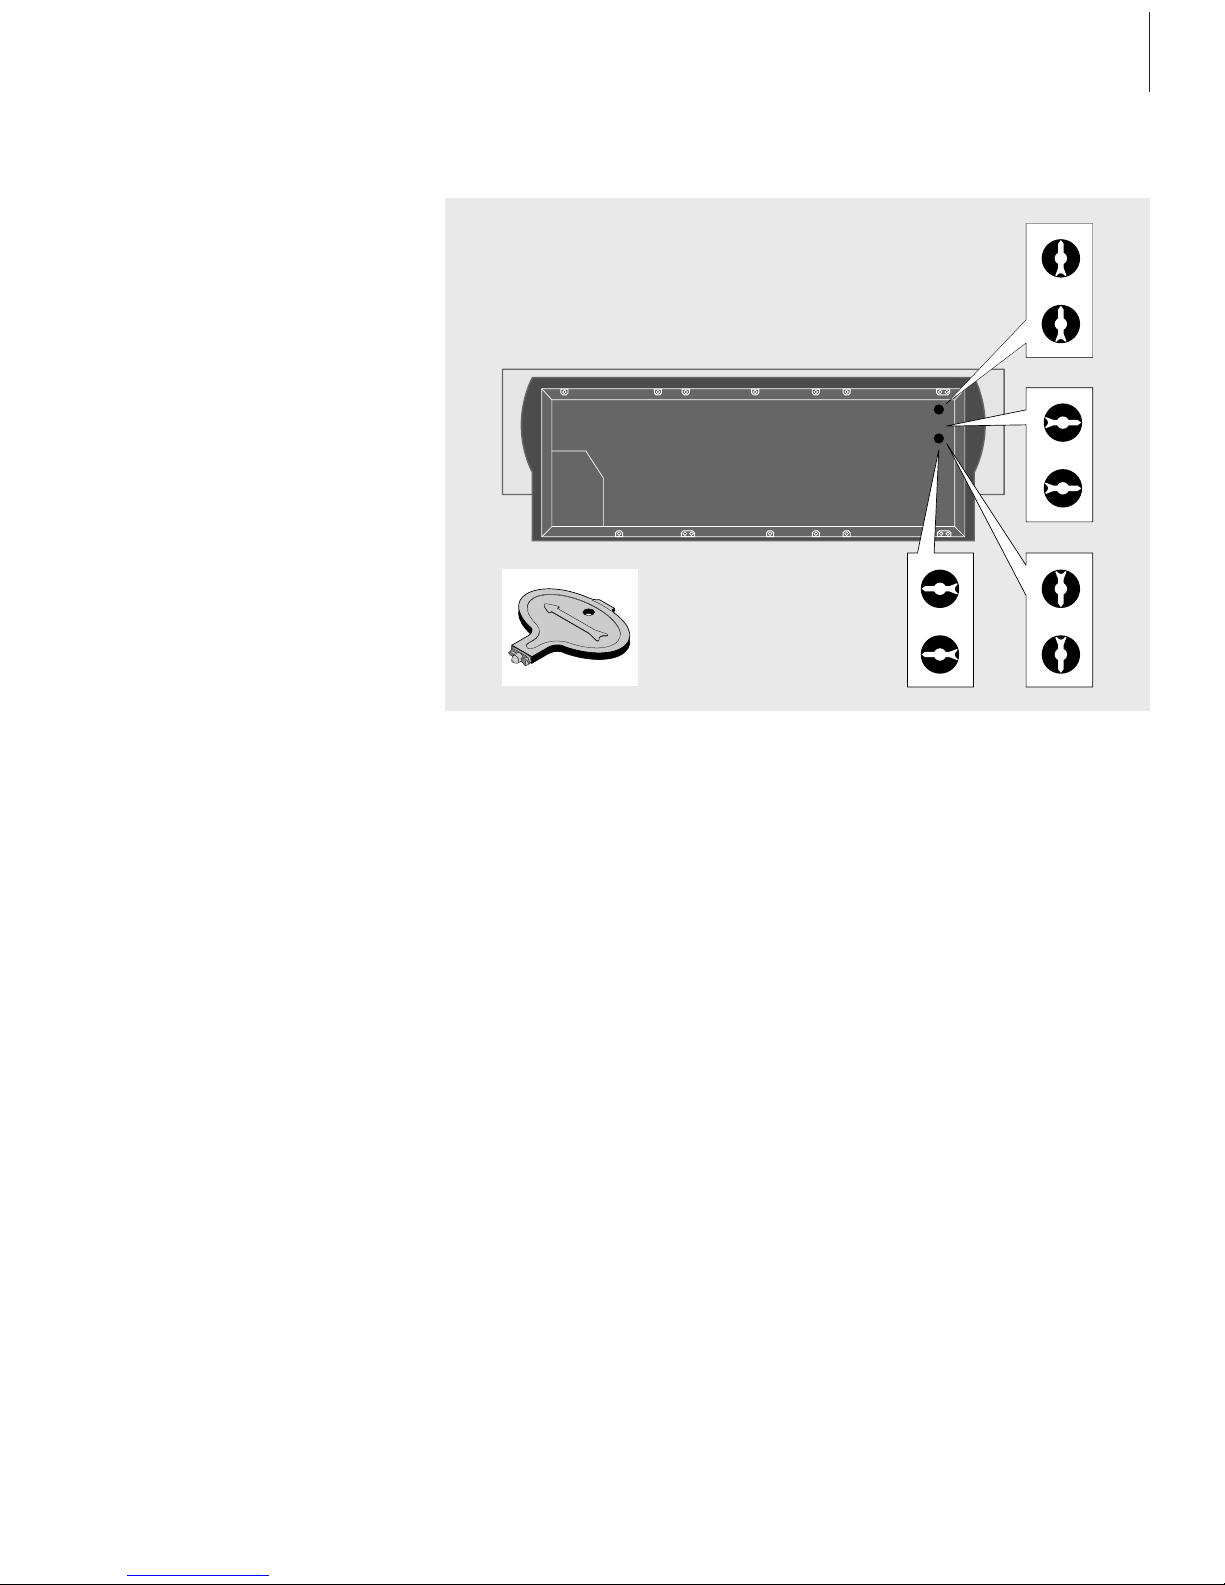
■If you wish to hang BeoSound 9000 on the
wall we recommend that you conceal the
cables using the optional Cable Covers, as
shown on the opposite page.
■When you are lifting the BeoSound 9000
out of the box we recommend that you, in
order to avoid fingermarks on the surfaces,
use the two foam packing shells placed at
each end of the BeoSound 9000.
Before you start…

7
As illustrated in this section,
BeoSound 9000 is designed for a
variety of placements. It can be
placed on a special stand, on a shelf
or a table in various positions – or
hanging on the wall (using one of the
optional wall brackets).
This section also describes how to
centre the CD mechanism for the
different setup situations mentioned
here – this is very important for the
proper functioning of the CD player!
The section Getting started describes
how to turn the close-up operation
panel (and the display) so it can be
read from your preferred angle.
How to set up BeoSound 9000
NOTE! Depending on the placement you have
chosen for your BeoSound 9000, the carriage will
situate itself in various positions. If you choose to
place BeoSound 9000 vertically, the carriage will
move to the top end of BeoSound 9000. If you
choose to place the BeoSound 9000 horizontally,
the carriage will situate itself next to the operation
panel.
Fig. 2: The BeoSound 9000 hung flat on the wall
in a high horizontal position. When
BeoSound 9000 is placed like this, the CD
mechanism must be centred for a horizontal
position.
Fig. 1: The BeoSound 9000 placed in a vertical
position. When BeoSound 9000 is placed like this,
the CD mechanism must be centred for a vertical
position. The Stand is supplied with two different
sets of feet:
– spikes for use on a carpeted floor
– rubber feet for use on a non-carpeted floor.
Do not lift or move the Stand around while the
BeoSound 9000 is mounted on it.
Fig. 3: The BeoSound 9000 hung flat on the wall
in a vertical position. When BeoSound 9000 is
placed like this, the CD mechanism must be
centred for a vertical position.

8>> How to set up BeoSound 9000
Fig. 4: The BeoSound 9000 placed flat on a level
surface, e.g. a table or shelf. When
BeoSound 9000 is placed like this, the CD
mechanism must be centered for a flat position
(factory setting).
Fig. 6: The BeoSound 9000 placed in a near
upright position on a level surface, e.g. a table or
shelf. When BeoSound 9000 is placed like this,
the CD mechanism must be centered for a
horizontal position.
Fig. 7: The BeoSound 9000 hung low on the wall
in a near upright position. When BeoSound 9000
is placed like this the CD mechanism must be
centered for a horizontal position.
Fig. 5: The BeoSound 9000 placed in a slant
position on a level surface, e.g. a table or shelf.
When BeoSound 9000 is placed like this, the CD
mechanism must be centered as for a flat position
(factory setting).

9
Centering the CD drive mechanism
The CD mechanism is spring suspended in order
to make the BeoSound 9000 ‘party-safe’. By
centering the CD mechanism, you adjust the
tension of the spring suspension to allow for
different placements.
It is very important for the functioning of the CD
player that you adjust the spring suspension
correctly!
The spring suspension in the two adjustment
holes can be set to four different positions:
a) Use this setting when BeoSound 9000 is placed
in the Bracket as in figs 6 and 7.
b) Use this setting when BeoSound 9000 is placed
either on its Stand, or hung vertically on the wall
as in figs 1 and 3.
c) Use this setting when BeoSound 9000 is hung
horizontally on the wall as in fig 2.
d) Use this setting when BeoSound 9000 is placed
either flat on a table, or in the Bracket as in figs 4
and 5. This is the factory setting.
How to center the spring suspension
Enclosed with the Stand and the Brackets, you
will find a small plastic tool, which you must
use for this purpose:
> Locate the two adjustment holes in the bottom
plate of BeoSound 9000.
> Pry off the two small plastic plugs (using the
chisel-shaped end of the tool).
> Insert the other end of the tool (the arrow-
shaped end) and turn the tool so that the arrow
in each hole points into the correct direction.
> When finished put back the two plastic plugs
again.
In all but the flat and the near flat positions, both
arrows in the holes must point upwards when
finished. In the flat position (factory setting) they
must point towards the centre of BeoSound 9000.
dc
a
b

10 Connect the cables
Aerial connections
In order to obtain optimal reception of radio
stations it is essential to use the correct type
of aerial (FM and/or AM) or cable net
connection. Let your Bang & Olufsen retailer
advise you.
> Connect your FM signal to the socket marked
FM and your AM signal, if any, to the socket
marked AM.
> When using indoor aerials (either an FM dipole
or AM loop aerial), tune in to the radio station
you want and then turn the aerial horizontally
until optimum signal is received.
Loudspeakers
You may choose to loop the signals through
from speaker to speaker, as mentioned in the
User’s guide for your loudspeakers, or you
may connect one speaker to each of the two
sockets.
> Connect your active Bang & Olufsen
loudspeakers to the sockets marked PL.
Remember to set the L • R • LINE switch on your
active speakers to Land R(left and right channel),
respectively.
Extra equipment
The AUX socket enables you to connect e.g. a
tape recorder or a record player (with built-in
preamplifier). However, as this socket does
not carry Data Link signals, you will not be
able to operate the connected equipment by
remote control. Just select A.AUX and then
operate the extra equipment close-up.
> Connect your extra equipment to the socket
marked AUX.
Master Link connection
You can connect a video system or BeoLink
system to the Master Link socket, in order to
achieve an integrated AV system. The AV
system may be set up in one room, or split up
on two rooms.
The Master Link connection may also be used
to distribute sound to other rooms in the
house, in a BeoLink system. For further
information, please contact your retailer.
> Using a Master Link cable, connect one end to
the socket marked ML (Master Link) on the
BeoSound 9000 and the other end to the
corresponding socket on the TV.
You can use your BeoSound 9000 in
a stand-alone setup or connected to
a Bang & Olufsen video system with
a Master Link cable. The Master Link
socket on the back of
BeoSound 9000 can also be used for
the distribution of sound to any room
you like.
Use the diagram and the label on the
socket panel for reference when
locating the sockets.
Do not connect the BeoSound 9000
to the mains until you have finished
connecting the cables.
AM
aerial
Master Link
connection
Loud-
speakers
Extra
equipment
FM
aerial
Digital output
NOTE! For further information about a setup
other than the stand-alone option, please refer to
Use BeoSound 9000 with a video system.

11
Digital output
The socket marked DIG. OUT carry the digital
signals from the CD player, and is intended
for connecting digital equipment (output
only).
Mains connection
Plug the mains lead into the socket marked ~.
When you have made all the connections,
replace the cover to hide the socket
compartment.
For safety reasons fasten the mains cord as shown,
before running it out from the socket
compartment.
Remove the cover in the bottom plate of the
BeoSound 9000 to gain access to the sockets.
The socket compartment contains the socket for
the mains cord.
The cover has two perforated sections, which you
can pry off in order to make a hole through
which to run the cables. Select one in an
appropriate position to suit your setup.
If you have set up the BeoSound 9000 on the
Stand, (see How to set up BeoSound 9000), a
different cover must be used. This new cover is
supplied with the Stand. Finally, connect the
BeoSound 9000 (and the other units in your system)
to the mains.

12 Getting started
When you have finished the setting
up procedure, the BeoSound 9000 is
ready for use.
Keep BeoSound 9000 in stand-by
mode to facilitate easy access and to
ensure that Clock and Timer settings
are always available.
Close-up operation panel
In order to make reading easier in all
placement situations, you can rotate the
close-up operation panel (and thus the
display):
> Turn off the power.
> Open the lid to gain access to the close-up
operation panel.
> Lift off the operation panel by inserting a finger
where indicated, lift the panel out, rotate it,
and insert it again (connectors first).
When you turn on the BeoSound 9000 a tiny
red light appears in the display, indicating
that the system is in stand-by mode, ready to
be used.
> Press the load button to open the glass door.
> Remove the carton strip behind the CD clamp
and the foam packing (these items are for
protection of the CD drive and the glass door
during transport).
You can rotate the CD clamper lid (with the Bang &
Olufsen name) in order to ensure that the name
always appears in a horizontal position (and not
upside down).
12
Lift here

13
Set the time
The BeoSound 9000 has a built-in
clock indicating time, date and year.
If you want to make use of the Timer
function described on the following
pages, you must first make sure that
the built-in clock in the
BeoSound 9000 has been set
correctly.
You can check the clock on the
display to ensure that it is set
correctly. If this is not the case you
can change the setting in the process.
You can also set the BeoSound 9000
to show the clock permanently, even
when the system is in stand-by.
Using the built-in clock
When you want to make BeoSound 9000
display the correct time and be able to use
the different Timer functions, you must first
set the built-in clock.
Press to access the built-
in clock
Press to set time, date
or year
Press to accept the
changes and reveal the
next display – repeat
this setting procedure
for date and year
When you have set or
changed the year, the
display reads CLOCK
OK?
Press to store your new
clock setting
Press to show the time
Press to see the date
and year
To display the time permanently…
Press when Date and
Year is displayed, to
change the display to
time and ON e.g. 14:40
ON
Press again to cancel
the permanent showing
of the clock e.g. 14:41
OFF.
If you should make a mistake or change your mind
while you are setting the clock, just press CHECK –
and start over.
…
JAN for January
FEB for February
MAR for March
APR for April
MAY for May
JUN for June
JUL for July
AUG for August
SEP for September
OCT for October
NOV for November
DEC for December
The time display will be interrupted by the
messages which follow other functions or
operations, but it will return to displaying the time.
CLOCK
14:40 ON
CLOCK
14:41 OFF
CLOCK
m
p
OK
CLOCK OK?
OK
CLOCK
CLOCK
When setting the clock, the display shows the
time, date and year for your settings. It has a 24
hour clock – and it shows…

14 Start or stop at a specific time
You can make BeoSound 9000 start
or stop playing at designated times
throughout the day and week.
The BeoSound 9000 can store up to
15 such Timer settings and you can
use it to e.g. wake you in the
morning to your favourite CD or
radio station.
If, for example, you want the
BeoSound 9000 to stop playing at a
specific time in the evening, simply
set a Timer with STANDBY as the
source.
When you set a Timer for Monday,
Tuesday and Thursday, the Timer will
be executed on these days, every
week.
If you use the BeoSound 9000 in a
fully integrated Bang & Olufsen setup
(see Use BeoSound 9000 with a
video system), you have to set the
Timer function to ON or OFF via the
TV. The display on the
BeoSound 9000 will read
TV OPERATED.
Set a Timer
For a Timer stand-by setting all the
BeoSound 9000 needs to know, is the time
you want it to stop playing, and how often.
As soon as you choose a stand-by Timer, a
display will prompt you to choose when the
Timer should stop.
Press to start
programming settings
Press to choose a source
for your Timer or
choose a Timer
stand-by
Press to accept the
source
Then program when
you want the Timer to
start and stop…
Press repeatedly until
you have found the
exact time for starting a
Timer play
Press to accept Start
Timer
Repeat the procedure with the and OK buttons
to program the exact time for stopping a Timer.
If you should change your mind while you are
setting a Timer, simply press a source button, CD
or Radio, to exit the Timer programming function.
While you are setting a Timer, pressing the CHECK
button will take you back one step in the
sequence.
When you program a Timer for your available
sources, you will have to choose the station/channel
where you want to program a Timer play. When
you choose a station for RADIO, the station you
listened to last will appear. For TV and SAT channel
1 will appear as your first option.
From your available broadcasted sources e.g. TV
and RADIO, you can only choose stations/
channels that have already been stored.
Using your Beo4 remote control…
> Press the red button for more than 1.5 sec. until
the display reads TIMER?
> Press GO to continue. Use the GO button, the
buttons and and the number buttons 0 – 9
during the timing procedure to see options and
select between these.
TIMER
m
p
OK
m
p
OK

15
Set a Timer for single date
When you want to program a Timer for a
single date, you must choose the ‘Single date’
option in the Timer menu.
Choose the single date
option from the menu,
in the display – SINGLE
DATE? appears
Press to display the date
you want to program a
Timer for
The display shows the
date
Press to accept the
selection
Press to store your
Timer programming and
return to normal source
operations
The display shows that
you have stored the
settings
If you choose SINGLE DATE, the cue DATE and
today’s date in the display prompts you to choose
a date within the next year.
Set a weekly Timer
When you want to program a weekly Timer
as a Timer play or Timer stand-by, you must
choose the ‘Days’ option in the Timer menu.
If you choose DAYS, the display will prompt
you to fill in the weekdays on which you want
the system to carry out the Timer.
Choose the Days option
from the menu, in the
display – DAYS? appears
Press to access a display
where you can fill in the
days you want to
program the Timer for
Press to include a
weekday
Press to exclude a
weekday
When you have gone
through the whole
week the display will
prompt you to store
your Timer entry
Press to store your
Timer entry
The display shows that
you have stored the
settings
The display for weekly programming entails the first
letters of the days you accepted (M, T, W, T, F, S, S)
and underscores (_ ) for the days you did not choose.
When you set the BeoSound 9000 to carry out a
Timer on forthcoming, selected weekdays, these
days are presented as abbreviations:
MON for Monday
TUE for Tuesday
WED for Wednesday
THU for Thursday
FRI for Friday
SAT for Saturday
SUN for Sunday
m
p
SINGLE DATE?
m
p
DATE 15 NOV?
m
p
OK
TIMER STORED
m
p
DAYS?
OK
m
FRI? M_WT
p
OK? M_WTF_S
OK
TIMER STORED
NOTE! The list of sources shown in the display
contains N.MUSIC (for music tracks stored on your
PC) and N.RADIO (for radio sites on the Internet).
These sources are available if you have connected
your BeoSound 9000 to BeoLink PC 2 and have
access to the Internet.

16
Checking or clearing Timers
You can look up each Timer programming
entry to check its contents or cancel it
completely.
Press to check your
Timers
Press to see Timer
programming number
and source for the
individual Timer entries
Press repeatedly to
display the details of a
particular programming
When the display reads
OK?…
Press to display NEXT?
to see your next Timer
programming entry
Press to see your next
entry – If there are no
more entries, NO
MORE, will appear in
the display
Press clear while
information regarding a
Timer programming is
displayed in the display
– CLEARED will appear
on the display
The first display shows Timer entries in numerical
order with source and station number, the second
shows the indication of time for starting and
stopping, and the third displays the days for
which the Timer is set. This is an on-off
programming. In all three instances, clearing of
the settings is possible.
>>Start or stop at a specific time
CHECK
m
p
OK
OK?
m
p
NEXT?
OK
NO MORE
CLEAR
CLEARED

17
Switching the Timer function on or
off
The Timers you have programmed into the
BeoSound 9000 can all be executed with or
without activating the loudspeakers which
are either directly connected to the
BeoSound 9000 or are connected to it via
BeoLink. The Timer ON/OFF function
determines whether a Timer Play can be
heard on the loudspeakers.
Choose location for the Timer
function
In order to hear your Timer play
programmings, you must activate the
loudspeakers in the room or rooms where
you want music by switching the Timer
function to ON. If you set the Timer function
to OFF, your speakers will be muted.
Press to cut in or press
again to cut out the
loudspeakers
When you first press
ON/OFF, TIMER ON or
TIMER OFF will appear
in the display, according
to the setting you have
previously made
If you therefore choose to set the speakers
next to your BeoSound 9000 to OFF, but set
your extra speakers in your bedroom to ON,
the Timer play will be carried out, and you
will hear it through your extra speakers in
your bedroom.
However, if all Timer functions for the speakers
connected to the BeoSound 9000 as well as on all
your connected systems are set to OFF, a Timer
will not be activated.
ON/OFF
TIMER ON
TIMER OFF

18 Playing CDs
When you have loaded your
BeoSound 9000 with 1–6 CDs, you
are ready to start playing your CDs.
When you press the CD button to
start playing, the CD where the
carriage is situated will start playing
from the beginning.
You can easily change between the
different CDs and the individual tracks,
to achieve the sequence of tracks you
prefer.
When your first CD has finished
playing, the carriage automatically
moves to the next CD you have
loaded and starts playing this new
CD.
If you choose to hear another source,
the CD player switches off
automatically.
Loading CDs
When you want to have access to load or
remove your CDs, simply use the load button
on the front of BeoSound 9000.
Press to raise the glass
door
Press to lower the glass
door
Press to lower the door
and start playing
If you leave the glass door open, it will close
automatically after 5 minutes. If BeoSound 9000
is left paused or stopped for more than 30
minutes, it automatically switches to stand-by.
If the glass door is open and the carriage is placed
over a CD you want to remove, simply move the
carriage to another position by pressing the direct
CD selection button in front of a compartment.
The carriage registers whether the CD
compartments you ask for are empty or not, and
until the glass door is opened again, it will
remember the state of the compartments.
The CD must be loaded with the text side facing
you. Hold the CD by its edges and insert the CD
(top section). To unload the CD, hold it by its edges
and push the CD slightly forward to release it.
CD

19
CD playback
When you want to play a specific CD, simply
press the direct CD selection button* placed
next to the CD compartment. The carriage
then moves to the CD you have chosen, and
playback starts.
Press to play a CD
Press to play the next
track on a CD
Press to play the same
track again or press
twice to play the
previous track
Press to pause playback
Press to resume playing
Press to raise the
volume
Press to lower the
volume
Press to silence the
speakers
Press again to recall the
sound
Press to switch to
stand-by
*The CD selection buttons can also be used to step
through the tracks of your CDs. Press the button
once – and you select the CD, press it continuosly
– and you step through the tracks of the chosen
CD.
When you are using your BeoSound 9000 CD
player, a tiny red indicator is lit beside all the
occupied compartments.
If, for example, you choose a sequence of discs to
be played, only the indicators next to the CDs you
have chosen will be lit, even though you have
loaded six CDs.
CD
m
p
PAUSE
CD
VOL r
VOL u
MUTE
MUTE
•

20
Choosing a sequence of discs
The select option allows you to choose a
specific sequence of CDs you wish to listen to.
The CDs you have chosen will start playing in
numerical order.
Playing CDs and tracks in random
order
The random play function plays CDs and
tracks on individual CDs in a random order.
Also chosen CDs and track series can be
played in random order.
Playing CDs in different ways
Make BeoSound 9000 play your
favourite CDs in the particular
sequence you want, or play your CDs
in random order to vary your listening
experience.
Every time a CD is included in a
sequence, the red indicator next to
the CD compartment lights up.
You can choose to combine the
RANDOM function with the EDIT
function and play your favourite
tracks in a random order. You can
also combine these two functions
with SELECT and choose to play only
your favourite tracks from for
instance two CDs in random order.
Refer to Playing favourite CD tracks
for further information about the
EDIT function.
Press to start playback
of a CD
Press to make SELECT
DISC appear
Press the direct CD
selection buttons next
to the CDs you want to
include…
Press to start clearing a
sequence and play all
six CDs
Press to clear the
sequence
To leave out a CD you have included in the
sequence…
Press to be able to
remove a CD*, and…
…press the direct CD
selection button next to
the CD you want to
remove
To listen to a CD you have not included in your disc
sequence, simply press the direct CD selection
button next to the CD you want to hear, and
playback will start immediately.
Press to start playing a
CD
Press to display
RANDOM ON and cut
in the random play
function
Press twice to display
RANDOM OFF and
cancel the random play
function
CD
SELECT
SELECT DISC
SELECT
CLEAR
CD
RANDOM
RANDOM ON
RANDOM
RANDOM OFF
SELECT
*NOTE! The SELECT option lasts for 25 seconds
from when you pressed SELECT. If you press a
direct selection button after the SELECT option
has ended, the disc you chose will start playback
immediately and override your sequence. When it
has finished playing, BeoSound 9000 will continue
playing the sequence you chose before.
Other manuals for BEOSOUND 9000
4
Table of contents
Other Bang & Olufsen CD Player manuals

Bang & Olufsen
Bang & Olufsen BeoSound Century User manual

Bang & Olufsen
Bang & Olufsen BeoSound 3000 User manual

Bang & Olufsen
Bang & Olufsen BeoSound 3000 User manual

Bang & Olufsen
Bang & Olufsen BeoSound 3000 Product guide

Bang & Olufsen
Bang & Olufsen BEOSOUND 9000 User manual

Bang & Olufsen
Bang & Olufsen BeoSound 3200 User manual

Bang & Olufsen
Bang & Olufsen beogram cd x 5121 User manual

Bang & Olufsen
Bang & Olufsen Beogram CD 5500 User manual

Bang & Olufsen
Bang & Olufsen BeoSound 9000 MKIII User manual

Bang & Olufsen
Bang & Olufsen BEOSOUND 9000 User manual