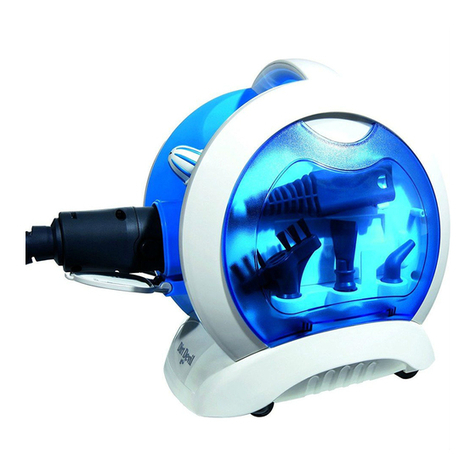
Bar Instruments Steaman Jr Instruction Manual

1
Bar Instruments
Steaman Jr
110V/60Hz
Instruction Manual & Warranty Information
* Do not power the unit until carefully reading all instructions *

2
I. Technical Data:
Model: Steaman Jr
Dimensions: 8.5” x 8.5” x 11”
Weight: 30lbs
Power: 15 Amps
110 Volts
50/60 Hz
1000 Watts
Water capacity: 1 Quart
Pressure: 70-75 PSI
Fuse: 12 Amps ¼ x 1¼
II. Operating Instructions:
1. Carefully unpack and inspect the steam machine.
2. Unwrap the power cord and assemble the side gun holster to either side.
3. Remove the cap from the top of the unit and carefully fill the unit to the top using a funnel.
4. For the first use only, use regular tap water. Only use distilled water after that.
5. Close and tighten the cap.
6. Plug in the unit into a 20 Amp, grounded outlet.
7. Turn the unit “on.”
The power switch will illuminate immediately and the water level indicator will be illuminated as
well.
After approximately 20 minutes, the ready light will be illuminated and the machine is ready to be
put to use.
8. Always use caution when working with a steam machine. Wear appropriate gloves and eye protection.
Hold small items with clamps, tweezers, or insulated materials.
When cleaning, hold the steam nozzle over a work tray approximately 2 inches from the item to be
cleaned. Press and hold the button to release as much steam as needed.
9. When finished cleaning, release the red button and replace the steam gun into the cradle.
10. Never work if the water level indicator is blinking or off! Immediately power down and refill the unit.
(See chapter IV)
III. Helpful Hints
Always try to refill the unit in the mornings when the unit is cold.
Always use distilled water –this will greatly increase the life of the unit.
Never add water when the power switch is “on.”
Never remove the cap until ALL pressure is released.
IV. Refilling the unit
1. Turn the main switch to the “off” position. The light on the power switch will be off.
2. Turn the cap half of a turn and allow all of the steam inside the unit to escape from the side hole of the
cap. This will take a few minutes.
3. Using heat retardant gloves carefully loosen and remove the cap from the top of the unit. Make sure all
the pressure is gone before removing the cap completely.
4. Allow approximately 30 minutes for the machine to cool down.
5. Add water into the unit as previously explained.
6. Replace and tighten the steam cap.
7. Turn the power switch to the “on” position.
8. Allow the machine to warm up until the ready light is illuminated.

3
V. FAQ & Troubleshooting
Q: Why won’t my machine heat up?
A: Please follow all instructions listed above. Check to make sure the machine is plugged in and the outlet
is in working order. Check that the main switch is in the “on” position and the light on the main switch is
illuminated. Check the main fuse in the front of the unit –replace accordingly. Ensure the heating element
is in working condition.
Q: Why is my cap leaking pressure?
A: Make sure there is an adequate amount of water in the unit. Note the pressure on the unit when the
water is leaking. The machine should never go above the 70-75 PSI range. If the pressure is appropriate
and water is still leaking, the gaskets or cap may need to be replaced. It is recommended to replace the cap
once a year.
Q: Why is steam leaking out the nozzle?
A: Steam will leak out of the nozzle if the valve is damaged or obstructed with something which is
preventing it from forming a proper seal. Typically, this debris may be easily removed by attempting a
blow-back procedure. This procedure involves shooting compressed air back into the machine in order to
dislodge anything which may be hindering the valve closure:
1) Only attempt this exercise when the machine is cold.
2) Open the filling cap on the top of the machine.
3) Turn the machine on. (Attempt this before the machine heats up)
4) Shoot compressed air from the nozzle of the steam gun back into the machine while simultaneously
holding down the trigger on the gun.
Q: Why is the water level indictor not lighting up when there is water in the unit?
A: The water level sensor functions upon the conductivity of the water in the boiler. After repetitive use of
distilled water, the conduction may be insufficient to properly maintain the sensors function. We
recommend using a one-time regular tap water refill if you are experiencing this issue.
VI. Limited Warranty Information
Bar Instruments warrants that all laboratory equipment sold to its customers if of the highest quality
materials and workmanship. Bar Instruments will attempt a resolution any defects to its units or
components, limited to either a repair or a replacement of confirmed defects or a refund will be issued
according to the purchased price.
The warranty period is two years from the purchase date and is extended only to the original owner. Bar
Instruments will honor the warranty if the machine is deemed to have been used reasonably and maintained
properly. Negligence and abuse to the machine will void the warranty. Wearable items such as but not
limited to: gaskets, bulbs, filling caps, filters, accessories, etc. are not covered under warranty. The first year
of the warranty covers both parts and labor. The second year of the warranty covers labor only. All other
warranties, express or implied, including warranties of merchantability or fitness for a particular purpose are
excluded. All consequential and incidental damages are also excluded.
Written notices of claimed defects must be received by Bar Instruments within a reasonable time after their
discovery and not to exceed two years from date of purchase.
All repairs will be made in the Bar Instruments facilities.
Equipment being sent for repair is to be shipped at owners’ expense in its original packaging and insured
accordingly.
Table of contents
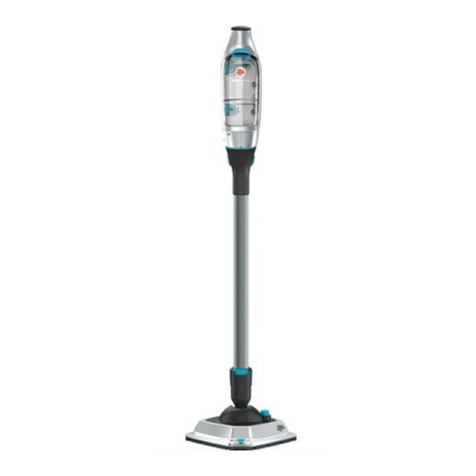
Other Bar Instruments Steam Cleaner manuals
