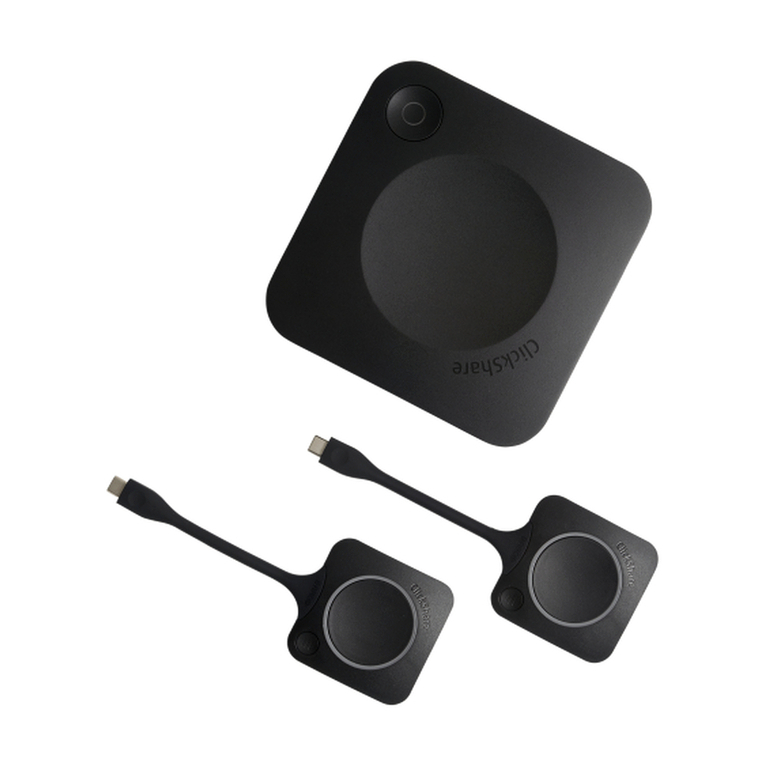
Barco ClickShare User manual

Preparation:
When Installing ClickShare you will:
•Step 1 - unpack the components.
•Step 2 - install the Base Unit.
•Step 3 - connect the Base Unit to A/C and the display.
•Step 4 - access the Base Unit Admin Functions Using a Browser.
•Step 5 - configure the system via the Web Interface.
•Step 6 - test the installation.
•Step 7 - pair the Button to the Base Unit if needed.
The tools you will need are:
•For mechanical Install
✓Torx 10 Screwdriver if wall, ceiling or rack mounting
✓A drill if wall or ceiling mounting
✓A screwdriver depending on your wall mounting screws
✓The optional ClickShare Rack Mount Kit if installing in a rack
Order number: R9861006R01
•For hookup to the display
✓A video cable, which is DVI-i from the Base Unit going to the display input (variable)
✓Optionally you can use the Display Port output on the Base Unit to the display input
•For configuration of the system
✓A laptop computer with WiFi for configuring the Base Unit
•For Troubleshooting
✓Two Ethernet cables for direct connect to the Base Unit though the local LAN
✓An Ethernet cross-over adapter or cable to connect directly to the Base Unit.
INSTALLER QUICK START GUIDE
ClickShare
Installer Quick Start Guide
vs#: 010913

Step 1 - Unpacking the components
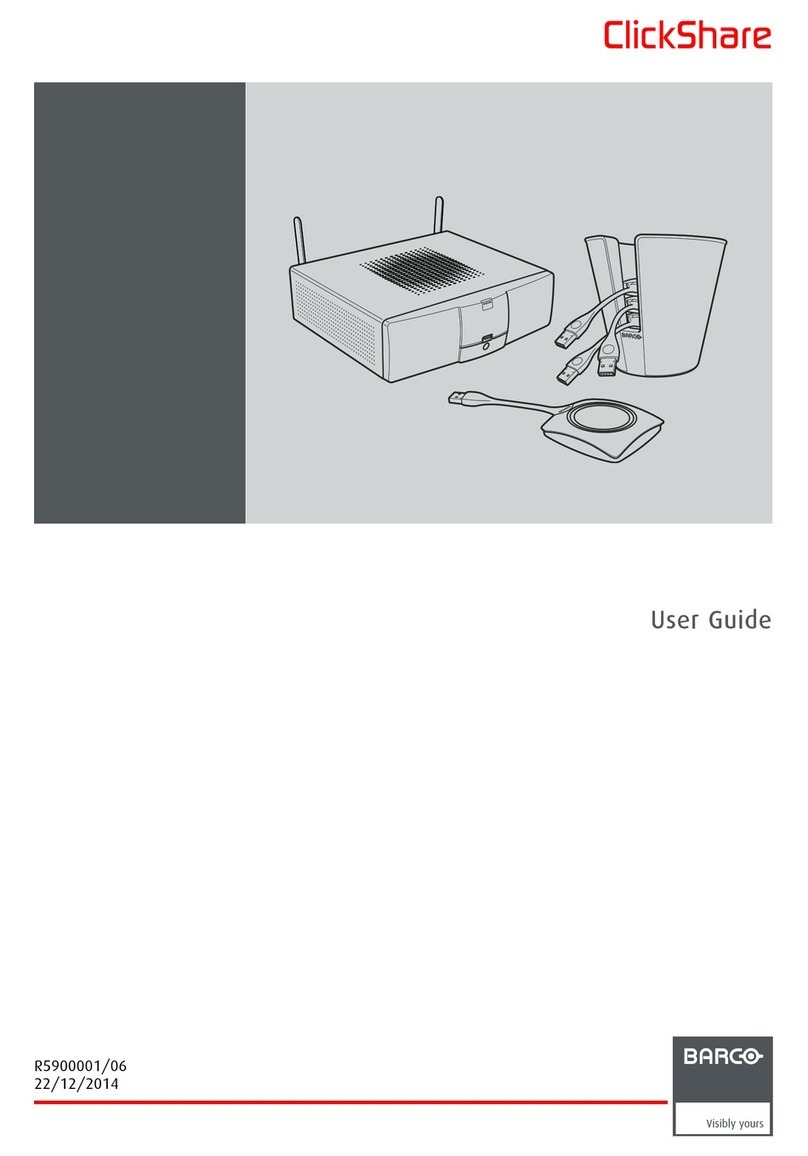
For a basic system, confirm that you have:
✓1 - A Base Unit
✓2 - Four Buttons
✓3 - A Button Tray
✓4 - Two Mounting Brackets
✓A power chord
✓A DVI-i to VGA adapter
Step 2 - Installing the Base Unit
There are four mounting options:
For details see Installation Guide R5900004 - Installing ClickShare -> Installation methods
Step 3 - Connecting the Base Unit to a/c and the display
Attach the power cable from the Base Unit to a 110v grounded AC wall plug. Do not power-on the Base Unit until after you connect the video
cable you brought with you from the Base Unit to the Display.
Step 4 - Accessing the Base Unit Admin Functions Using a Browser
For details see: IT & Facilities Guide R5900003 Web Interface -> Accessing ClickShare Web Interface
Option #1: Access Via WiFi
When powered on, the Base Unit broadcasts its SSID, the public name of the ClickShare WiFi network. The default is ClickShare-
XXXXXXXXXX with the 10 digit number being the base unit’s serial number.
Use your laptop’s network connection tools to connect to the Base Unit’s WiFi network.
The default network password: clickshare (all lower case).
Open a browser window. Now navigate to: http://192.168.2.1
Log in using the default: Username: admin and Password: admin
1
2
3
4
Table Mount Wall Mount Rack MountCeiling Mount
Requires the ClickShare Rack Mount
Order number: R9861006R01
Always make sure to provide a minimum 2 inch clearance for all ventilation grids.
If Connecting from the DVI out, Power-on the Base Unit after you are connected. ClickShare will then
read the display resolution using EDID and set the Base Unit output resolution to match the display.
You can also manually set the resolution through the Web Interface.
For details see below and see: IT & Facilities Guide R5900003 Web Interface -> Configuring ClickShare
Through The Web Interface
Welcome screen

Option #2: If you cannot log onto the base unit WiFi.
For Details see: IT & Facilities Guide R5900003 Web Interface -> Accessing ClickShare Web Interface
Use the Ethernet cable and cross-over adapter your brought with you and connect the ClickShare Base Unit Ethernet port
to the laptop Ethernet port. Open a browser window. Now navigate to: http://192.168.2.1
Log in using the default: Username: admin and Password: admin
Option #3: Access the Base Unit via the local LAN
Connect your both your laptop and the Base Unit ethernet ports to the local LAN using the two Ethernet cable you brought (see above).
An IP Address will show on top left of the display that the Base Unit is connected to.
Open a browser window and navigate to the IP address showing on the display
Log in using the default: Username: admin and Password: admin
Step 5 - Configuring the system via the Web Interface
For details see: IT & Facilities Guide R5900003 Web Interface -> Configuring ClickShare Through The Web Interface
Setup Tab -> Advanced Settings
For more details also see: ClickShare WiFi and Security Considerations White Paper.
Only change these settings if you understand networking. Here you can configure the
ClickShare WiFi network to work smoothly within the client environment. It allow for a number
of compatibility and security settings. These setting should be determined in cooperation with
the client IT department.
Best practices to consider are:
✓Change the SSID to a client based ID
✓Make the SSID invisible so that the ClickShare unit is not visible in the WiFi spectrum
✓Specify the Frequency Band (2.4 or 5GHz) and the WiFi channel if needed in order to
exist compatibly within WiFi rich corporate environments.
Setup Tab -> Wallpaper
Upload, select and manage wallpaper. This is the background screen that shows when no
computer is displaying. The Wallpaper image format must be JPEG, PNG, BMP, GIF or
TIFF. The maximum file size per uploaded file is 2MB and the image should be the same
resolution as the display (IE: 1920 X 1080 @ 72 dpi)
Setup Tab -> Basic
You have three text fields that will display on the WallPaper page. You can use these for room ID
such as Department, Room name, Help extension#. You can also change the system language.
The style of this ID text can be modified under Setup Tab -> Display
Setup Tab -> Display
Display Setting:
Here you can manually select the resolution of the display from a dropdown list or set custom.
You can also set a standby timeout. When no computer is displayed for the selected period, the
ClickShare Base Unit mutes the video output to the display. The video out is reactivated as soon
as someone clicks a Button.
On Screen Text Format:
This allows you to set the style of the text fields entered under the Basic tab.
Step 6 - Testing the installation
Test each button
For details see: User Guide R5900001 - Getting Started -> Basic Use
Also see the ClickShare Quick Start User Guide
Take each button in turn and plug it into your laptop.
Launch the ClickShare Software from the button
Make sure the Button is operating properly and broadcasts the computer screen to the display.
Put the tested Buttons in the Tray.
Step 7 - Pairing the Button to the Base Unit if needed
If a button does not seem to be paired to the Base Unit, plug the button into the USB port on the
front of the Base Unit.
Pairing is automatic. A progress window will appear on the display as the Button is checked,
updated if needed and paired with the Base Unit. The progress window will confirm when the Button
is ready.
Test the newly paired Button using your laptop.
If you have multiple laptops available, test with more than one.
That completes the installation.
Maintenance Tab
The Maintenance Tab provides a great deal of information on the system and its
performance.
For purposes of setting up the system, we will only access one tab under this menu,
Password.
Maintenance Tab -> Password
You may wish to change the admin login password from the default “admin”.
Be sure to make a note of the new password.
Related Downloads
Wi-Fi and Security Considerations for ClickShare - (189!KB)
ClickShare Installation Guide - (English - 3.99!MB)
ClickShare Rack Mount Installation Guide - (English - 356!KB)
ClickShare Button Installation Guide - (English - 405!KB)
ClickShare IT & Facilities Guide - (English - 1.41!MB)
Other manuals for ClickShare
12
Table of contents
Other Barco Digital Presenter manuals