BATHSELECT ROMO BST-298RB User manual
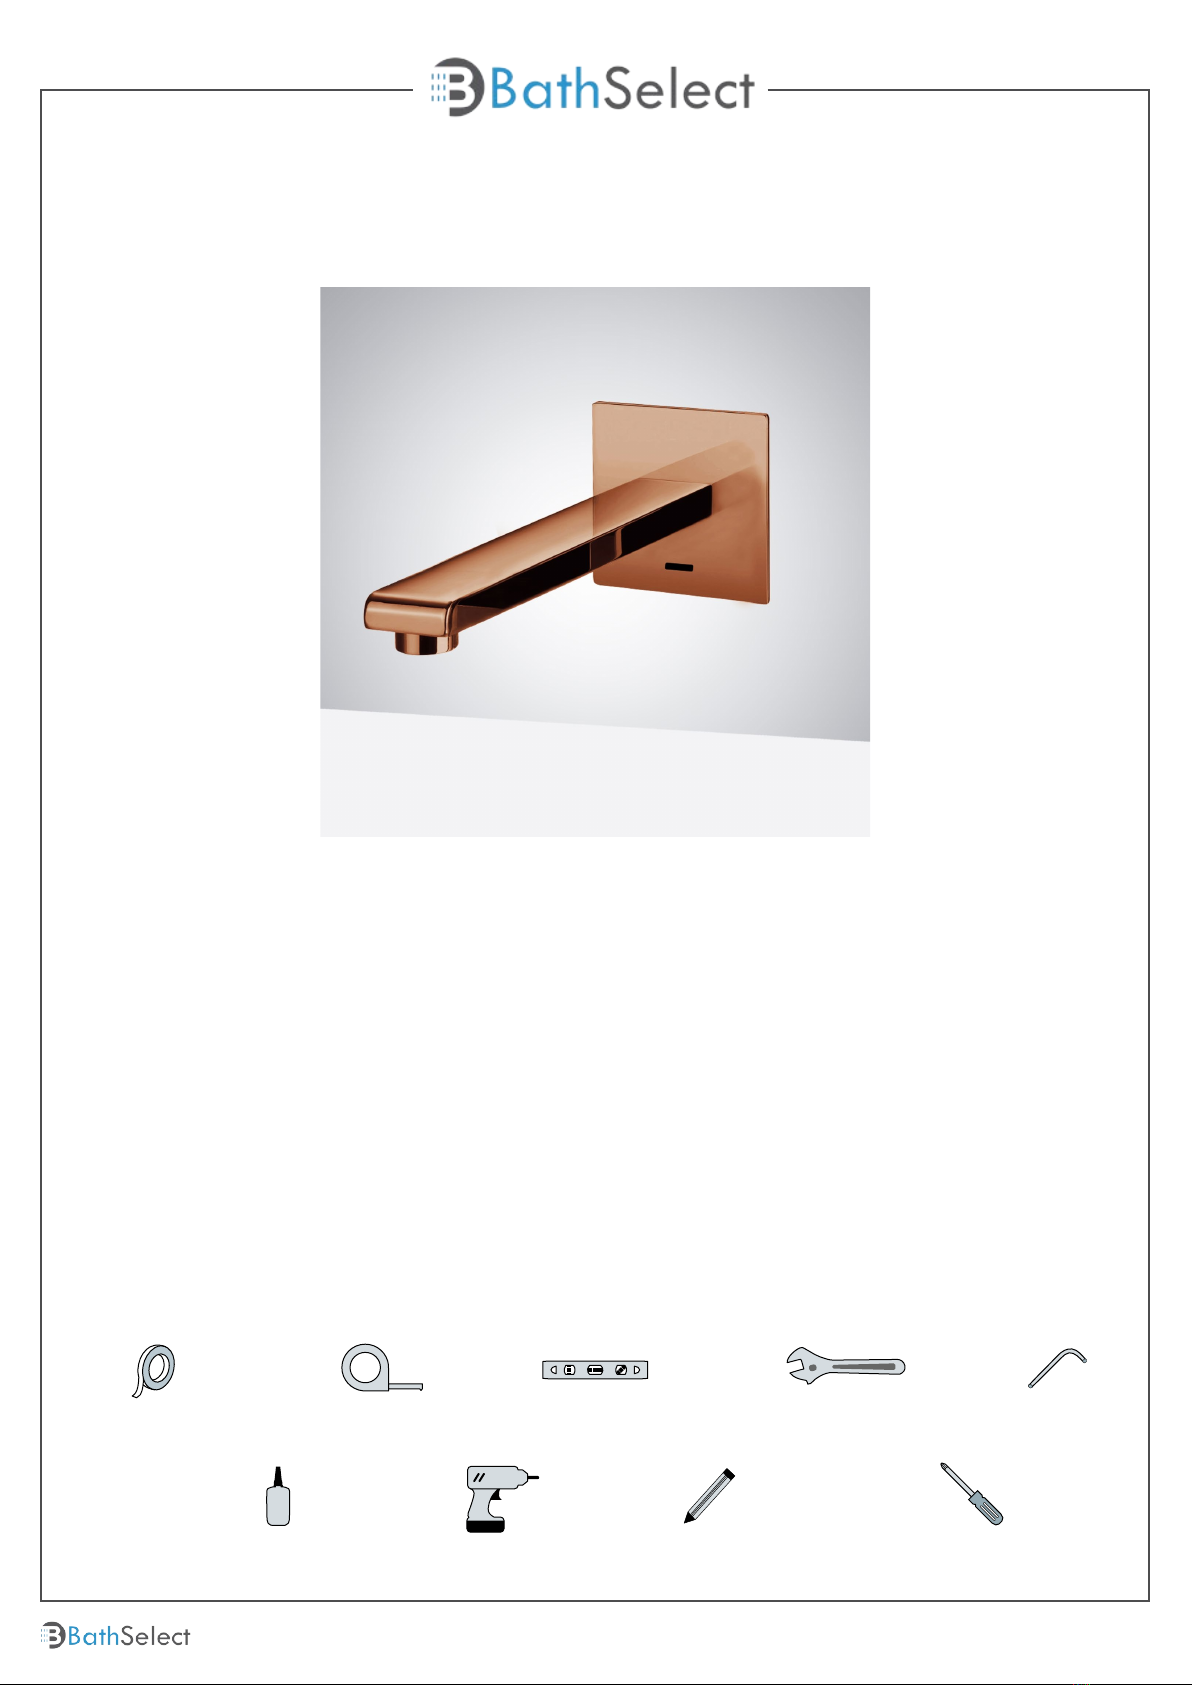
Plumbers Tape Tape Measure Adjustable Wrench
Screwdriver
Drill
Hex Wrench
Level
Pencil or Marker
Thread Sealant
*not included
POSSIBLE TOOLS REQUIRED*
Company - Mecapre
Email - preeti@mecapre.com ,
preeti.eworks@gmail.com
Skype - sagar_preeti
www.mecapre.com
Installations created by:
Before you begin, please read the installation instructions below. Observe
all local building and safety codes.
Unpack and inspect the items for any shipping damages. If you find
damages, do not install.
Please note all products must be installed by a professional and certified
plumber otherwise warranty might be voided.
BEFORE YOU BEGIN
ROMO WALL MOUNT COMMERCIAL SENSOR FAUCETS
OIL RUBBED BRONZE FINISH INSTALLATION
INSTRUCTIONS
Product code: BST-298RB
Customer Service: 800-500-9895
bathselect.com
1

All dimensions and specifications are nominal and may vary. Use actual products for accuracy in critical situations.
Technical Information
220-240V OR 4X 1.5 AA BATTERIES
Water Consumption: 0.05Mpa-0.6Mpa
Detection Zone: ≤450MM ; ≥500MM
Motor valve lifespan: up to 500000 flushes
Battery lifespan: 100000 cycles
Static Power Consumption: 0.36mw
Working Power consumption: 0.5mw
Inductive Opening Time: < 1 second
Inductive Closing Time: < 2 second
Connection Size 1/2"
Mixer valve : AQM-WRM-T301-CON-CP
Test Range 0.2-5 Bar
Min. Operating Pressure 1.0 BAR MP
Faucet Wall Mount Installation
1.
Faucet Size
Spout
Faceplate
Back connector
Spout hole
Sensor
Fixing screws
For ease of installation the faceplate and battery can be disconnected from the unit at the connectors.
Faceplate and Spout
Remove the back connector from the spout. Push the connector through the hole in the faceplate and screw
into the spout. Secure in position with the two xing screws. Make sure that the spout hole is in the 12 o’clock
position and the spout is pointing downwards
Customer Service: 800-500-9895
bathselect.com
2

Customer Service: 800-500-9895
bathselect.com
3
2.
Water inlet
Screws
Cable to sensor
Hose connector to spout
Mounting holes x 2
(in back of unit)
Wall plugs
Power cable to sensor
Cable to battery
Note: Please do not install this product opposite or near any reflective surfaces as this may
lead to false or permanent activation.
Before installing your new mixer, flush through the pipework to ensure removal of debris,
turn off the water supply.
The valve must be set into the wall to depth of 80 mm.
If you are fitting the valve to a partition wall or a wall of particularly soft substrate you
will need specialist fixings.
Select the position for the valve and offer the shower valve to the wall, mark the fixing
points with a suitable pencil, there are 2 pre drilled holes in the back of the unit. Remove
the valve from the wall, drill the holes to a suitable depth for the wall plugs and secure with
suitable screws.
3.
Faceplate fixing
screw
Hose connector to spout
Faceplate tabs
Faceplate lip
Battery
Transformer
Battery connector
Sensor connectors
Power connectors

Customer Service: 800-500-9895
bathselect.com
4
Connect the flexible hose coming from the unit onto the spout, making sure that the
rubber washer is in place.
Sensor connections
Connect the plug coming from the valve unit to the socket coming from the sensor.
Power connections
Connect the socket coming from the transformer to the plug coming from the sensor
Undo the screw on the top and remove the
lid. Insert the 4 batteries into the base,
according to the diagram in the bottom of
the base. Replace the lid making sure that the
2 springs are orientated to match the nega-
tive ends of the 2 batteries (right).
Connect the plug coming from the trans-
former to the socket coming from the bat-
tery.
Battery connections
Slide the two tabs in the top of the faceplate
over the faceplate lip, and secure in
position with the screw on the underside.
Please ensure that enough access is left for
screw to be removed/inserted, during any
routine maintenance.
Turn on the water.
Installation
This appliance can be used by children aged 8 years and above and persons with
reduced physical, sensory or mental capabilities or lack of experience and knowledge if
they have been given supervision or instruction concerning use of the appliance in a
safe way and understand the hazards involved.
Children shall not play with the appliance.
Cleaning and user maintenance shall not be made by children without supervision.
Detachable hose-sets for the connection of appliances to the water mains shall comply
with IEC 61770.
Please read
Electrical Connections
All electrical connections should be carried out by a qualified electrician.
The installation must comply with current NICEIC regulations and to the requirements
of BS7671 (Requirements for electrical installations).
Always switch off the power at the main consumer unit and isolate the electrical supply
before making any electrical connections. This appliance is to be fitted with the relevant
RCD protection.

Customer Service: 800-500-9895
bathselect.com
5
Sensor Range
This machine can automatically adjust the inductive
range within 10 seconds of electrification. Don't use
inductor during this period in order for the inductor
to automatically adjust to a suitable inductive range.
Set Water Flow Time-Out
Low Battery Warning
When the batteries run low and the power falls
below 3.9V the sensor light will flicker to indicate the
batteries are running low and need replacing.
When the batteries are exhausted the sensor light
will not light up.
Water Efficient
When the users hands enter the sensing range, the
indicator light in the sensor will illuminate. Water
will flow out immediately until the user draws their
hands back from the sensor.
Installation overview
Sensor Faucet & Soap Dispenser Installation
Incorrect Installation
Keep sensor range adjustment
within 4 inches away from center
of spout. This can only be done
with optional remote control.
Installing electronic soap dispenser
& faucet with intersecting centerline
might lead to accidental activation
of either or both.
Faucet FaucetSoap
Dispenser
Soap
Dispenser
Correct Installation
Keep sensor ranges
factory preset.
Keep soap spout & faucet
centerline parallel.
Faucet Faucet
Soap
Dispenser
Soap
Dispenser
The machine will shut off the water when washing
time exceeds 1.5 minutes foreign matter induces
continuously in inductive areal. If follow-up washing
is needed, re-induce after removing hands for 2
seconds.
Notes
1. Please use the AA type alkaline battery (1.5v for
each).
2. Fix the battery correctly. Should not be mix use the
batteries with different brands, the new and old and
if use non-alkaline battery, the battery life is short in
1-2 months.
3. After installation of the battery, the solenoid valve
will do its self-testing.
4. After providing the power, in 10sec, the machine
will self adjust the sensor distance, so during this
period, do not make it work.
5. If the sensor distance is short, please move away
the barrier for 5-6 mins, the machine will adjust to
normal.
6. If the sensor distance from far to near, and water
flows continuously, the machine will self-adjust the
distance after 5 mins.

Customer Service: 800-500-9895
bathselect.com
6
Waterpipe Instructions
Kink Curved
round Twists
Slight
bend Sweeping
bend
Our sensor spouts have a non-touch control which
uses infrared sensing technology to detect human
presence. Once detected, the spout instantly
dispenses water and automatically stops once the
user moves their hands away to eliminate
unnecessary water wastage, whilst creating a more
hygienic washroom solution.
All products manufactured and supplied by
BathSelect are safe and comply to legislative
requirements. Providing they are installed correctly
and receive regular maintenance in accordance
with these instructions your user experience will not
be affected.
General Information
Hygienic
The proximity sensor removes the need to touch the
spout body, reducing the spread of germs and
reducing the chance of cross infection.
Care & Cleaning
• Always wipe your fixture down with a soft cloth
after each use to prevent mineral build-up and
water-spotting. Should spotting occur, remove
water spots with warm water and a soft, damp cloth.
• Wipe away any debris adhering to the spout or
sensor.
• Wipe away debris with a damp cloth containing a
suitable amount of a neutral, dishwashing
detergent. Then wipe clean with a damp cloth.
• When cleaning around the sensor, please be
careful not to scratch the surface of the sensor
window.
• Do not use detergent that might damage the
surface of spout. These include:
• Detergents containing acid, chlorine bleach or
alkali.
• Detergents that are coarse granules in nature, such
as polishing powder.
• Solvents such as paint thinner or benzene.
• Abrasive aids such as nylon scrubbers/brushes,
steel wool, etc.
For more details, visit the product page:
Table of contents
Other BATHSELECT Bathroom Fixture manuals
Popular Bathroom Fixture manuals by other brands

Axor
Axor Citterio M 34715000 Instructions for use/assembly instructions

Symmons
Symmons H321-V installation guide

Hans Grohe
Hans Grohe Crometta Series Assembly instructions

DURAVIT
DURAVIT D-NEO DE4210 0100 Instructions for mounting and use

DURAVIT
DURAVIT A.1 A15230 0000 10 Instructions for mounting and use

Macro Design
Macro Design DKFF Series Assembly instructions

Brizo
Brizo Levoir T67398 LHP Series manual

sanindusa
sanindusa SAFIRA Assembly instructions

Riobel
Riobel Pro EV39 installation guide

Glen Dimplex
Glen Dimplex Redring RAHW3 quick start guide

Villeroy & Boch
Villeroy & Boch EVANA 6144 installation instructions

Spectrum Brands
Spectrum Brands Pfister Iyla G89-XTR Maintenance & Care Guide