bathstore Transition H1690MM Guide

Introduction
The following instructions will enable you to complete the final assembly and adjustment of
your new furniture.
Hardware Box
Each of the cabinets contains a Hardware box that contains all of the
fitments you need to complete the assembly of each unit.
So parts do not get mixed up, please keep it safe with the unit it came with.
Handle Fixing
The rear of the Doors and Drawer fronts are pin pricked with small holes to guide the
positioning of the handles
Of course, should you wish to place your handles elsewhere , or if you have chosen a
different model to the handle displayed then please ignore these positions and
choose your own.
To use the marked positions, simply drill through the fronts using a sharp 5mm
diameter pointed drill bit and drill into a scrap piece of timber paced on the front side
- this is to ensure that when the drill comes through the front the front surface it
does so cleanly and it will also help protect you from the drill bit.
Then simply attach the handle using the handle screws that are provided in the unit
hardware box.
1. Drilling for Handle Holes
2. Fixing the Handle
Transition Range
Installation, Care & Adjustment Instructions
If you need help or more information please visit us at www.bathstore.com
Bathstore Transition Instructions - Issue 1.1

Door Removal
Whilst fitting you may want to remove the doors for safety
To do so simply release the hinges by pushing the hinge's spring catch at
position "C" to release the hinge arm
Then
Pull the hinge arm to the inside of the cabinet
Door Fitting
To re-fit the door hook the hinge onto the front
of the hinge plate at position "A"
Then
Push the hinge arm at "C" onto the hinge plate,
at position "B"
"A"
"B"
"C"
Transition Range
Installation, Care & Adjustment Instructions
If you need help or more information please visit us at www.bathstore.com
Bathstore Transition Instructions - Issue 1.1

Hinge & Door Adjustment
Once your units are levelled and the doors are fitted, take a few minutes to level
up all the doors to get that professionally fitted look.
Doors can be levelled by using the adjustment screws on the hinges as shown
below.
Loosen this screw only if you need to move
the door forwards slightly
You may need to slightly adjust the front
screw as well to allow it to slide easily.
Turn the screw nearest the front of the unit to adjust
the door from side to side.
By using a combination of adjustments using the top
hinge and the bottom hinge the doors can easily be
levelled.
Once all adjustments
have been made the
metal cover caps can be
pushed into place to
hide the screws.
Door Fixing Screws
With these loosened
you can adjust the height
of the door
Hinge
Plate
Transition Range
Installation, Care & Adjustment Instructions
If you need help or more information please visit us at www.bathstore.com
Bathstore Transition Instructions - Issue 1.1

Shelf Stud
Tall Storage Unit
Shelf Stud Fitting & Shelf Positioning
3 Shelves in the tall unit are adjustable. The one between the doors is fixed
Shelves are secured at the bottom of the unit for transit
Simply pull away the transit plug or tape to release them.
Decide where you want the shelves positioning and push the shelf studs in place as
shown below
The studs have small grips to the rear of the round peg so they grip tightly in place
as the shelf is loaded with your Bathroom products
To remove the shelf studs, remove the shelf first, then slightly lift the stud, to release
the grip of the prongs and then pull forwards.
The remaining holes can be filled with the small white hole cover caps. that are
provided.
Underside of Shelf
Alternative Shelf
Position Holes
Transition Range
Installation, Care & Adjustment Instructions
If you need help or more information please visit us at www.bathstore.com
Bathstore Transition Instructions - Issue 1.1

Tall Units - Fixing & Levelling
Note: All Tall units must be fixed to the wall
It is recommended that this is done by a suitably qualified installation
professional.
Wall Plates
Wall plates are provided with all units.
A pair of wall plates will be attached to the rear of the unit.
Wall plates should be fitted at the heights shown, from the floor
using screws and fixings appropriate to the walls being fixed to.
Note: Wall screws & plugs are not supplied with the furniture.
Tall Units = 1785mm
From the floor recommended
OR
To suit your needs
Height
Adjustment
Screw
Screw to tighten
the unit to the wall
Cover Cap Fitting
Once the units have been levelled
the silver caps can be slid over the
brackets to hide the fixings.
TIP:
Note the "hook shape" at "A", this slides
into a groove on the top of the brackets.
"A"
Unit Levelling
With the plates fitted to the wall, hook
the units on them.
Then from the inside of the unit adjust
the brackets using the height adjustment
screws shown below
Wall Plate
Fixing
Height
Arm of Hanging
Bracket
Cabinet
Back Panel
Rear View of Unit
Plastic Cover
Plastic
Cover
Adjustable Brackets
55mm
From the top
of the unit
Transition Range
Installation, Care & Adjustment Instructions
If you need help or more information please visit us at www.bathstore.com
Bathstore Transition Instructions - Issue 1.1

Drawers
Drawers are completely pre-assembled into the cabinets with the fronts
attached, so you should not really need to remove them.
However, if you do need to remove them, perhaps to assist whilst fitting, then
here is what to do:
Drawer Removal
Reach underneath the drawer box on both sides,
near the front and squeeze the plastic arms holding
the drawer in place.
With them squeezed simply pull the drawer towards
you, upwards and out
Drawer Refitting
To put the drawer back pull out each runner, place the drawer onto of the
runners and simply close the drawer.
The runners will clip and snap back into the clips that are on the underside of
the drawer.
Transition Range
Installation, Care & Adjustment Instructions
If you need help or more information please visit us at www.bathstore.com
Push here
to release
Bathstore Transition Instructions - Issue 1.1

Vanity Drawer Unit - Wall Hanging
To hang the Vanity units to the wall you will need to fix the supplied wall plate securely
to the wall using at the 4 fixing points shown with fixings appropriate to your wall type.
It is recommended that this is done by a suitably qualified installation professional as
the unit with its drawer, basin and water will carry some considerable weight.
With the wall plate secure, hook the arms of the brackets that are fixed to the unit into
the position shown on each of the two brackets. You can now let go of the unit.
Levelling the Unit
With the unit in place you can now adjust it so
it is level by adjusting the Height Adjusting
screws and the Tightening screws.
Top Fixing
Once the unit is levelled you can position and
fix the top to the unit
This simply done by fixing through the two top
rails and into the underside of the top
Wall Plate
Fixing Point
Fixing Point
Fixing Point
Fixing Point
Height Adjustment
screw
Tightening Screw
Transition Range
Installation, Care & Adjustment Instructions
If you need help or more information please visit us at www.bathstore.com
Should you wish to release the bracket
Push here, pushing the spring steel backwards
with a pen, and lift the unit clear.
Bathstore Transition Instructions - Issue 1.1

Vanity Unit Top Drilling
The tops for the Vanity unit are delivered undrilled so you can fit the Vanity unit to the
wall more comfortably and so it is easier for you to measure and drill the basin and
tap holes to suit your requirements.
Transition Range
Installation, Care & Adjustment Instructions
If you need help or more information please visit us at www.bathstore.com
Bathstore Transition Instructions - Issue 1.1

Care & Cleaning
Transition furniture is made to the highest standards and by following the simple
guidelines below will provide you with many years of enjoyable service.
General:
NEVER use products containing bleach, caustic soda or cleaners of a gritty or
abrasive nature.
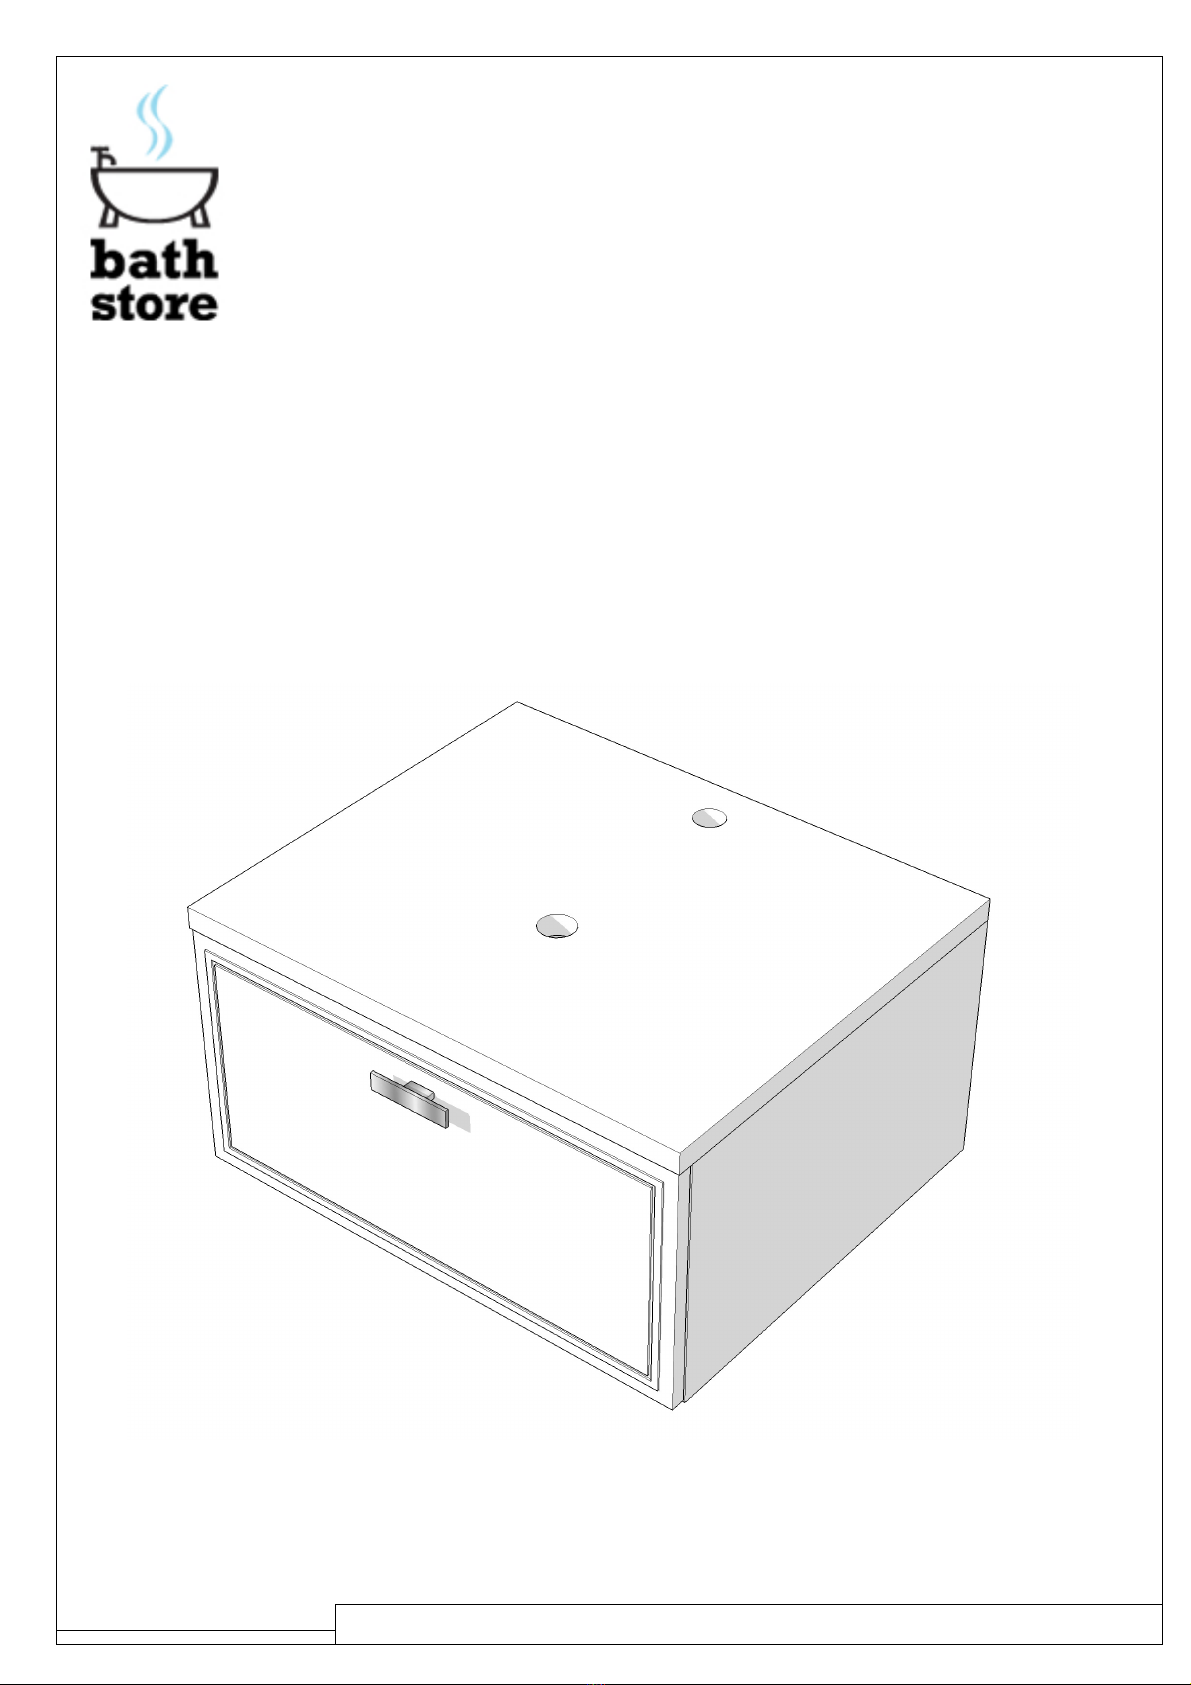
This furniture is made of wood with the doors being made of MDF with a thick PVC
coating and has a water resistant finish. However, it should not be left wet as this
will damage the furniture.
Furniture:
Apart from regular wiping of the furniture units can be cleaned with a moist soft or
micro fibre cloth. Any stubborn marks can be removed with diluted mild detergent
e.g. washing up liquid.
Mirrors & cabinets.
Clean only with a micro fibre cloth, NEVER use “glass and mirror” cleaning products
as these can mark the surface.
Care & Cleaning
Film Removal
The sides, Tops and Fronts of all Transition furniture are covered with a tightly fitting
clear protective plastic film to protect it during handling and fitting.
Once installed carefully pick away at the edges of the furniture to loosen the film
and then peel it off.
This will reveal the beautiful matt surface finish underneath
Once removed this may create a small amount of static that may attract dust to you
may need to have an initial wipe with a moist cloth to remove that dust and
eliminate the static charge.
Transition Range
Installation, Care & Adjustment Instructions
If you need help or more information please visit us at www.bathstore.com
Bathstore Transition Instructions - Issue 1.1
Table of contents
Other bathstore Bathroom Fixture manuals
Popular Bathroom Fixture manuals by other brands

Hansgrohe Axor
Hansgrohe Axor Urquiola 42460 Series Instructions for use/assembly instructions

Frederick York
Frederick York Cabots Wall-mounted towel warmer installation guide

Alape
Alape WT.RE700 installation instructions

Olympia
Olympia TUTTO EVO 17TE Installation and Maintenance

Outsunny
Outsunny A20-238 instructions

Cooke & Lewis
Cooke & Lewis Timor quick start guide

Gessi
Gessi RETTANGOLO 30541 Bath Mixing Program

Gessi
Gessi 26612 Installation

Hans Grohe
Hans Grohe 28587000 Assembly instructions

Graff
Graff AMETIS G-8765 installation instructions

HAFA
HAFA Gaia Smartmix CC160 quick start guide

Hans Grohe
Hans Grohe AXOR Urquiola 11042000 Instructions for use/assembly instructions