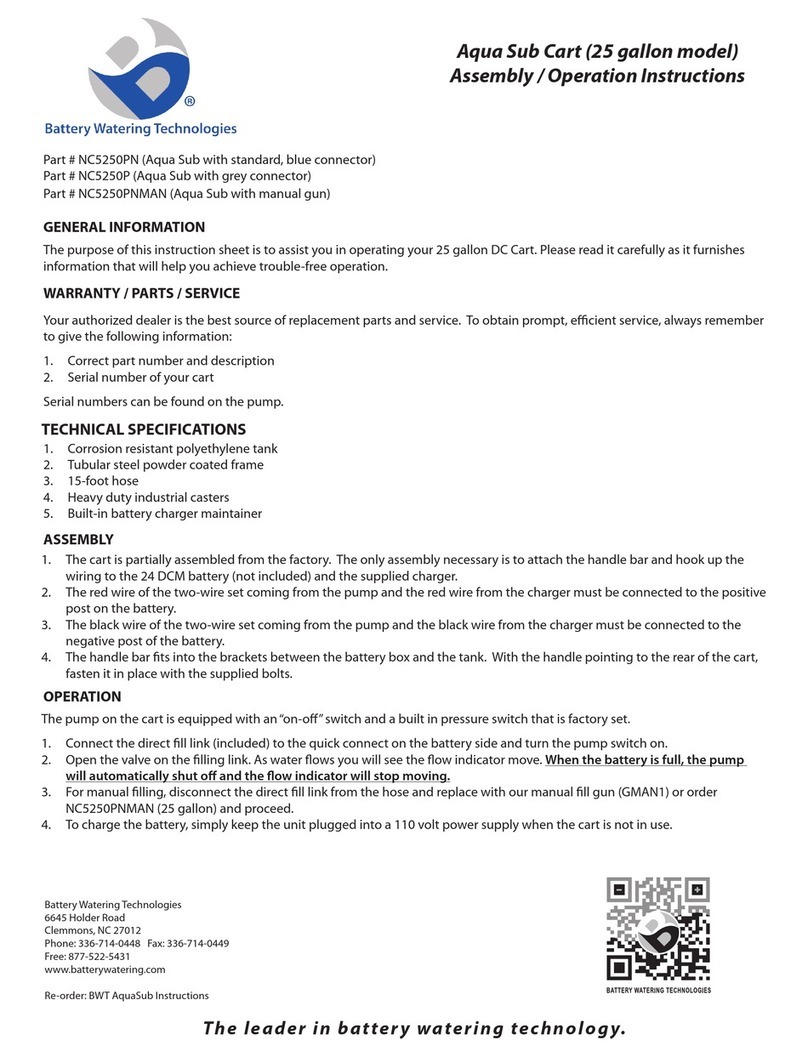
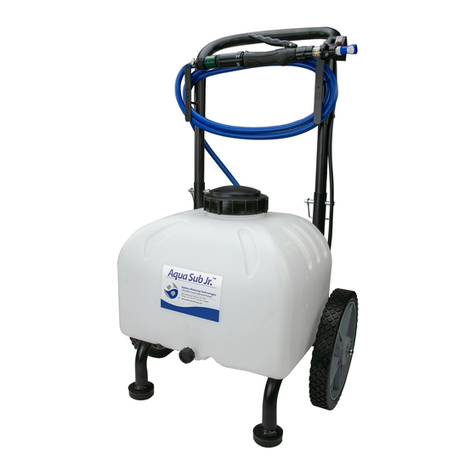
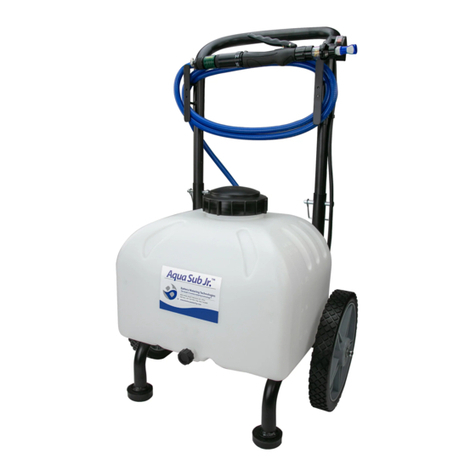
Battery Watering Technologies Aqua Sub NC5250PN User manual

English: 1-2
Aqua Sub™Cart
Español: 3-4
Carretilla Aqua Sub™
Français: 5-6
Chariot Aqua Sub™

Instruction Manual for Part # NC5250PN,
NC5250P, & NC5250PMAN
Aqua Sub
™Cart
Assembly Instructions:
1. The cart is partially assembled from the factory. Attach the handle bar and hook up the wiring
to the 24 DCM battery (not included).
2. Connect the charger.
A. The red wire of the two-wire set coming from the pump and the red wire from the charger
must be connected to the positive post on the battery.
B. The black wire of the two-wire set coming from the pump and the black wire from the
charger must be connected to the negative post of the battery.
3. The handle bar ts into the brackets between the battery box and the tank. With the handle
pointing to the rear of the cart, fasten it in place with the supplied bolts.
Operation with Direct Fill Link Instructions:
The pump on the cart is equipped with an “on-o” switch and a built in pressure switch that is
factory set.
1. Fill the tank with clean or deionized water through the lid on top of the tank. Turn the pump
switch on.
2. Remove dust cap on watering system and couple the male connector on the watering system
with the female connector on the direct ll link.
3. Squeeze the handle on the direct ll link to begin watering. You will see the ow indicator
start spinning.
4. When the ow indicator stops spinning and all indicator eyes on top of the valves rise to the
top, release the handle and uncouple the connectors.
5. Disconnect the tank after watering and replace dust cap on watering system. Never leave the
tank connected after watering.
6. Turn o when all batteries have been watered.
Operation with Manual Gun Instructions:
1. Fill the tank with clean or deionized water through the lid on top of the tank.
2. Remove battery caps.
3. Turn the pump switch on.
4. Squeeze the handle on the manual gun to clear any air in the hose, dispensing water back
into tank until there is uninterrupted ow.
5. Insert the nozzle into the battery cell to be lled. Squeeze the trigger until the shut-o takes
place. Gently tap the nozzle to prevent any drips.
6. Remove the gun from the battery. Repeat until all cells are lled.
7. When watering is complete, turn o the tank and replace battery caps.
• Always wear personal protective equipment (goggles, gloves, etc.) to
protect yourself from sulfuric acid.
• Only water after charging.
• Do not use pump in an explosive environment.
• Do not use tank to pump ammable liquids (gasoline, fuel, oil, etc.)
• Read instructions in entirety before beginning the installation.

Charging Instructions:
To charge the battery plug into a 120V power supply when the cart is not in use.
Troubleshooting:
Pump will NOT run:
1. Check inline fuse on the wires on the pump. If blown, replace with new fuse (5 Amp
mini-blade fuse).
2. Make sure the on/o switch is in the “ON”position (the power switch is located on the
wiring harness).
3. Make sure the battery is fully charged.
4. Ensure a tight connection at the battery clips.
Pump runs, but does not prime:
1. Check line strainer (screen) at the inlet location (at the tank). You will need to unscrew the
knurled nut to access this screen. The tank should be empty while performing this, otherwise
you may have to tilt the tank backward so water will be away from the inlet location.
2. Remove the screen and clean it.
Maintenance:
The line strainer (screen) should be removed and cleaned periodically to ensure proper
operation. Before cleaning the screen, empty the water from the tank. Gently clean the screen
with soap and water. Failure to do so may decrease water pressure and ow rates that are
required for proper operation of the watering system.
Warranty
This product is warranted against defects in workmanship and materials for a period of one year
from date of shipment.
CAUTION: If storing this product in
freezing conditions, drain all of the
water to prevent damage.

Manual de instrucciones para la Parte # NC5250PN,
NC5250P y NC5250PMAN
Carretilla Aqua Sub™
Instrucciones de ensamblaje:
1. La carretilla viene parcialmente ensamblada de fábrica. Acople la manija y conecte el
cableado a la batería 24 DCM (no incluida).
2. Conecte el cargador.
A. El cable rojo del juego de dos cables que salen de la bomba y el cable rojo del cargador
deben estar conectados al polo positivo en el batería.
B. El cable negro del juego de dos cables que salen de la bomba y el cable negro del cargador
deben estar conectados al polo negativo de la batería.
3. 3. La manija se adapta a los soportes entre la caja de la batería y el tanque. Fíjela en su lugar
con los tornillos suministrados, con el mango apuntando a la parte trasera de la carretilla.
Instrucciones de operación con la Unidad de Llenado Directo:
La bomba de la carretilla viene con un interruptor para encenderla y apagarla y un interruptor
de presión ajustado de fábrica.
1. Llene el tanque añadiendo agua limpia o desionizada por la entrada en la parte superior del
tanque. Encienda la bomba activando el interruptor.
2. Retire la tapa contra el polvo del sistema de suministro de agua y enchufe el conector macho
del sistema de suministro con el conector hembra de la unidad de llenado directo.
3. Apriete la manija de la unidad de llenado directo para comenzar a irrigar. Verá que el
indicador de ujo comenzará a girar.
4. Cuando el indicador de ujo deje de girar y los indicadores de las válvulas se eleven hasta el
tope, suelte la manija y desenchufe los conectores.
5. Desconecte el tanque después de llenarlo y reemplace la tapa contra el polvo en el sistema de
suministro. Nunca deje el tanque conectado después de irrigarlo.
6. Apague una vez que todas las baterías hayan sido irrigadas
Instrucciones de operación con la Pistola Manual:
1. Llene el tanque añadiendo agua limpia o desionizada usando la entrada en la parte superior
del tanque.
2. Retire las tapas de la batería.
3. Encienda la bomba.
4. Apriete la manija de la pistola manual para expulsar el aire en la manguera y surta de agua el
tanque hasta que uya ininterrumpidamente.
5. Coloque la boquilla en la celda de la batería a llenar. Apriete el gatillo hasta que se active el
apagado automático. Evite derrames dando golpecitos suaves a la boquilla.
6. Retire la pistola de la batería y repita el procedimiento hasta llenar todas las celdas.
7. Una vez concluida la irrigación, apague el tanque y reemplace las tapas de la batería.
• Usar siempre equipo de protección personal (gafas, guantes, etc.) para
protegerse del ácido sulfúrico.
• Irrigar solamente después de cargar la batería.
• No usar la bomba en un área con explosivos.
• No usar el tanque para bombear líquidos inamables (gasolina,
combustible, aceite, etc.)
• Leer las instrucciones en su totalidad antes de comenzar la instalación.

Instrucciones de carga:
Para cargar la batería, conéctela a una toma de corriente de 120 voltios cuando la carretilla no
esté en uso.
Solución de problemas:
La bomba no trabaja:
1. Revise el fusible en los cables de la bomba. Si está quemado, reemplazar con uno nuevo (fus-
ible tipo minicuchilla de 5 amperios)
2. Asegúrese de que el interruptor esté en“ON” (se localiza en el arnés de cableado).
3. Asegúrese de que la batería esté totalmente cargada.
4. Revise las conexiones en las tapas de la batería.
La bomba trabaja, pero no ceba:
1. Revise el filtro en línea (malla) en la entrada del tanque. Deberá desatornillar la tuerca mole-
teada para llegar a esta malla. El tanque debe estar vacío al relizar este procedimiento, de otra
forma deberá voltearlo hacia atrás para que el agua se aleje de la entrada.
2. Retire y limpie la malla.
Mantenimiento:
El ltro en línea (malla) debe ser retirado y limpiado periódicamente para que funcione
adecuadamente. Antes de limpiar la malla, vacíe el tanque de agua. Limpie suavemente la
malla con agua y jabón. No hacer esto podría reducir la presión del agua y los niveles de ujo
necesarios para que el sistema de suministro funcione adecuadamente.
Garantía:
Este producto cuenta con un año de garantía ante defectos de fabricación y materiales a partir
de la fecha de envío.
PRECAUCIÓN: Si este producto será
almacenado en condiciones propensas al
congelamiento, drenar toda el agua para
prevenir daños.
This manual suits for next models
2
Table of contents
Languages:
Other Battery Watering Technologies Outdoor Cart manuals
Popular Outdoor Cart manuals by other brands

Carts Vermont
Carts Vermont 20 manual

Westward
Westward 2CZY4 Operating instructions and parts manual

Numatic
Numatic EcoMatic EM-5 Assembly

Bosch
Bosch XL-Cart Operating/safety instructions

Tennsco
Tennsco Modular Cart Top Component Assembly Assembly Instructions/Parts Manual

Clam
Clam POLAR TRAILER HD MAX manual


